When you move into a new home, things can be, dare I say, chaotic for a little while. We moved into our home three months ago and I still feel like I’m struggling to tread above water. When things are in disarray, my mind gets pretty anxious, so we’ve been working very hard on getting our home, not only feeling more clean and beautiful but also more functional. Our master bathroom’s closet was one of the first things we knew we had to tackle.
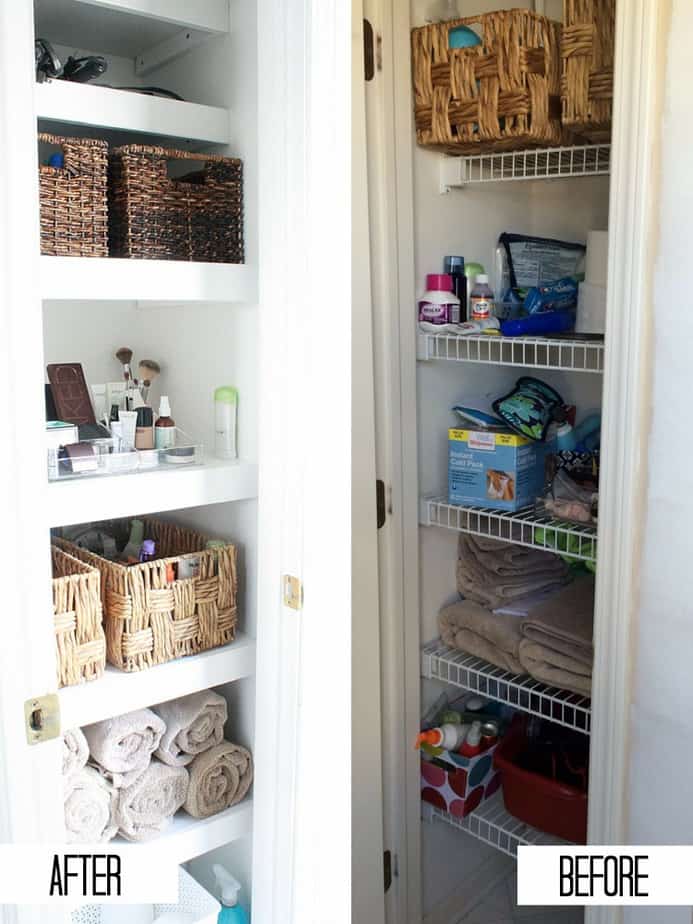
There were several things wrong with our bathroom linen closet organization from the begining. It always felt dark, bottles always toppled over because of the builder-grade wire shelves and we couldn’t seem to keep things where they belonged. Although it took us fifty days to complete our tiny bathroom closet, each step of the project was worth it.
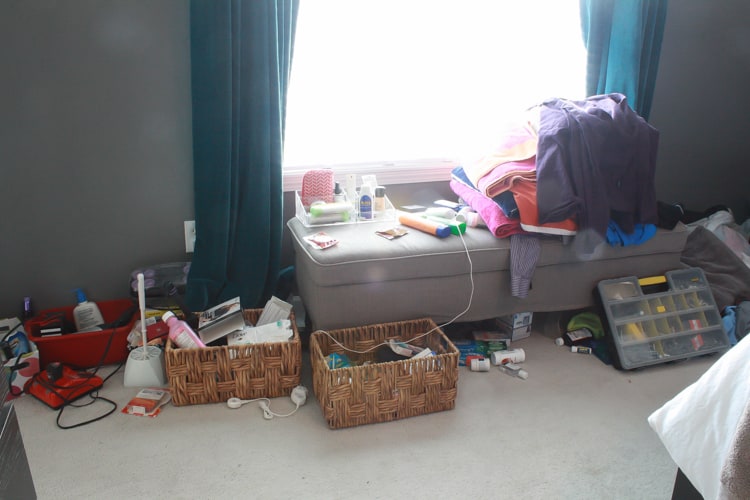
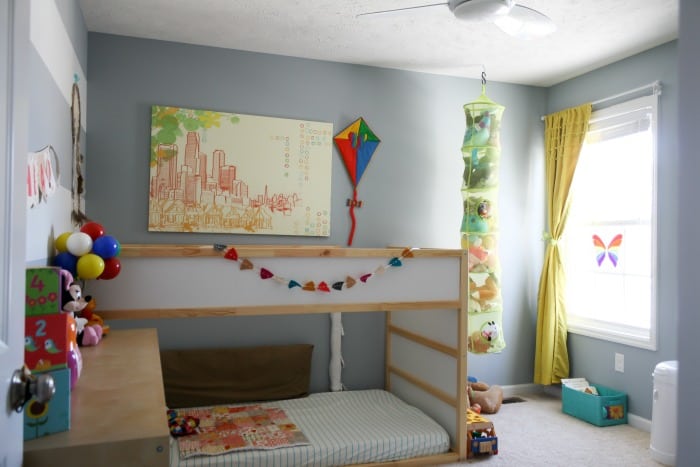
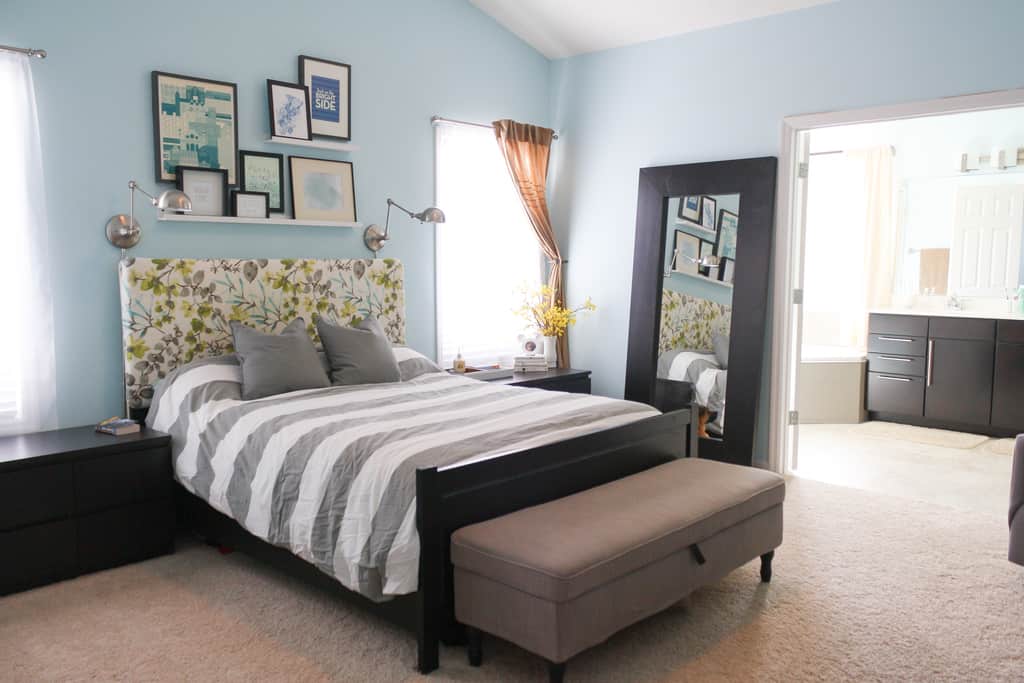
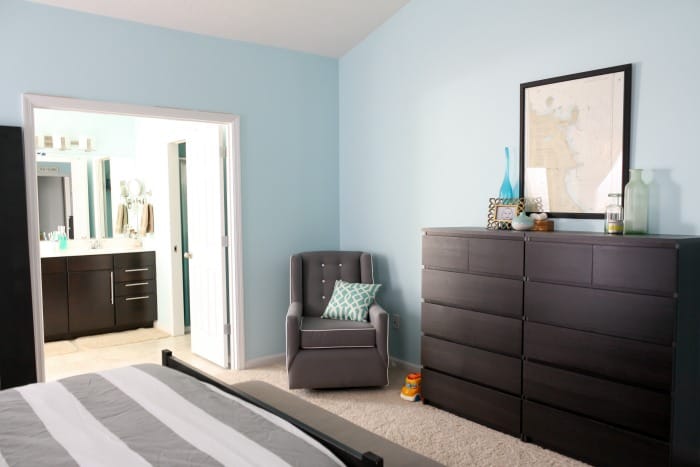
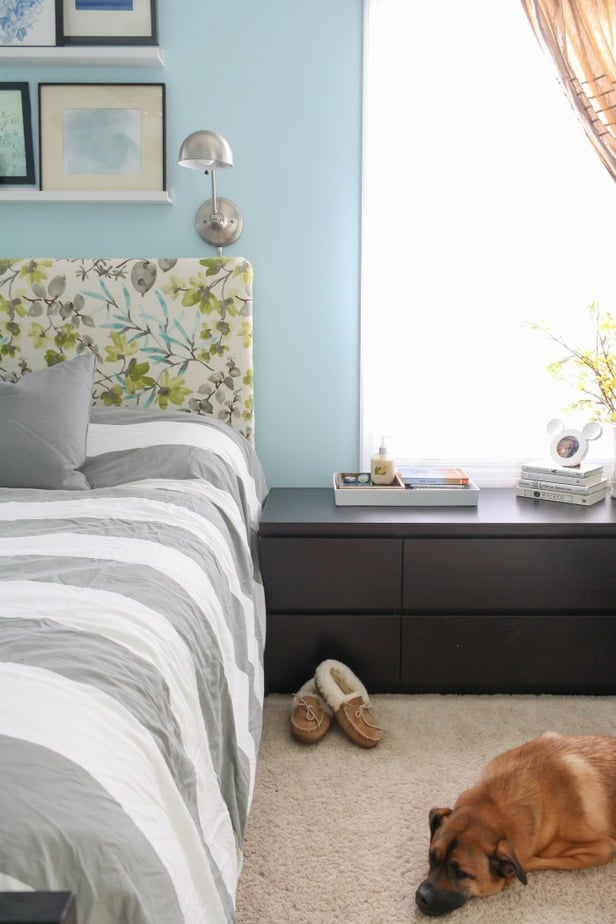
A master bedroom is supposed to be serene, calm, peaceful, safe and restful. I kept my blinders on every time I walked in our master bedroom because ours was the complete opposite. Sophie’s favorite game in the world is to empty a container, line all of the items in a row and then put them back in the container. She did this almost every day, meaning, I often went without deodorant or mascara because she’d put it in a different container and I couldn’t find where she’d hidden it. During the closet makeover, we’d also decided to paint the bathroom, change out the hardware and rip out and replace the caulk, meaning there were tools on every surface of our bathroom and bedroom. It was fun guys! Because I learned a thing or five during our minor bathroom renovation, I thought I’d share five simple steps to organizing your linen closet so it works for you.
Bathroom Linen Closet Organization
- Empty. Empty the closet entirely. Lay it all out in one room so you can see exactly how much you shoved in that tiny space.
- Clean. At very least, clean shelves, floors and baseboard with cleaner. If your closet has never been painted since you’ve lived there, roll on a crisp white to freshen up the space. Go one step further and buy or make custom shelves to maximize the usability of your closet.
- Sort. Sort through every item in that pile of closet innards. Check dates on medicine bottles. Throw out that gel that you thought made your hair look like a wet rat. Essentially pair down everything you have because you likely weren’t using it all. Make sure you have a large trash bag for this step and automatically toss anything that’s questionable.
- Divide. Buy, or better yet, reuse current containers to organize the contents remaining. I reused baskets from two different closets of our old home. They don’t match but they do a great job holding what they’re meant to. Make sure you test out your containers in the space before you fill them. Look for containers that aren’t so shallow that all of your contents will be showing above. On the other hand, do not use containers that are so deep that you’ll be tossing in items without regard, ending up where you were in the beginning.
- Test. Pay attention over the next three weeks to see how you use your closet. Are you able to easily access what you’re looking for? Are your most-used easy to reach? Test your closet and re-arrange if necessary. If you find it hard to remember where things are, add labels to your containers. Make sure your partner or any other person using the closet is happy with the new organization solution. If it’s not user friendly for everyone, it will quickly go back to it’s old ways.
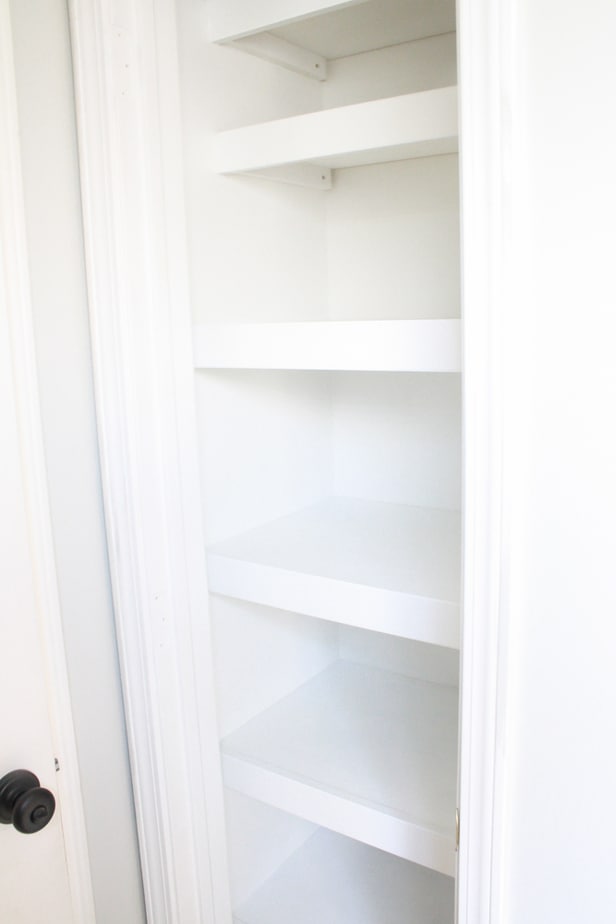
This photo may not look like much to you, but it makes me giddy. Jeffrey worked extremely hard custom building these sturdy wood shelves for our closet. I’m not worried about bottles falling over or the awkward spacing that the last shelves caused. It was a clean canvas for me to organize and fill with our essentials. Not only was I able to fit everything that was previously in the closet, I was able to fit all of our spare light bulbs that took up two shelves in our hall closet.
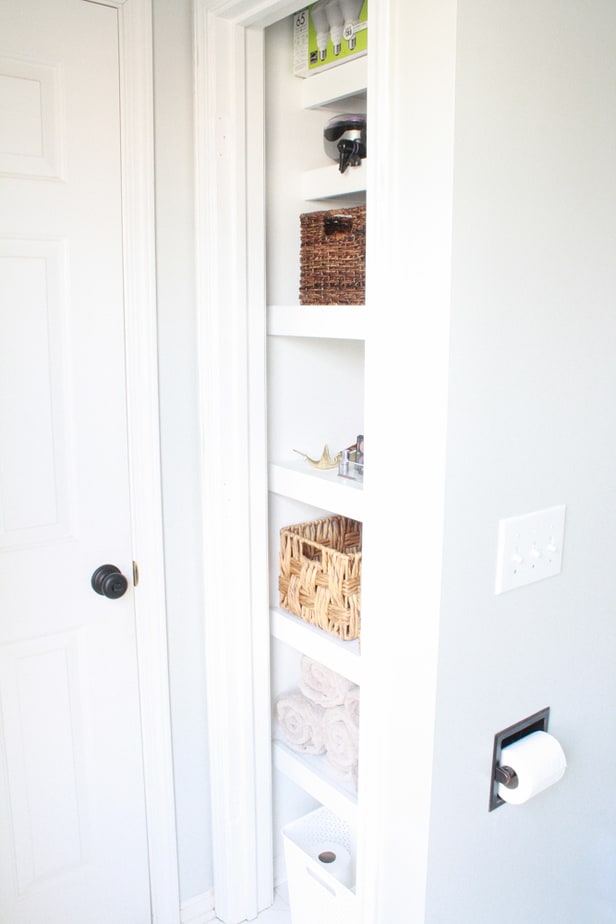
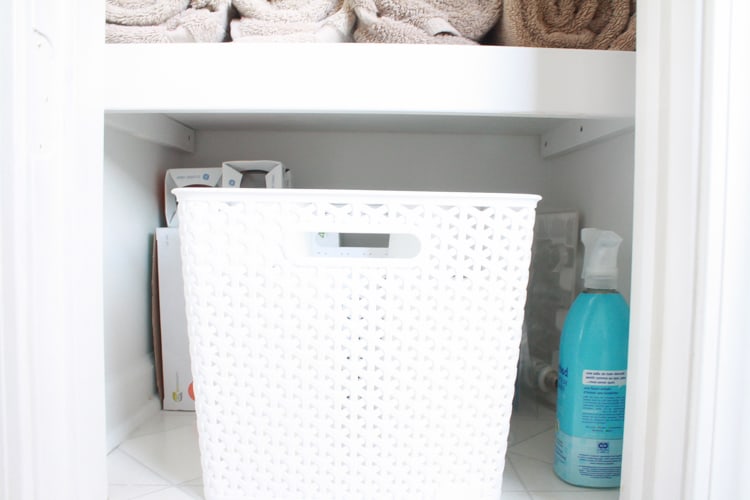
Starting at the bottom. I picked up an inexpensive plastic container to fill with toilet paper and paper towels. I shoved light bulbs behind the toilet paper, knowing we won’t need them for another nine years (they’re hardcore light bulbs.) I use one cleaner for everything in the bathroom because I don’t like a ton of cleaners taking up space.

The next shelf up holds our rolled towels. Because of the shape of the shelf, it made the most sense to roll them. They all fit and will be easy for my husband and myself to easily put away correctly.
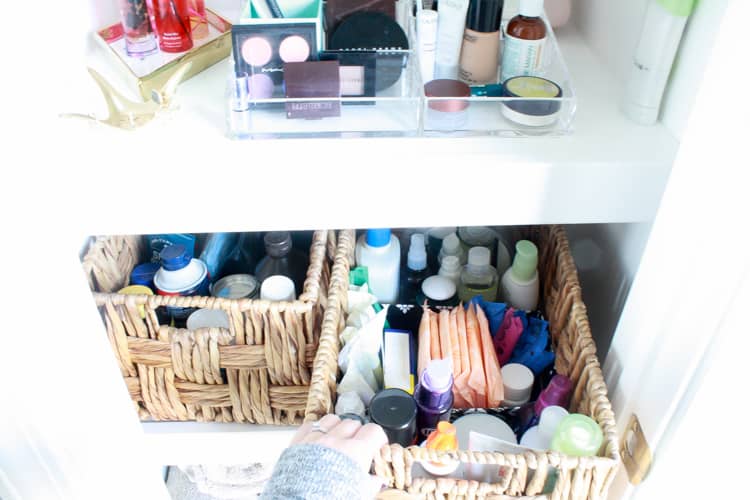
Two baskets were used as a ‘his and hers’ storage solution for all of our miscellaneous toiletries such as hair products, lotions, vitamins and shaving cream. It was helpful to use a small container within the large container to compartmentalize items, ensuring bottles to stand upright.
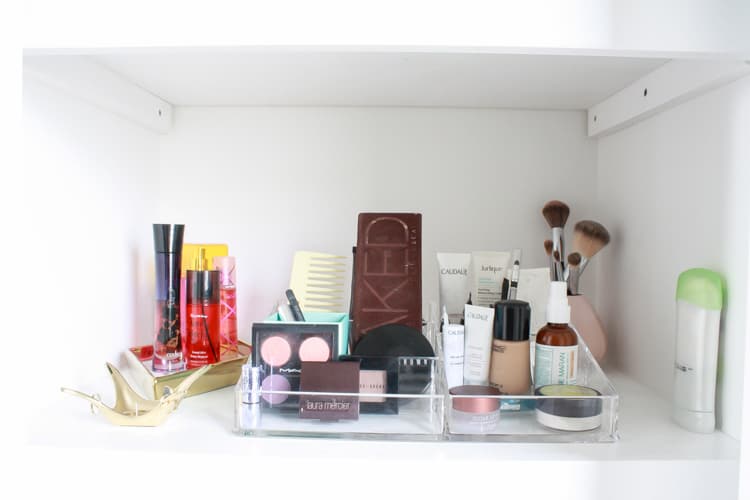
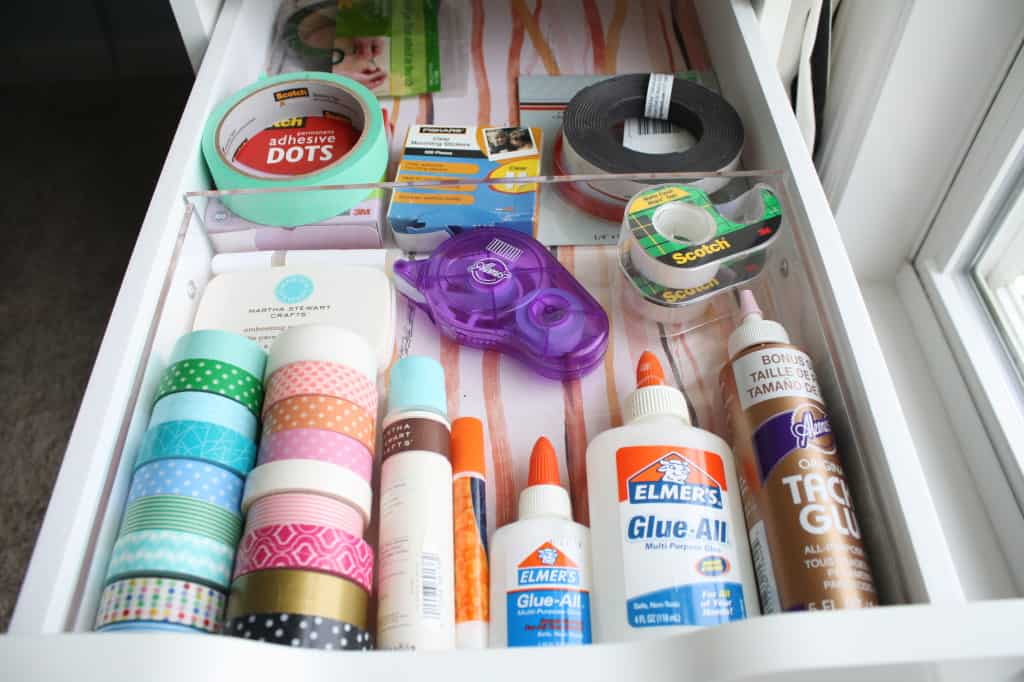
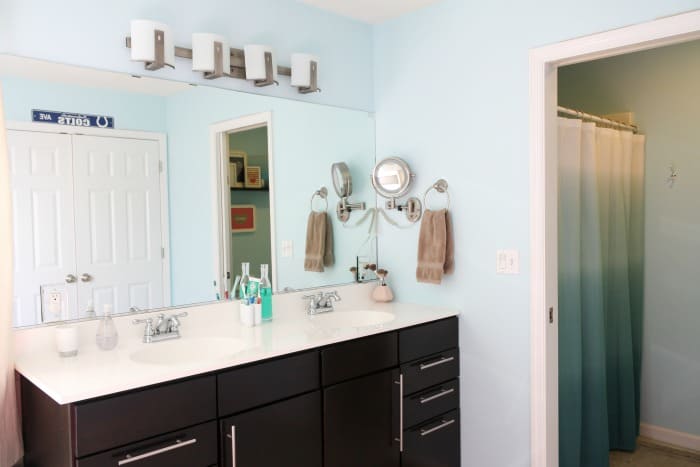
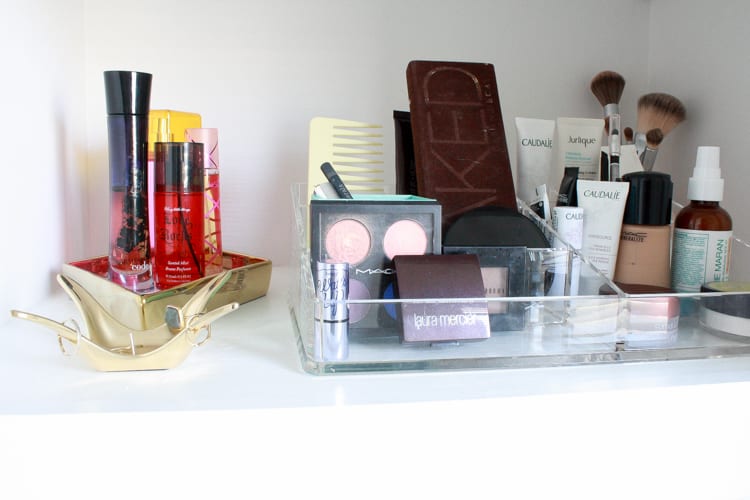
My everyday powder room supplies take up the middle shelf. Our vanity has large spacious cabinets below rather than drawers, making it difficult to access everyday items. I opted to use the most accessible shelf for my makeup, perfume, favorite jewelry and deodorant. I kept only the face products that I use every day as well as my favorite perfumes, while everything else was discarded. Acrylic trays
![]() have always been my favorite organizing tool for multiples and my makeup was no exception. In our old house my makeup and nail polishes were organized in acrylic trays as well.
have always been my favorite organizing tool for multiples and my makeup was no exception. In our old house my makeup and nail polishes were organized in acrylic trays as well.
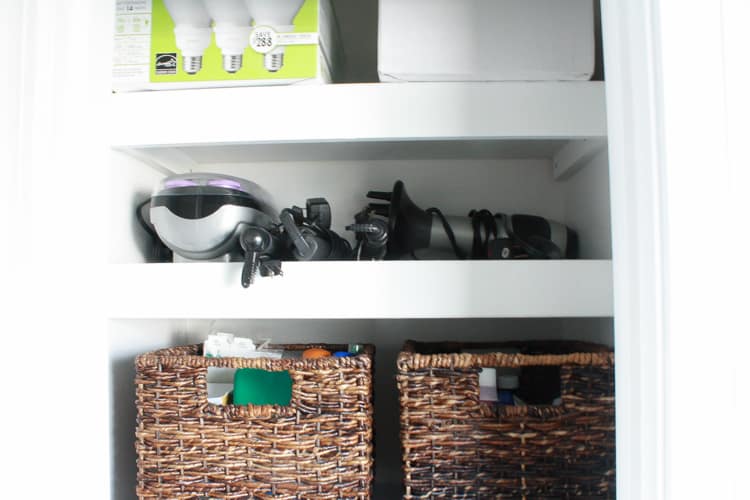
The next shelf was occupied by two coordinating wicker storage baskets![]() One basket was filled with soaps, toothpaste, q-tips, sunscreens and bug spray. The other basket was filled with medications and first aid supplies. Jeffrey made a thin shelf to hold my curlers, curling irons, straightener and hair dryer. The very top shelf held even more light bulbs that were leftovers from the construction of our last home. We were also given a box to switch out every light in our current home by our electrical company.
One basket was filled with soaps, toothpaste, q-tips, sunscreens and bug spray. The other basket was filled with medications and first aid supplies. Jeffrey made a thin shelf to hold my curlers, curling irons, straightener and hair dryer. The very top shelf held even more light bulbs that were leftovers from the construction of our last home. We were also given a box to switch out every light in our current home by our electrical company.
No one wants to spend a lot of time organizing a closet just to see it become a mess again months later! So, before you tackle any major organizing project, remind yourself that it always gets worse before it gets better. Push through, even if you have to wear blinders for nearly two months. Take the time to go through each individual item and assess it’s worth in your space. If you truely use and have a specific spot for each item, your closet will stay organized.
Does your bathroom closet need a makeover? Tell me your trouble areas. I’d love to help figure out a solution!
If you’re interested in more ideas on how to organize tough spaces, check out these posts: