A huge thank you to Basic Invite for sponsoring this post, and for making all of my holiday card dreams come true!
Growing up I loved running to the mailbox during December to see what Christmas cards we’d received each day. We’d string them happily in our dining room and be surrounded by smiling faces of friends and family all month long.
As an adult I still love receiving holiday cards. I’ve even begun turning them into books each year when the season is over, by punching a hole in them and fastening them together with a large binder ring. They’re such a fun keepsake to have, and my daughter loves to look back through everyone’s photos from previous years. It’s also helpful to remember who to send cards to the following year.
As much as I love to receive holiday cards from others, I love to send them too! Which is why I was so excited to partner with Basic Invite this year to create the perfect cards to send out to all of our loved ones.
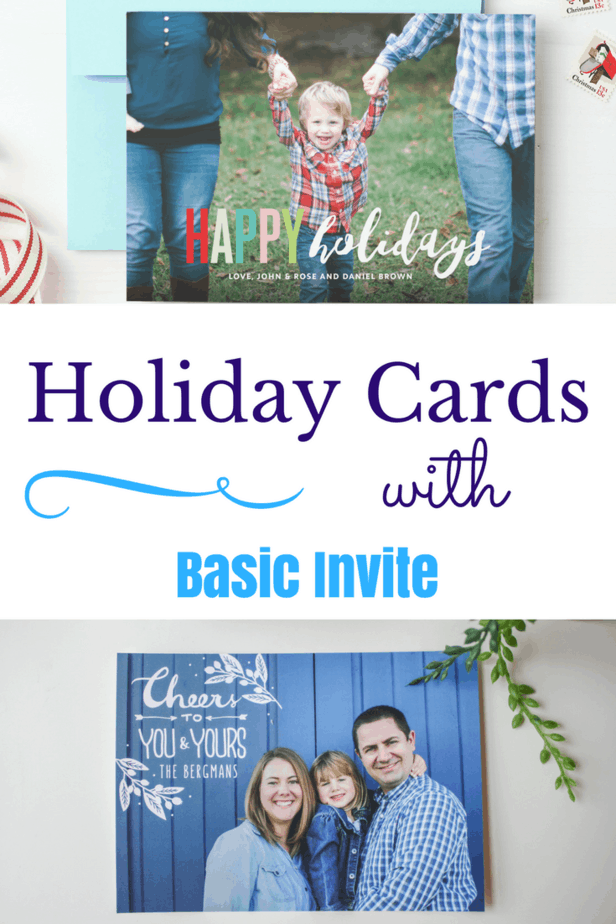
Basic Invite Holiday Cards
Basic Invite has become my favorite one-stop shop for purchasing cards for every occasion. Not only do they always have an amazing selection of designs, but you can literally choose your cards, get personalized postage, and import your address book so that they will address your cards for you… when you take advantage of all that they have to offer, literally all that’s left to do is stuff the envelopes and stick them in the mail.
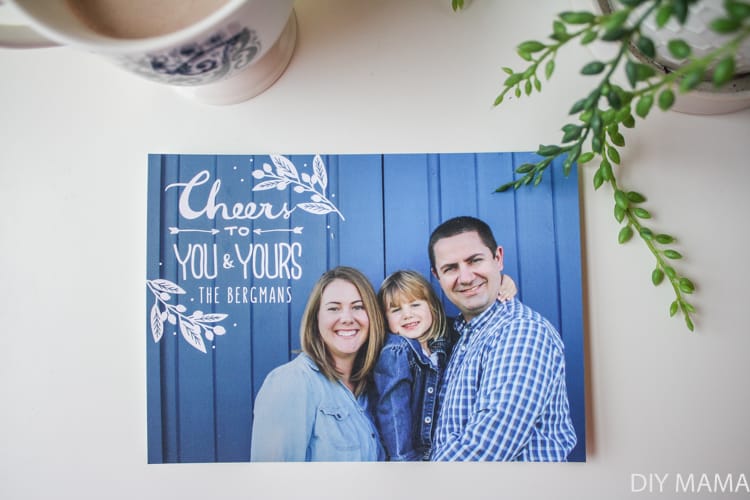
This was my first year using Basic Invite and I was amazed by the quality and beauty of the holiday cards we received. This year we chose the You and Yours Photo Holiday Cards design, in Luxe Velvet paper, along with the free white envelopes. I’m big into how something feels in your hands and I wanted these cards to feel special to my friends and family.
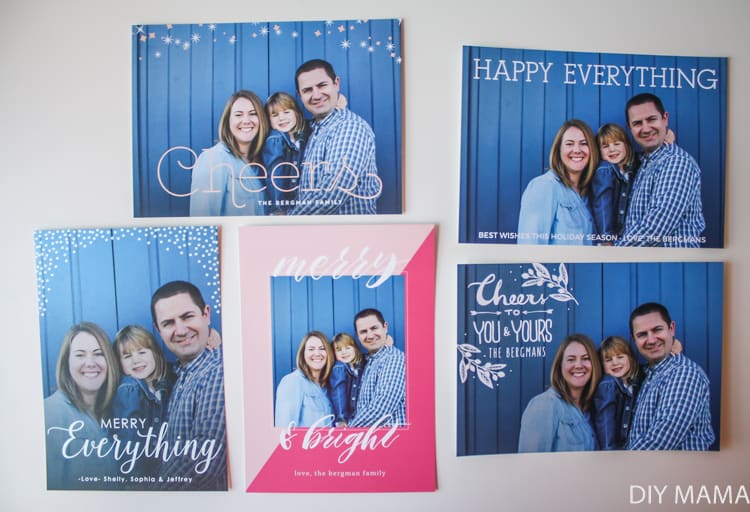
Honestly though, it was tough to select just one design to go with, because there are over 250 beautiful holiday cards to choose from! It was a little addicting designing my holiday cards because the website makes it so easy to customize your cards. I designed five different versions and had them sent as samples to my home. Basic Invite is one of the few websites that allows customers the ability to order a printed sample of their actual invitation so you can see exactly how it will print as well as feel the paper quality before you ever have to place their final order. TIP: order each sample in a different paper type so you’re able to feel the different finishes. Get your family involved if you’re having a hard time choosing. I laid out all five and had our daughter and my husband choose their favorites. Luckily, they both chose the same one which happened to be my favorite as well!
I’m excited for another favorite tradition: signing of the Holiday cards with hot coco and Christmas music. We’re getting our cards in the mail December 1st so they’ll be up all month long! Basic Invite offers an address capturing service that allows you to simply share a link on Facebook, Twitter, Instagram, or any other form of social media to request your friends and family’s addresses which will be stored in your account and can then be selected during the design process. Basic Invite offers recipient address printing at no cost on all Christmas card orders.
I also wanted to let you in on a little secret. This photo was taken by myself in front of our shed in the back yard. You don’t need to spend a ton on a photographer to get a good photo of your family. The idea is to send something nice showing your friends and family you’re thinking of them during the holidays.
If you still haven’t ordered your own cards, you’re not too late. Basic Invite is currently offering 30% off through with the code: HOLI30 along with 15% off everything else using code: 15FF51. Be sure to check them out for your discount holiday party invitations and work Christmas party invitations!
Happy Holidays to you and yours!
Pin it for later:


