Fall Leaf Garland- I’ve noticed a lot of people saying they don’t decorate for fall because Halloween is right around the corner or the decorations are not their style. I say fall deserves it’s own decorations! When I think ‘Fall’, I smell pumpkin spice lattes and bonfires. I hear cheers during football games and the crunch of dried leaves. I feel the snuggles of a warm blanket while reading a favorite book and possibly sipping warmed cider. Guys, fall is awesome and it deserves it’s own decorations.
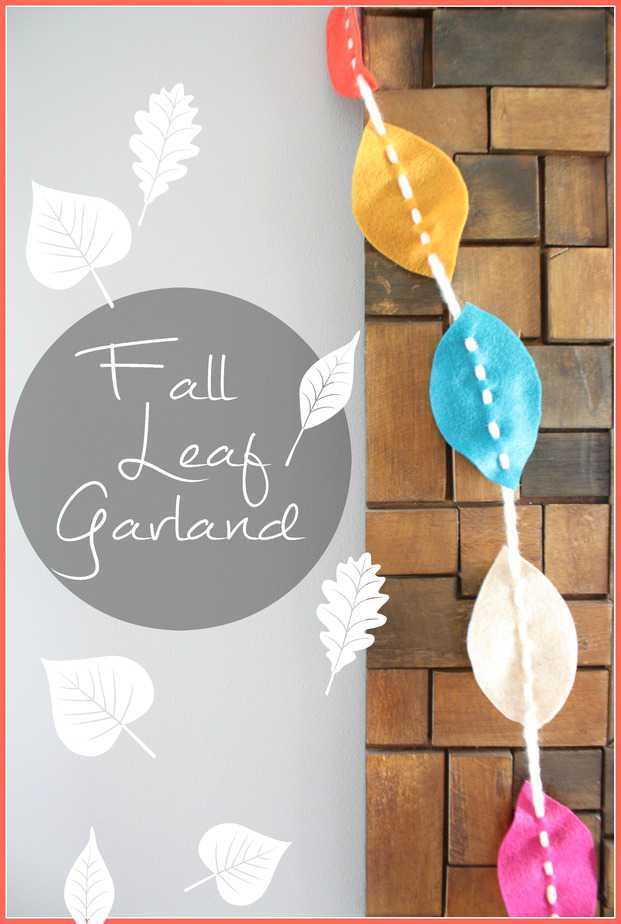
I made the most simple felt leaf garland that is super easy to customize by changing the colors to your favorite fall pallet. This fall leaf garland can be easily customized to suit your style.
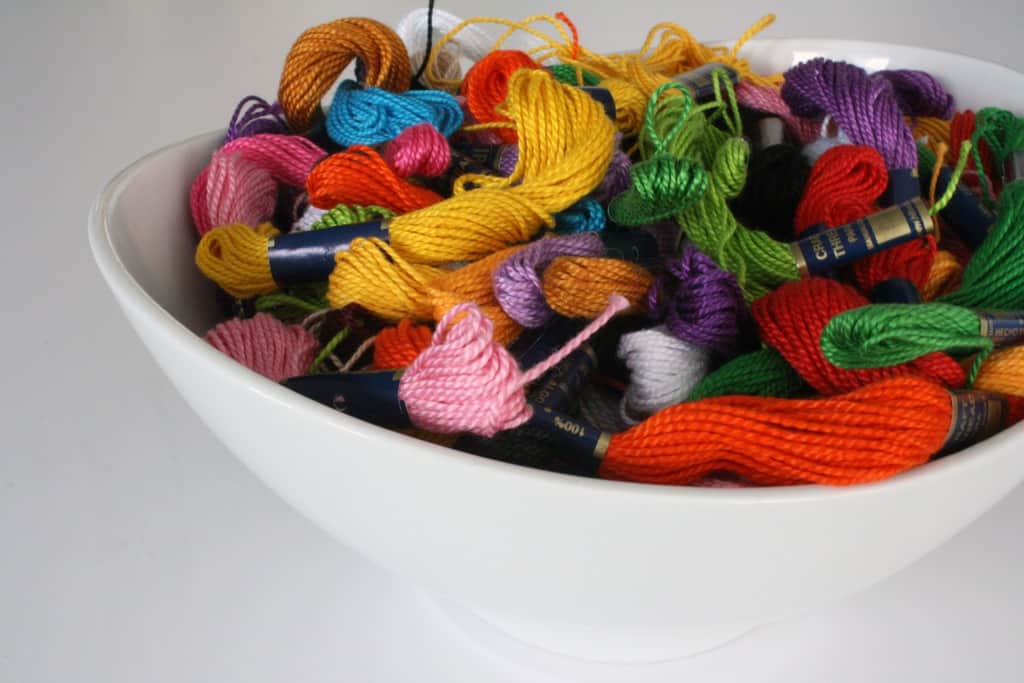
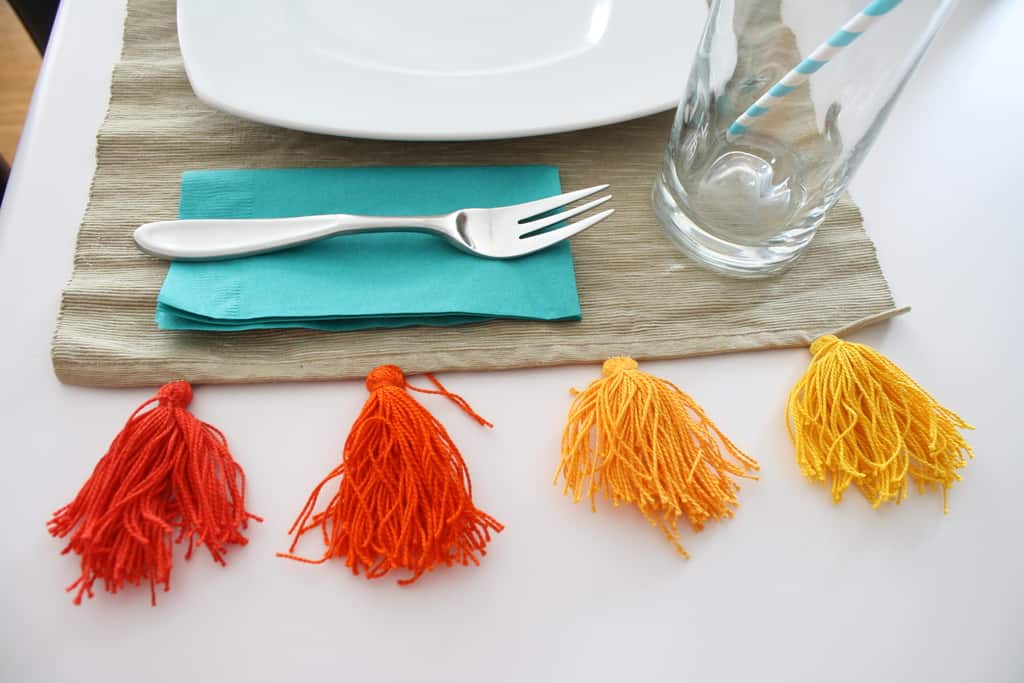
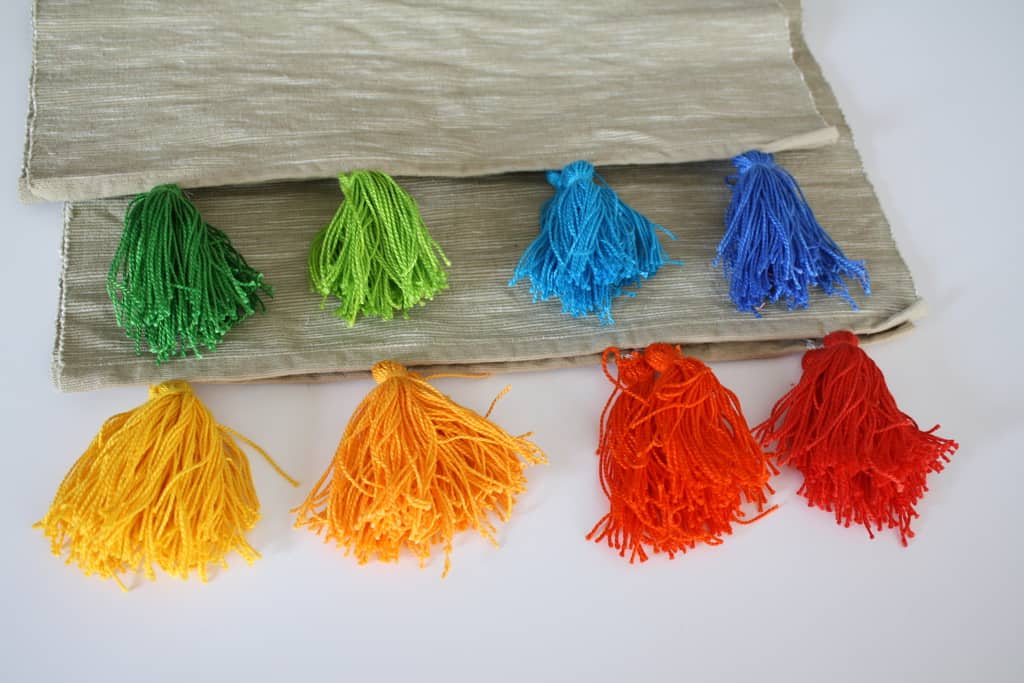
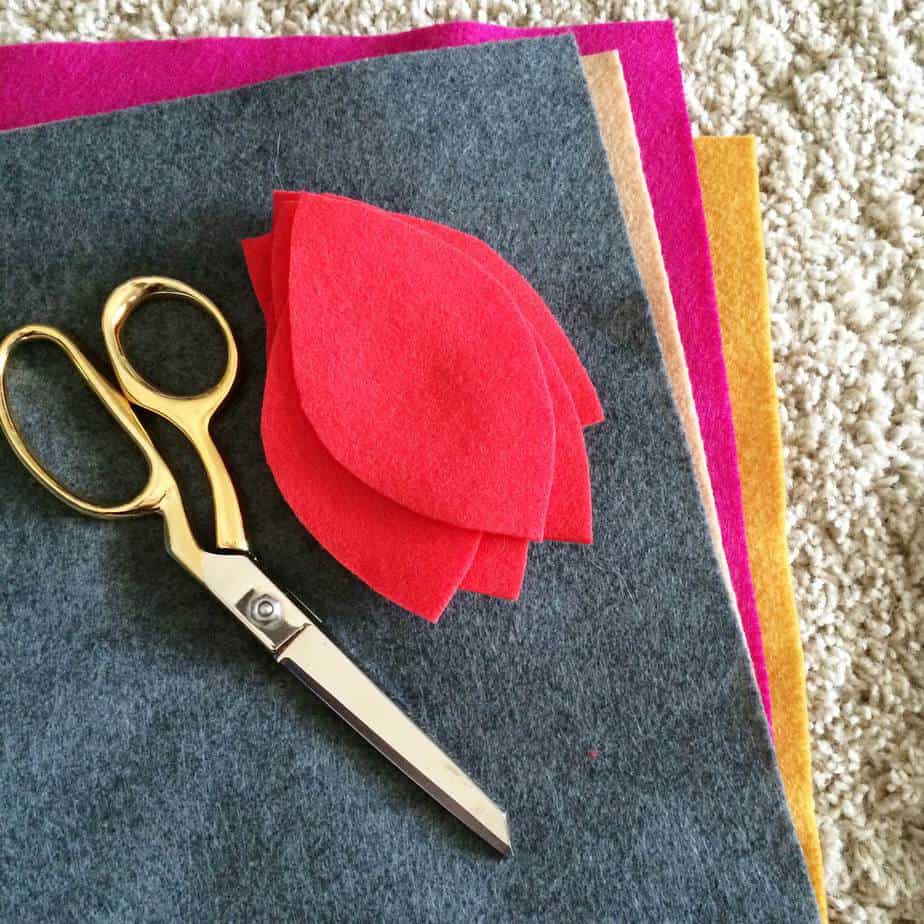
This craft could not be easier or cuter! I love how happy these colors play together. These colors were inspired by a jewel toned hat I’d gotten one year. I always buy amazing hats but never wear them. Maybe this year will be the year of hat wearing!

 If you follow me on Instagram, you’d have already seen these from last year but I wanted to be sure to do a tutorial this year.

 Materials Needed:
- Felt of your color choice
- A piece of sturdy paper (for leaf stencil)
- Scissors
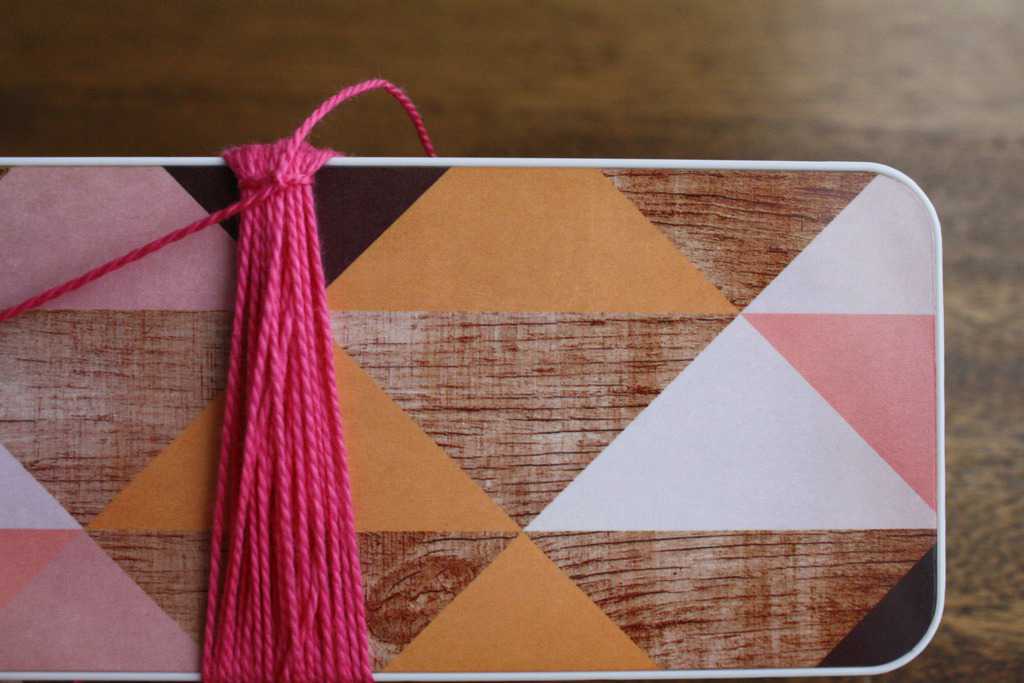
- Chunky Yarn
- Tape
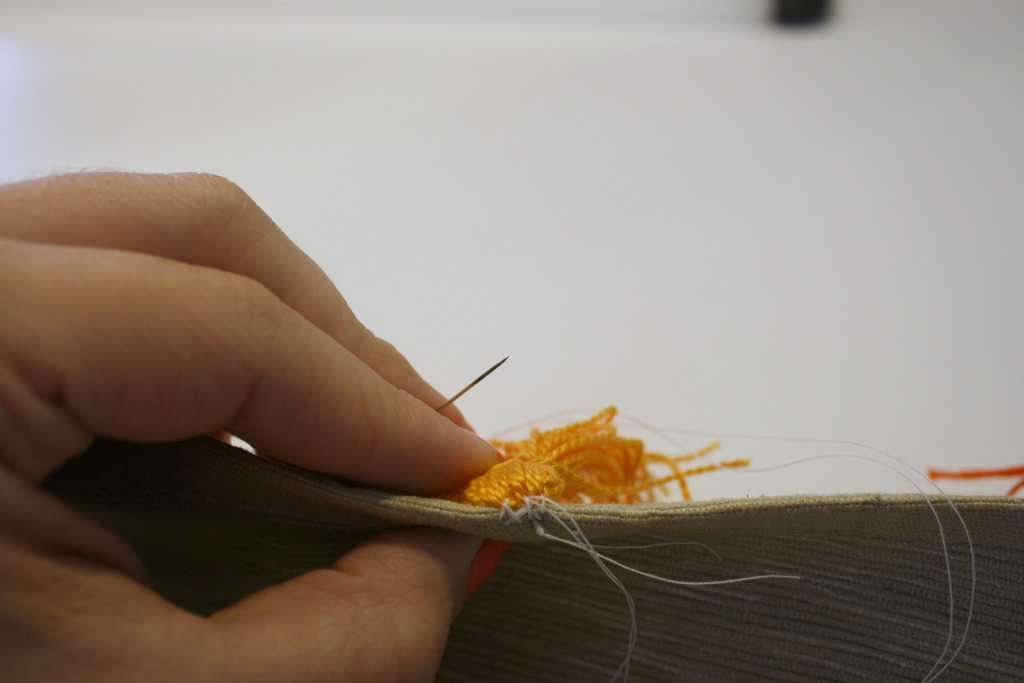
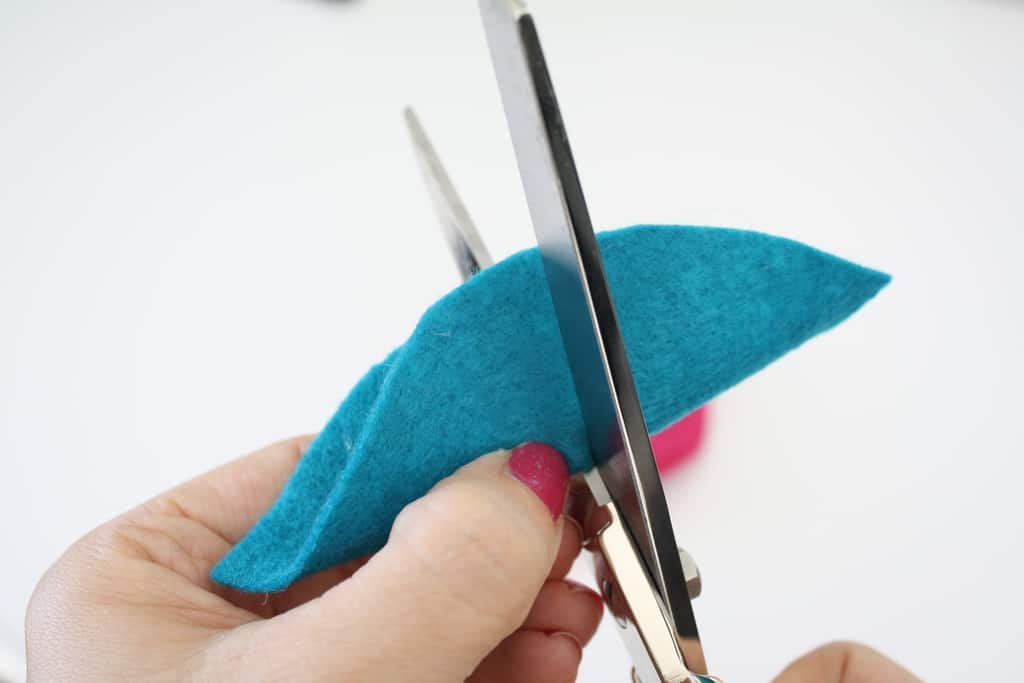 The first step is to cut out your leaf pattern and trace it onto your felt. Use fabric scissors for an easier cutting experience. Once all your leaves are cut, fold each leaf in half (hotdog style) and snip little holes down the middle of the leaf. I would start in the middle and cut 4 to the right and 3 to the left allowing my thread to start and finish on the same side of the leaf after it was threaded. I suggest to do small snips and make them larger if necessary to make it look like you really sewed the yarn through the leaves.
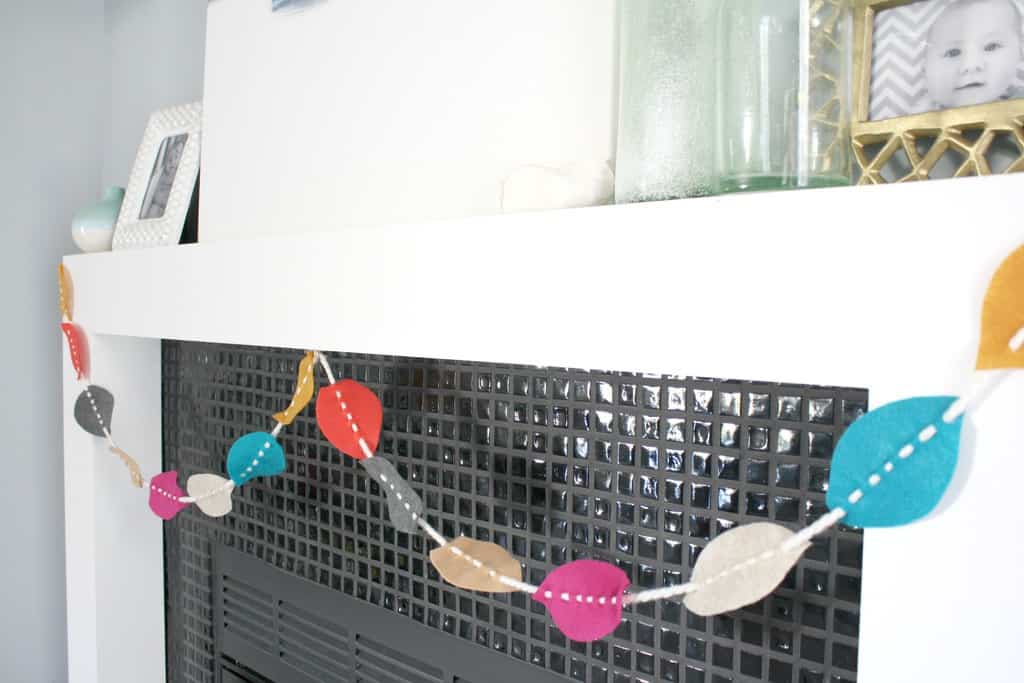
 Once the leaf has it’s holes, use a piece of tape to make an aglet on the end of the yarn for easier threading. String all the leaves on your yarn and hang! Seriously. It’s that easy!
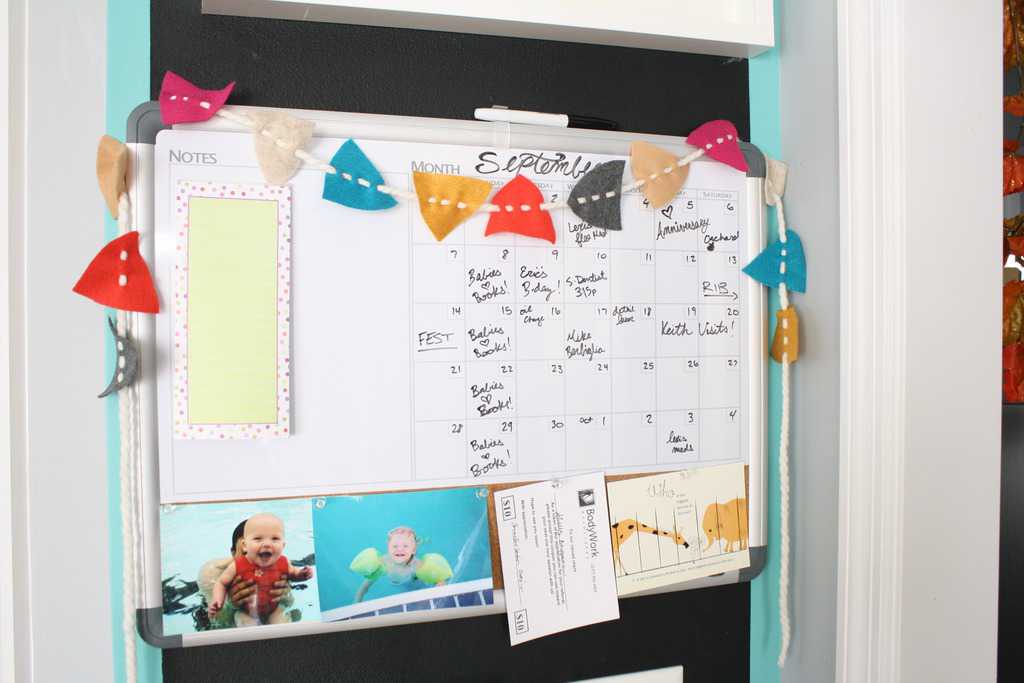 I also did the same method to make a mini garland for our family command center but cut the leaves in half.
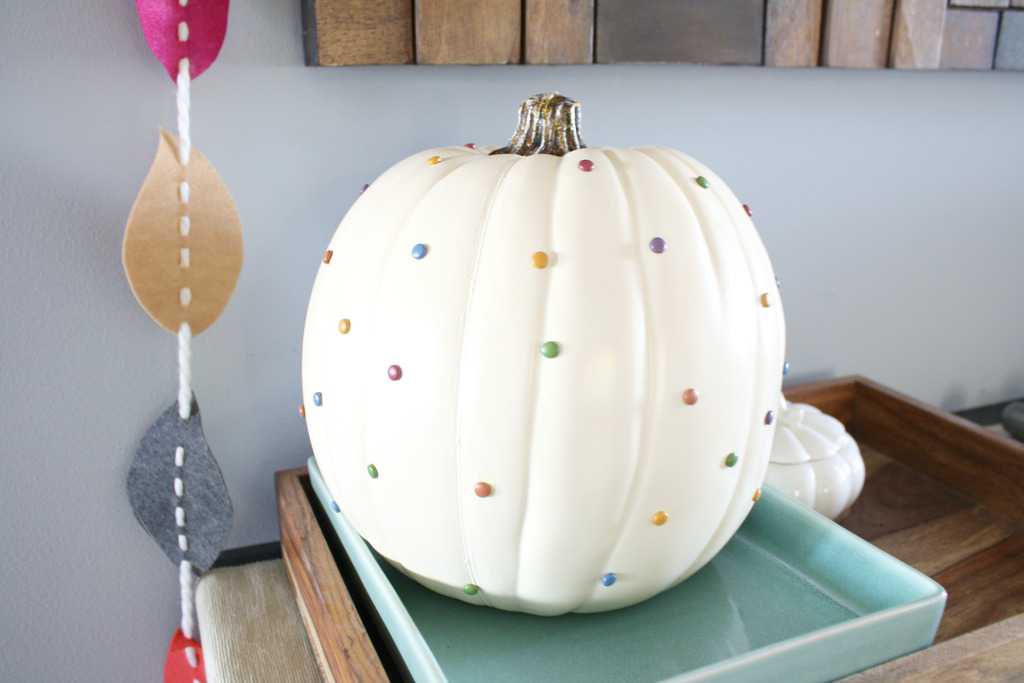 The felt leaf garland was extremely simple to make but this bradded foam pumpkin was the easiest and fastest decoration I’ve ever made. I love his happy polka dots. It’s a nice change of pace from the orange/red/yellow standard fall decor I see in stores.
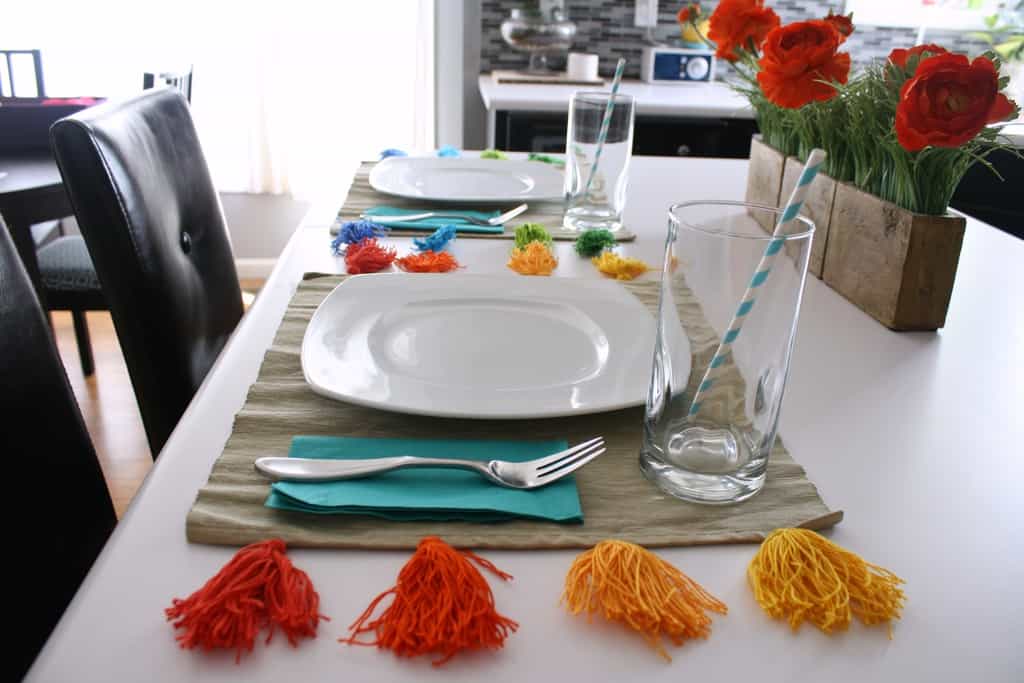
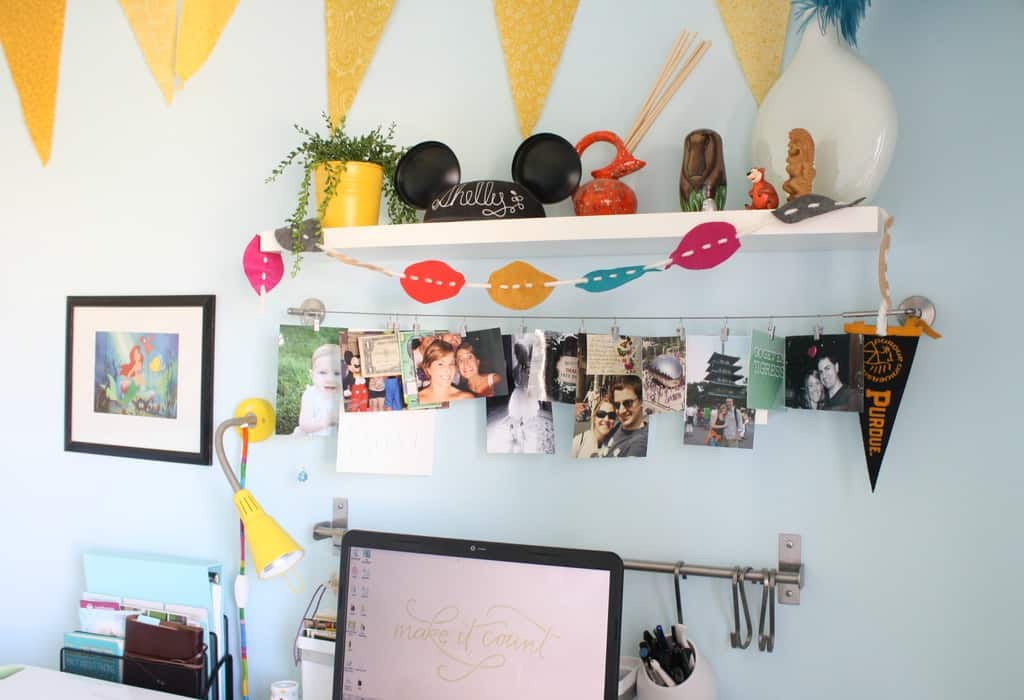 I used 7 pieces of felt from the store which allotted several garlands. I even had enough to decorate my blog/craft desk! What’d you guys think? Simple enough? What colors would you use to match your fall decor? I think this would be a fun craft to do with your kids! Maybe use it as a count down or add a leaf for every book they read in the fall!
Pin it for later: