Craft

Halloween Ghost Toddler Shirt

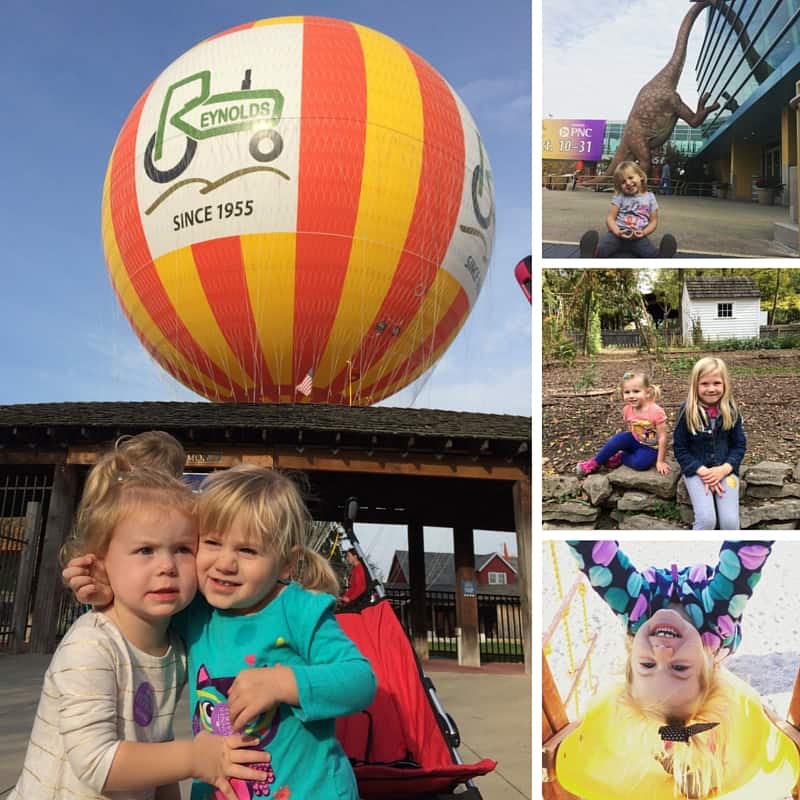
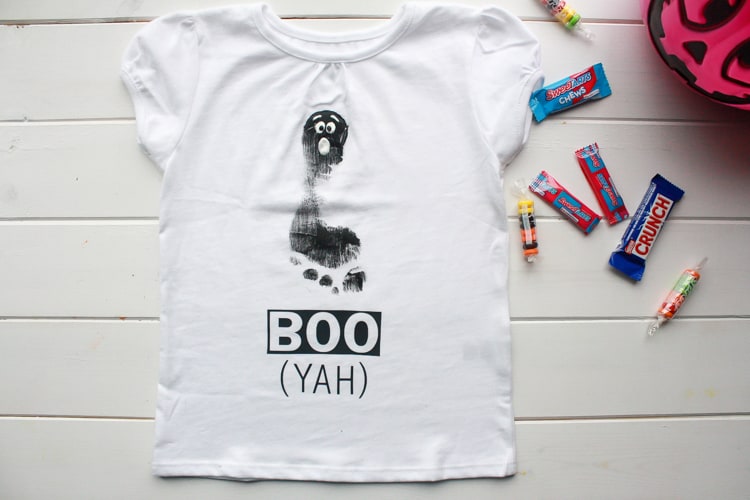
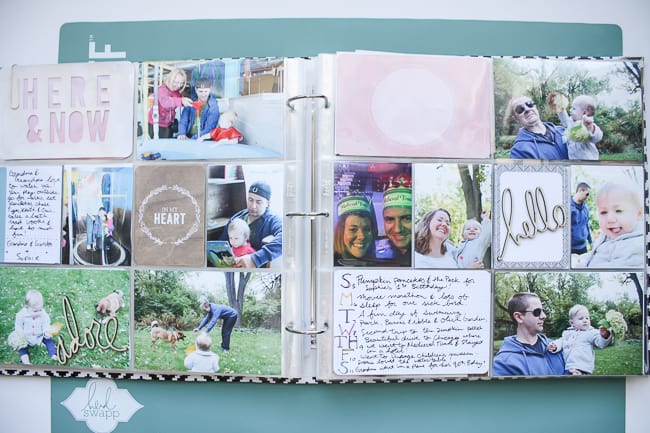
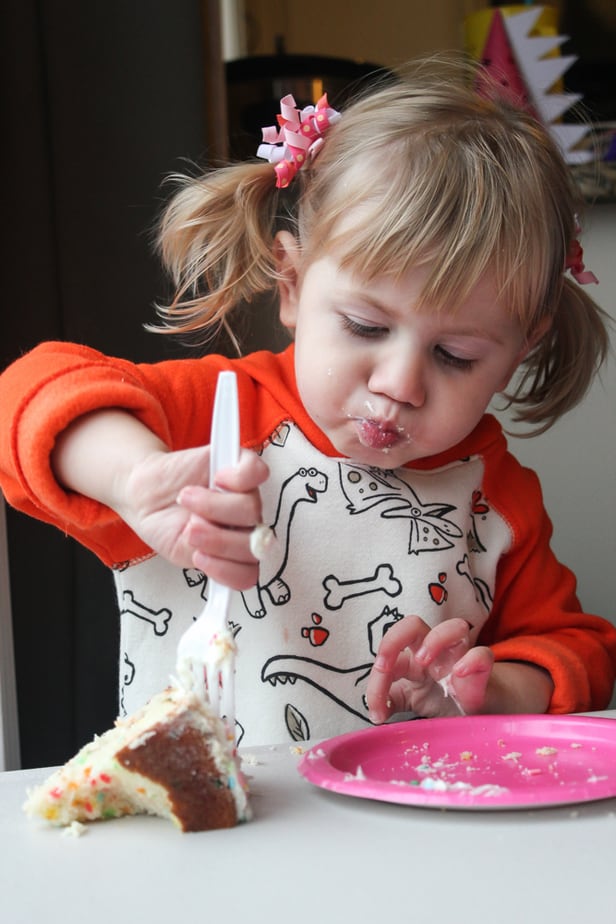
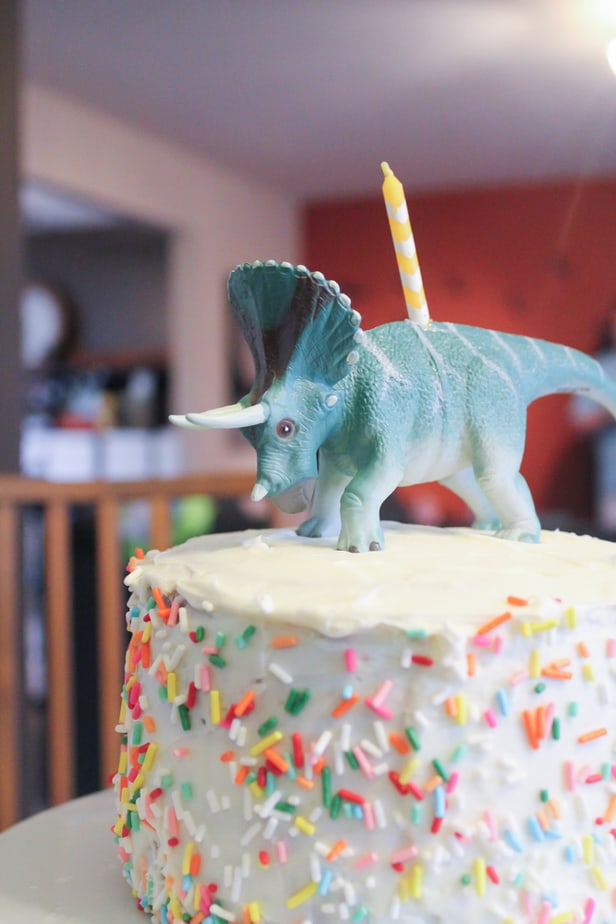
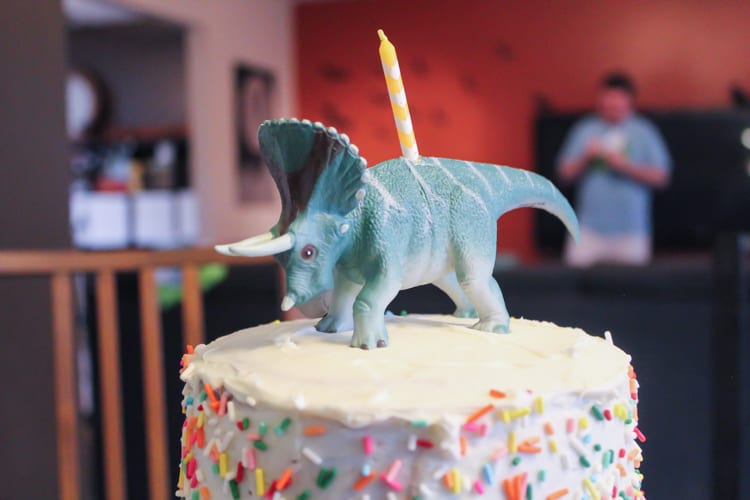
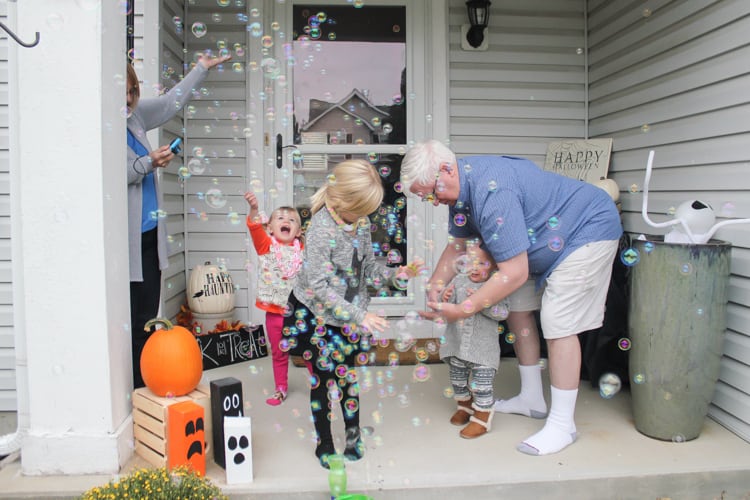
This past week we had a ton of fun celebrating fall break. Since we’ve been working so hard on the house lately, I wanted to take time to really focus on our friends and family. We started the week by celebrating Sophie and her Great Grandma’s (91) Birthdays in Chicago. I had a fun Girl’s Morning Out with my niece Fiona by getting a manicure at the cutest nail salon. We picked up Sophie and went to explore the 1830s at Conner Prairie. That night we made these cute Halloween ghost shirts with the girls, played board games, and had our first cousin sleepover at our new house. The rest of the week was spent visiting with friends at Conner Prairie and The Children’s Museum of Indianapolis. We finished the week off by more Birthday celebrations at my parent’s house.

Fall Break Activities with Kids

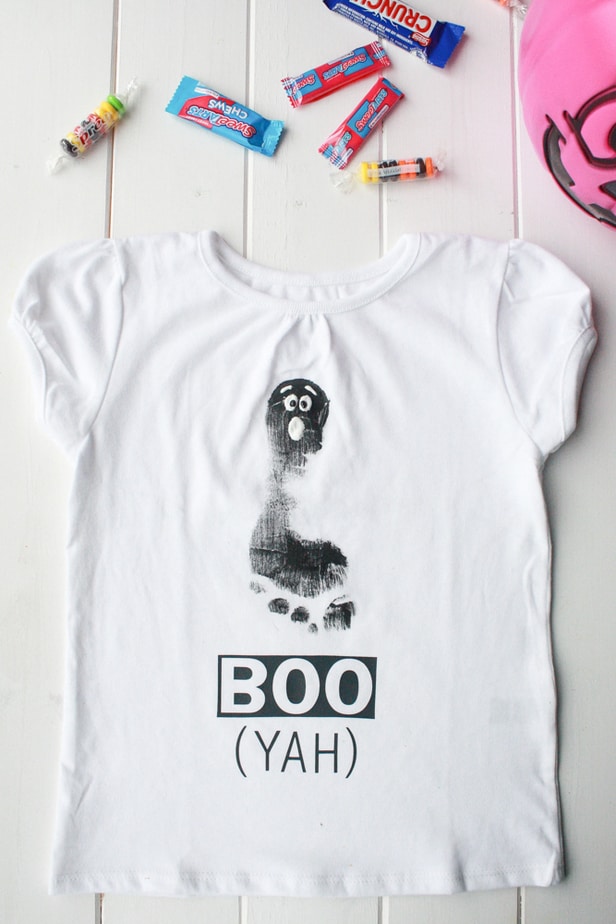
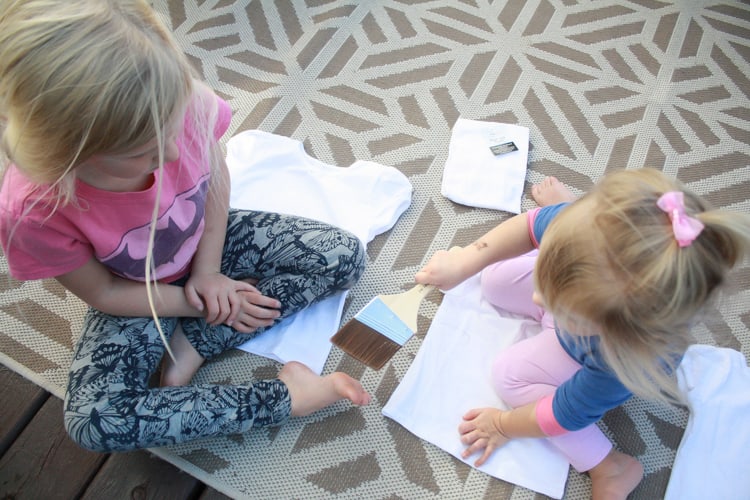
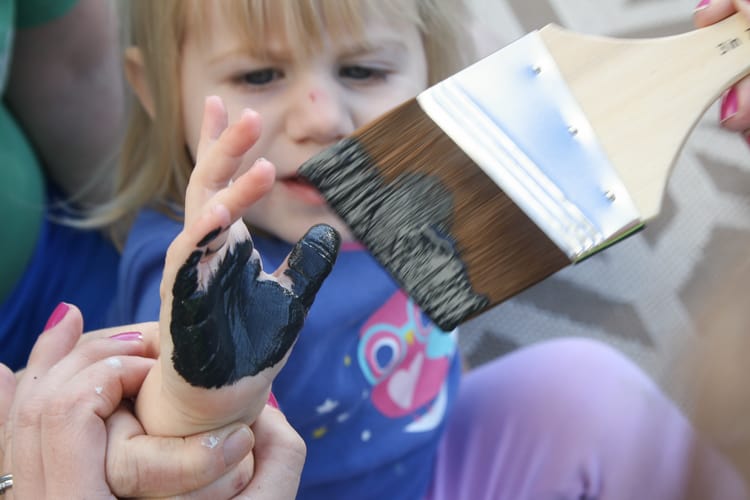
Today I’m over at my friend Jocelyn’s site, Home Tome to share how I made this adorable Halloween ghost toddler shirt with Sophie and her cousins. It was a super easy project but was very helpful to have a second set of hands to help me because our artists ranged from age 1 to 5 years.
Halloween Ghost Craft

Halloween Ghost Shirt

What did you do on your fall break? I’d love to know about any Halloween crafts or treats you made!

How to Make Time for Creativity with a Toddler

Do you ever feel in a slump and wonder what’s going on? You’ve been eating well, exercising regularly, sleeping well but are just feeling drained. It may be the lack of creativity that you’ve been experiencing. Having kids definitely makes creating for yourself more difficult but it is far from impossible. Like I’ve said multiple times, you’ve got to take care of yourself before taking care of others. This includes feeding your creative soul.

project life

I want to share 8 ways on how to make time for creativity with a toddler because that is what I’m experiencing in my life presently.  Hopefully you’ll be able to utilize these tips whether you have no kids, a baby or older kids.

How to Make Time for Creativity with a Toddler

    1. Set a timer. I bought the Datexx Cube Timer when Sophie was younger to help me manage cleaning. I felt overwhelmed with watching her so closely 24 hrs/day and having to keep the house up. I would set the timer for 15-20 minutes and do a quick clean and was much more efficient. The same method could be used for creating. Find 15 minutes or an hour each day to do something creative.
    2. Have a ‘sit by me’ activity on hand. If your toddler is not quite ready to play alone, create ‘sit by me’ activities to have on hand to allow you to do independent crafts near each other. Creative with Kids has a few great ideas that are inexpensive and have easy clean up.
    3. Schedule creativity. Sometimes you have to schedule in fun. This also means you have to say no to invitations to make sure you’re leaving enough time for yourself. When we were in the moving process the only thing that kept me sane was scheduling in fun by literally writing it on the calendar. It did not matter how many boxes needed packed or how much cleaning needed to be done, I stuck to our ‘mandatory fun’ schedule to relieve stress. I’ve also been known to buy online classes for myself so I would be more excited to work on a specific craft. I have my eye on Scrapbook Design & Storytelling: Beyond the Basics and Crochet: Basics & Beyond for this winter.
    4. Make creativity a routine. It sounds silly to think about an activity that is based on feelings, spontaneity and whims should be a routine but it really helps. Once you start making creativity a priority and a part of your life, you will realize how important it is for your happiness.
    5. Set up a craft day with friends. Maybe you feel guilty taking time to do crafts by yourself when you feel you should be with your toddler. Why not do creative activities with friends hitting two birds with one stone. Some of my favorite past craft projects were because I was creating with friends.
    6. Create a ‘self creativity zone’ for your toddler. If you have an easily accessible, safe area that is toddler friendly, set up in your home, it will encourage your toddler to be creative on their own. Toddlers love mimicking their parents. Having their own area to create will encourage them to follow your lead. Tinkerlab has a great post on creating a ‘self creativity zone‘ and other articles on why creativity for kids is important.
    7. Have materials easily accessible. Not everyone is fortunate to have a studio or their own room specifically for crafts. You don’t need an entire room, but a space dedicated to being creative will help make creativity more spontaneous. Organize your craft supplies in a way that makes it easy to grab the materials you’ll need for a project. The small amount of time you have for crafting will be used for creating rather than searching for your supplies.
    8. Go out! If you don’t have a space that you can dedicate to your craft, go out to be creative. Paint pottery, do a wine and canvas night or even sign up for a college art class. I’ve taken photography, art, belly dancing and horticulture through a local community college and it was a great way to keep me accountable in making time for a creative outlet. Libraries often have free sessions on creative endeavors as well.

There are countless ways to express your creativity. I’ve read several books on time management and really enjoyed my last read called The Busy Mom’s Guide to Creativity. The book includes a workbook that helped me figure out what is most important in my life during this stage and how to make more time for those things. Take a good look at what you’re spending your time doing. There are several free time tracking apps that help you figure out how to better manage your time. You might only look at Facebook for a few minutes but when it’s 10 times per day, is it really a productive way to spend your time? Finding one hour in the span of a week should not be that difficult and you will likely notice that you’re more confident, more patient with your family and not as stressed. I’d love to hear ways that you make time for creative outlets or if you’ve read any time management books that have really helped shape how you spend your days.

For fun DIY craft projects, check my DIY Pinterest Board:

Sophie’s Dinosaur Birthday Party

Dinosaur Birthday Party
Dinosaur Birthday Cake
Our smiley, funny, inquisitive, compassionate, friendly little girl just turned two. A lot of moms get sad when their kids have a Birthday because it indicates they’re growing older and the day that they leave the nest is growing nearer. I am excited and happy about Sophie’s Birthdays! I love seeing everything that she’s learned and accomplished over the past year. I love watching how she’s grown and all of the new friendships she’s made. She is such a joy to have in our lives that I wish everyone could know Sophie.

‘DinoRAWR’ was the theme of her big day. We celebrated with close friends and family who care more deeply for her than I could ever hope for. Loads of sugar, bubbles and presents kept Sophie and her cousins very entertained. I spent a lot of time but not a lot of money on the decorations for Sophie’s Dinosaur Birthday Party. I was inspired by my event planner friend Misty at Frosted Events for the table set up. She helped me out by making custom pink and green printables to go along with our color theme. I based the pink and green scheme around the dinosaur party hats. I’d found the pink polka dot hats at Target and thought the green dino scales would be a perfect addition. I simply cut zig zags out of green card stock and attached them using glue dots

Dinosaur Birthday

Dinosaur Birthday Party
I wanted the food to be both dinosaur themed and toddler friendly. I had fun thinking of ways to name the snacks and recruited my family to help with the ideas. Sophie’s Grandma made a fruit tray (Dinosaur Nest) with all of Sophie’s favorite fruits. There were dinosaurs on top that were cut out of a sandwich cutter. We also had pretzel rods (Dino Bones) and Jelly Beans (Dino Eggs). The party favorite was the easiest to make! Layered Chocolate Parfait (Dig Site) using chocolate fudge pudding and crushed oreos. I topped them off with a dinosaur that the kids could take home as a party favor. 

Dinosaur Birthday Party
We also had rock candy, raspberry lemonade (Lava Juice), personal veggie sticks (for the Herbivores) and BBQ turkey meatballs (for the Carnivores). The cake was by far my favorite though. I had Jeffrey drill a hole in the top of a triceratops toy for the candle. It was secured using a glue dot because it was constantly falling down into the hollow dinosaur. Using the Cricut Explore, I made dinosaur straw toppers and dinosaur garland for the front of the table. I found free svg files of the dinosaur silhouettes and cut them on pink and green card stock.

Dinosaur Birthday Party

Dinosaur Birthday Cake Candle

Dinosaur Birthday Party

Birthday Cake Eating

Dinosaur Birthday Party


I don’t think we could have done anything different to make her Birthday more perfect for her. Dinosaurs, bubbles, sugar and most of her favorite people all in one place. She didn’t stop smiling the entire day. The only thing I would change for future Birthdays is to figure out how to slow down time so I can enjoy it longer. It was a whirlwind of fun.
Bubble Machine for Toddlers

Dinosaur_Birthday_Table2 (1 of 1)
Every day after school Sophie comes home and says ‘beans’ and I only just figured out yesterday that she’s referring to the jelly beans from her party! I’m so thankful we were able to have a small celebration for her. I know there will be years where Sophie wants 30 best friends over or to take everyone laser tagging, so I’m happy to do chill parties for now. What is your go-to party food that everyone seems to request? I might have to do that pudding cups every year from now on!

Let’s DIY

I am craving for a craft day. Like big time. I love fall and am so excited to go to hayrides and bonfires with my family. I also love putting on the Django Reinhardt station on Pandora and surrounding myself by pretty things that become gifts for my family. In the end, my family is what makes me most happy, I’m lucky to have this time with them and am looking forward to our outings this weekend. I may have to take a day off next week to craft though. Let's DIY this weekend
For your crafting pleasures this weekend:

  1. Decorative Shelves by Teri
  2. Wallpaper Stool by Audrey
  3. Himmeli Hanger by Jenni
  4. Geometric Accent Wall by Ashley
  5. Felt Letter Art by Anissa

Was I not right? I’ll bet these made you crave a craft day too! Let’s DIY! You should probably just come to my house and do projects with me next week. I’m deciding if I should do the geometric accent wall in Sophie’s room or the basement or my office. Both Soph’s room and my office are white. What do you think?

Earring Holder

Hanging earring holder using a tray and wires

I first met Jocelyn while looking for a seat to have lunch in the cafeteria at BlogU. Feeling eerily like the first day of middle school, I spotted Jocelyn with a warm welcoming smile. We hit it off quickly chatting about the classes we’d taken and bonding over being moms of toddlers. I’ve since stayed in contact with Jocelyn through our tribe and have always loved her quick wit and funny spin on everyday life. I knew between my trip to ATL last week and our trip next week I’d be struggling to get posts up. I wanted to showcase a few of my favorite bloggers and was excited when Jocelyn jumped at the chance to help! So without further ado, meet Jocelyn.

What do you do when you own approximately a trillion pairs of earrings? …When they’re getting all tangled, mixed up, and separated from their twins in your otherwise trusty jewelry box?

This of course is a very tragic problem and one for which there are only two solutions. 1) You can go out and get more piercings in your ears (or elsewhere on your body) in order to wear all of them simultaneously or 2) You can build your very own “Earrings on a Wire” display case, as pictured above. I recommend the latter, especially if most of your earrings are of the “dangly” variety, because wearing more than one set of danglies not only looks strange, but could turn you into a human wind chime as they bounce off of one other.

I got my ears pierced when I was 13. My mother wouldn’t allow me to do so earlier despite all my whiny begging. In order to ward me off of the concept, she assured me that the process would be VERY painful. She said, and I quote, “You know that they’ll have to hang buckets from each of your ears to catch all the blood, right?” This sounds evil, but my mother was always a jokester, so I knew she was joking. Kind of.

Once I got my ears pierced, on my 13th birthday (no buckets needed), I felt that I had officially become a woman. And I started amassing The Collection: most earrings weren’t all that expensive, didn’t take up that much room, and I derived an inordinate amount of joy from coordinating them with each day’s outfit. I still have most of them, and I am proud to say that my earrings from high school still fit. (Hey, just humor me – I can’t say that about much else from that time…)

In recent years, my husband Rob has turned out to be an excellent curator of The Collection, adding stylish silver danglies on my birthdays and on Christmas from places like The Clay Pot in Brooklyn and Fireworks Gallery in Seattle and The Sundance Catalogue.

Okay, so I have too many earrings. I can admit it. I really needed a way to keep them all straight. When we were living in the South Bronx, we rigged up a wire across a window sill for them to perch on, which worked out very well:
Earring holder using window frame

Note that, to avoid adding any more furniture to our bedroom, I further maximized the windowsill by storing the rest of my jewels in those skinny olive dishes (great for rings!)

In our new house, the window idea wasn’t going to work, so I picked up a wooden tray from Target (I think it was about $12) and a little mirror from there as well. Rob strung some wires horizontally and connected them to the inside edges of the tray with short screws. And voila! Now I can see my earrings, even if I can’t begin to wear them all. (The other good news is that, up on the wall like that, they are well out of reach for our 2.5 year old…)

Earring_holder_tray_closest (1 of 1)

Earring holder using a tray and wire

If you are experiencing a similar embarrassment of riches, I recommend that you try this easy DIY project. It would work well with round trays, different colored-trays, and with wooden picture frames, as well.

–Genius earring holder Jocelyn! This is one of the best earring holders I’ve seen and it’s super doable in one afternoon! You could even switch it up by using a colored tray or using wrapping paper as the background. Personally, I like the clean white tray you used because it showcases your earrings so nicely!

DIY earring holder by using a tray to organize

Bio: Jocelyn Jane Cox is author of the satirical Homeowner’s Guide to Greatness and blogs about the humorous side of parenting and homeownership at The Home Tome. She also tells it like it is on her bi-monthly column called, Chronicles of Parenting. Her humor has appeared onSlate, The Mid, The Huffington Post, Mamalode, Sammiches and Psych Meds, and Mock Mom. You can find her on facebook, twitter and instagram.


Google+