Craft

Modern Crayon Holder

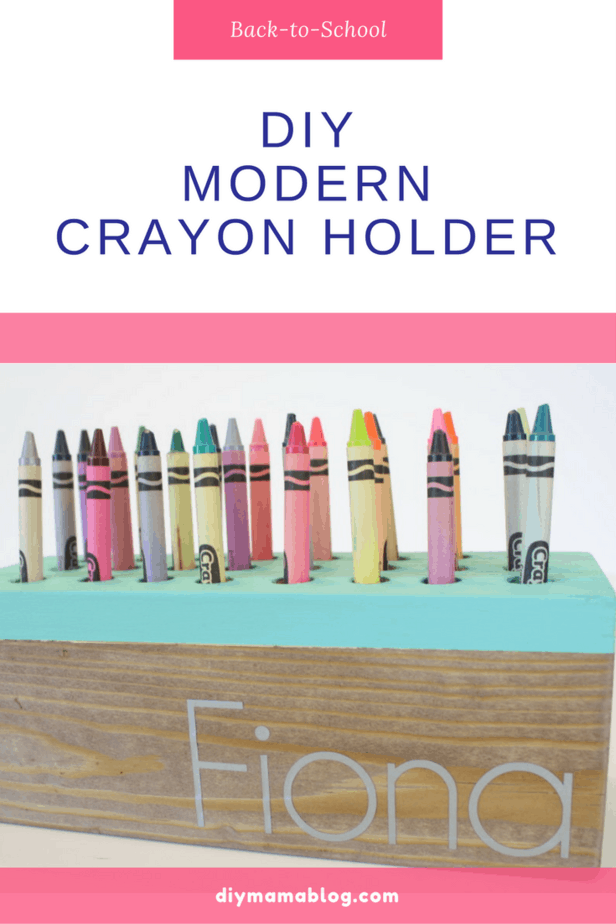
Modern Crayon Holder- perfect addition to any chic kid’s art space. This post contains affiliate links.

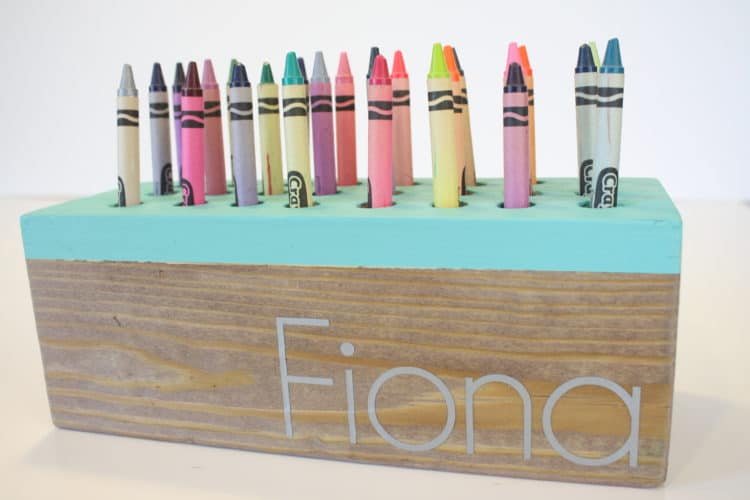
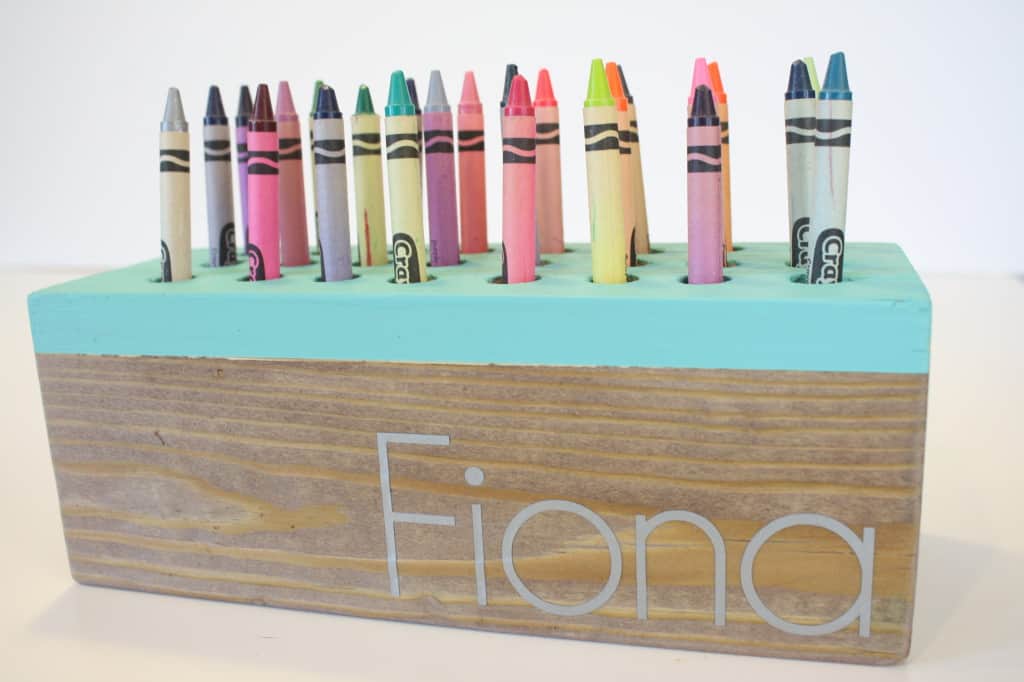
My niece, Fiona, and I are kindred hearts. Disney, glitter and coloring are three of our very favorite things so I decided to make her an indestructible modern crayon holder.  She’ll be starting second grade in a few weeks. I wanted to make sure she had a hand-made addition to her school study area.

modern crayon holder

This project was fairly simple and free to make because we had everything on hand.

Modern Crayon Holder

Materials Needed*:


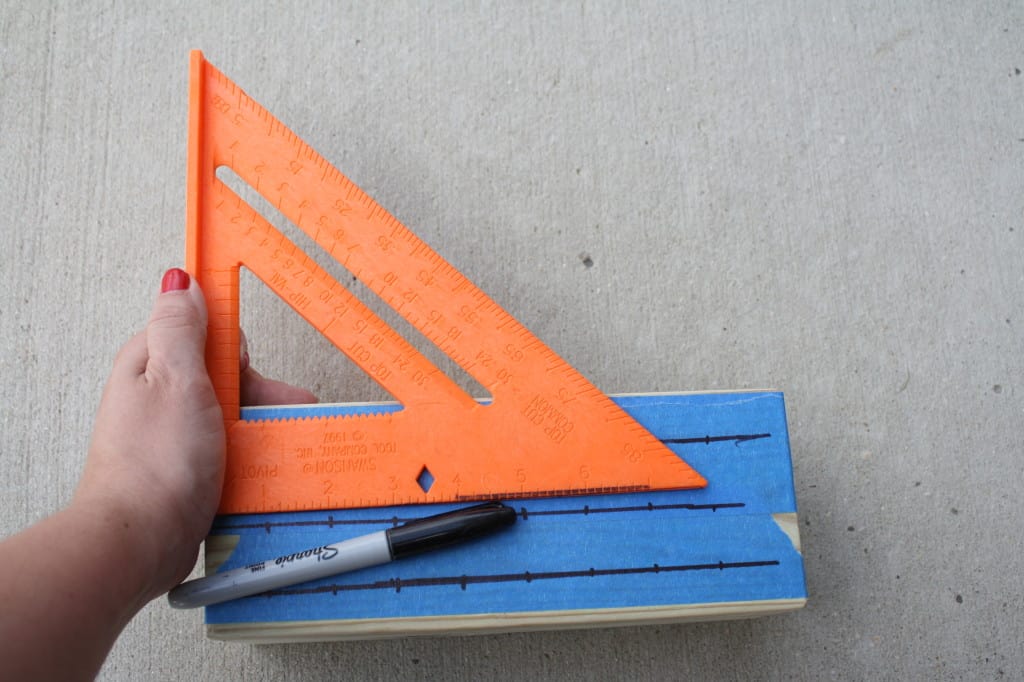
The first thing I did, to prep my 4×4, was to run some sand paper along all of the corners and edges. Once I had smoother edges I used painters tape to cover one side of my wood. Using a square, I roughly marked out where I wanted my holes. I’m not a huge math buff and I prefer an unsymmetrical aesthetic to my home made projects so I did not measure perfectly. If you like symmetry, I would suggest staggering the rows so the crayons fill in all the space.

mark-holes


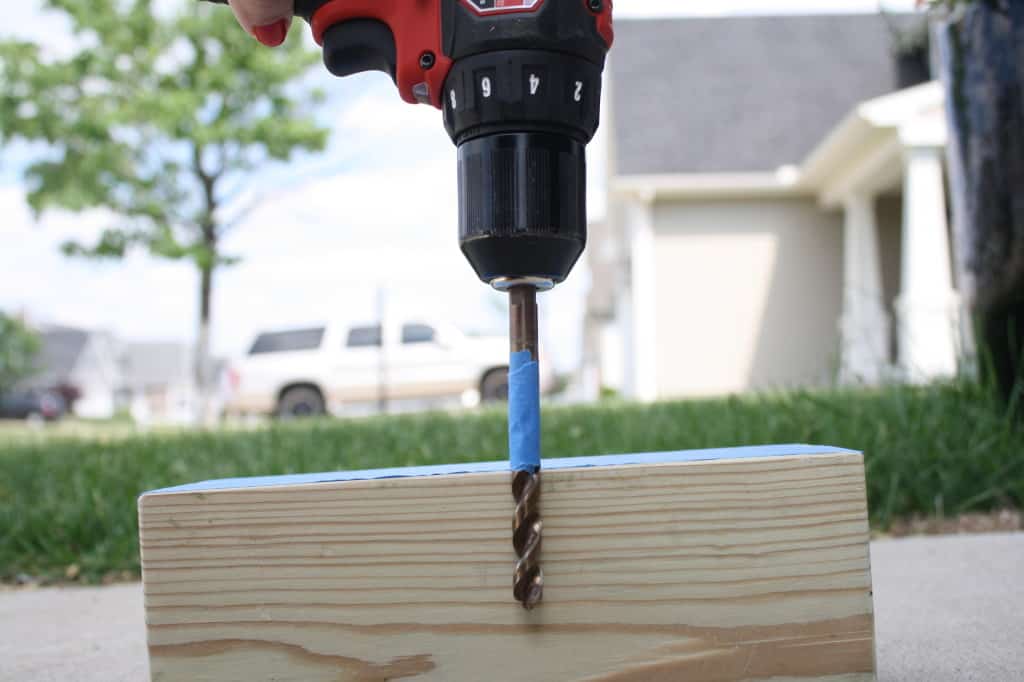
Once I measured where I wanted to drill, I used painter’s tape to mark the drill on how far I wanted to go down.

drill


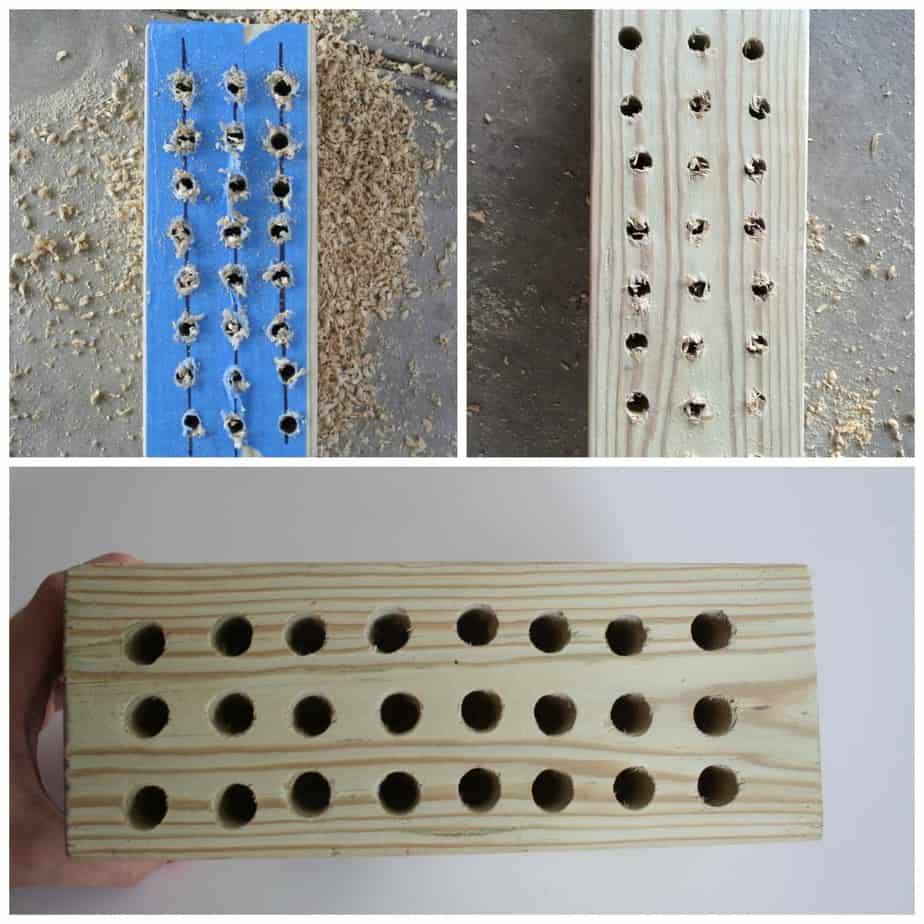
The above picture is actually entirely too deep (as I found out after the first try) unless you want to use this as a pencil or marker holder. The edges were super rough when I drilled using this drill. The wood was too new and I didn’t have the setting fast enough, which is where the drill press came in! The bottom photo was after using the drill press making the holes a bit larger and then finishing it off with a bit of sanding. Still not perfect but I didn’t know how else to fix it. Other people have done it perfectly with only a drill so I’m not sure why I wasn’t successful, but like always, I show what I learn!

bad-holes


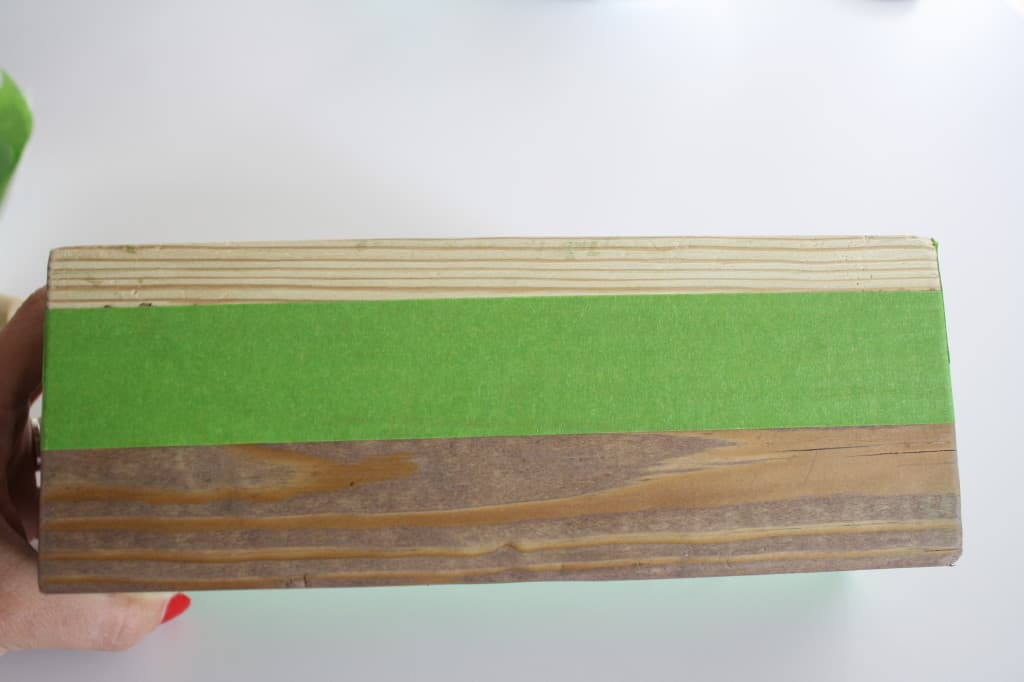
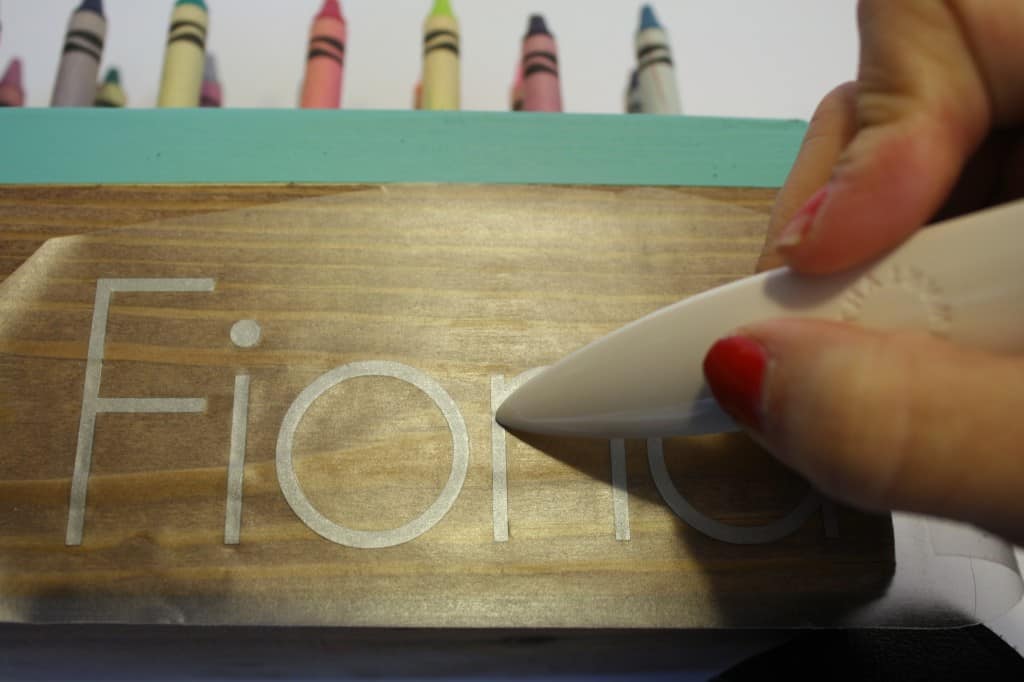
The next part was the fun stuff! I decided to make this crayon holder modern by doing a color blocking with stain and paint. I marked off where I wanted the wood stained with Frog tape, stained, waited for it to dry a couple of hours and then marked it off for painting. Both the stain and paint took two coats. Once they were both dry I adhered Fiona’s name using silver vinyl I’d cut out using my Cricut. If you do not have a Cricut you could hand cut lettering out from vinyl or use a stencil and painters tape to write directly on the wood.

stain

Fiona


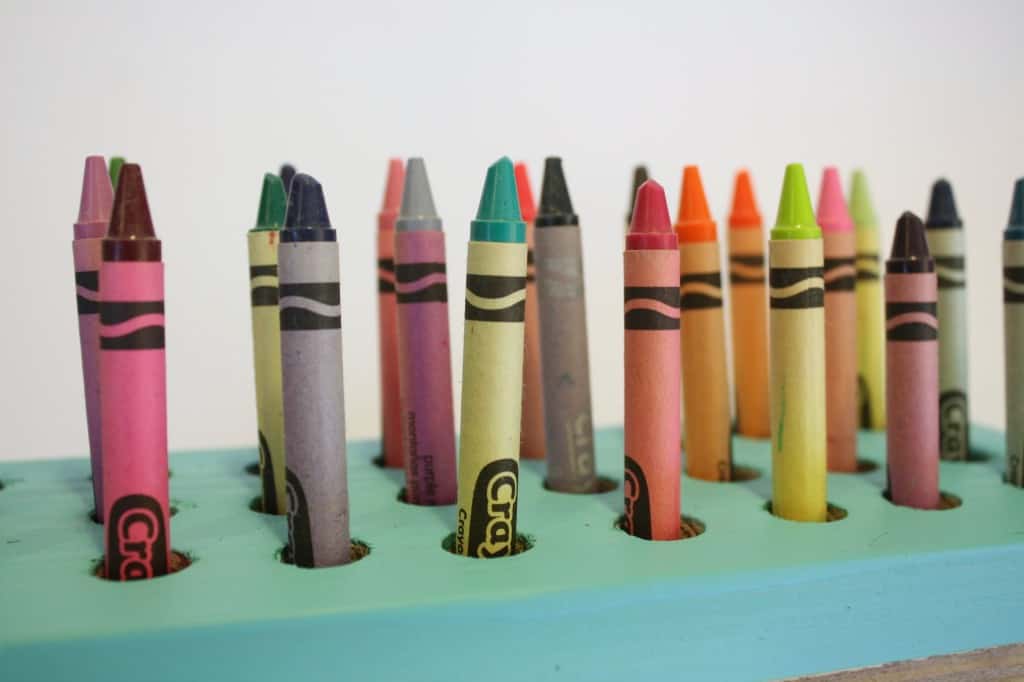
This crayon holder could be used in a few different ways. I’m guessing she’ll use it as a crayon holder for now because that is her favorite medium. If you are making it as a colored pencil holder, you’d want to make the holes deeper and slightly more narrow. You can see with this shot that I left the inside of the holes raw and the extra room I left so the paper on the crayons won’t get chewed up when putting them into the holes.3-ways

close-up

mod-crayon-holder


I think it turned out pretty awesome! I wish the holes on the top were more smooth but other than that, I love this crayon holder.

*You can modify these materials quite a bit. You could use two 2×4 glued together rather than a 4×4. Check out the scraps pile at your local hardware store! You could stain or paint the entire project or leave the wood in it’s raw form. You could use a drill rather than a drill press and you could hand write a name or ‘crayons’ on the project with a paint pen.

For other school inspired posts:

Crayon Planter

Preschool Supplies

Pin for later…
Modern Crayon Holder

Preschool Valentines Day Heart Shirt

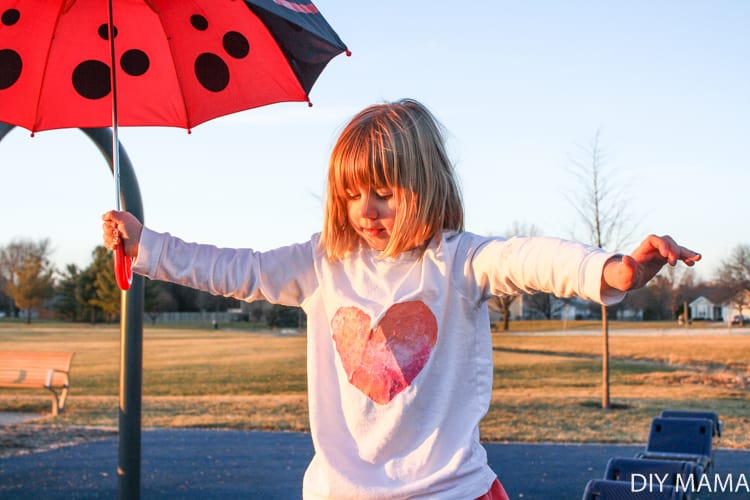
Remember when we were kids and Valentine’s Day was a big deal in school? A day for making our Valentine’s Day boxes and another day for passing out our cards and having treats! The smell of conversation hearts is still fresh in my mind. Despite schools making less fuss over the holiday, we’re still giving it our all with home made decorations and clothes! We made a simple preschool Valentines Day Heart Shirt just for the occasion.

Preschool Valentines Day Heart Shirt

Preschool Valentines Day Heart Shirt

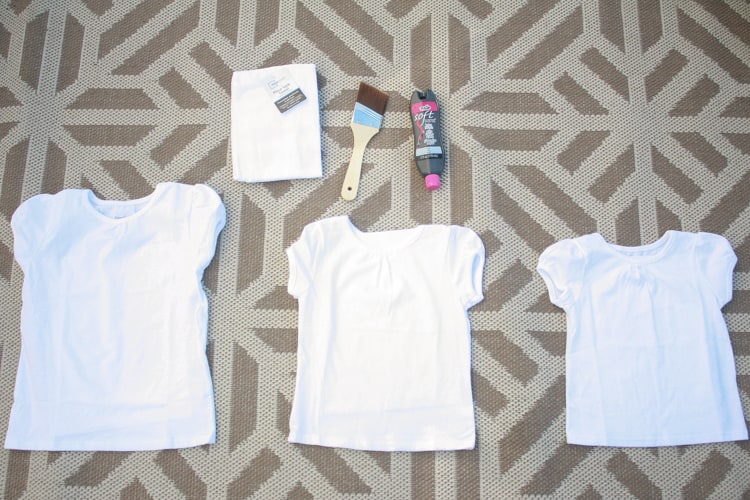
This shirt is pretty self explanatory but I wanted to share a few tips we learned through our process. My daughter is 4 and has just begun liking paint as a medium. She has made several holiday shirts while visiting her Grandma so I knew she would be interested in using paint for a Valentines Day shirt.

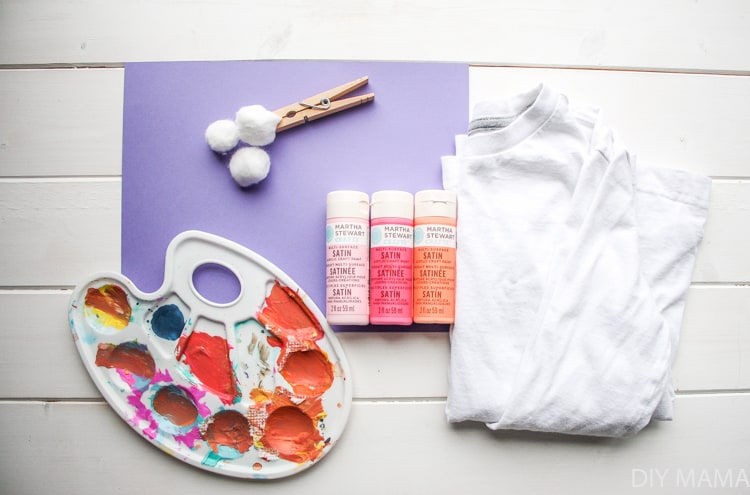
Materials Needed:

(The links above are affiliate links)


Preschool Valentines Day Shirt

Preschool Valentines Day Shirt

Preschool Valentines Day Shirt

The first step was to choose the colors. Sophia is just beginning to learn about color mixing so I chose the paints this time. Choosing colors that were similar that I knew wouldn’t mix to make brown was my goal. I knew she’d want pink so I chose a bright pink, light pink and coral. As long as you choose a few colors in the same family they will blend nicely.

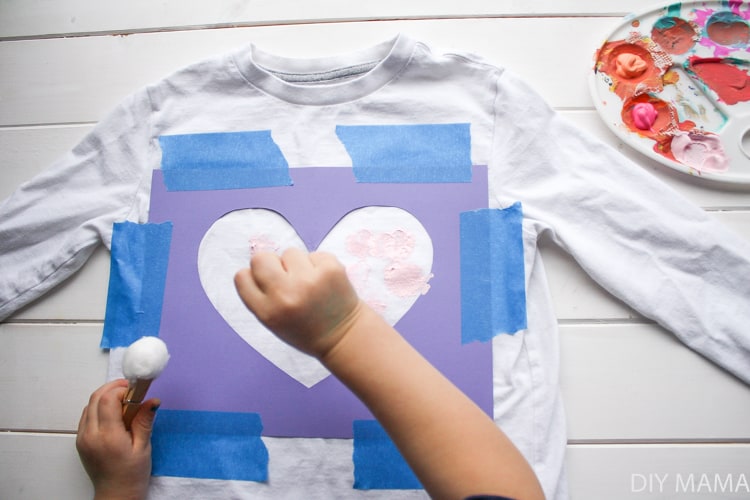
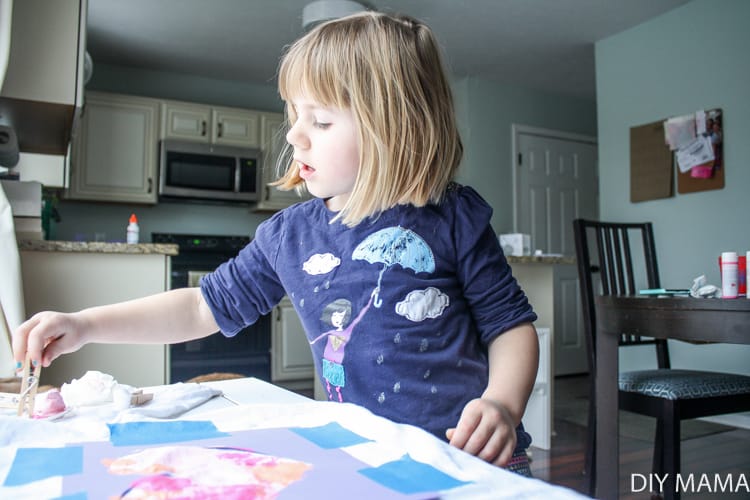
She wanted a heart so I cut a simple template out of card stock colored paper and taped it extra well with painter’s tape. I let her use the clothespins to pick up the cotton balls and choose which paints she dabbed where. This was a good exercise in her motor skills and creating something how she wanted (with some guidelines I’d already put into place.) TIP: Having a cotton ball and clothespin for each color was helpful to keep the colors separated. If she wanted to blend the colors she would just mix them on the shirt rather than on the pallet.

Preschool Valentines Day Heart Shirt


Preschool Valentines Day Shirt

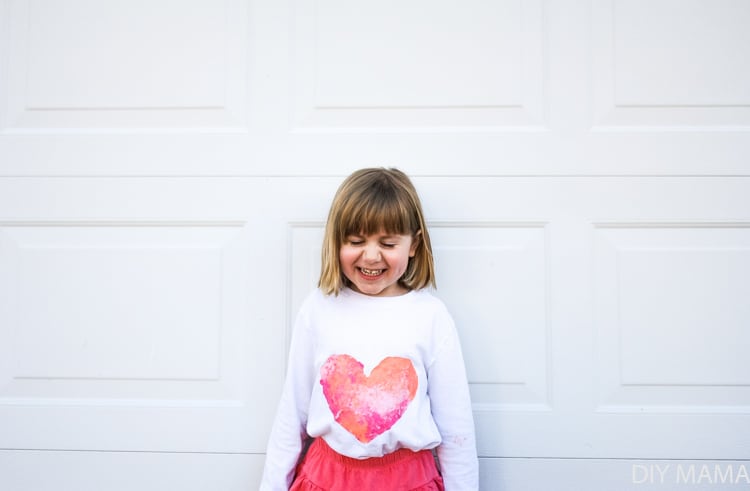
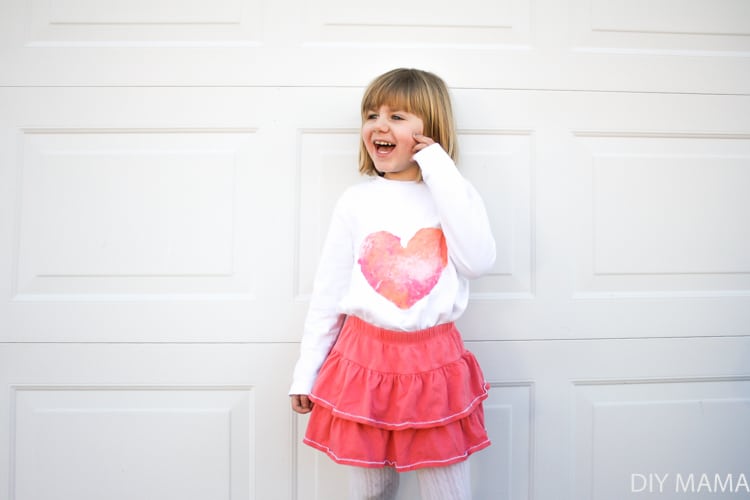
The shirt turned out cuter than I thought it would and the best part is how proud she is of her shirt that she made. TIP: Have your child try the shirt on after washing and before painting to make sure it’s a good fit. This shirt is a little big on her but it will get tons of use before next year’s Valentine’s Day!

Pin it for later:

Preschool Valentines Day Heart Shirt

Other Valentines Day reads:

Valentines Day Heart Garland

Sweet Kids Valentine’s Day Ideas


Fall Decor Ideas

I’m staying warm inside today because it’s definitely fall according to the cold dark rainy day outside. I am staying very busy with crafts and I have my favorite pink nail polish with pink glitter on to keep me happy. I’ve seen so many roundups of fall decor this year but they’re very country/burlap/twine. I think that style is cute but it isn’t what I’m loving right now. I wanted to do a roundup of a few of my favorite modern/fun/whimsical fall decor ideas. I currently have a few sets of mums and some leaf garland on the craftsman posts on the porch but I’d love to incorporate these into the interior of my home!

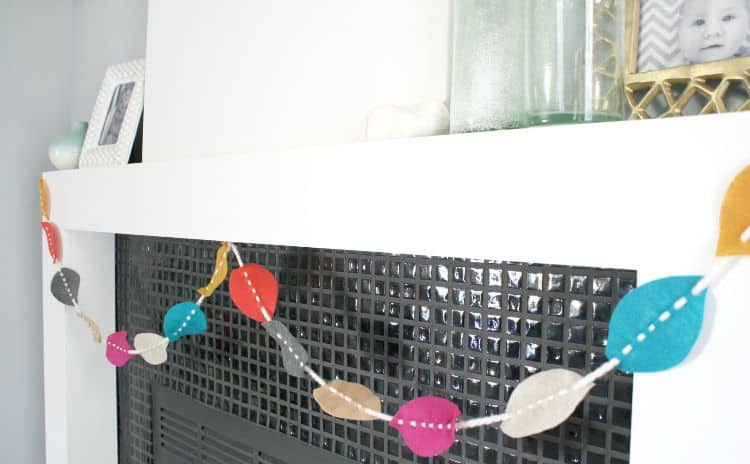
fall leaf garland

These felt leaves have been circling the internet for a few years and I always think they are so darling. I love the chunky yarn used to string the leaves together. Felt always reminds me of the weather getting colder so I think it’s the perfect material for a fall garland.

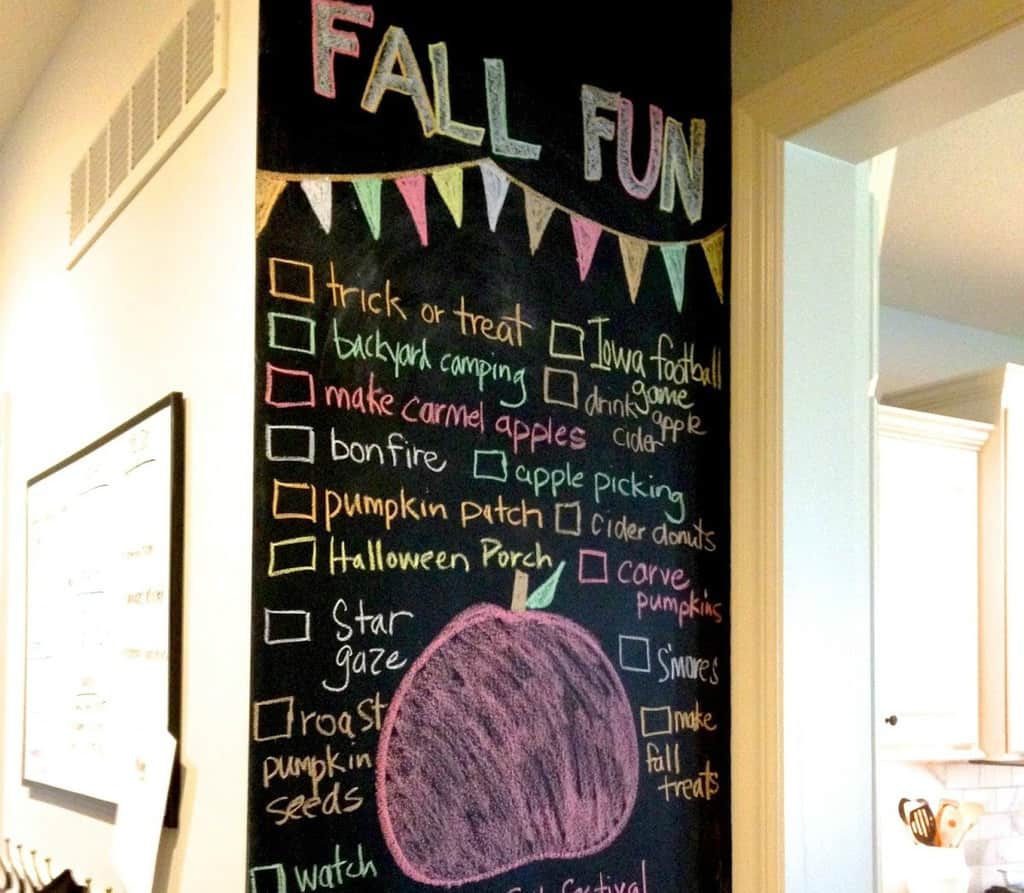
chalk-board-fall

I’m in love with this Fall themed chalk wall Andrea made for her family! She changes the wall according to the fun activities they want to do during that season. I think it’d be a great way to check off and remember some of the fun that you’ve had with your family! Also, if the weather is looking beautiful you can just look at the wall to figure out what to do that day!

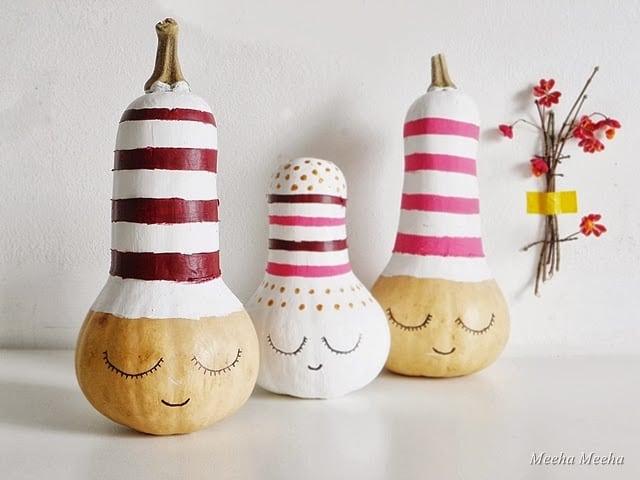
painted-pumpkinsI love how Meeha Meeha painted these sleepy pumpkins! They’re such a darling little family. It’d be fun to have each member of your family paint their own. When I was younger we’d hollow out gords, paint them and put a shellac over it so we could use them year after year.

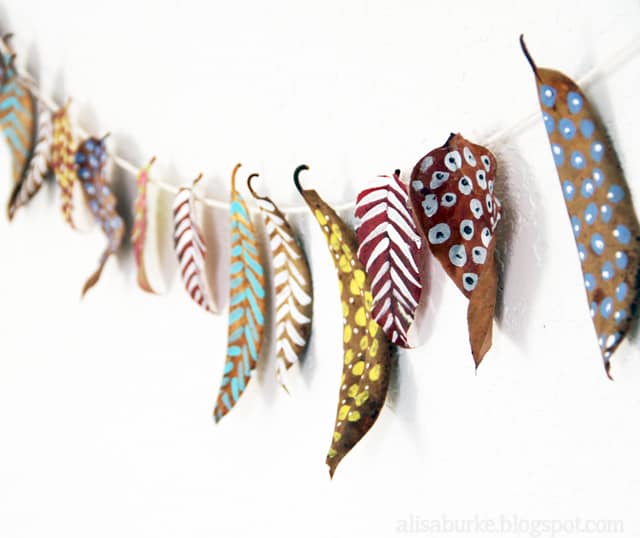
painted-leavesI’d stumbled upon Alisa’s blog and fell in love with her style! I think this painted leaf garland is super crafty/bohemian and could be painted to match your decor. It’d even be fun to have your kids help you collect leaves and paint with you! Keeping this one pinned for when Sophie’s older!

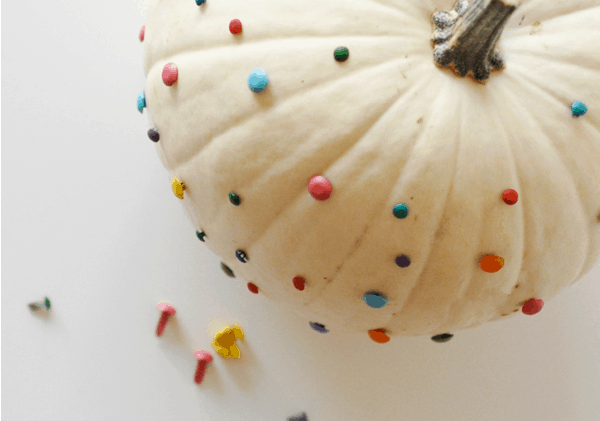
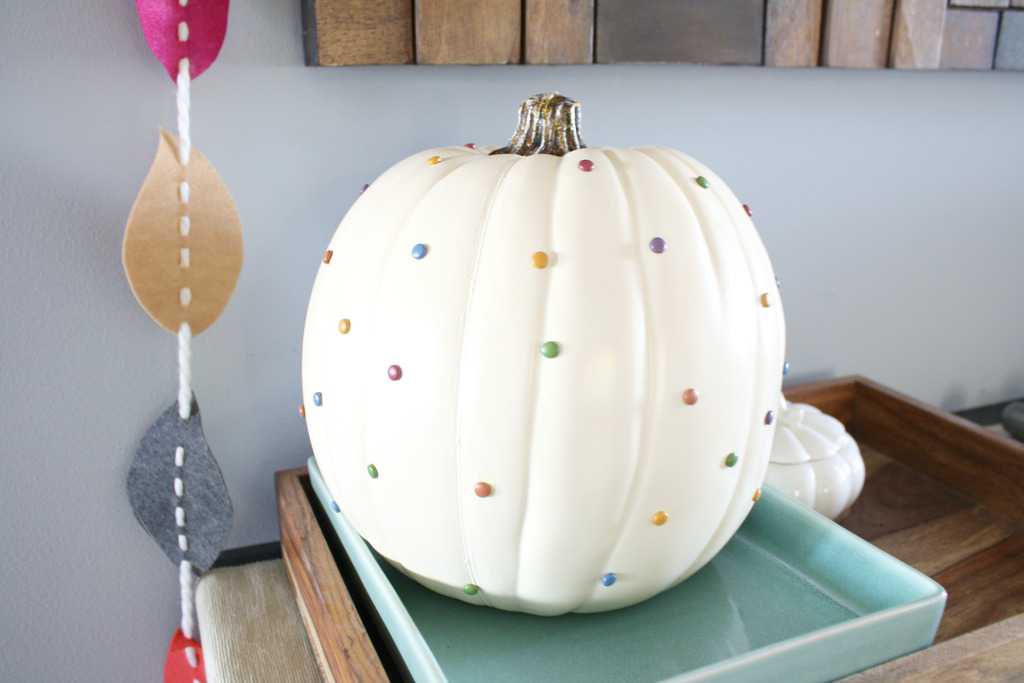
brad-pumpkin-1Since I’m a bit obsessed with all things confetti and sprinkles, I fell head over heels for this push pin confetti pumpkin Victoria made. I love the happy dots on the white pumpkin. I’m a fan of using colors other than red, orange, yellow and brown for decorating during the fall so this pumpkin would be a  happy addition. You could even do gold brads on a white pumpkin to chic it up a bit!

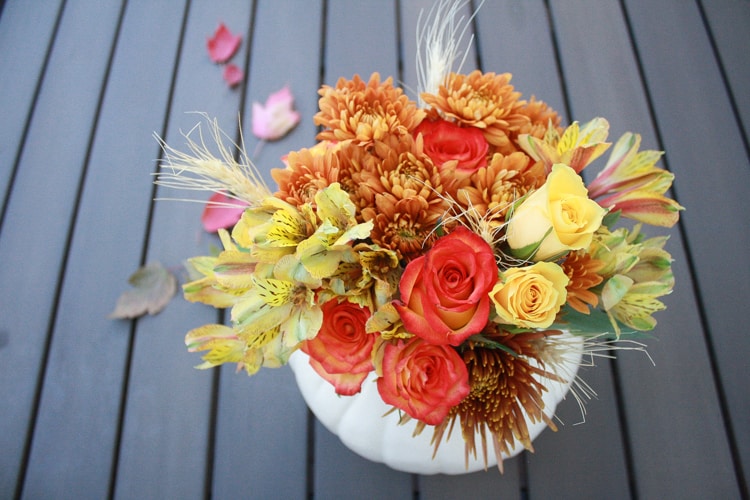
Fall Pumpkin Flower Arrangement

Adding some fresh cut flowers in a styrofoam pumpkin is one of my favorite centerpieces for the Fall season! This Fall Floral Arrangement is also one of the cheapest an easiest ways to make a themed arrangement that is good from September through November!

Are you a fall decorator or do you just wait until Halloween and go all out? What about your style? Traditional or do you like to add a bit of whimsy and DiY to your holiday decorating? What should I make first? I’d really like to make one of these while Sophie’s gone this week. Happy Fall!

Pin it for later:

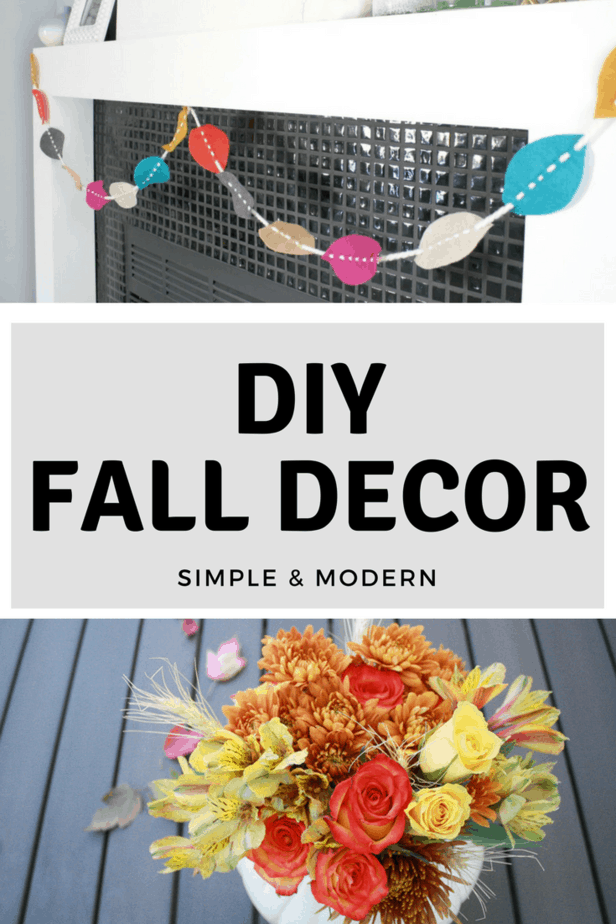
DIY Fall Decor

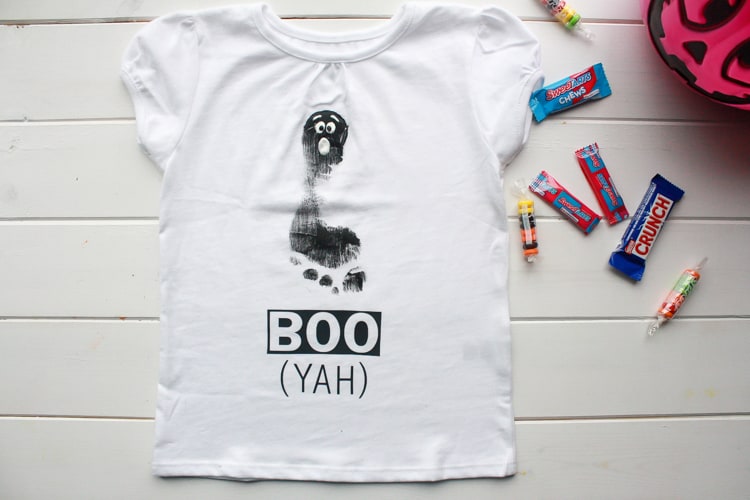
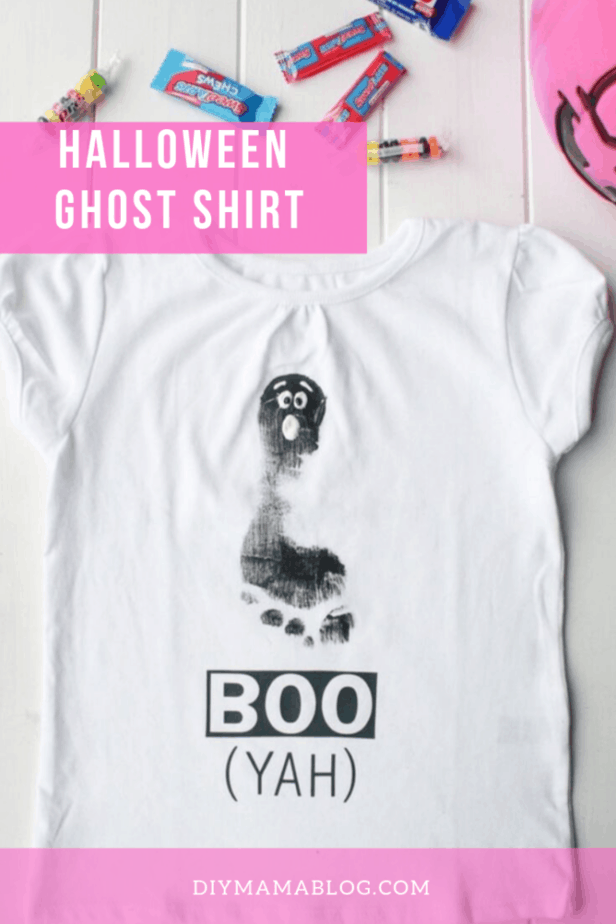
Halloween Ghost Toddler Shirt

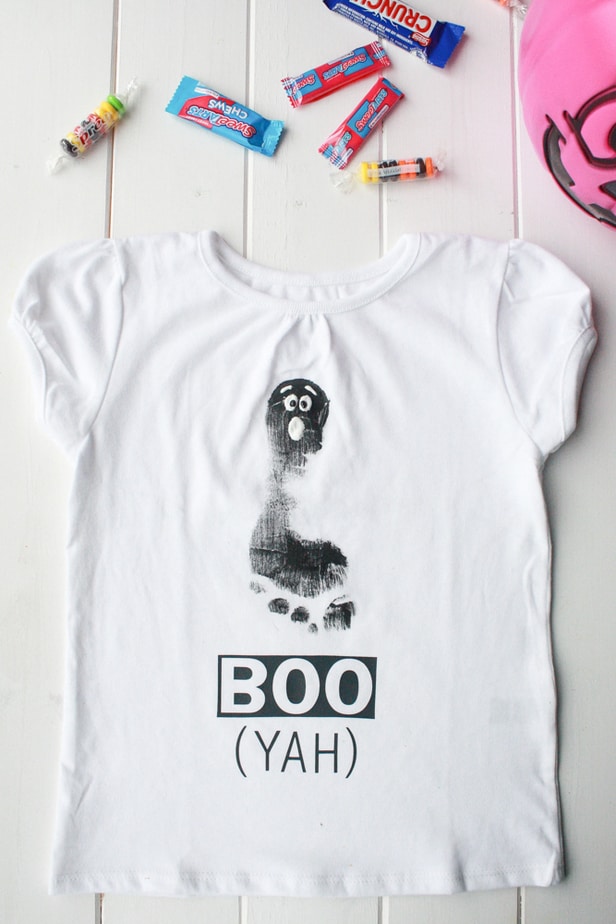
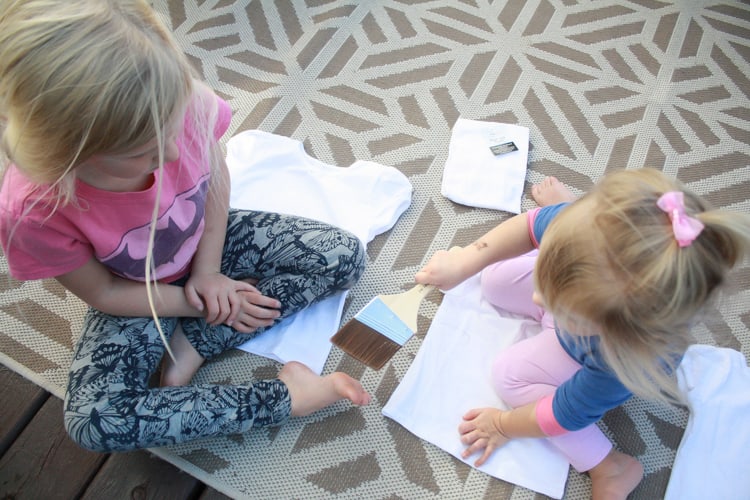
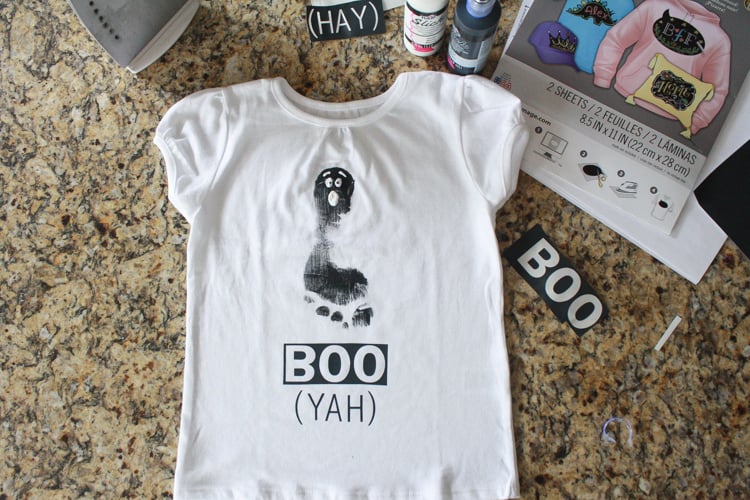
This DIY Halloween Ghost Toddler Shirt was so fun to make but I highly suggest having more than one adult help with the process so you do not have little black painted foot prints around your house!


Halloween Ghost Craft

If You Can’t Find What You Want, Make It.

I searched through several stores in town (Kohl’s, Walmart and Target) to find a Halloween shirt for Sophie and found zero in her size. I’d found one pair of PJs but knew in my heart that it would look like she was wearing PJs to school if I sent her in that shirt. It’s possible that there was a huge baby boom around Sophie’s birth date because I’ve always had a hard time finding her size in stores.

A friend suggested I make a shirt. After last year’s failed attempt, I knew I wanted a second shot at the ole ‘footprint character’ project. You know the one…where you turn a foot or hand into pretty much any object.

Halloween Ghost Shirt

Halloween Ghost Shirt

Halloween Ghost Shirt

Halloween Ghost Toddler Shirt

Materials Needed (affiliate links included):

  • Tshirt (any color works but be sure to use a contrasting color for the paint)
  • Paint brush (any type of paint brush works, just use what  you have on hand)
  • Matte fabric paint
  • Puffy Paint
  • Scrub brush
  • Dish with water (or nearby sink)
  • Tshirt Transfer Paper
  • Parchment paper
  • Iron
  • Cutting machine (I used a Cricut Explore but you could also print out the text on your printer or use a stencil to cut your text out of transfer paper)


Halloween Ghost Shirt

Halloween Ghost Shirt

Halloween Ghost Shirt

Game Plan

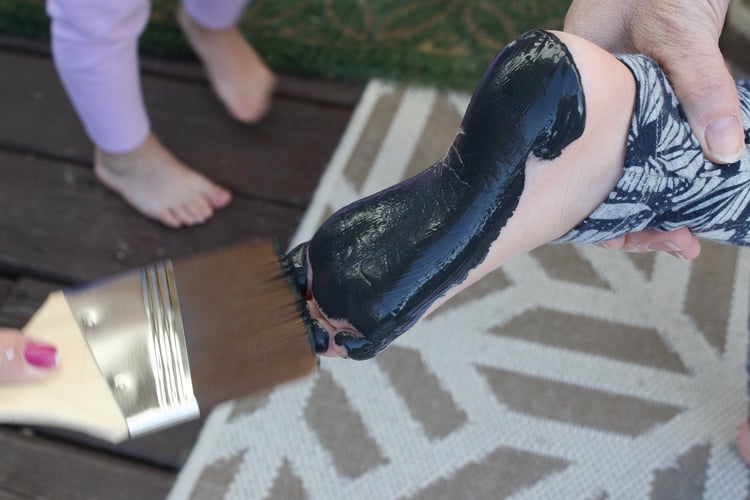
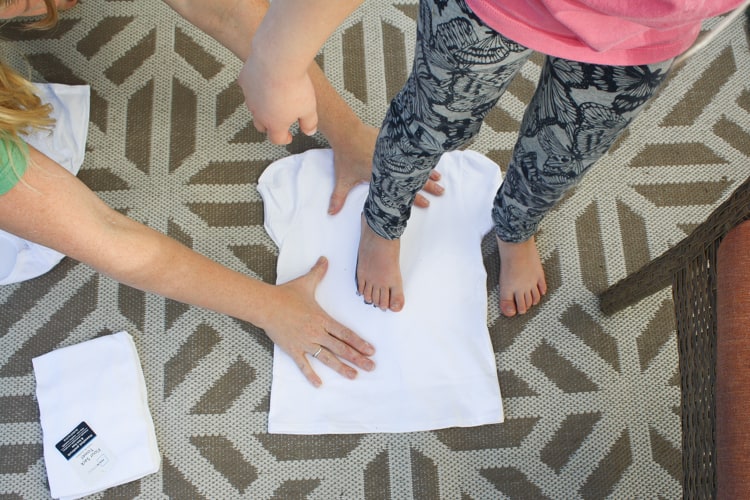
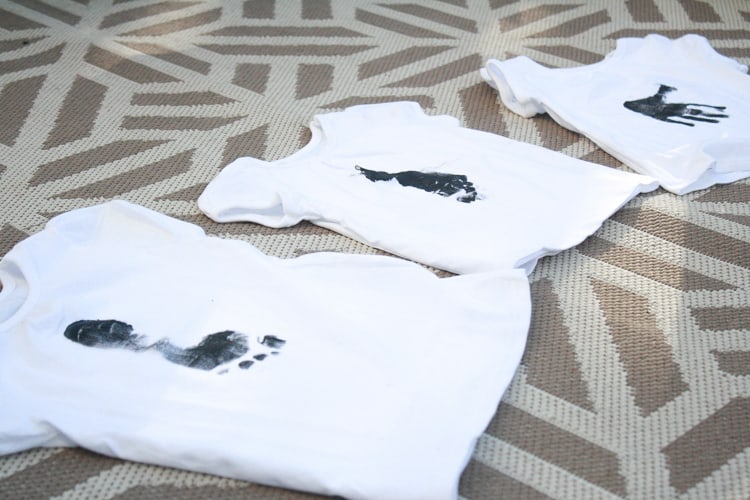
With a water dish for clean up nearby, paint a thick, even coat of paint on the child’s hand or foot. We had Fiona (5) do it first so the little girls could watch the process. Once the foot is covered, have them hold on to a chair while you press their foot down evenly onto the shirt.

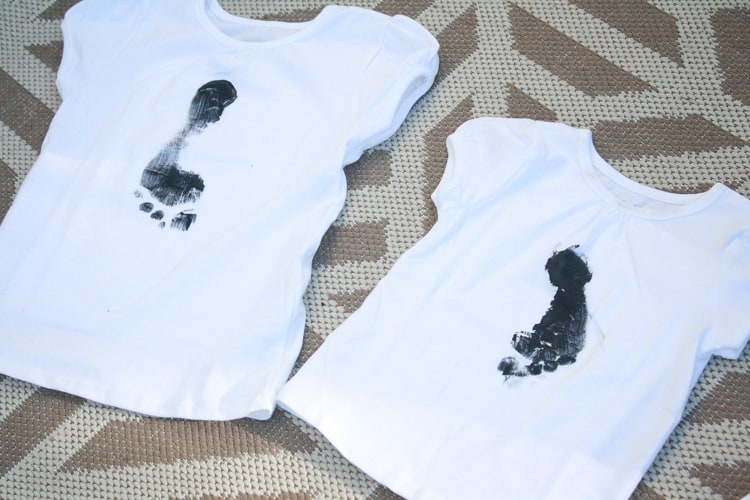
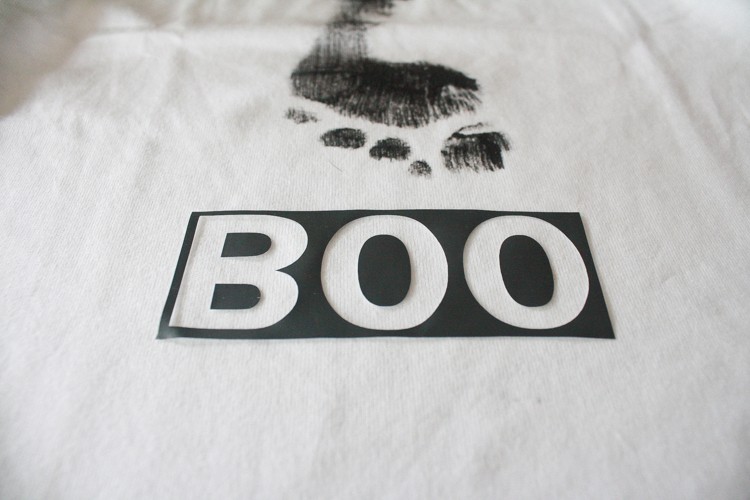
Pay attention to the direction of their foot. The heel should be at the neck of the tshirt. Make sure to leave room for your text. You could also put the foot lower and have them write a ‘BOO’ speech bubble from the ghost.

Halloween Ghost Shirt

Halloween Ghost Baby Shirt

You Need a Helper

If you are doing this project with children under 5, I suggest having two people help the child. One person paints while the other holds their foot and places it on the tshirt. Once the footprint is on the shirt, the painter gets the dish and scrub brush ready to quickly transfer the child’s foot to the water. The fabric paint dries quickly and is difficult to clean if not addressed after a minute.

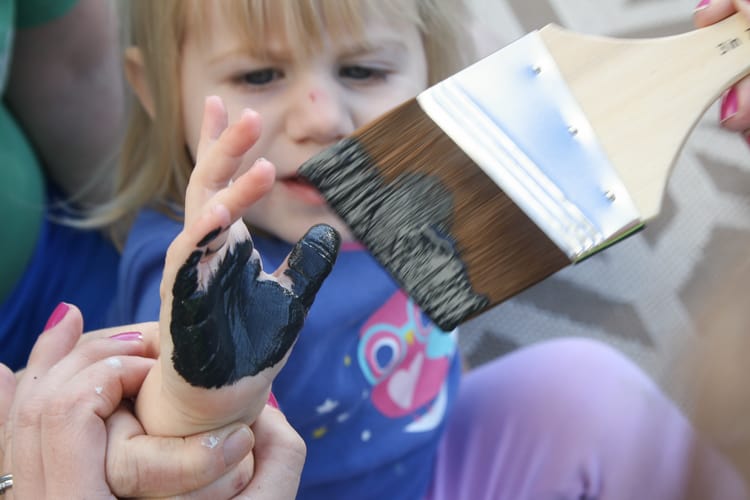
If your child, like mine, does not want to have paint on their feet, suggest their hand. It won’t look as much like a ghost but it’s still darling and will be a fun memory for you to share. We let the tshirts dry over night before adding the text and faces.

Halloween Ghost Shirt

Halloween Ghost Shirt

Halloween Ghost Shirt

Cricut Cutting Machine

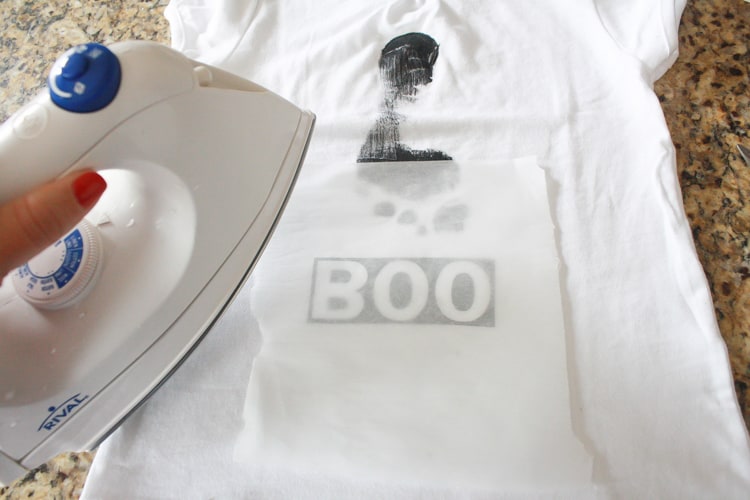
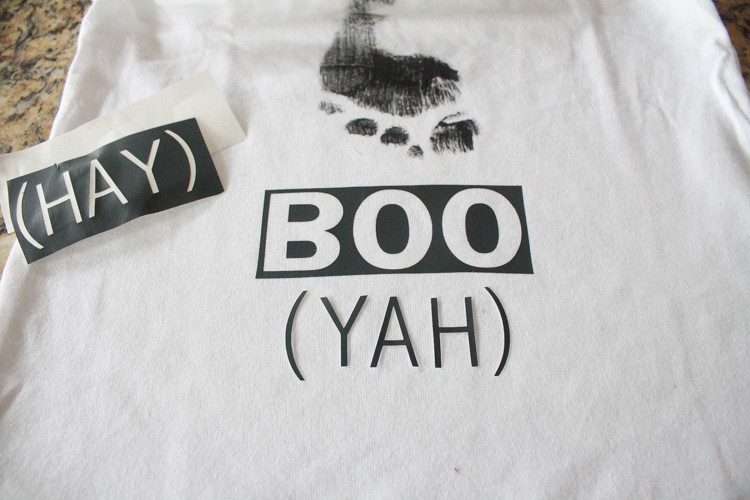
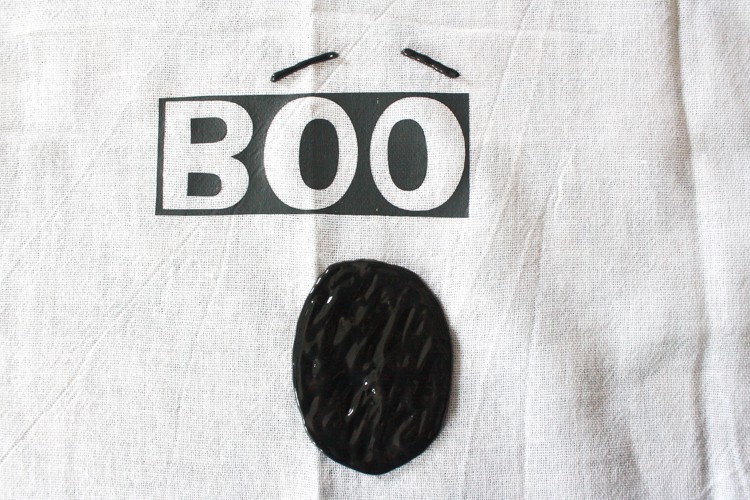
I created the BOO (YAH) text on my cutting machine and had it cut on leftover chalk board transfer paper from last year’s project. Use your transfer paper’s instructions on cutting (whether it should be a mirror image) and applying. The chalk board transfer paper isn’t recommended for this project only because it’s more expensive and won’t be used as a chalk board.

I urge you to read the instructions twice or even have a second pair of eyes read it over. My husband and I both read the instructions and I still did it wrong the first time.

Halloween Ghost Shirt

Halloween Ghost Shirt Mistake

Try Try Again

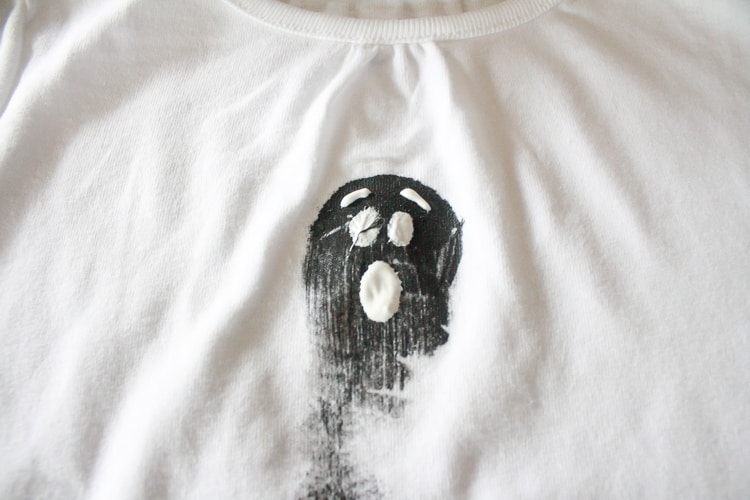
Once the text is applied and cooled you can add your ghost’s face using puffy paint. We wanted each of the girl’s shirts a bit different so I made the text and faces different on each shirt. I also put my hand in Fiona’s shirt when I was moving it to a better drying location. I simply touched it up with more puffy paint and it worked out fine!

It’s literally impossible for me to make a DIY project without messing up at least one thing. It never deters me from trying again.

Halloween Ghost Shirt

Halloween Ghost Craft

I also found a white tea towel at the grocery to make a festive Halloween Kitchen Towel. I often make things for other people because it brings me the most joy, but I was happy to have a reminder of our craft day together that I’ll be able to pull out each year with my Halloween decorations.

Have you attempted the ‘foot character’ craft with your kids yet? Any epic fails like my smooshed spider shirt? I think this craft would be even more fun with older kids (5-10) at a Halloween party because they could do their own ghost faces and word bubbles. Will you attempt a Halloween ghost toddler shirt this year or will your child be wearing Halloween PJs to school (or maybe you’ve found the jackpot of Halloween shirts)!

Related Posts to Halloween Ghost Toddler Shirt

Pin it for later:

Fall Leaf Garland

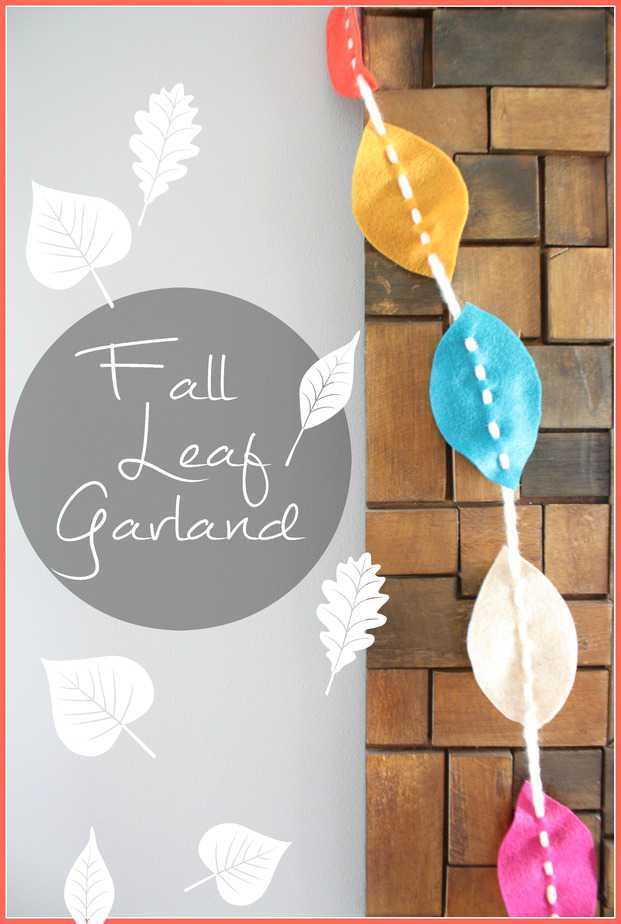
Fall Leaf Garland- I’ve noticed a lot of people saying they don’t decorate for fall because Halloween is right around the corner or the decorations are not their style. I say fall deserves it’s own decorations! When I think ‘Fall’, I smell pumpkin spice lattes and bonfires. I hear cheers during football games and the crunch of dried leaves. I feel the snuggles of a warm blanket while reading a favorite book and possibly sipping warmed cider. Guys, fall is awesome and it deserves it’s own decorations.

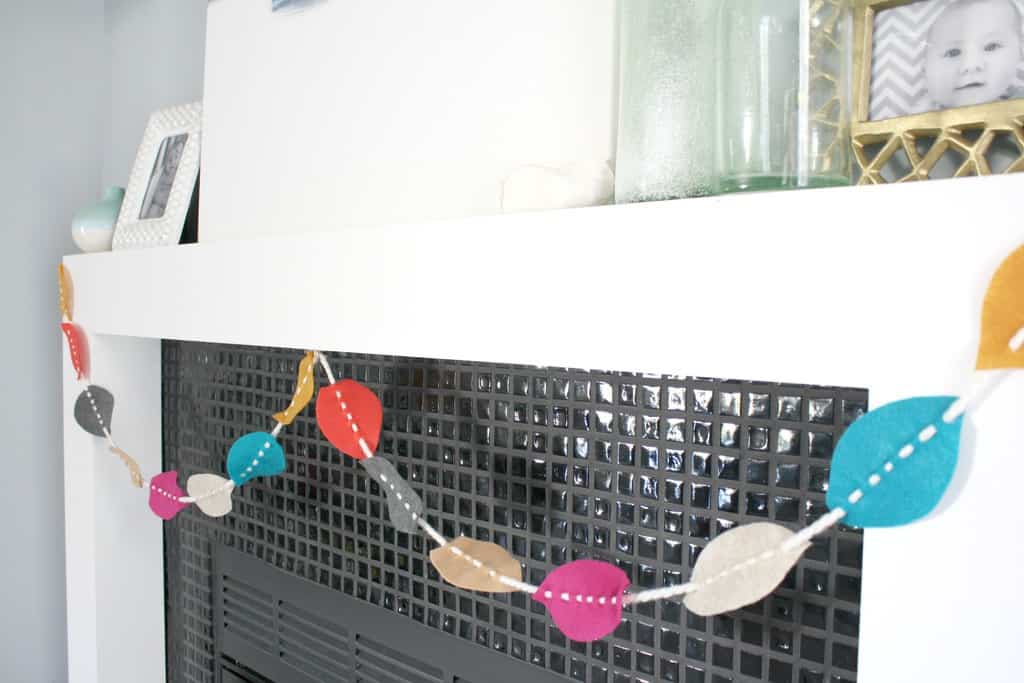
I made the most simple felt leaf garland that is super easy to customize by changing the colors to your favorite fall pallet. This fall leaf garland can be easily customized to suit your style.

This craft could not be easier or cuter! I love how happy these colors play together. These colors were inspired by a jewel toned hat I’d gotten one year. I always buy amazing hats but never wear them. Maybe this year will be the year of hat wearing!

instagramgarlandIf you follow me on Instagram, you’d have already seen these from last year but I wanted to be sure to do a tutorial this year.
materialsMaterials Needed:

  • Felt of your color choice
  • A piece of sturdy paper (for leaf stencil)
  • Scissors
  • Chunky Yarn
  • Tape

cutThe first step is to cut out your leaf pattern and trace it onto your felt. Use fabric scissors for an easier cutting experience. Once all your leaves are cut, fold each leaf in half (hotdog style) and snip little holes down the middle of the leaf. I would start in the middle and cut 4 to the right and 3 to the left allowing my thread to start and finish on the same side of the leaf after it was threaded. I suggest to do small snips and make them larger if necessary to make it look like you really sewed the yarn through the leaves.

sewOnce the leaf has it’s holes, use a piece of tape to make an aglet on the end of the yarn for easier threading. String all the leaves on your yarn and hang! Seriously. It’s that easy!

mantle-garland

triangleI also did the same method to make a mini garland for our family command center but cut the leaves in half.

pushpinpumpkinThe felt leaf garland was extremely simple to make but this bradded foam pumpkin was the easiest and fastest decoration I’ve ever made. I love his happy polka dots. It’s a nice change of pace from the orange/red/yellow standard fall decor I see in stores.

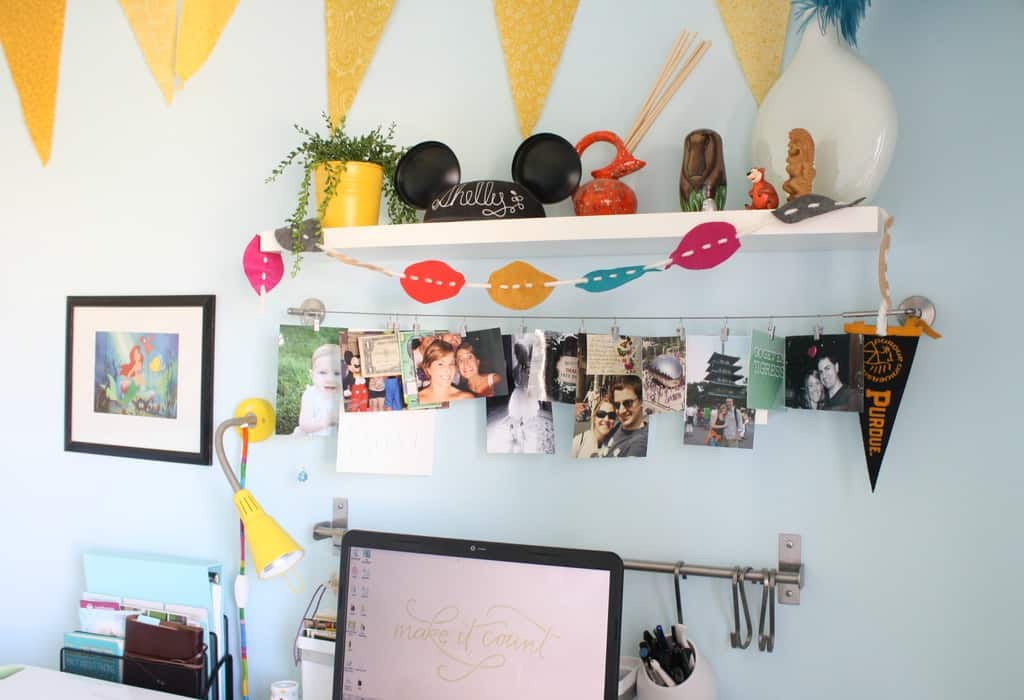
office-garlandI used 7 pieces of felt from the store which allotted several garlands. I even had enough to decorate my blog/craft desk! What’d you guys think? Simple enough? What colors would you use to match your fall decor? I think this would be a fun craft to do with your kids! Maybe use it as a count down or add a leaf for every book they read in the fall!

Pin it for later:

fall leaf garland

Google+