Craft

Washi Tape Light Switch

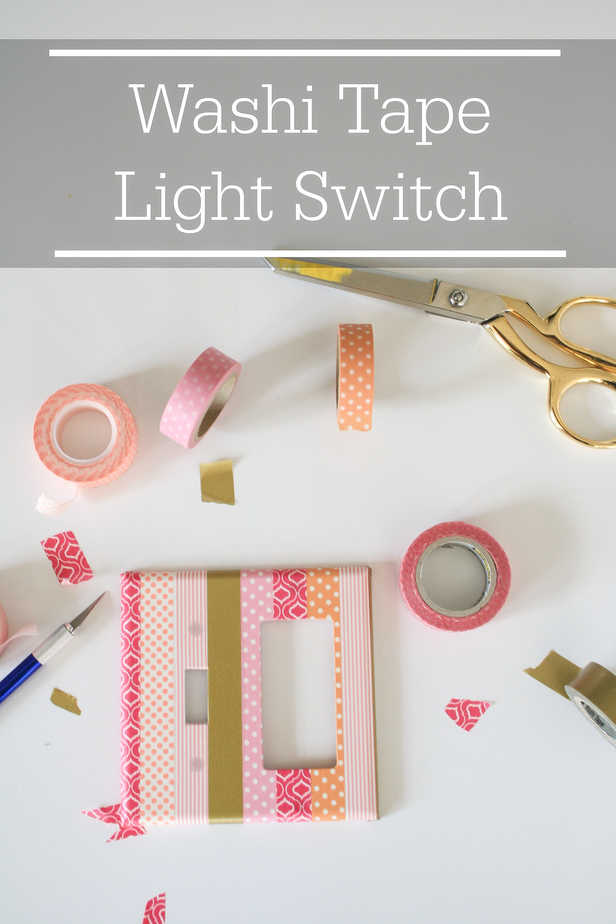
Today I wanted to share with you how I did the quickest, quirkiest update on Soph’s light switch cover. Seriously, this project took 5min. I did a simple washi tape light switch DIY to add a little fun to her bathroom.

I have this thing about not buying new stuff until I really feel I’ve been using up my current supplies pretty steadily. I wanted to buy more washi tape but knew I hadn’t been using my current stash since my last smash book. This was the perfect solution!
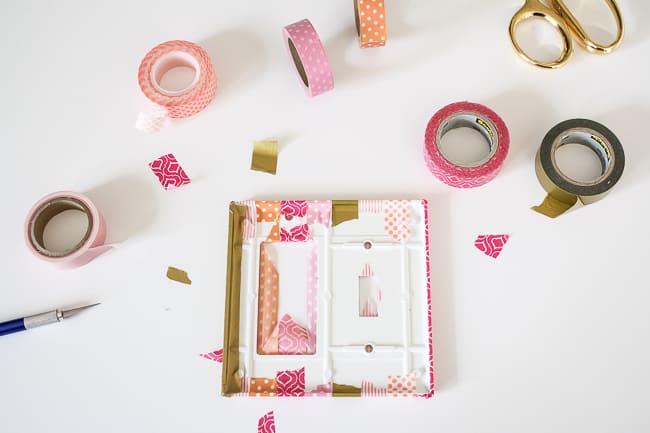
Materials Needed:

  • Washi Tape
  • Scissors
  • Exacto Knife
  • Switch Plate

Washi Tape Light Switch Cover

Washi Light Swtich Cover
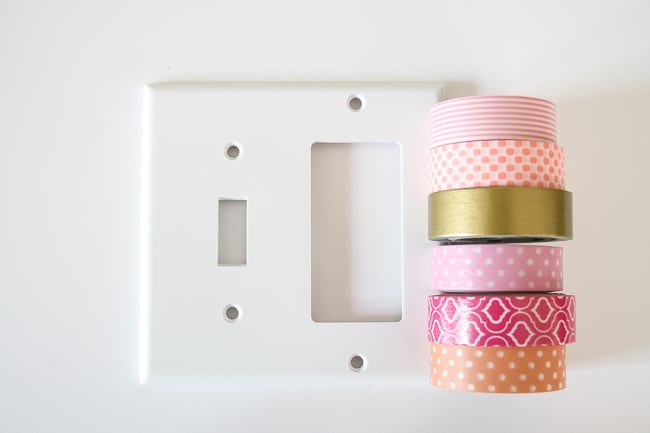
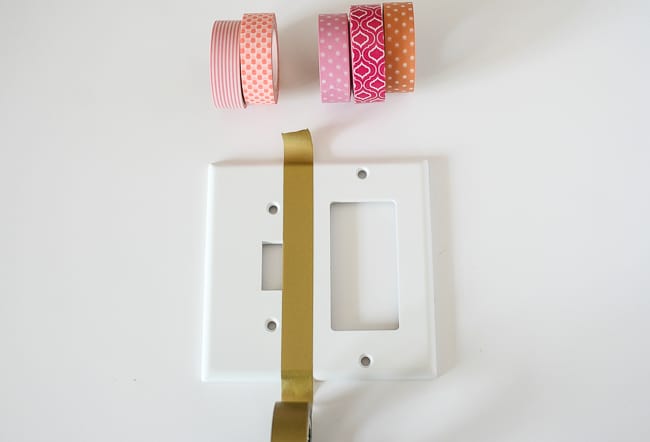
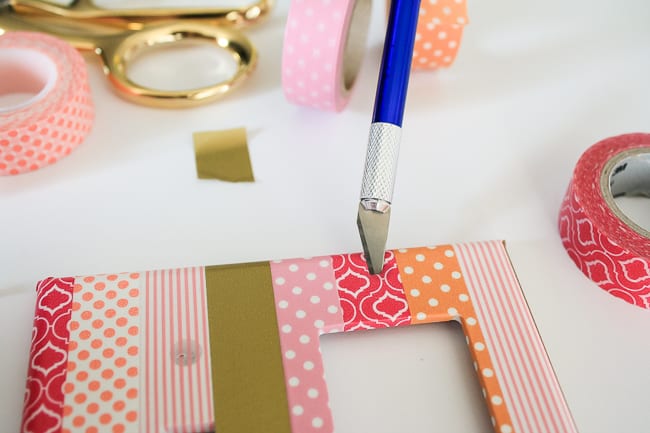
The first step is to figure out your color arrangement. I knew I wanted gold to be prominent so I started with it to ensure I’d have a full stripe.


I made a little gif of the process with the PartyParty app. I have no affiliation with this app or the producers but I thought it would be a fun time to try it out! It was a good thing I did because I forgot to take a ‘middle of the project’ photo!

The corners were definitely the hardest part of this project. I cut a diagonal slit in the excess tape and wrapped it the best I could to alleviate wrinkles. I don’t get too nit-picky on details like this because I’ve since realized that no one ever notices these details!

Washi Light Switch Cover

Washi Tape Light Switch Cover
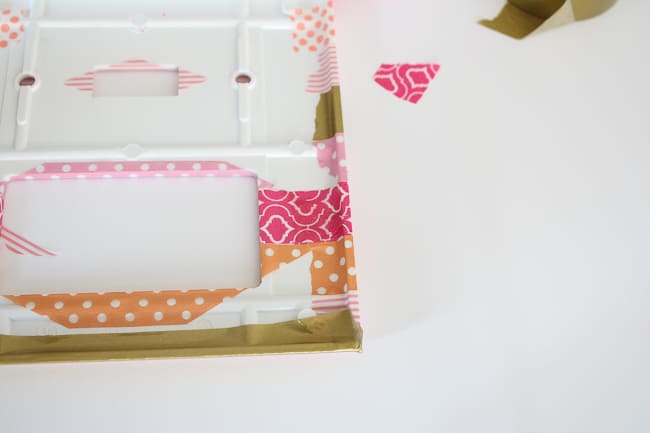
Once the entire plate is covered, it’s time to make the holes for the switches to fit. I used my exacto knife to make an X in the tape. Notice on the left hole I had to do an elongated X. This does not have to be perfect, it’s just a way to get the tape flaps back.

I also put a small slit in the screw holes. I was worried that forcing the screw through might pull up the tape or tear it in an area I could see.

Washi Tape Light Switch Cover

Washi Tape Light Switch Cover

Washi Tape Light Switch Cover
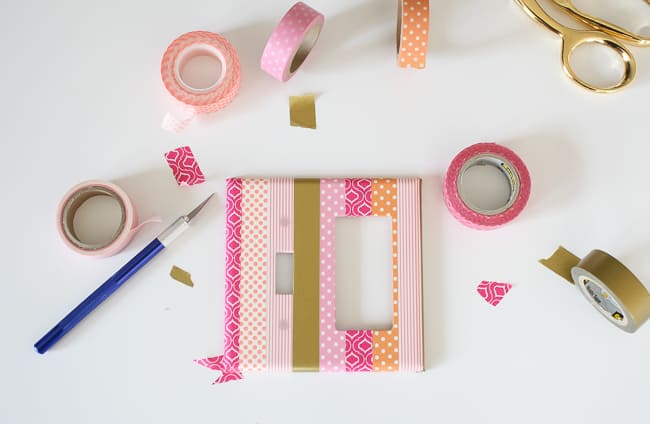
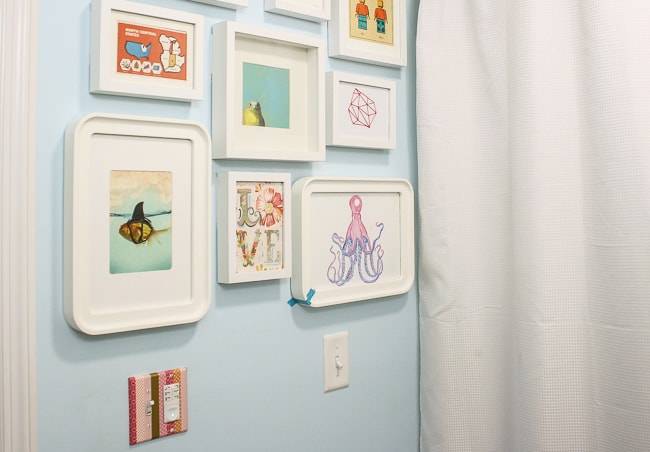
I love how it adds a bit of fun to her bathroom. Don’t mind the teal tape on Oliver’s (the octopus) frame. I’d dropped him right before this shot and broke the frame! Have you ever done something to liven up a playroom or your kid’s room? Anyone do anything other than scrap book with their washi tape? How many rolls do you have? It’s addictive once you buy your first roll!


Pin it for later:

Washi Light Switch Cover

Easy DIY Tassel Placemats

Tassel placemats are so easy to make from drab placemats. I love re-styling simple things for our home. It usually comes in the form of spray paint but this time, embroidery thread was the material! I recently did this to my happy yellow lamp and had been wanting to use my thread to make something else happier! I found two plain-Jane placemats that I had bought forever ago and thought they’d be perfect to spruce up with my thread.

easy diy tassel placemat


I’d seen this idea on Design Sponge a year ago and I’m not sure why I didn’t make these sooner because they’re super fun! I wanted to make mine a bit more bold so I used brighter thread and made my tassels larger. The first step was to choose my thread colors. I used a full spool of thread for each tassel.


thread

Easy DIY Tassel Placemats

I used my phone as a template for the length of the tassels. I wrapped almost the entire spool around my phone, leaving only enough to wrap the top of the tassel (around 4 inches.) This is not an exact measurement. Like all diy projects, just do what size you think will look best. If it doesn’t look how you envisioned it to look, just make a new one. 🙂

phone template

sew tassel

I followed this tutorial to finish each tassel and began sewing them onto the placemats. I had no specific way to sew the tassels on other than that I wanted them to be secure enough to not fall off after a few uses. It looks quite haphazard from the back but it’s not very noticeable from the front. If I were going to do this project again, I would have bought an embroidery needle to attach the tassels using the same thread.


I sewed 4 tassels per side (16 tassels total) but you could do as many as you like. I think they turned out very festive! They’d be perfect for a Cinco de Mayo party or deck BBQ!

warm placemat

both placemats

placemats set

On a scale of simplicity I’d give this project a 2 out of 10. For me, it was free because I had all materials on hand but this project would be an inexpensive way to make plain placemats happier! I also made a few tassels as bookmarks and to put on my keyfab that make me smile to use them. 🙂 Has anyone made tassels for any of their projects before? Any suggestions on how I could have made the attachment cleaner looking? I’m sure no one would notice if I didn’t point it out but I always see those kind of ‘flaws.’ Now I need to go get some Mexican for dinner tonight since I have these set out!

Other simple crafts:

Simple Embroidery for Beginners

Sewing Machine Cover

Pin this for later:

Thanksgiving Kid Crafts

Thanksgiving is right around the corner! That means lots of delicious comfort food, football, playing in the leaves and lots of kids running underfoot. If you live in the Midwest, you’re never sure what the weather will be like on Thanksgiving day. It could be 75 degrees and sunny or snowing here in Indiana. Having crafts that can be made inside or outside is a must, so I’ve rounded up a few of my favorites for this year. DIY Thanksgiving Kid Craft Ideas

Thanksgiving Kid Crafts

Photo Sources (from top left)

  1. Toilet Paper Roll Pilgrims by Misty
  2. Pilgrim Hat Crayon Cups by Kristyn
  3. Gathered Leaves Wall by Bar
  4. Handprint Turkey Crown by Jen
  5. Chocolate Dipped Rice Krispies Treat Turkey Pops by Beth

Let me know what your plans are for Thanksgiving! How will you keep the kids from running through the kitchen?


Halloween Ghost Toddler Shirt

This past week we had a ton of fun celebrating fall break. Since we’ve been working so hard on the house lately, I wanted to take time to really focus on our friends and family. We started the week by celebrating Sophie and her Great Grandma’s (91) Birthdays in Chicago. I had a fun Girl’s Morning Out with my niece Fiona by getting a manicure at the cutest nail salon. We picked up Sophie and went to explore the 1830s at Conner Prairie. That night we made these cute Halloween ghost shirts with the girls, played board games, and had our first cousin sleepover at our new house. The rest of the week was spent visiting with friends at Conner Prairie and The Children’s Museum of Indianapolis. We finished the week off by more Birthday celebrations at my parent’s house.

Fall Break Activities with Kids

Today I’m over at my friend Jocelyn’s site, Home Tome to share how I made this adorable Halloween ghost toddler shirt with Sophie and her cousins. It was a super easy project but was very helpful to have a second set of hands to help me because our artists ranged from age 1 to 5 years.
Halloween Ghost Craft

Halloween Ghost Shirt

What did you do on your fall break? I’d love to know about any Halloween crafts or treats you made!

Let’s DIY

It’s common for bloggers to slow down during the summer months, not post as often because they’re spending more time with their families. All I know is the diy projects rolling through Pinterest are spot on! I’m loving all the creativeness and techniques that people are using this summer. Let’s DIY!

let's diyHere are my favorite craft projects from this week:

  1.  15 Minute Picnic Blanket by Bev
  2. Concrete Stool by Katie
  3. Concrete Tray by Amy
  4. Watercolor Pillows by Kristen
  5. Iron Transfer Tote by Rachel

As all of my crafting materials are boxed up and in another state, I’ll just be dreaming of these projects this weekend. I can easily see switching the water color technique to the tote and trying an iron on transfer on a set of pillows. What are your thoughts? Doing any craft projects this weekend?

Google+