Craft

DIY Easter Bunny Wreath

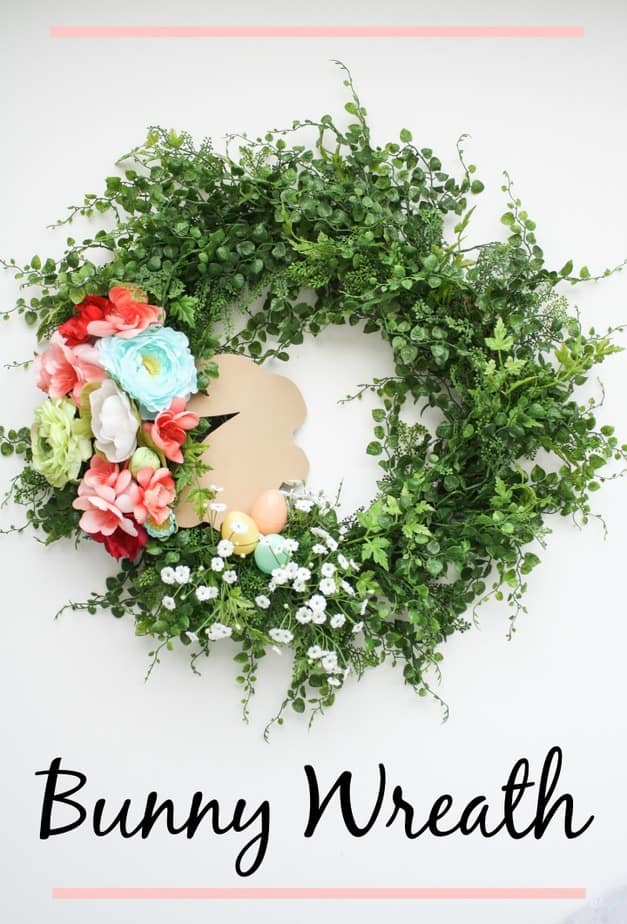
It’s hard to believe Easter is this weekend! I feel like we just had St. Patrick’s Day and it’s still super cold outside! I usually stick with a happy yellow forsythia wreath for our front door throughout spring but was in a wreath making mood so I whipped up this simple Easter Bunny wreath.

DIY Spring Easter Bunny Wreath
Materials needed:

  • Basic wreath
  • Silk flowers
  • Foam board
  • Mini Easter eggs
  • Pipe cleaners/straw
  • Hot glue gun

Boxwood Wreath
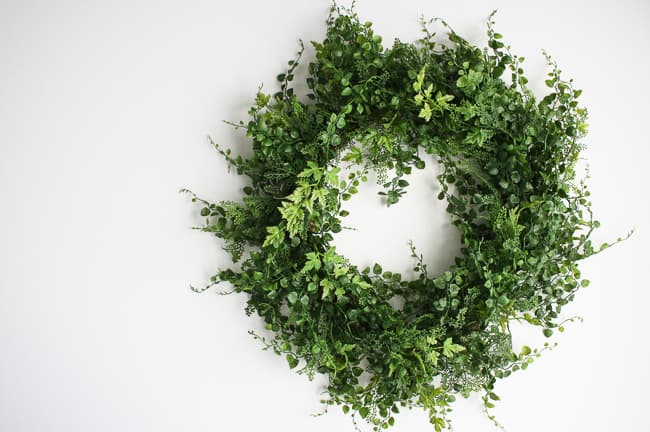
I started out with a simple leafy wreath. I love boxwood wreaths but found this guy on sale a few years ago and rotate him through the seasons by switching out flowers.

Bunny cut out
Searching ‘bunny silhouette’ in images online, I found this perfect cartoonish looking bunny. I traced him onto my brown foam board and cut him out. His name is Franky, in case you were wondering.

Easter Bunny and Eggs for Wreath
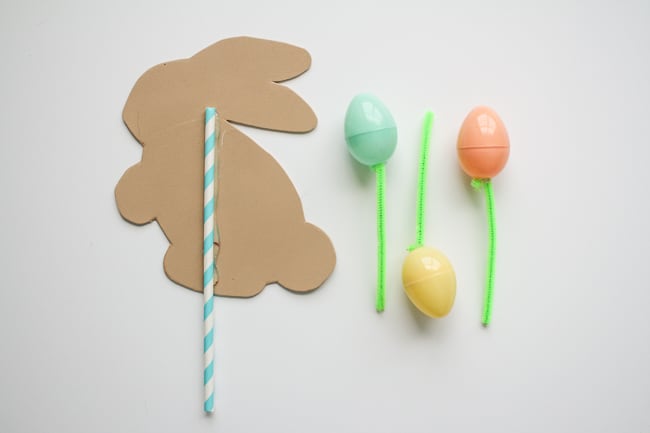
To make Franky easy to stick in to the wreath, I hot glued a straw, knowing it would be stable enough to hold his weight. I used pipecleaners as the sticks for the mini Easter eggs but a twist tie would work as well.

Easter_Wreath_Bunny_Eggs
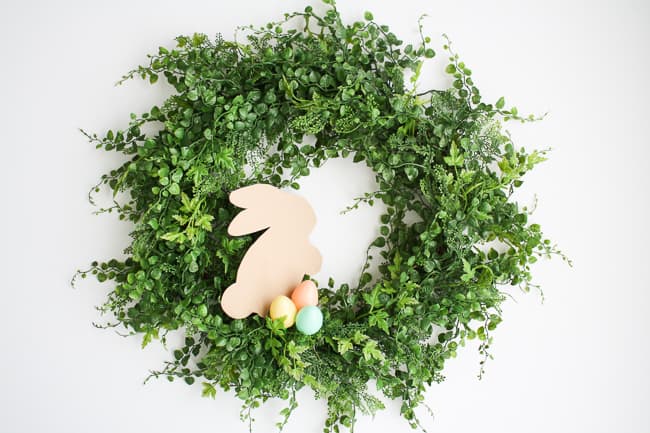
Sticking Franky and his eggs into the wreath was extremely easy. I twisted the pipe cleaners slightly to make sure they wouldn’t fall out.

Easter Wreath
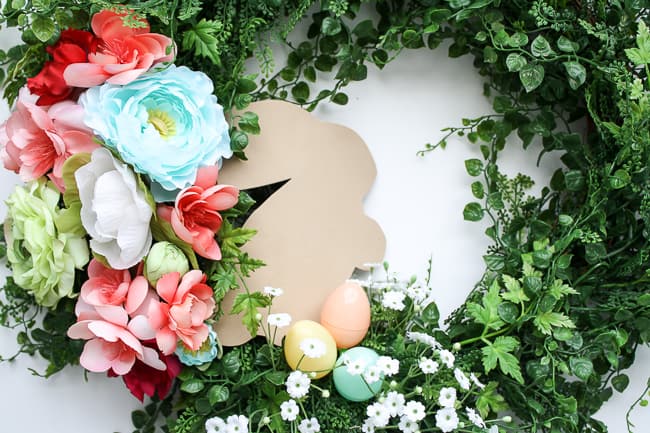
I snipped the tops of a few stems of flowers to fill in the rest of my wreath. I went with happy spring colors to keep the dark green light and airy. Make sure to leave enough stem on the flowers to stick through the branches of the wreath. If you use your front door a lot, be sure to twist the stems or use a twist tie to fasten the flowers.

DIY Spring Easter Bunny Wreath
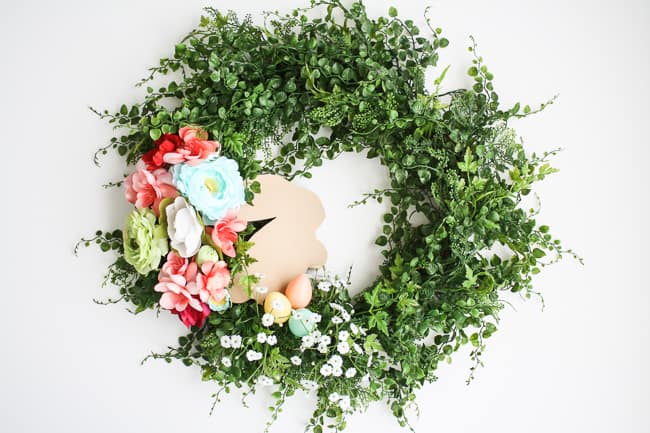
Cute. Franky is so happy to greet our friends and neighbors when they come to the door. This wreath was extremely quick and simple for how much impact it makes on my front door. My favorite part is that I can store away the props with my Easter decor and re-use my wreath next season! Do you have a wreath or sign on your front door? Would you ever consider DIYing your wreaths? To purchase a wreath of this size would cost $40-$50 at a hobby store already decorated. I made it custom to my taste and saved money!

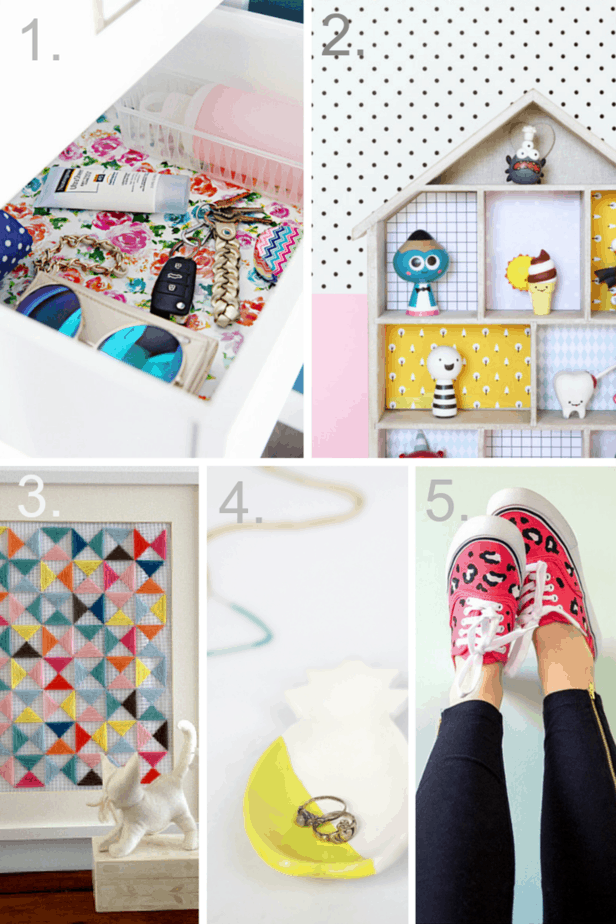
For more Spring and Easter ideas, check out my Pinterest board!
Follow Shelly @ DIY Mama’s board Spring Decor & Recipes on Pinterest.

Floral Letter Sign

Hello friends and happy Monday! I hope you had a lovely weekend and are ready to conquer the week ahead. I’ve been wanting to make something sweet for Sophie’s door for a while and saw this beautiful floral letter from Hello Charlotte James Etsy store on Pinterest that I knew I had to make!

floral_letter_sign
Since spring is on it’s way, this floral craft really brightened my day. While Jeffrey took Soph to the grocery I put this simple craft together so it would be up on her door when she got home. She got a huge smile on her face and loved touching all the flowers. I made sure they were super secure so she could touch them as much as she wanted. Continue Reading about Floral Letter Sign

Let’s DIY

Hello and happiest of Fridays to you! This week’s Let’s DIY was super tough because there were so many amazing projects! Not only would I love every one of these for myself, but I think all of these would make great gifts!

15.2.27_Lets_DIY
Here are my favorite DIY crafts from this past week:

  1. Faux Marble Tray by Jenni
  2. Incense Holders by Molly
  3. Leather Catchall by The Everygirl
  4. Floral Apron by Ashley
  5. Stamped Clay Bowls by Emma

Those jewelry dishes though! Whew! Did you see any inspiring craft projects this past week? Are you interested in trying any of these out? Let me know what you’re up to this weekend and if there will be any crafting involved!

Always remember to pin from the original source and let’s DIY!
Follow Shelly @ DIY Mama’s board Crafty Gifts on Pinterest.

Sewing Machine Cover

Hello and welcome to Sewing with Shelly! I’m about as novice as one can get when it comes to sewing. I can do a straight stitch all day long but ask me to do a button hole, pleats or embroidery and I’ll go straight to YouTube. That’s why I loved this simple diy sewing machine cover. Straight stitching and hot glue all day baby!

diy sewing machine cover
I’m not sure what compelled me to make a sewing machine cover because it is always hidden in a closet. I’m pretty sure it’s because I wanted to make something with that precious pink pom pom trim and my friend Pinterest lead me to this darling cover for my sewing machine.

sewing_materials
Materials Needed:

  • 2 yards of coordinating pattern fabric
  • 1/2 yard of solid fabric
  • 1 1/2 yards of pom pom trim
  • Coordinating thread
  • Glue gun
  • Sewing machine

I followed the instructions on this sewing machine cover tutorial by Bari J but did not add the lining. I slightly modified the pattern by adding a strip of white at the bottom to make the pom pom trim to pop!

messy_crafts
The instructions were very simple to understand as long as you kept your pattered fabric straight. Above is proof that I never do one project at a time. I was working on Sophie’s Olaf Poodle Skirt at the same time.

pom pom trim
I glued the pom pom trim on the bottom of the unhemmed cover because I like to save time if possible. Also, I was afraid my stitching would be wonky and it would look silly. I tacked the trim every few inches and know that I can just re-glue if I get too rough with my cover.

sewing_machine_cover_detail
trim_complete
I chose to not add the lining of the cover according to the tutorial because once I got this far, it looked complete enough for me. I do think it could be cute with a side pocket to keep a small pair or scissors, chalk or measuring tape but I’m already utilizing a pretty great sewing kit that holds everything I need.

sewing_machine_cover_done
Definitely the cutest craft I’ve ever made! I have complete faith any other novice seamstress could make this cover with flying colors. What was your latest sewing project or are you more of a heat-n-bond type person (that’s how all of my curtains are hemmed)?

Google+