decor

Halloween Street Sign

Hello to all you people itching to decorate for Halloween! I started early this year, by a week, and my husband was NOT happy. I had to though because our October weekends are already full and I really wanted to make a Halloween street sign! I’d seen street signs like this for weddings and have always thought they were cool but didn’t know when I’d ever use one…until now!

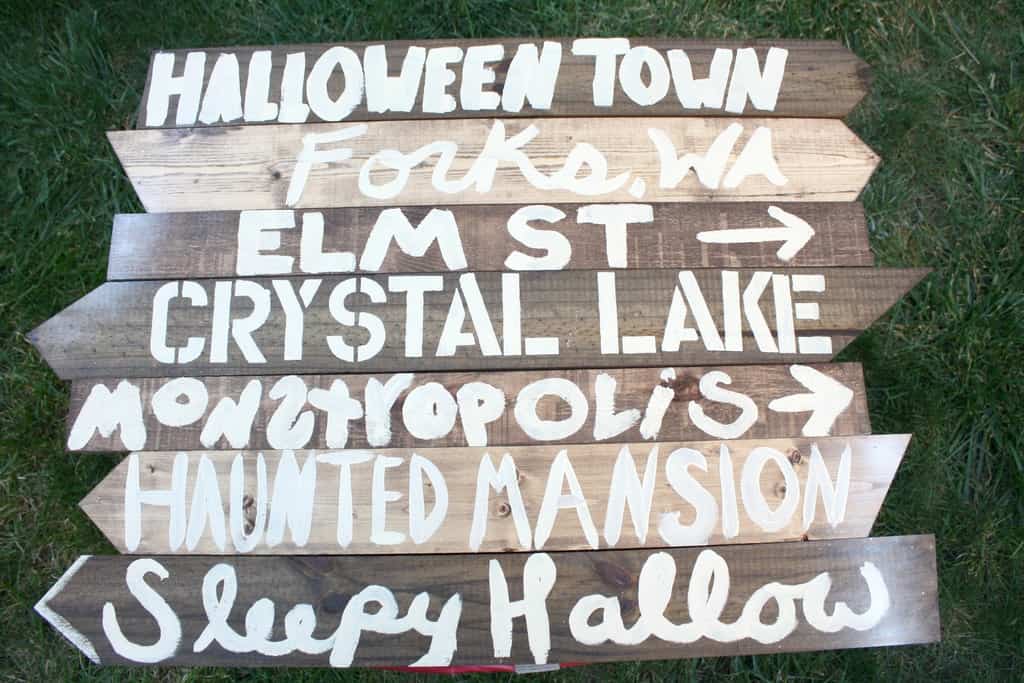
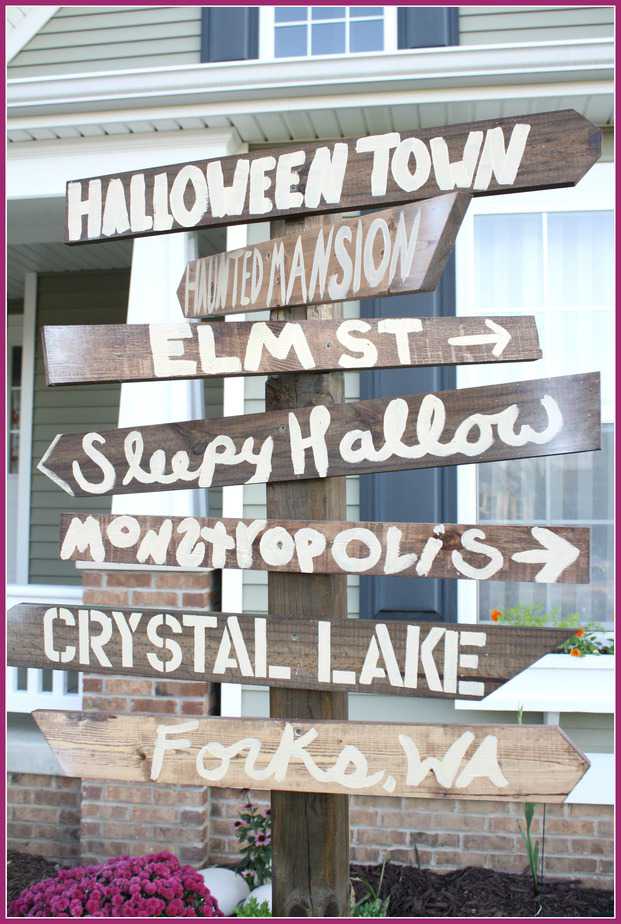
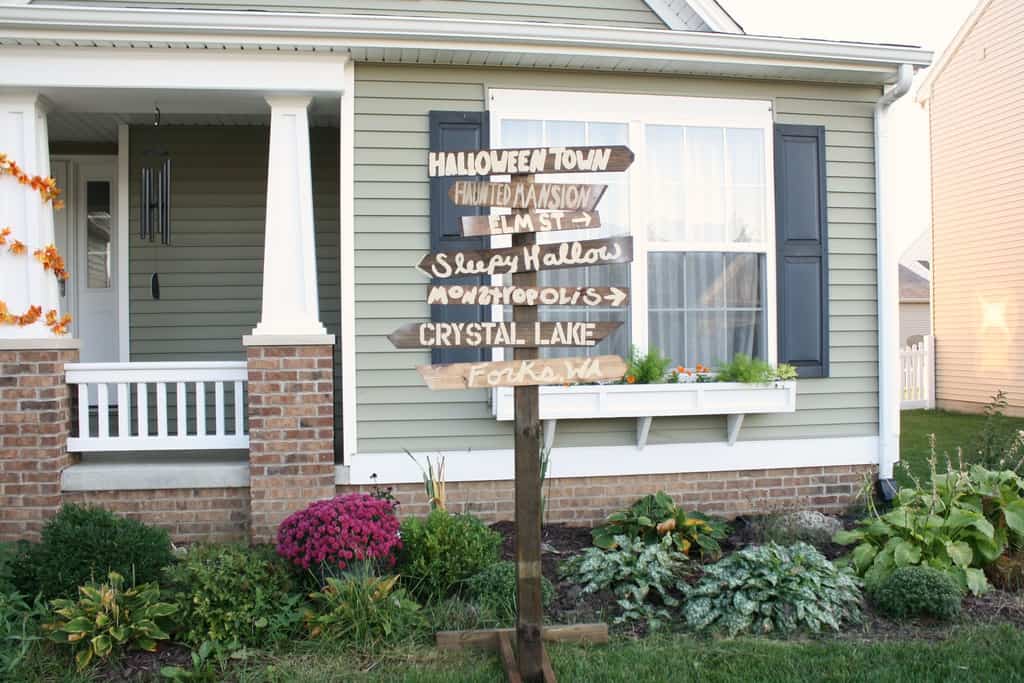
I loved making this sign because I could put our personalities into it. We made a list of scary/Halloween places and narrowed it down to our top 7 favorites. Unfortunately, the Shrieking Shack did not make the cut but I’m pretty happy with the ones that made it on the sign. Obviously to represent #teamEdward, I had to have Forks, WA. I also had a few nods to Disney with Jeffrey’s favorite Disney movie, Nightmare Before Christmas (as well as Monstropolis and The Haunted Mansion.) I’ve been told Crystal Lake and Elm St. are from popular scary movies of which I will never watch. I’m pretty sure everybody, young or old, knows the tale of The Headless Horseman so we threw Sleepy Hallow on as well. For us, this project was 100% free because we had every item on hand, but it would still be a fairly cheap project if you were looking to buy the materials. Check out the scrap wood pile at your local hardware store for free wood.

Materials Needed:

  • 7 ft 4×4
  • Several 1×3, 1×4, 1×5 or 1×6 boards cut at varied lengths
  • 8ft 2×4
  • Miter or Hand Saw
  • Chisel (optional)
  • Wood Stain
  • Brush and Rag for Stain
  • Screws
  • 2 Bolts & 2 Nuts
  • Acrylic Paint & Brushes
  • Letter Stencils
  • Polyurethane Spray

jeans

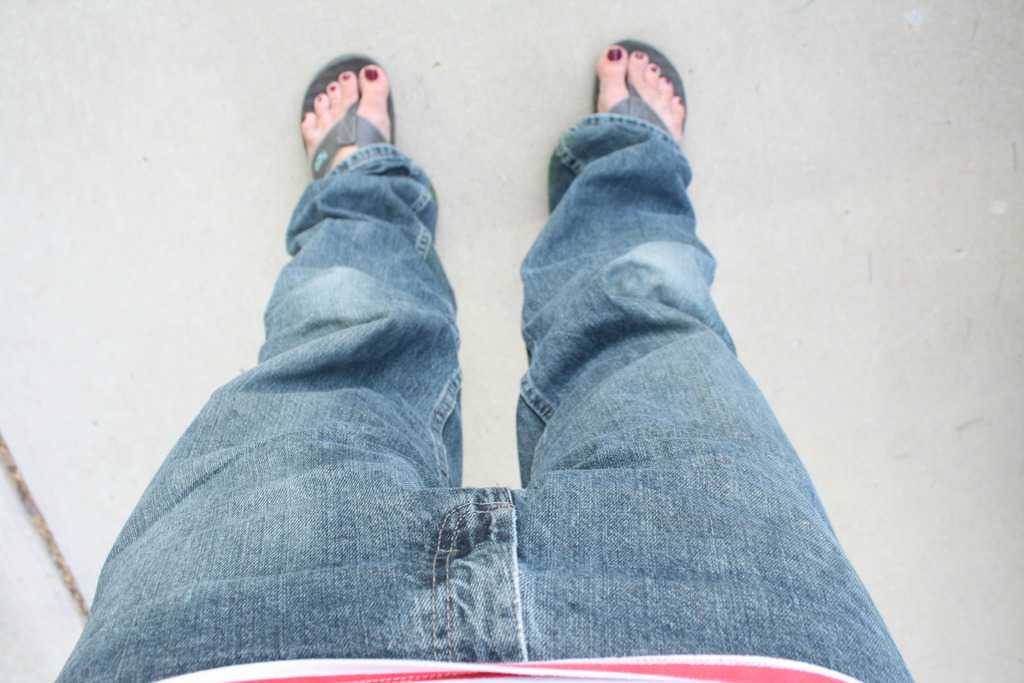
chisel-topThe first step is to wear the proper clothing. Flip flops are not the proper protection when working with large lumber and a saw but I can’t wear shoes because of my broken toe. Your husband’s jeans are the other piece of attire that you will want to wear, as you will get sawdust and stain on your clothes (don’t forget to ask first.)

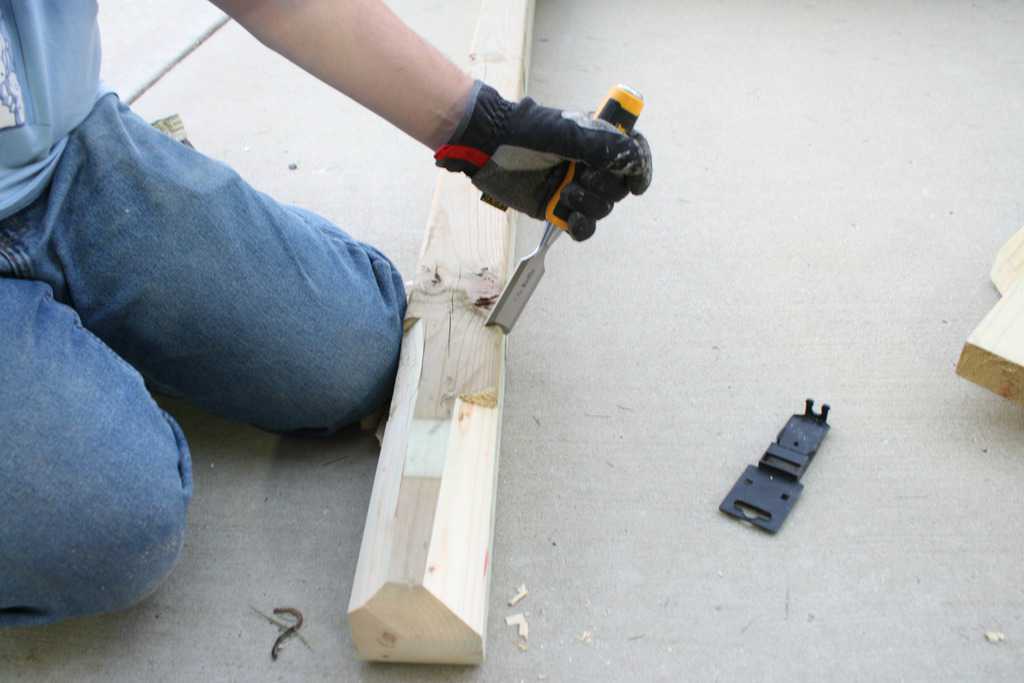
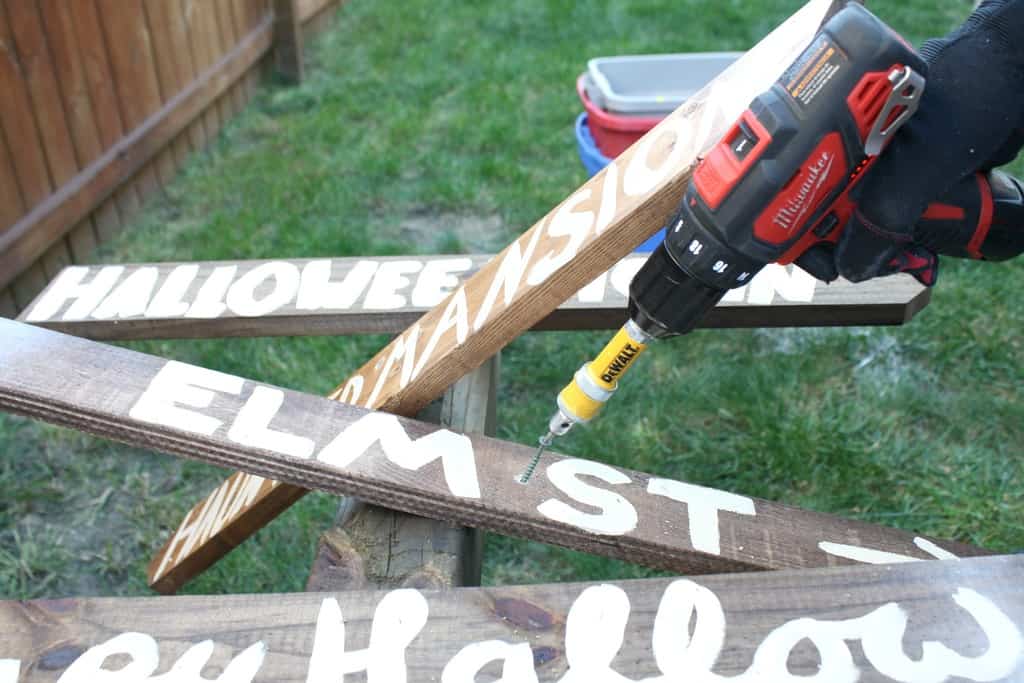
Jeffrey had the great idea to have some of the boards angled, so he used the miter saw to cut the corners off the 4×4 and finished them off with a chisel to make the angles longer. This step is optional.

lay-out

base

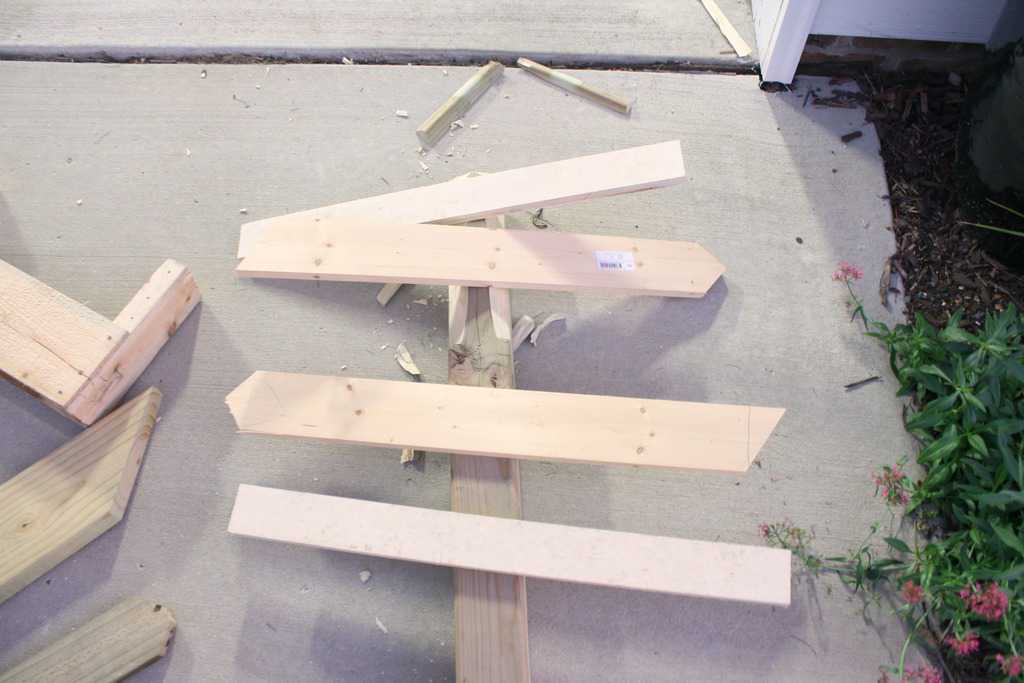
As you cut boards, lay them on the sign to see how you like them spaced. By laying them out we decided which ones we wanted to have points on the end and made sure we didn’t have too many that looked the same. (Please forgive the photo as it was dark when we were building.)

For the base, Jeffrey used nuts and bolts to attach two 2ft 2x4s and screwed two 2ft 2x4s perpendicular on the ends of those boards, making an H.

painting-materials

forks

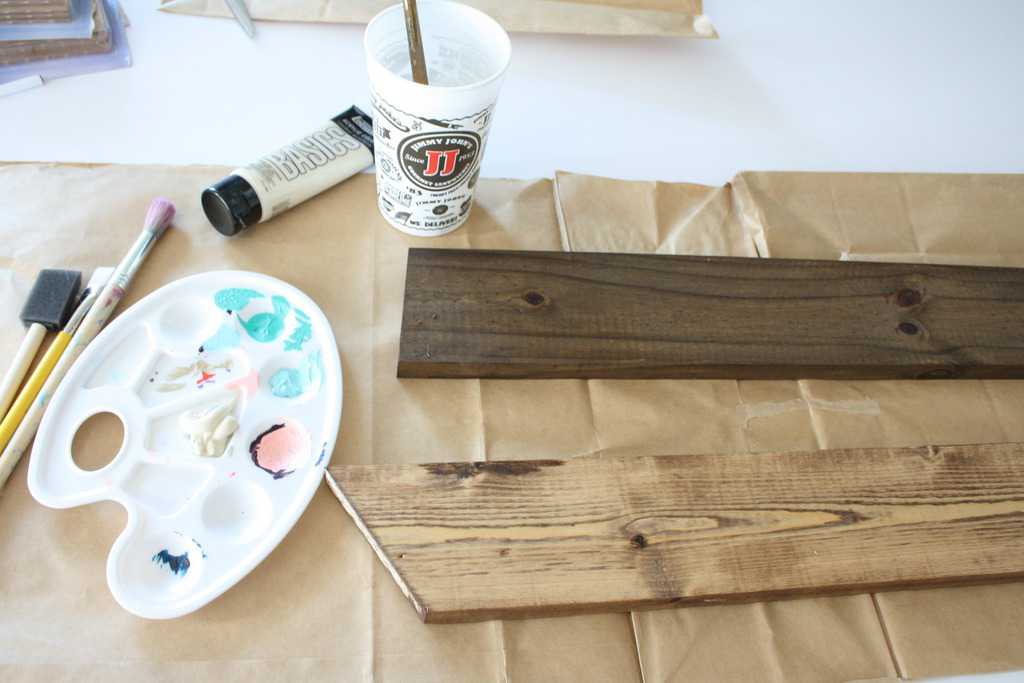
I stained the wood pieces according to the directions on the can. I stained them by the motion detective security light that constantly was turning off. Mistake number two (the first was wearing flip flops.) Thankfully, I didn’t mind if the stain was uneven and having some boards darker than others, because I wanted them to look different, as if they were added at different times. I also liked that we had several types of wood so the stain ended up being varying shades of brown.

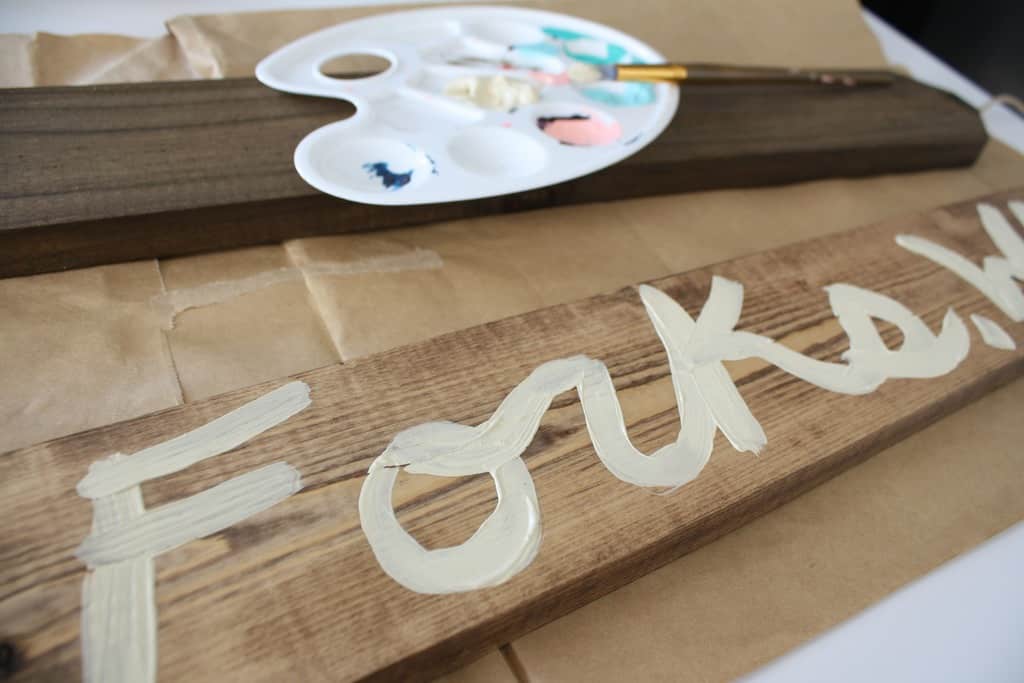
I was not meticulous on my hand writing or the evenness of the paint. Not sure why, but in my mind, the people who would write the signs didn’t really care that they looked nice? Not sure where I got that, but I feel since it is for Halloween, it can be a bit sloppy. I used a round tip brush for the cursive signs.

halloween-town

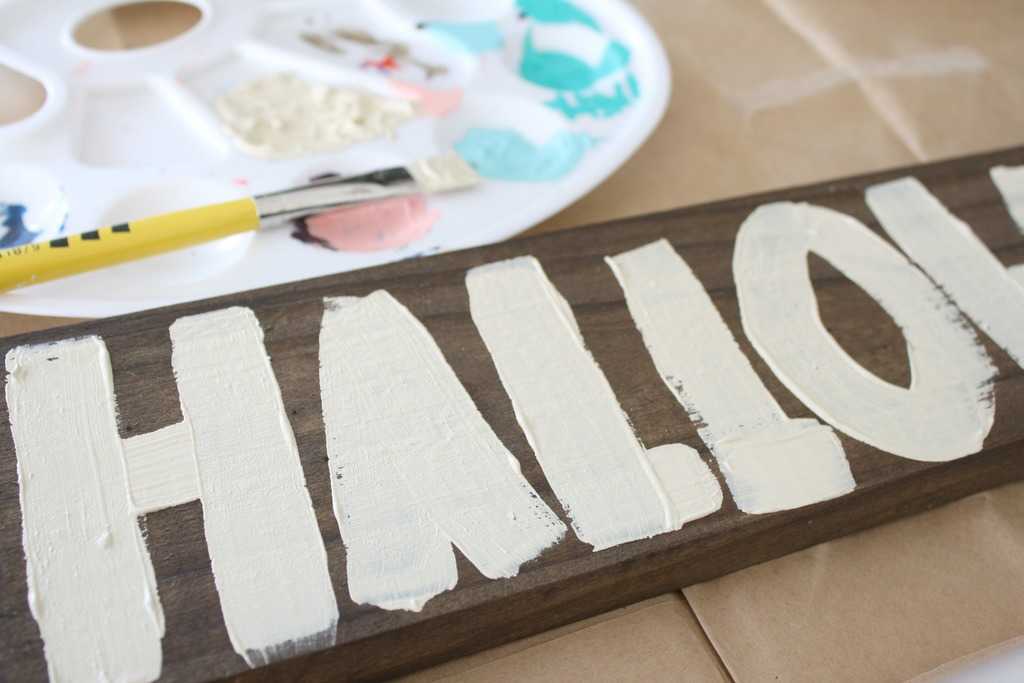
stencilFor one sign, I did a sloppy job of painting an alphabet stencil. My husband suggested I use Sophie’s hand in red paint to smear on the sign. I thought using a baby’s hand print would be too creepy. Also, by adding another element on top of the words, I’d probably mess up the sign and make them too hard to read.
street-signs

attatching-signs

Once I wrote on all of the signs, we sprayed a clear polyurethane on the front of the boards. See the bottom right area where it’s sprayed white? I had the wrong can of spray paint and used white instead of clear! Mistake 3. I mimicked the white spray paint up in the top left to even it out and didn’t worry about it. Mistakes happen!

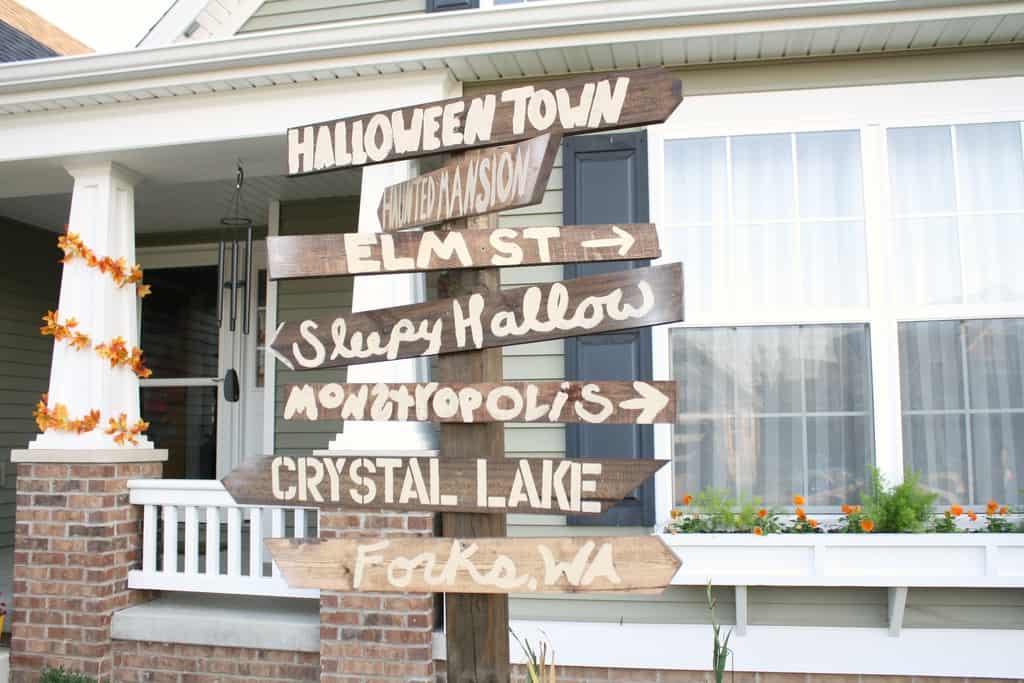
We attached the boards by pre-drilling a hole in each sign and then screwing it to the 4×4. We used only one screw in each board so we could adjust them once they were all added to the post.

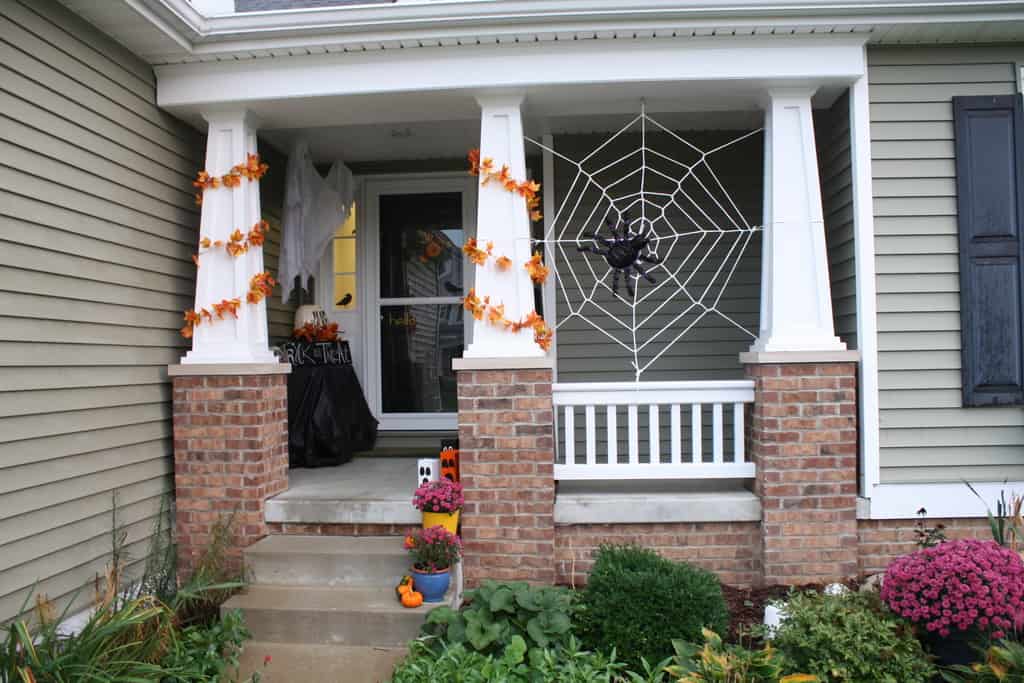
Tada! Our sign up in the yard! I still want to do quite a bit more decorating on the porch for Halloween (the leaves are just fall decor.)
finished-sign

finsihed-sign-2I’m going to add tomb stones around the base and light everything with can lights. I may add a few skulls or bone or spiderwebs as well. What do you do to decorate for Halloween? Do you decorate outside too? Are you the playful Halloween decor type  person or a gruesome decor type person? Sorry, neighbors, for being ‘that neighbor’ who puts their Halloween stuff up in September!

Pin it for later:
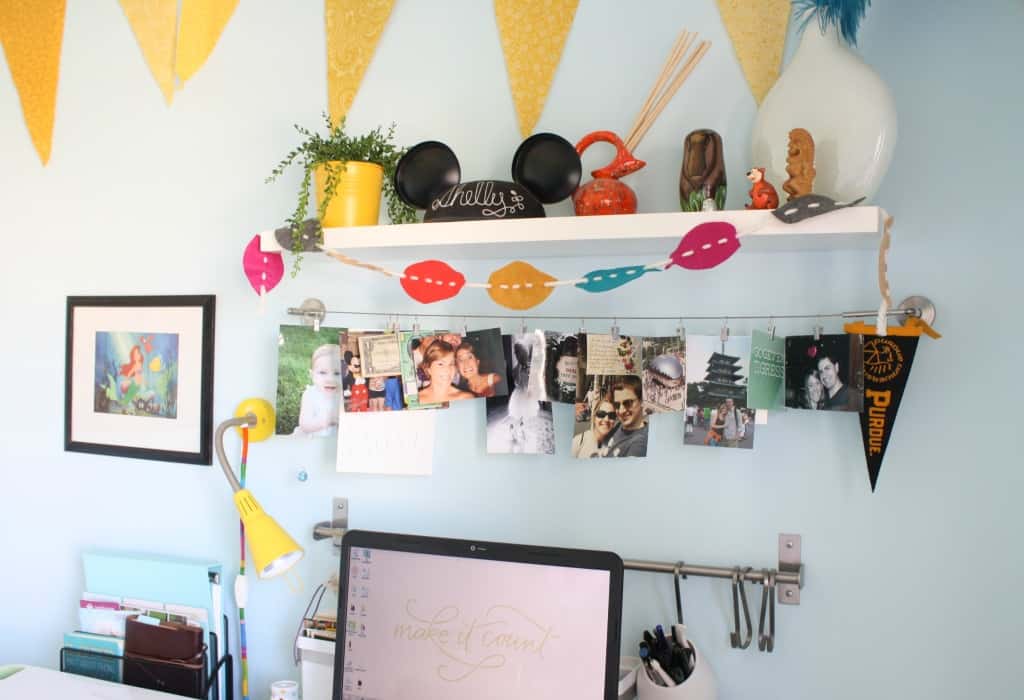
office-garland

Fall Leaf Garland

Washi Tape Light Switch

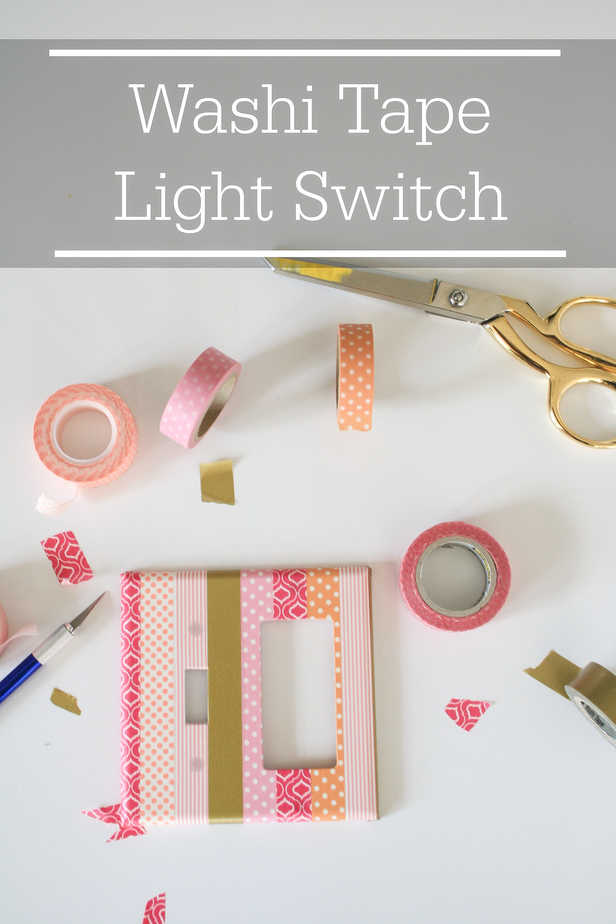
Today I wanted to share with you how I did the quickest, quirkiest update on Soph’s light switch cover. Seriously, this project took 5min. I did a simple washi tape light switch DIY to add a little fun to her bathroom.

I have this thing about not buying new stuff until I really feel I’ve been using up my current supplies pretty steadily. I wanted to buy more washi tape but knew I hadn’t been using my current stash since my last smash book. This was the perfect solution!

Materials Needed:

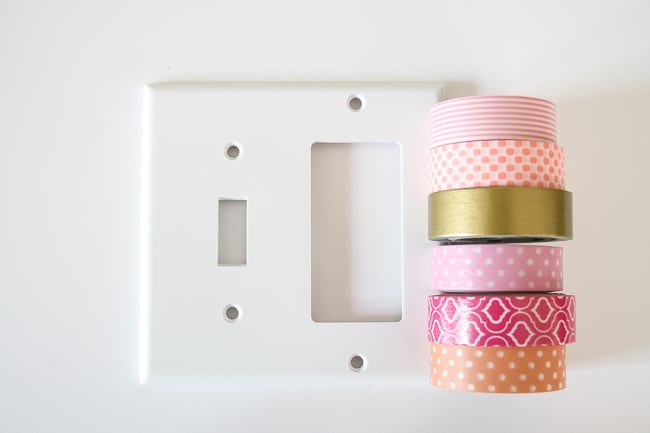
  • Washi Tape
  • Scissors
  • Exacto Knife
  • Switch Plate

Washi Tape Light Switch Cover

Washi Light Swtich Cover
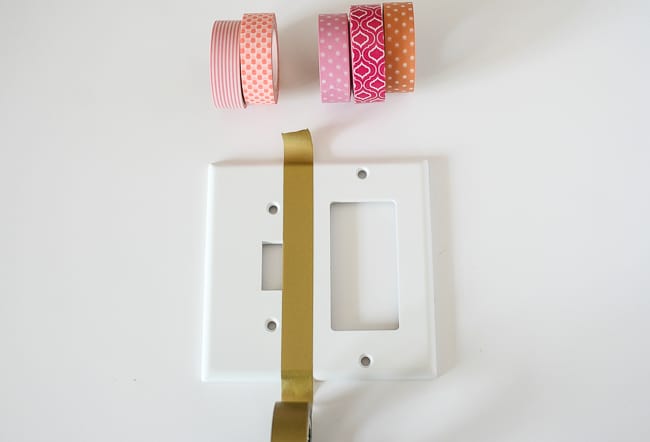
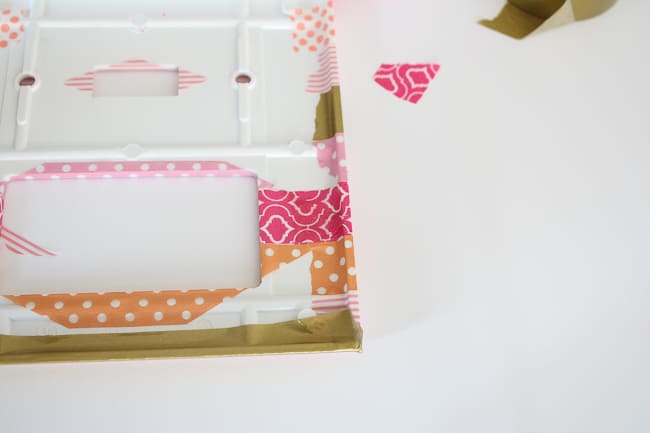
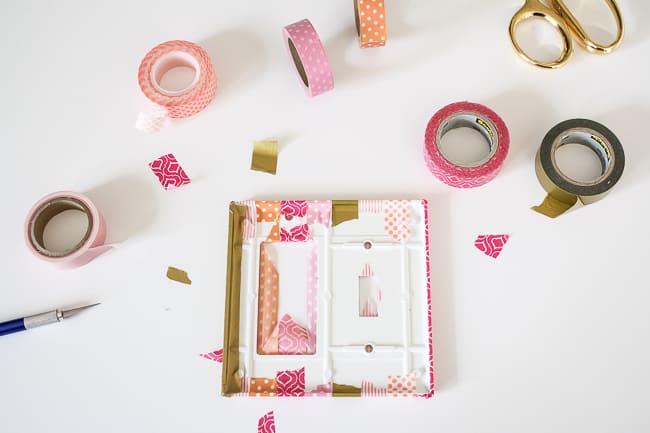
The first step is to figure out your color arrangement. I knew I wanted gold to be prominent so I started with it to ensure I’d have a full stripe.


I made a little gif of the process with the PartyParty app. I have no affiliation with this app or the producers but I thought it would be a fun time to try it out! It was a good thing I did because I forgot to take a ‘middle of the project’ photo!

The corners were definitely the hardest part of this project. I cut a diagonal slit in the excess tape and wrapped it the best I could to alleviate wrinkles. I don’t get too nit-picky on details like this because I’ve since realized that no one ever notices these details!

Washi Light Switch Cover

Washi Tape Light Switch Cover
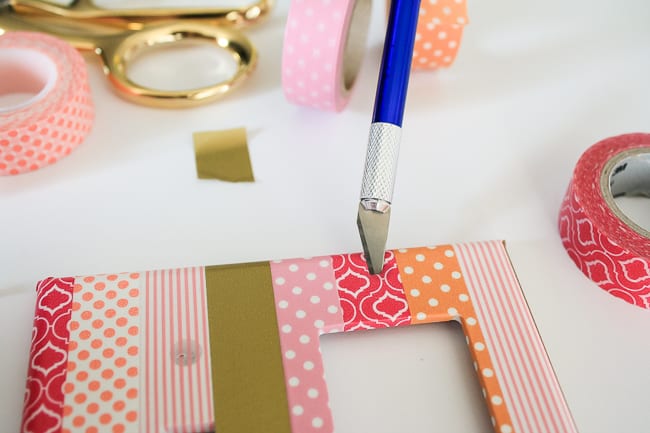
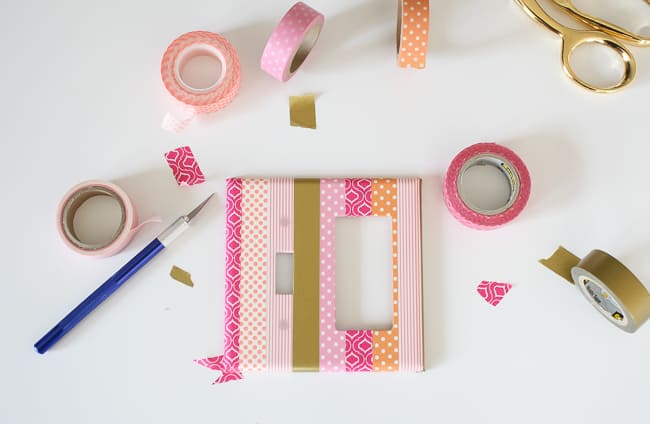
Once the entire plate is covered, it’s time to make the holes for the switches to fit. I used my exacto knife to make an X in the tape. Notice on the left hole I had to do an elongated X. This does not have to be perfect, it’s just a way to get the tape flaps back.

I also put a small slit in the screw holes. I was worried that forcing the screw through might pull up the tape or tear it in an area I could see.

Washi Tape Light Switch Cover

Washi Tape Light Switch Cover

Washi Tape Light Switch Cover
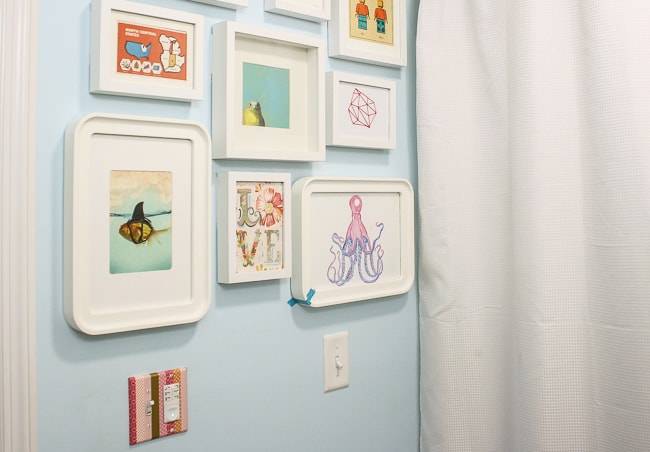
I love how it adds a bit of fun to her bathroom. Don’t mind the teal tape on Oliver’s (the octopus) frame. I’d dropped him right before this shot and broke the frame! Have you ever done something to liven up a playroom or your kid’s room? Anyone do anything other than scrap book with their washi tape? How many rolls do you have? It’s addictive once you buy your first roll!


Pin it for later:
Washi Light Switch Cover

Thanksgiving Tablescapes

Greetings friends! I hope your first week of November has treated you well and you’ve managed to stay warm (and not blow away!) I’ve been seeing amazing ideas in the way of activities, decor and recipes for Thanksgiving that is getting me in the grateful spirit.
tablescapes-thanksgiving

I have a lot to be grateful for in my life. I’m blessed with a healthy family who is also happy. I’m thankful to have grandparents, aunts, uncles, friends and neighbors that have so much love for Sophie, it’s unreal. I’m thankful to get to take my daughter and dog on a walk at the park and be confident that we’ll have fun and feel safe. I’m thankful that I get to choose whatever pumpkin recipe I want (and possibly fail at) for Thanksgiving because money and time (a helpful husband) allows me to do so. I’m thankful for Thanksgiving (and the month of November) that helps us get into the holiday spirit by recognizing what we’re thankful for. Also, I’m thankful for you! Thank you for reading my posts, sharing my posts, trying my crafts and giving me tips and tricks on what to improve!

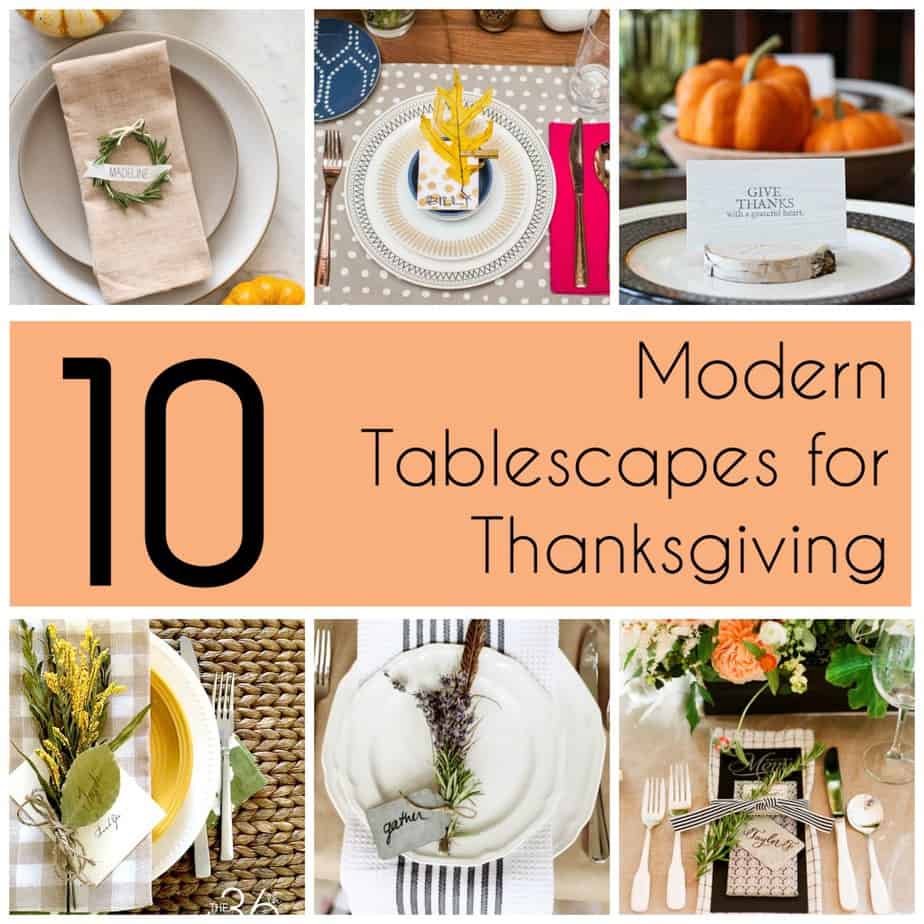
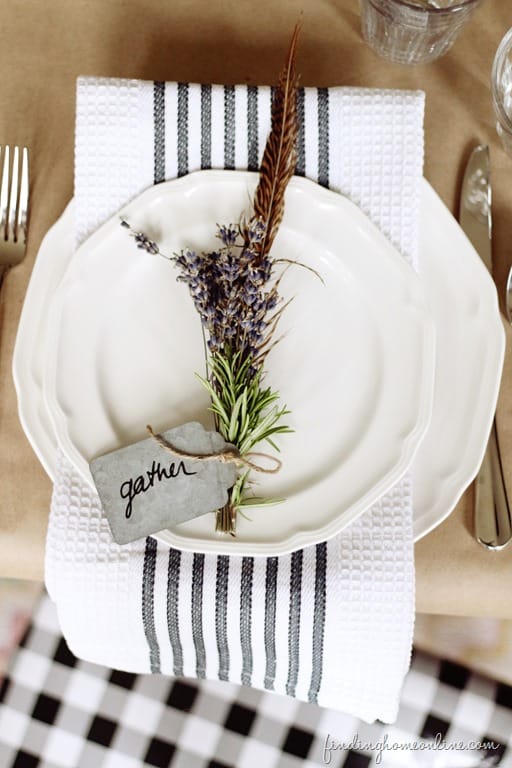
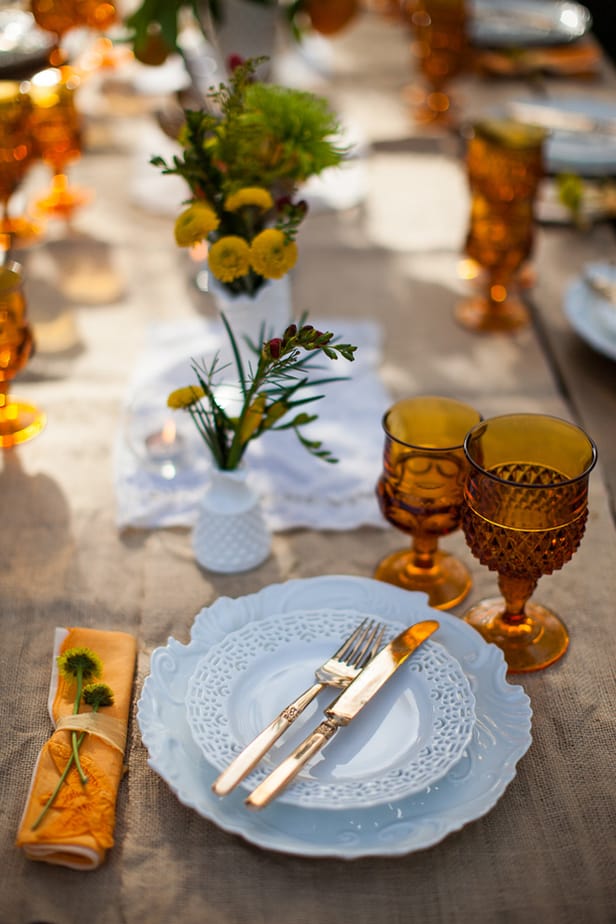
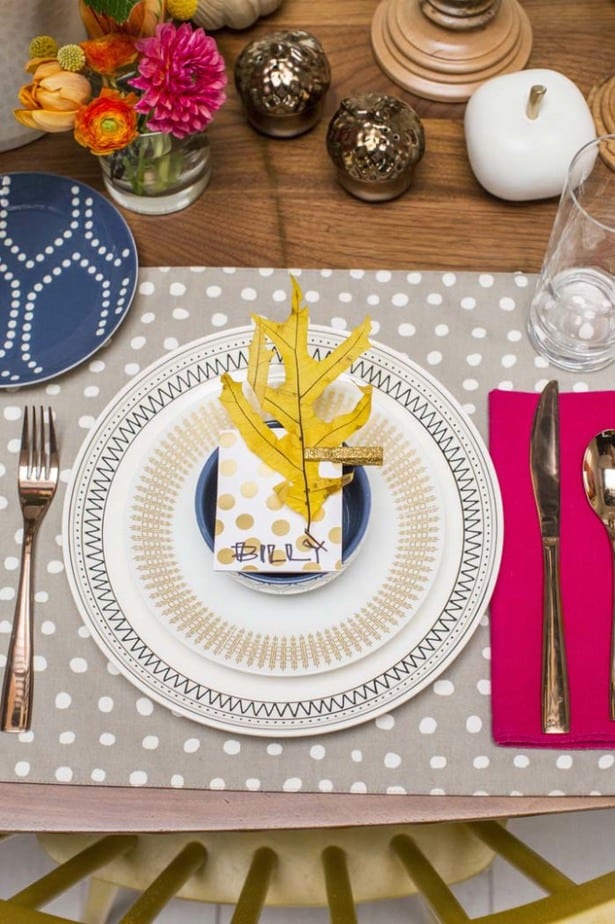
Here are my top 10 inspirational Thanksgiving tablescapes to modernize my decor:Gather Thanksgiving Tablescapevia Laura

Nature inspired Thanksgiving tablescapevia Karen

Gold and glitzy Thanksgiving tablescapevia Destiny

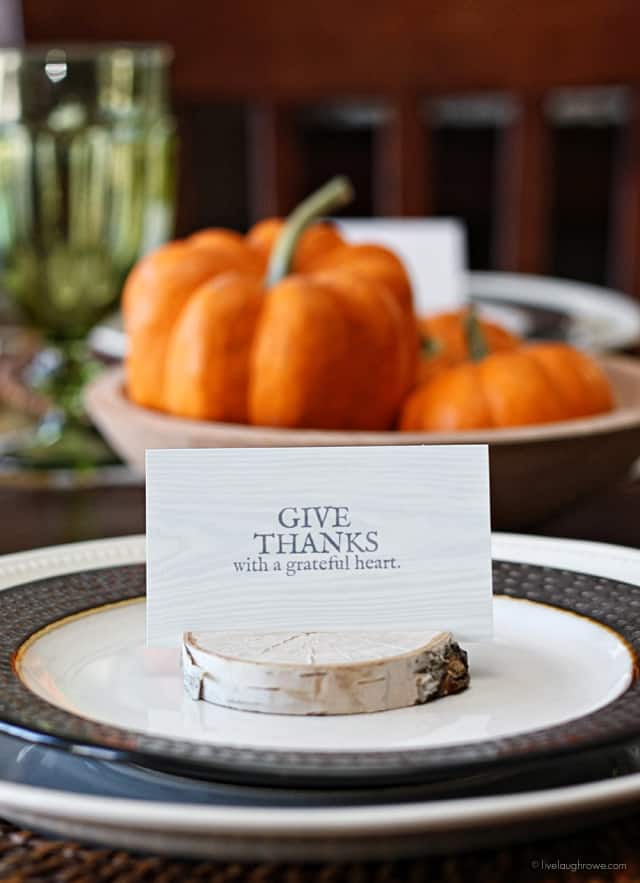
Thrifty Thanksgiving Tablescapevia Justina

DIY Birch Place Card Holdersvia Kelly

Layered Thanksgiving Tablescapevia Desiree

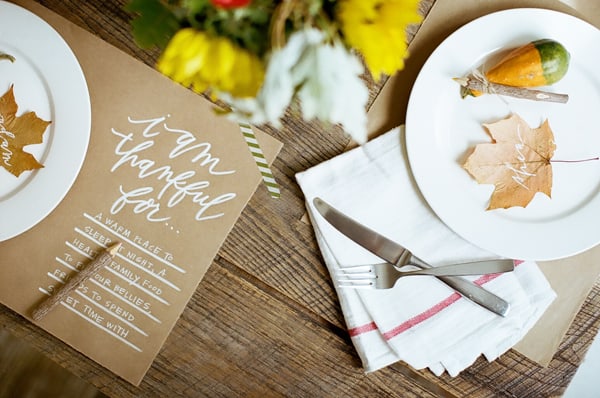
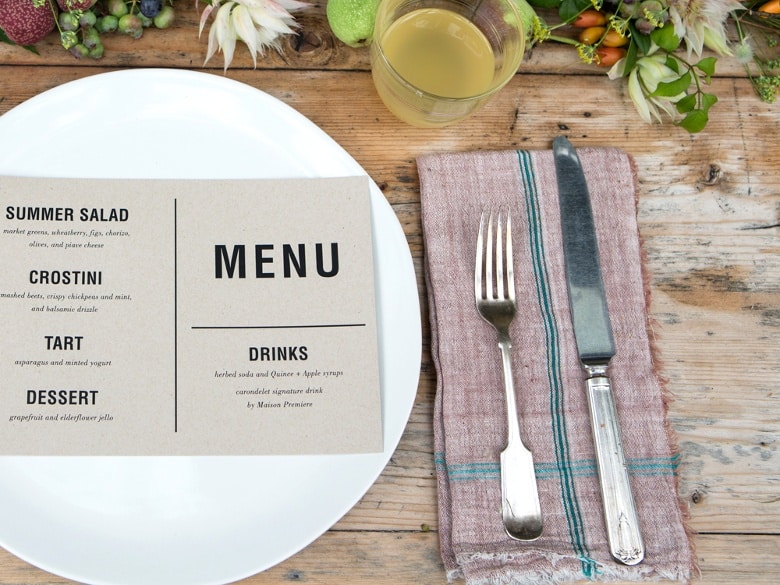
blog-thanksgiving place mat kraft paper white ink 6via Chelsea

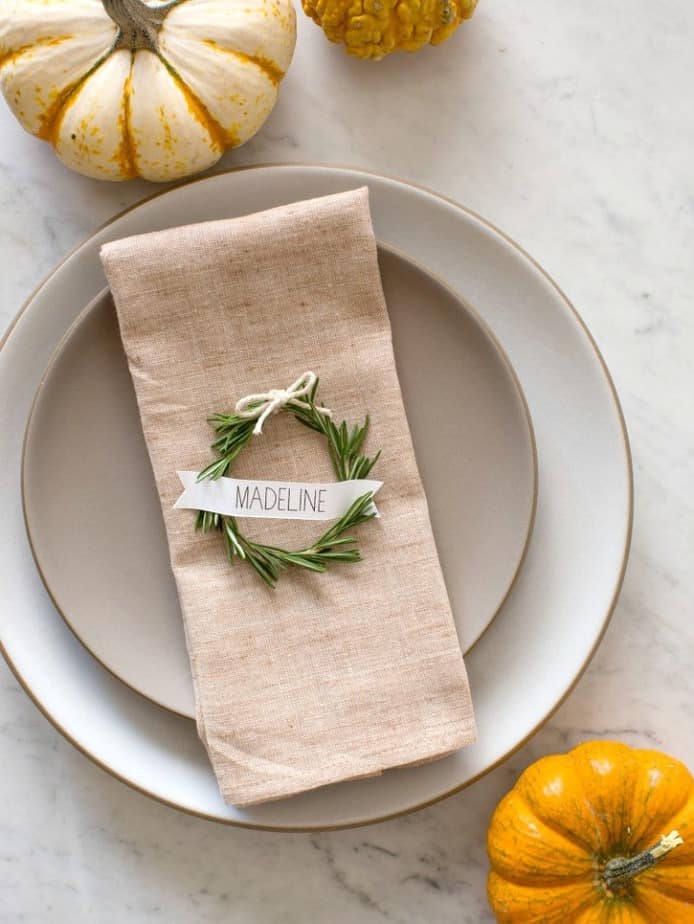
Rosemary wreath Thanksgiving Tablescapevia Teri

Adding pattern to your Thanksgiving tablescape Emily Hendersonvia Emily

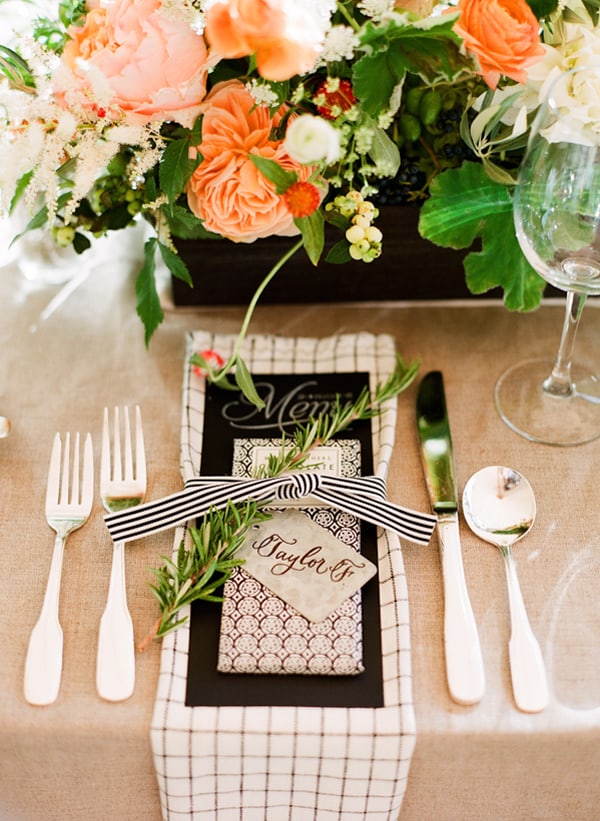
Peach Wedding or Thanksgiving Tablescape

via Emily

If I had to choose a favorite, it’d be a tie between Emily’s multi patterned design and the nature feel of Karen’s. I really like different aspects of each of these set ups though so I may have to pull individual pieces from each to make a totally different tablescape! Which one do you like the best or are you more traditional in your Thanksgiving table settings?

For more Fall ideas, check out my Modern Fall Decor post, Fall Nail Ideas, or my Fall Recipes & Decor board on Pinterest!
Follow Shelly Bergman’s board Fall Decor & Recipes on Pinterest.

The photos and stylings of this post are not of my own. You can click the links to take you to the original masterminds behind the eyecandy in this round up. Also, please pin from their sites rather than this round up.

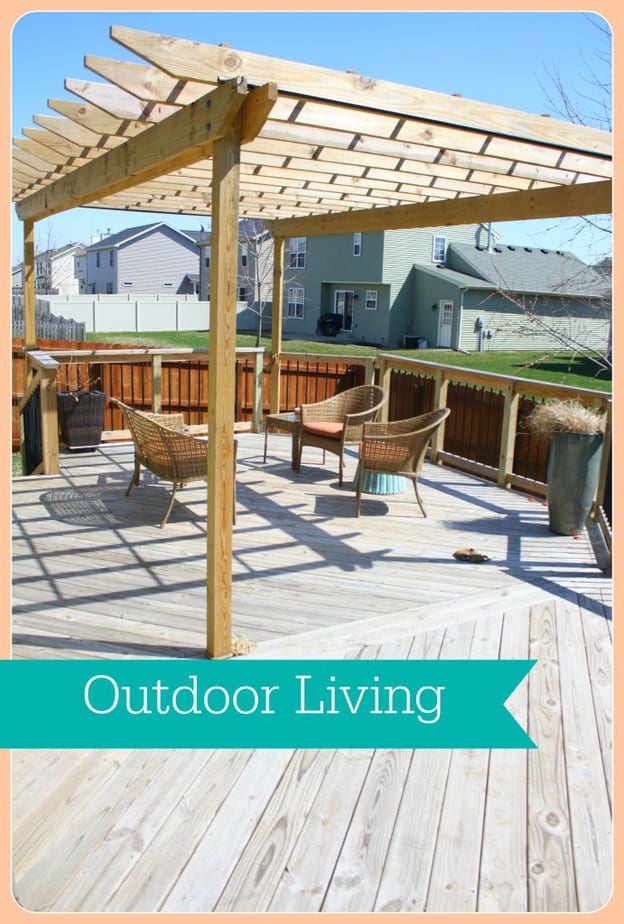
Outdoor Living

Sprucing up our outdoor living areas has been on my brain every day since the snow started melting. Before the new year started, we said ‘this is the year we’re going to relax and take advantage of all the hard work we’ve my husband has done building the deck and pergola.’ My job is decorating an area once it’s been built by him. Unfortunately, outdoor decor seems to be REALLY expensive! Especially once you factor in that there’s really only a few months where the weather is bearable enough to sit outside!

outdoor living

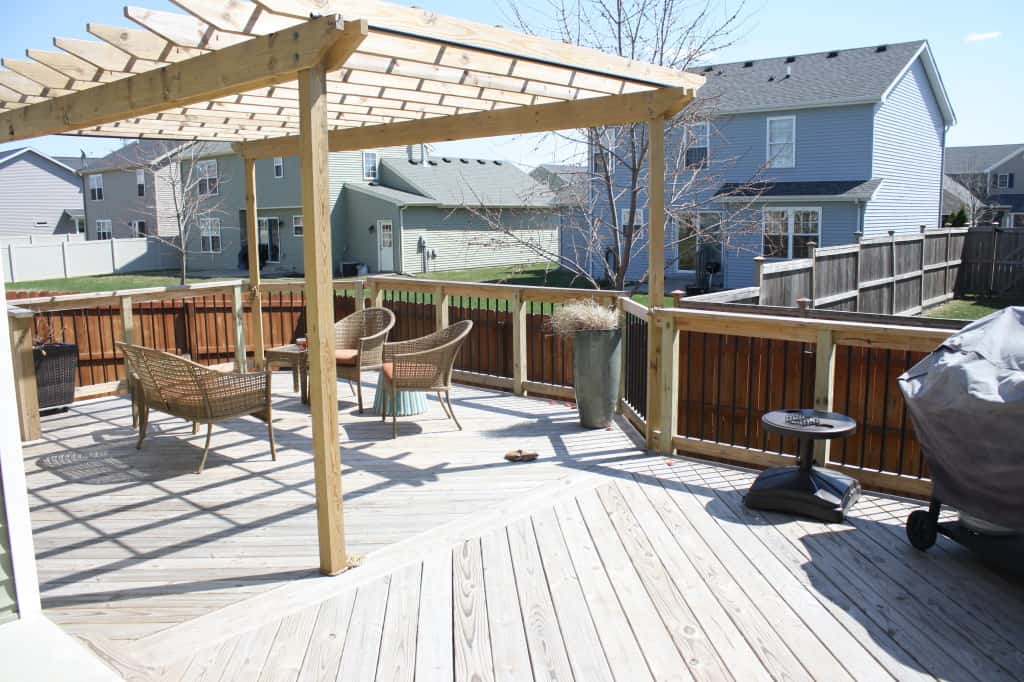
Here is what our deck currently looks like. This is before the table and chairs (that are in the mail!) It’s also before it’s new stain job that we’ll be getting in a few weeks.

deck

Sad, right? No pretty flowers adding color. No rug, umbrella or curtains to make the space more comfortable. We did buy an outdoor table and chairs this year to add to our collection but out of everything I’d LIKE to add to our front porch, back porch and deck, we’ve got a long way to go. In the mean time I decided to swoon over what I’d like to be able to purchase for our deck area.

Outdoor Fun
We’re more in the price range of Target, which is why these items from Crate and Barrel and Pottery Barn are wishes. 😉 I think all of these things would make for a comfortable, practical and fun area to hang out with friends on summer nights.
  1. Number one most important item to have a comfortable outdoor area is a big sectional. Sectionals are outrageously expensive, no matter where you get them from. This one looked particularly good for reading a book or napping. 😉
  2. Bright yellow pouf for extra seating or a place to put your feet up.
  3. Garden stool for putting your drinks down or a place to prop your feet.
  4. Bright, happy, colorful pillows that can stand being out in the sun and rain.
  5. String lights to add to the evening’s good vibes.
  6. Wall O’ Flowers to add tons of color and hide the giant wall of siding.
  7. This bar-work station would be an awesome multitasking piece for our deck. I could use it to re-pot plants, display plants and use as a bar cart for BBQs.
  8. Modular nesting tables that would be easy to move around for convenience.
  9. Bold rug because I don’t like wearing shoes and to ground the sitting area.
  10. Outdoor pendant for the pergola that would blend into it’s environment but add lighting for meals and games at night.
  11. Lanterns to stage around the deck for ambiance lighting.

*swoon* I think after 5 years we could afford all of this for the deck, but by then my tastes will change, and I’ll be dreaming of something different! Also, it’s kinda outrageous to spend this much on one area of our house.

Wanna know the total? The total is with ONE of everything…not a whole wall of planters (including flowers), not several pillows, strings of lights or lanterns…just one of everything pictured above. Drum roll please. $5,838 +tax. Easily a week in Paris! I’ll keep dreaming for now. What about you guys? Have you done any outdoor decor shopping lately? Where do you shop? I could use to cut this number back by…way over half! Anyone lucky enough to have more than a few months worth of awesome outdoor weather? Jeal.

Google+