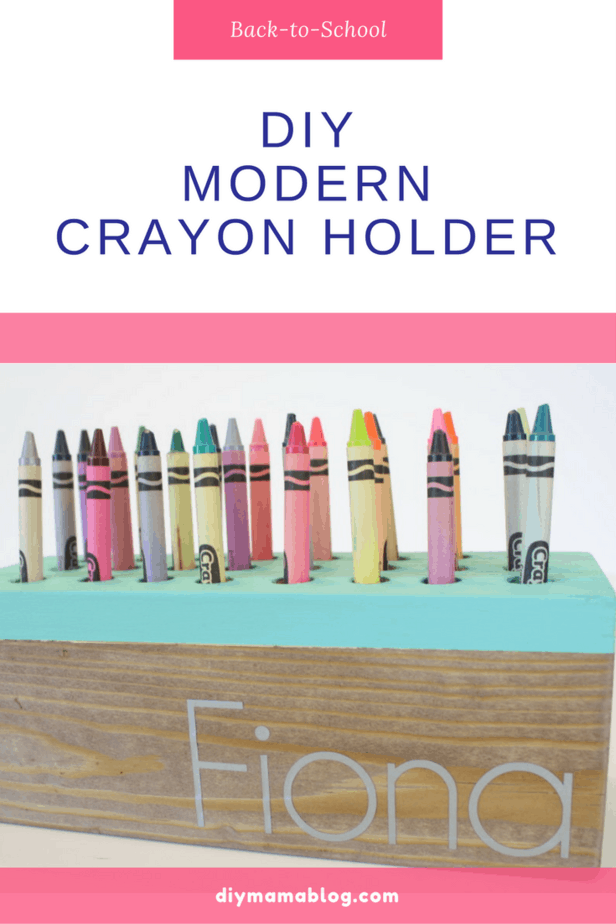
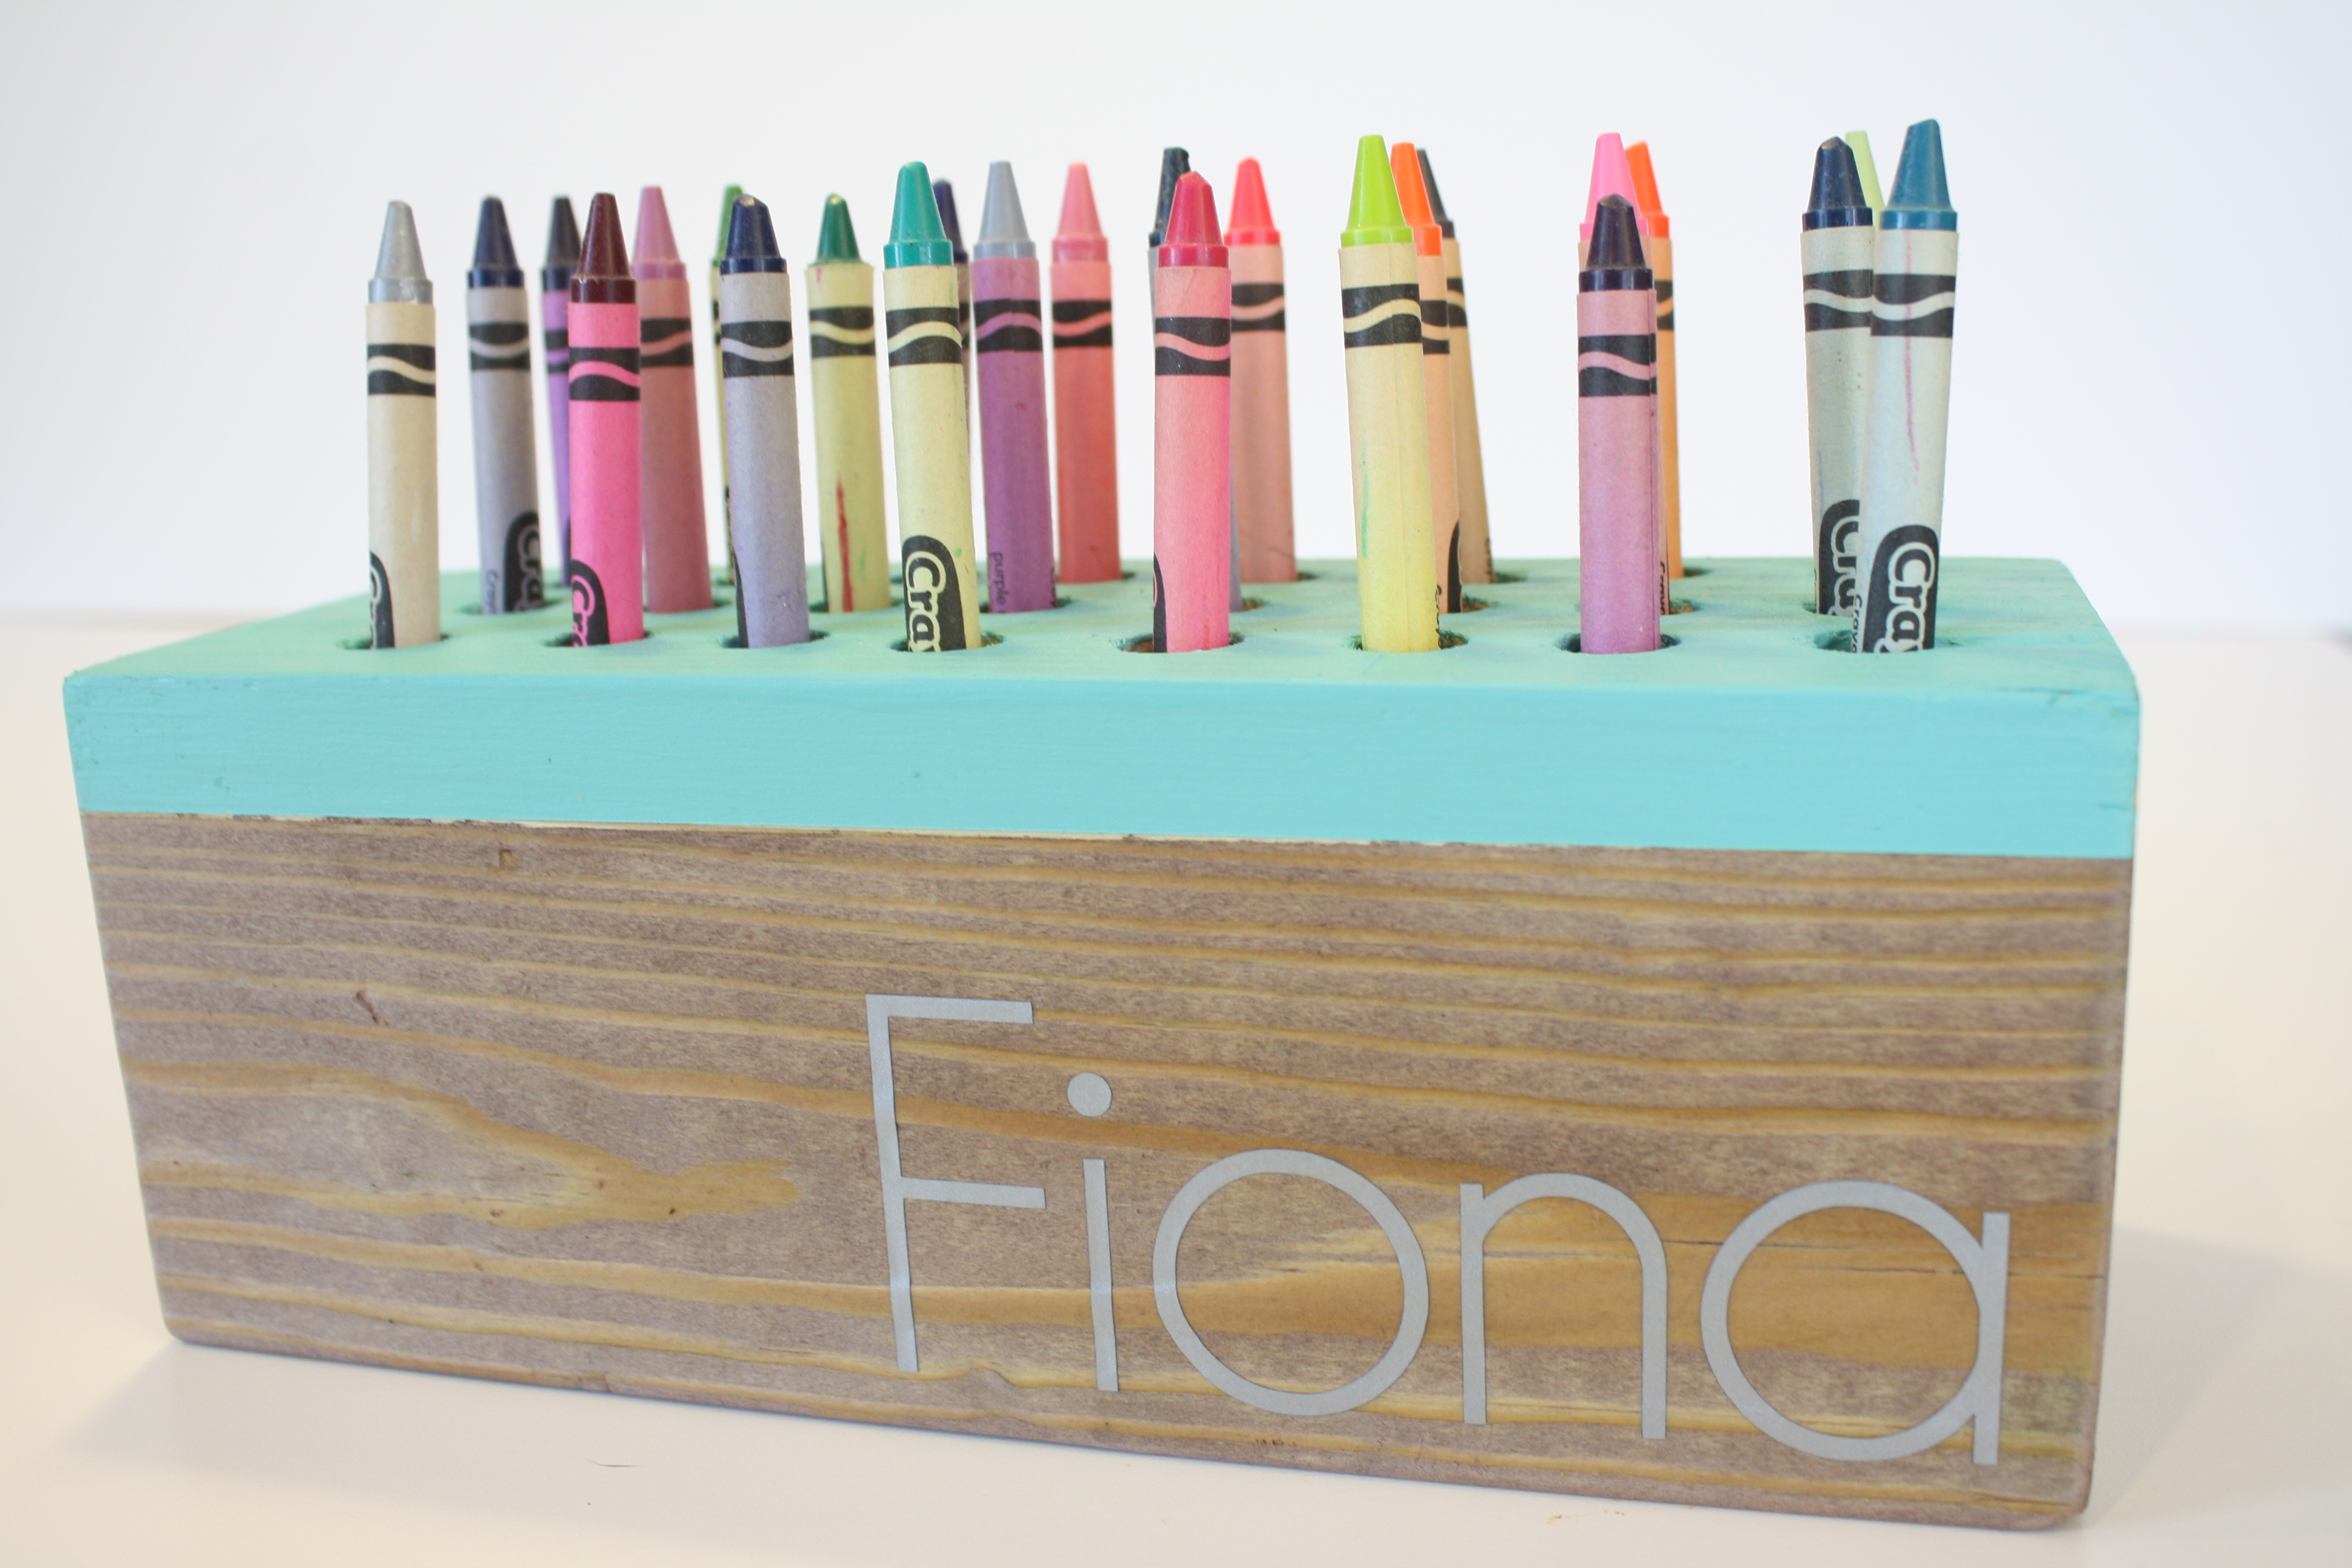
Modern Crayon Holder- perfect addition to any chic kid’s art space. This post contains affiliate links.
My niece, Fiona, and I are kindred hearts. Disney, glitter and coloring are three of our very favorite things so I decided to make her an indestructible modern crayon holder. She’ll be starting second grade in a few weeks. I wanted to make sure she had a hand-made addition to her school study area.
This project was fairly simple and free to make because we had everything on hand.
Modern Crayon Holder
Materials Needed*:
- 4×4 cut to desired length (roughly 9.5″ in my case)
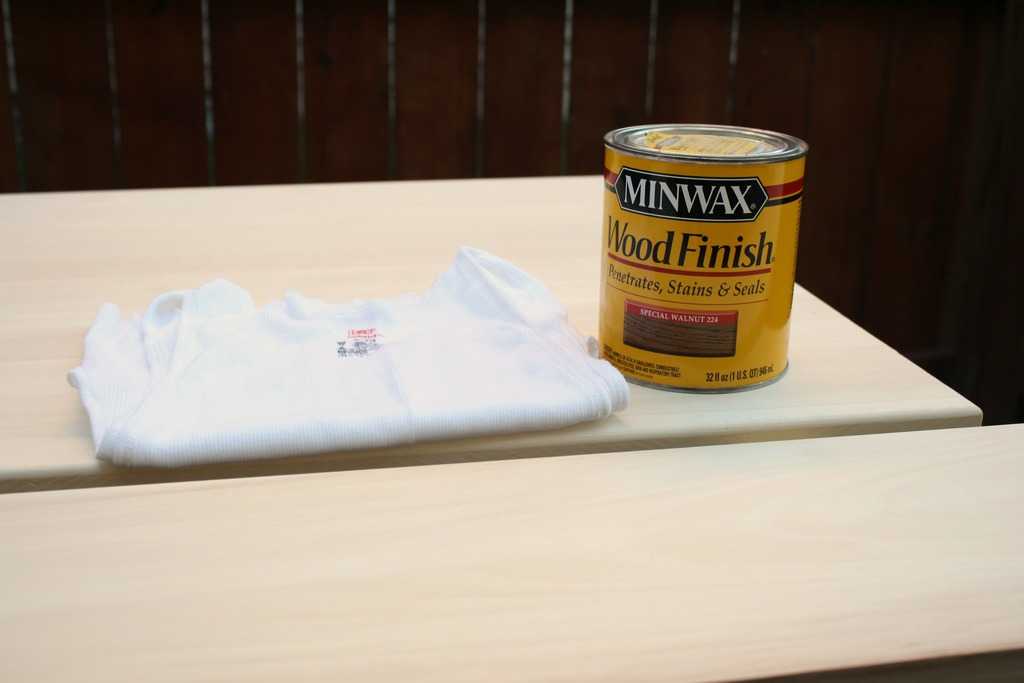
- Wood Stain

- Paint
- Drill Press
- Square Measuring Tool
- Sand Paper
- Painters Tape
- Cricut Explore Air Wireless Cutting Machine
- Vinyl Paper
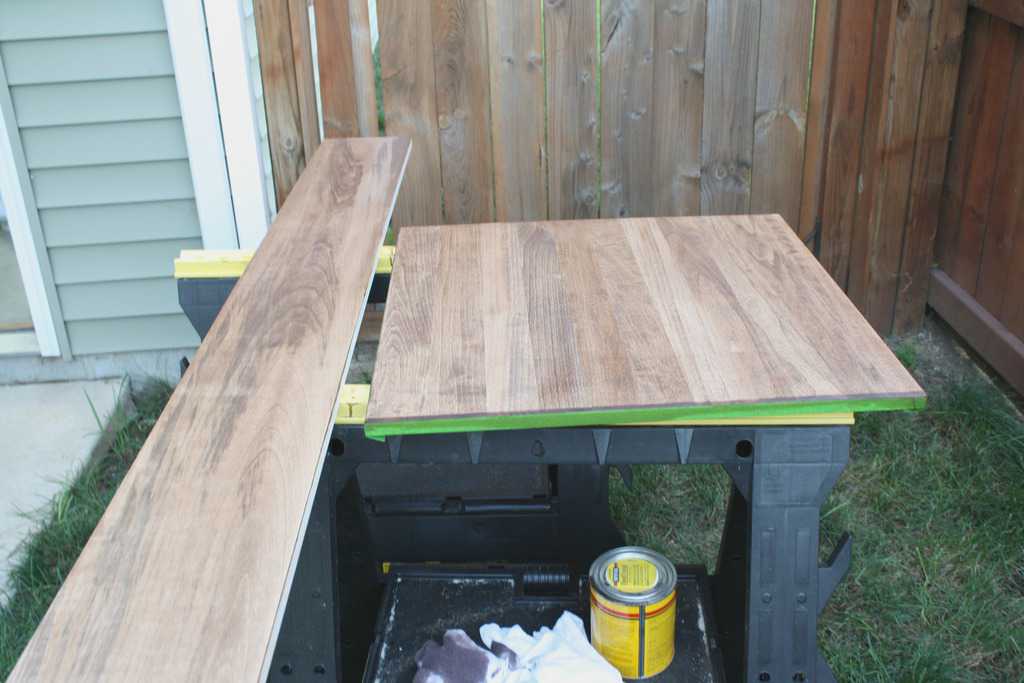
The first thing I did, to prep my 4×4, was to run some sand paper along all of the corners and edges. Once I had smoother edges I used painters tape to cover one side of my wood. Using a square, I roughly marked out where I wanted my holes. I’m not a huge math buff and I prefer an unsymmetrical aesthetic to my home made projects so I did not measure perfectly. If you like symmetry, I would suggest staggering the rows so the crayons fill in all the space.
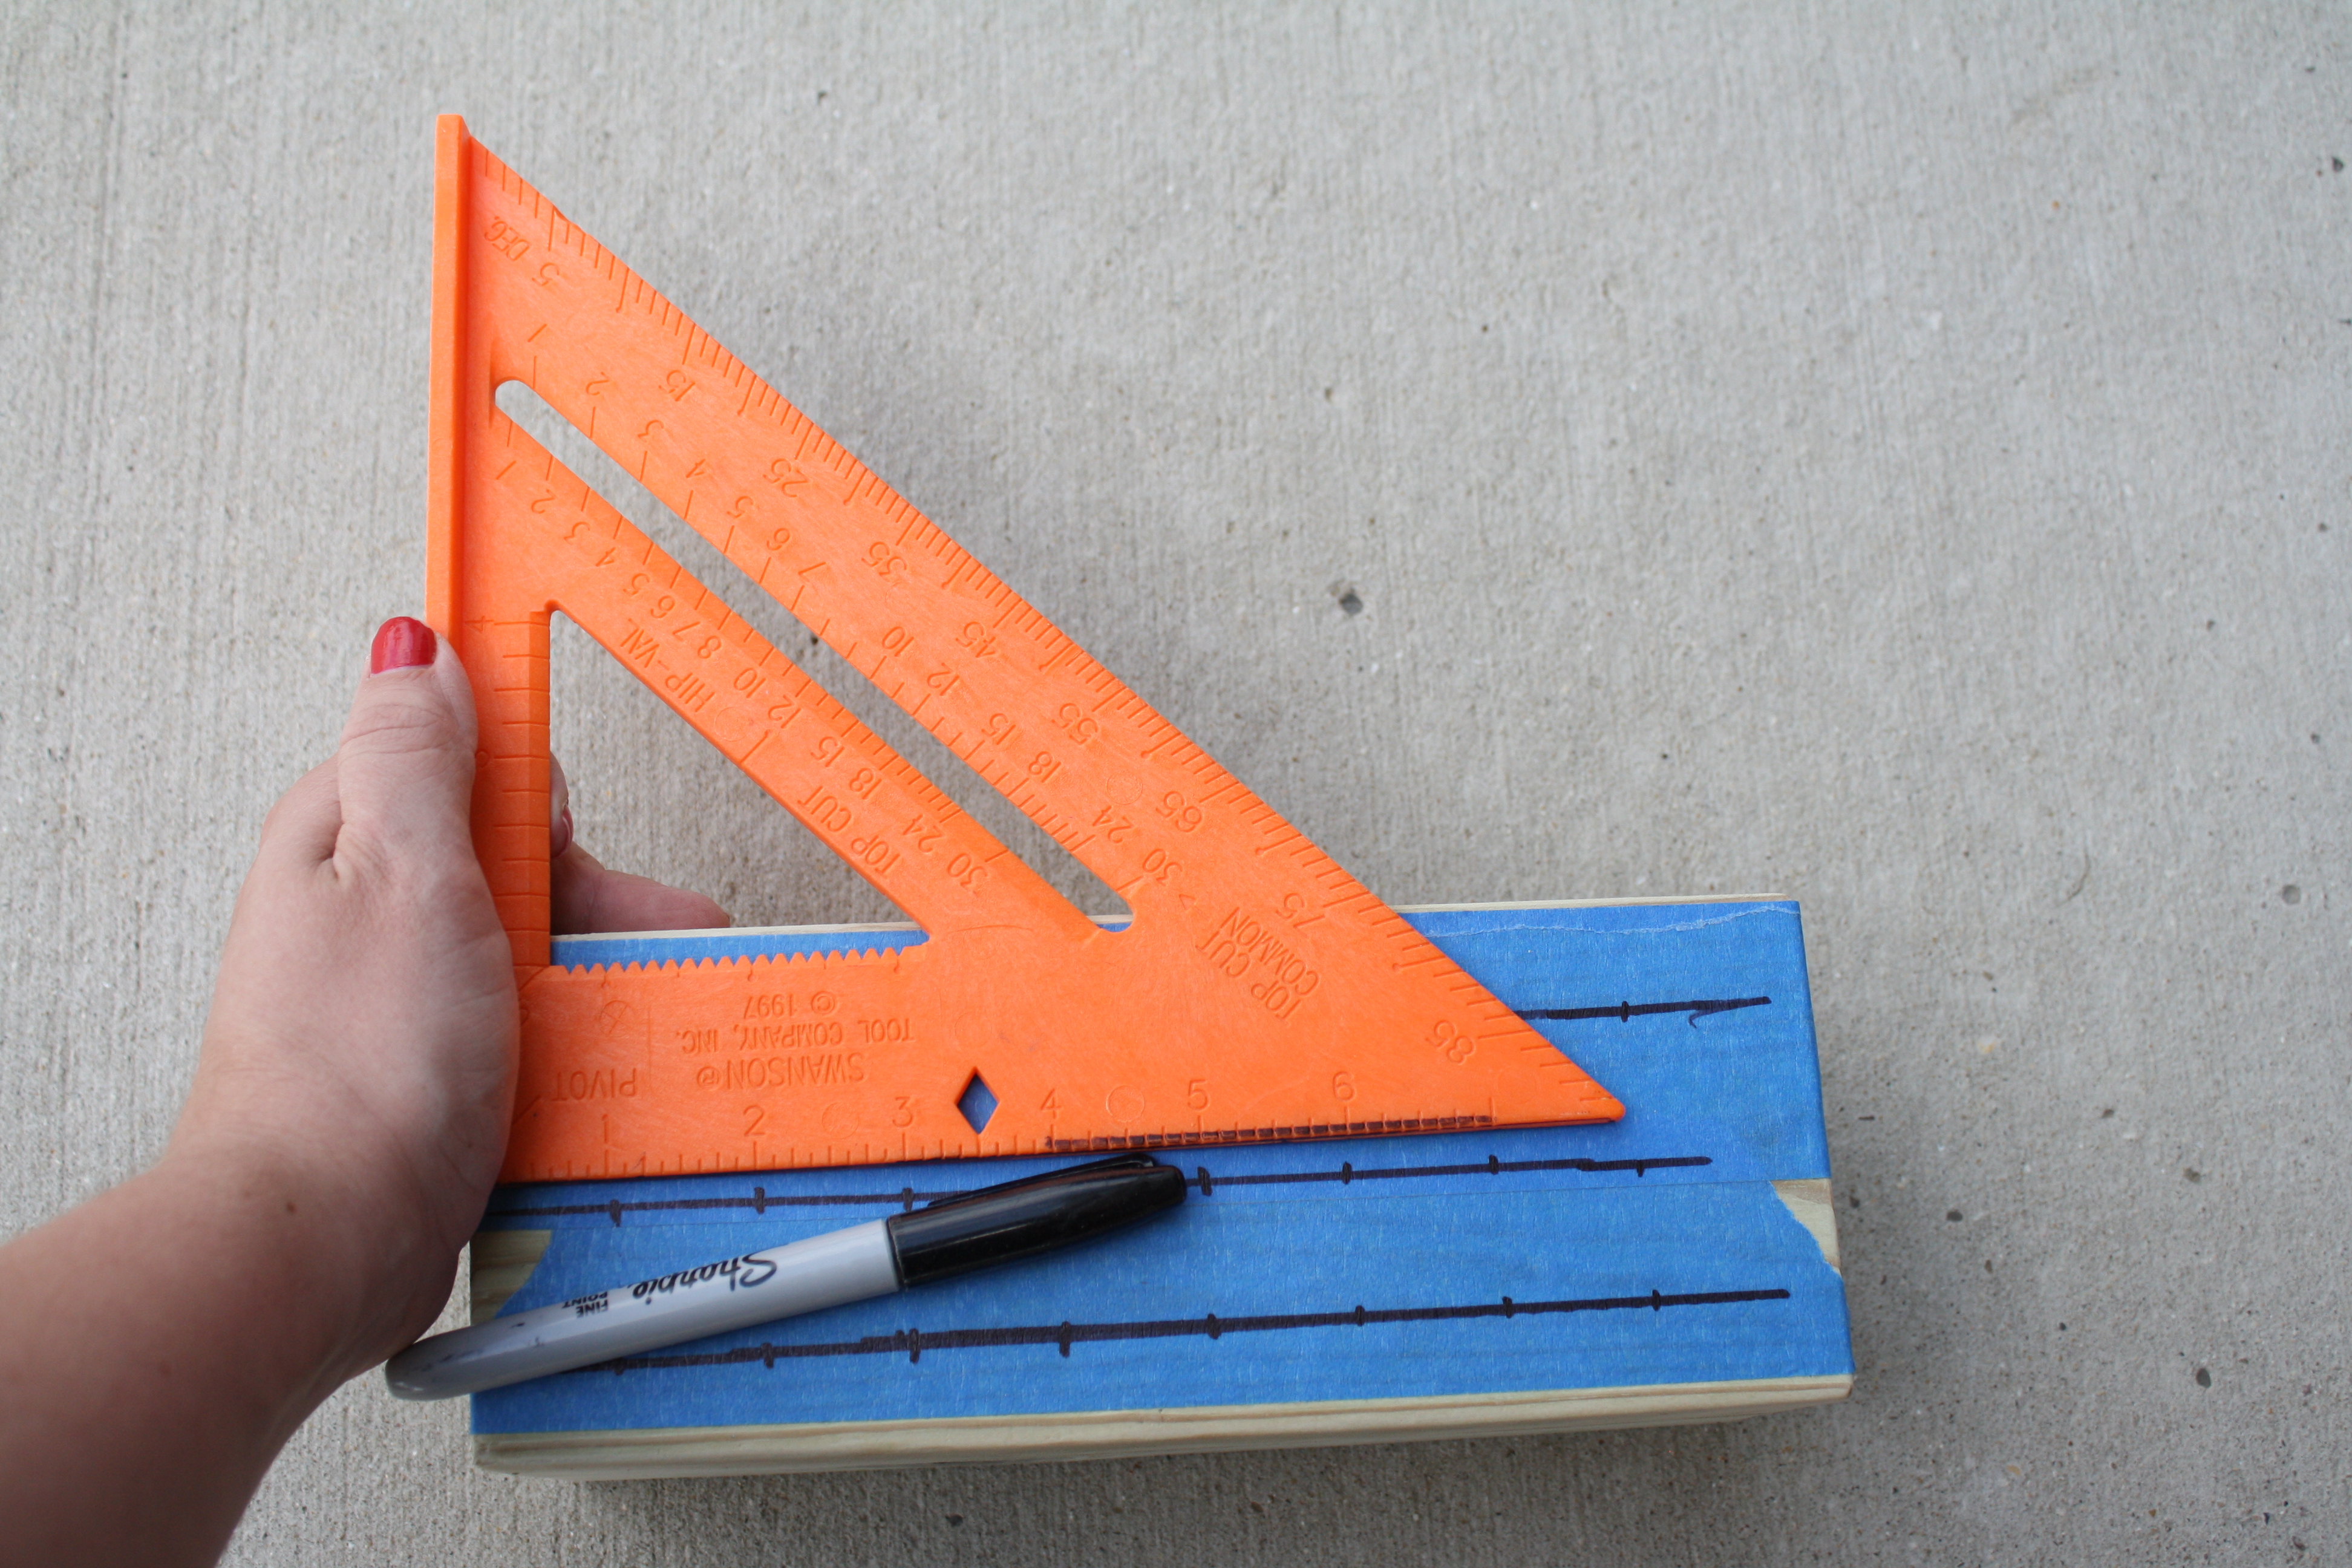
Once I measured where I wanted to drill, I used painter’s tape to mark the drill on how far I wanted to go down.
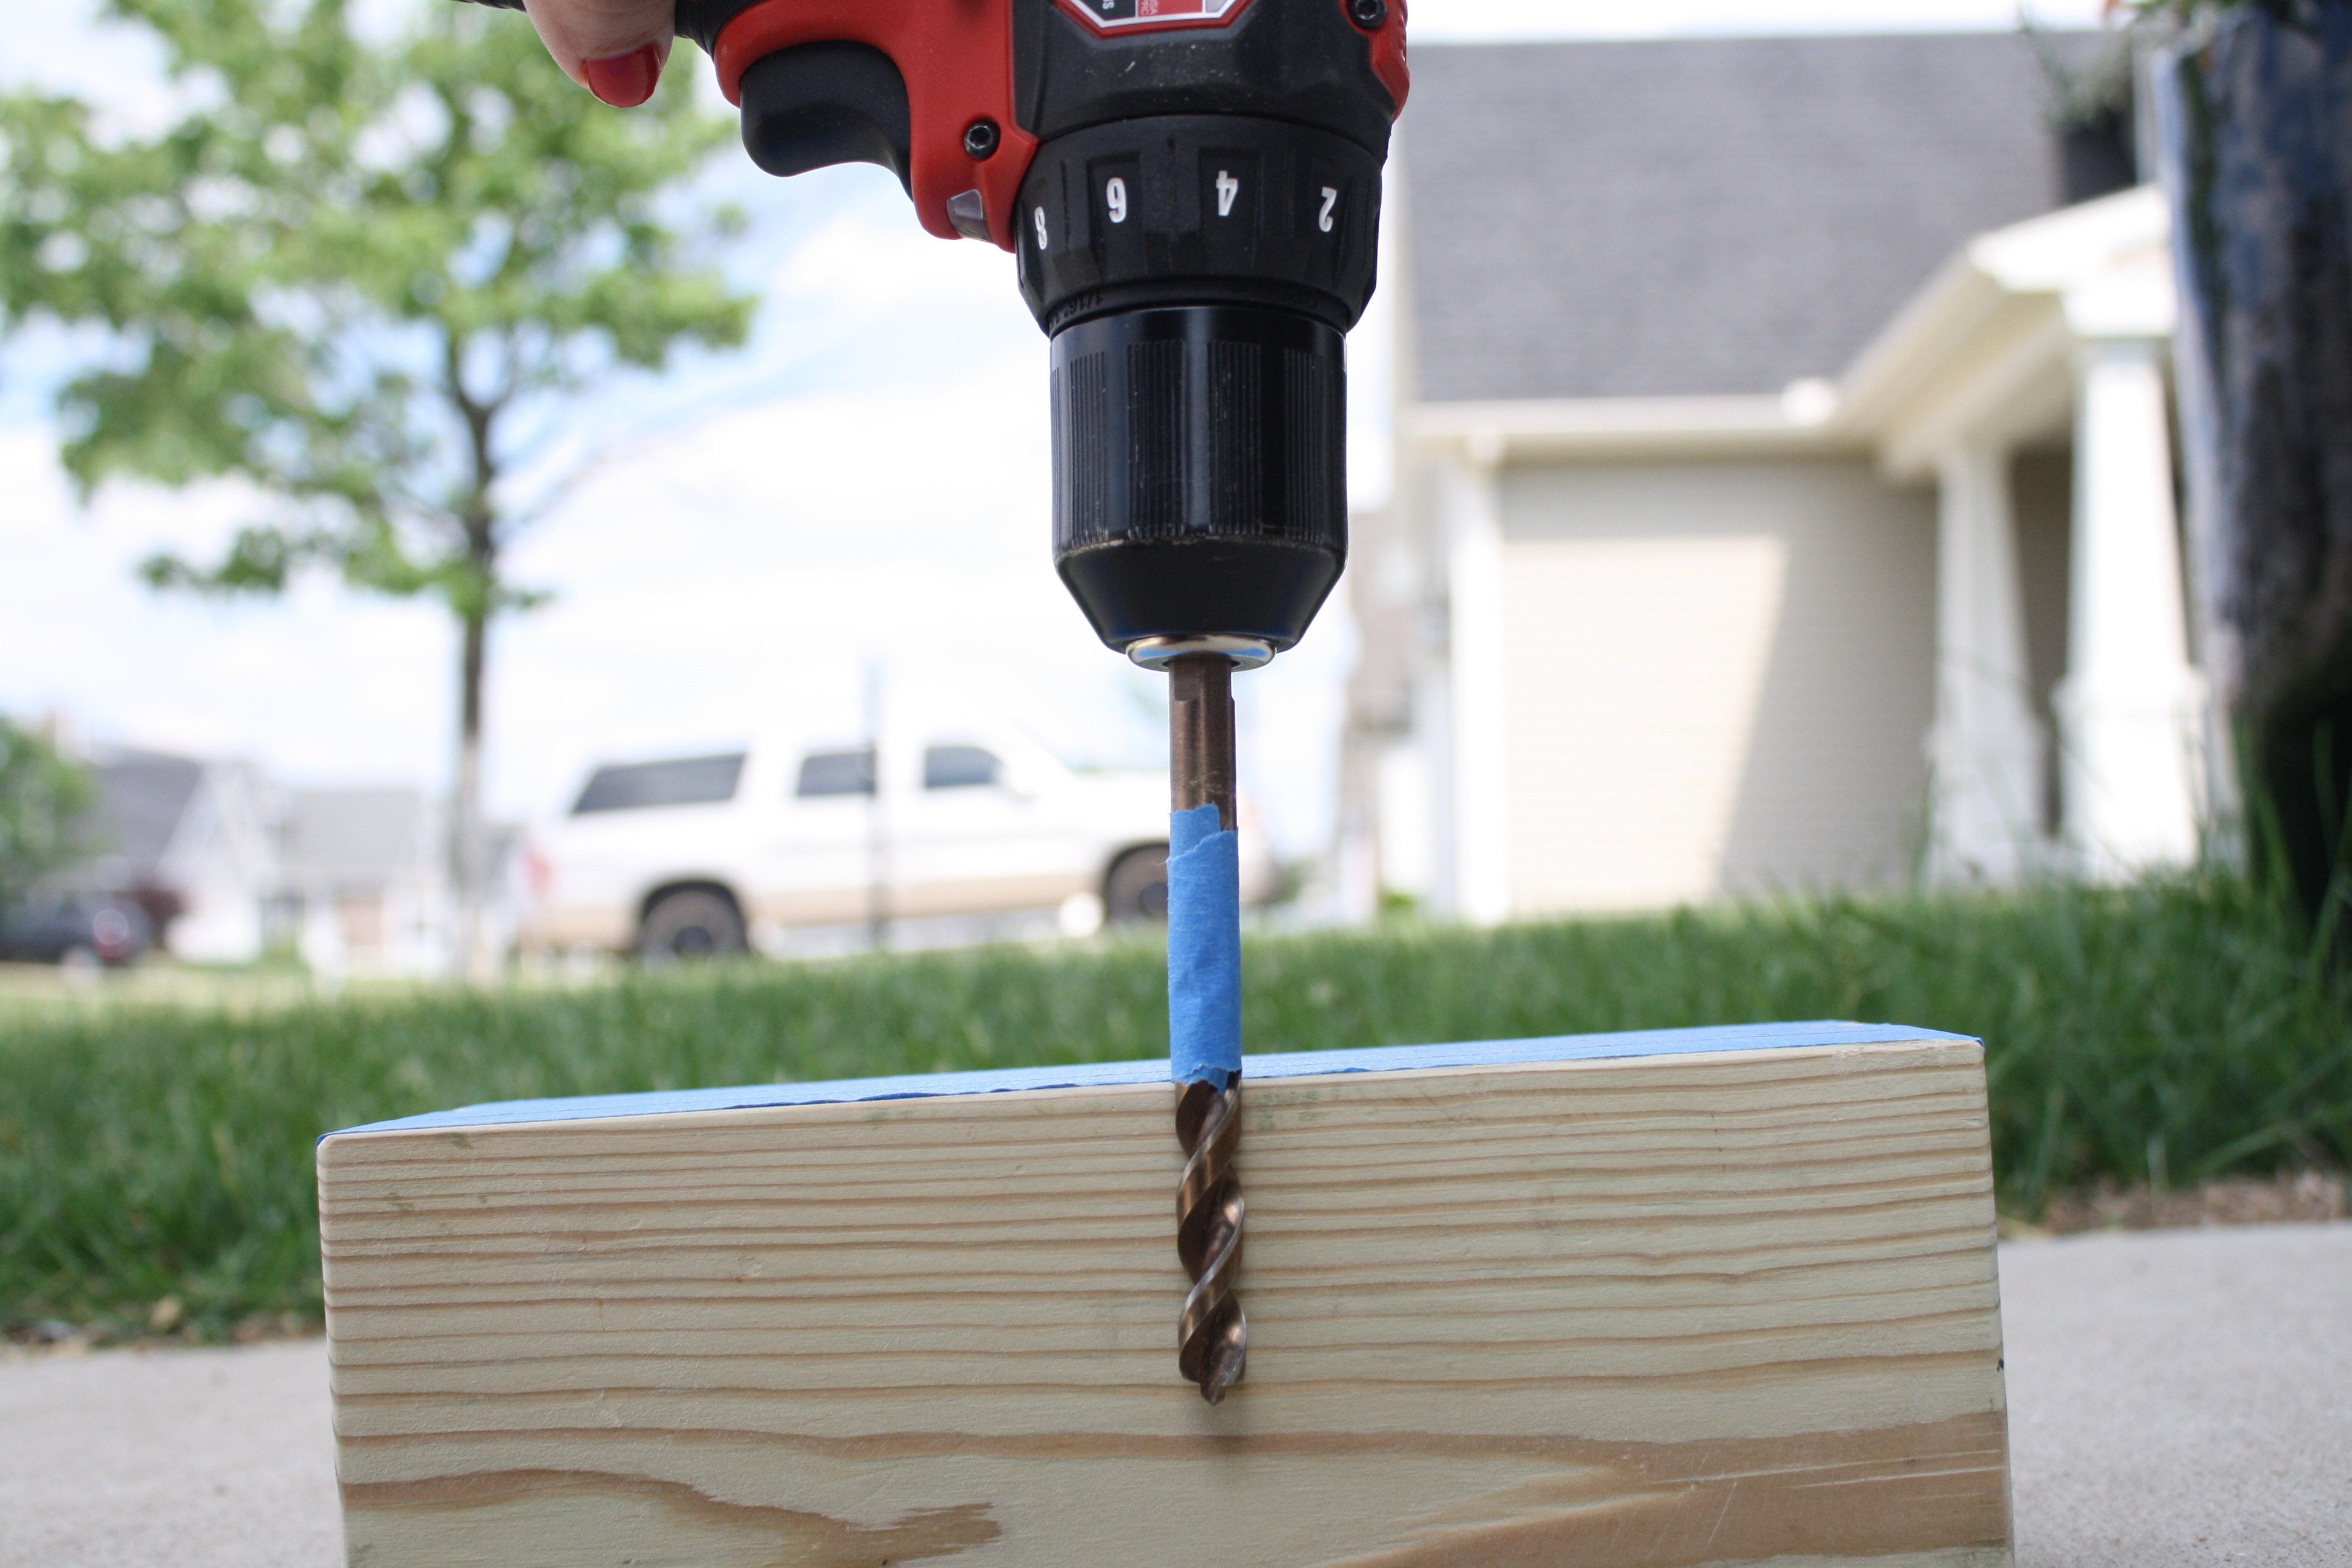
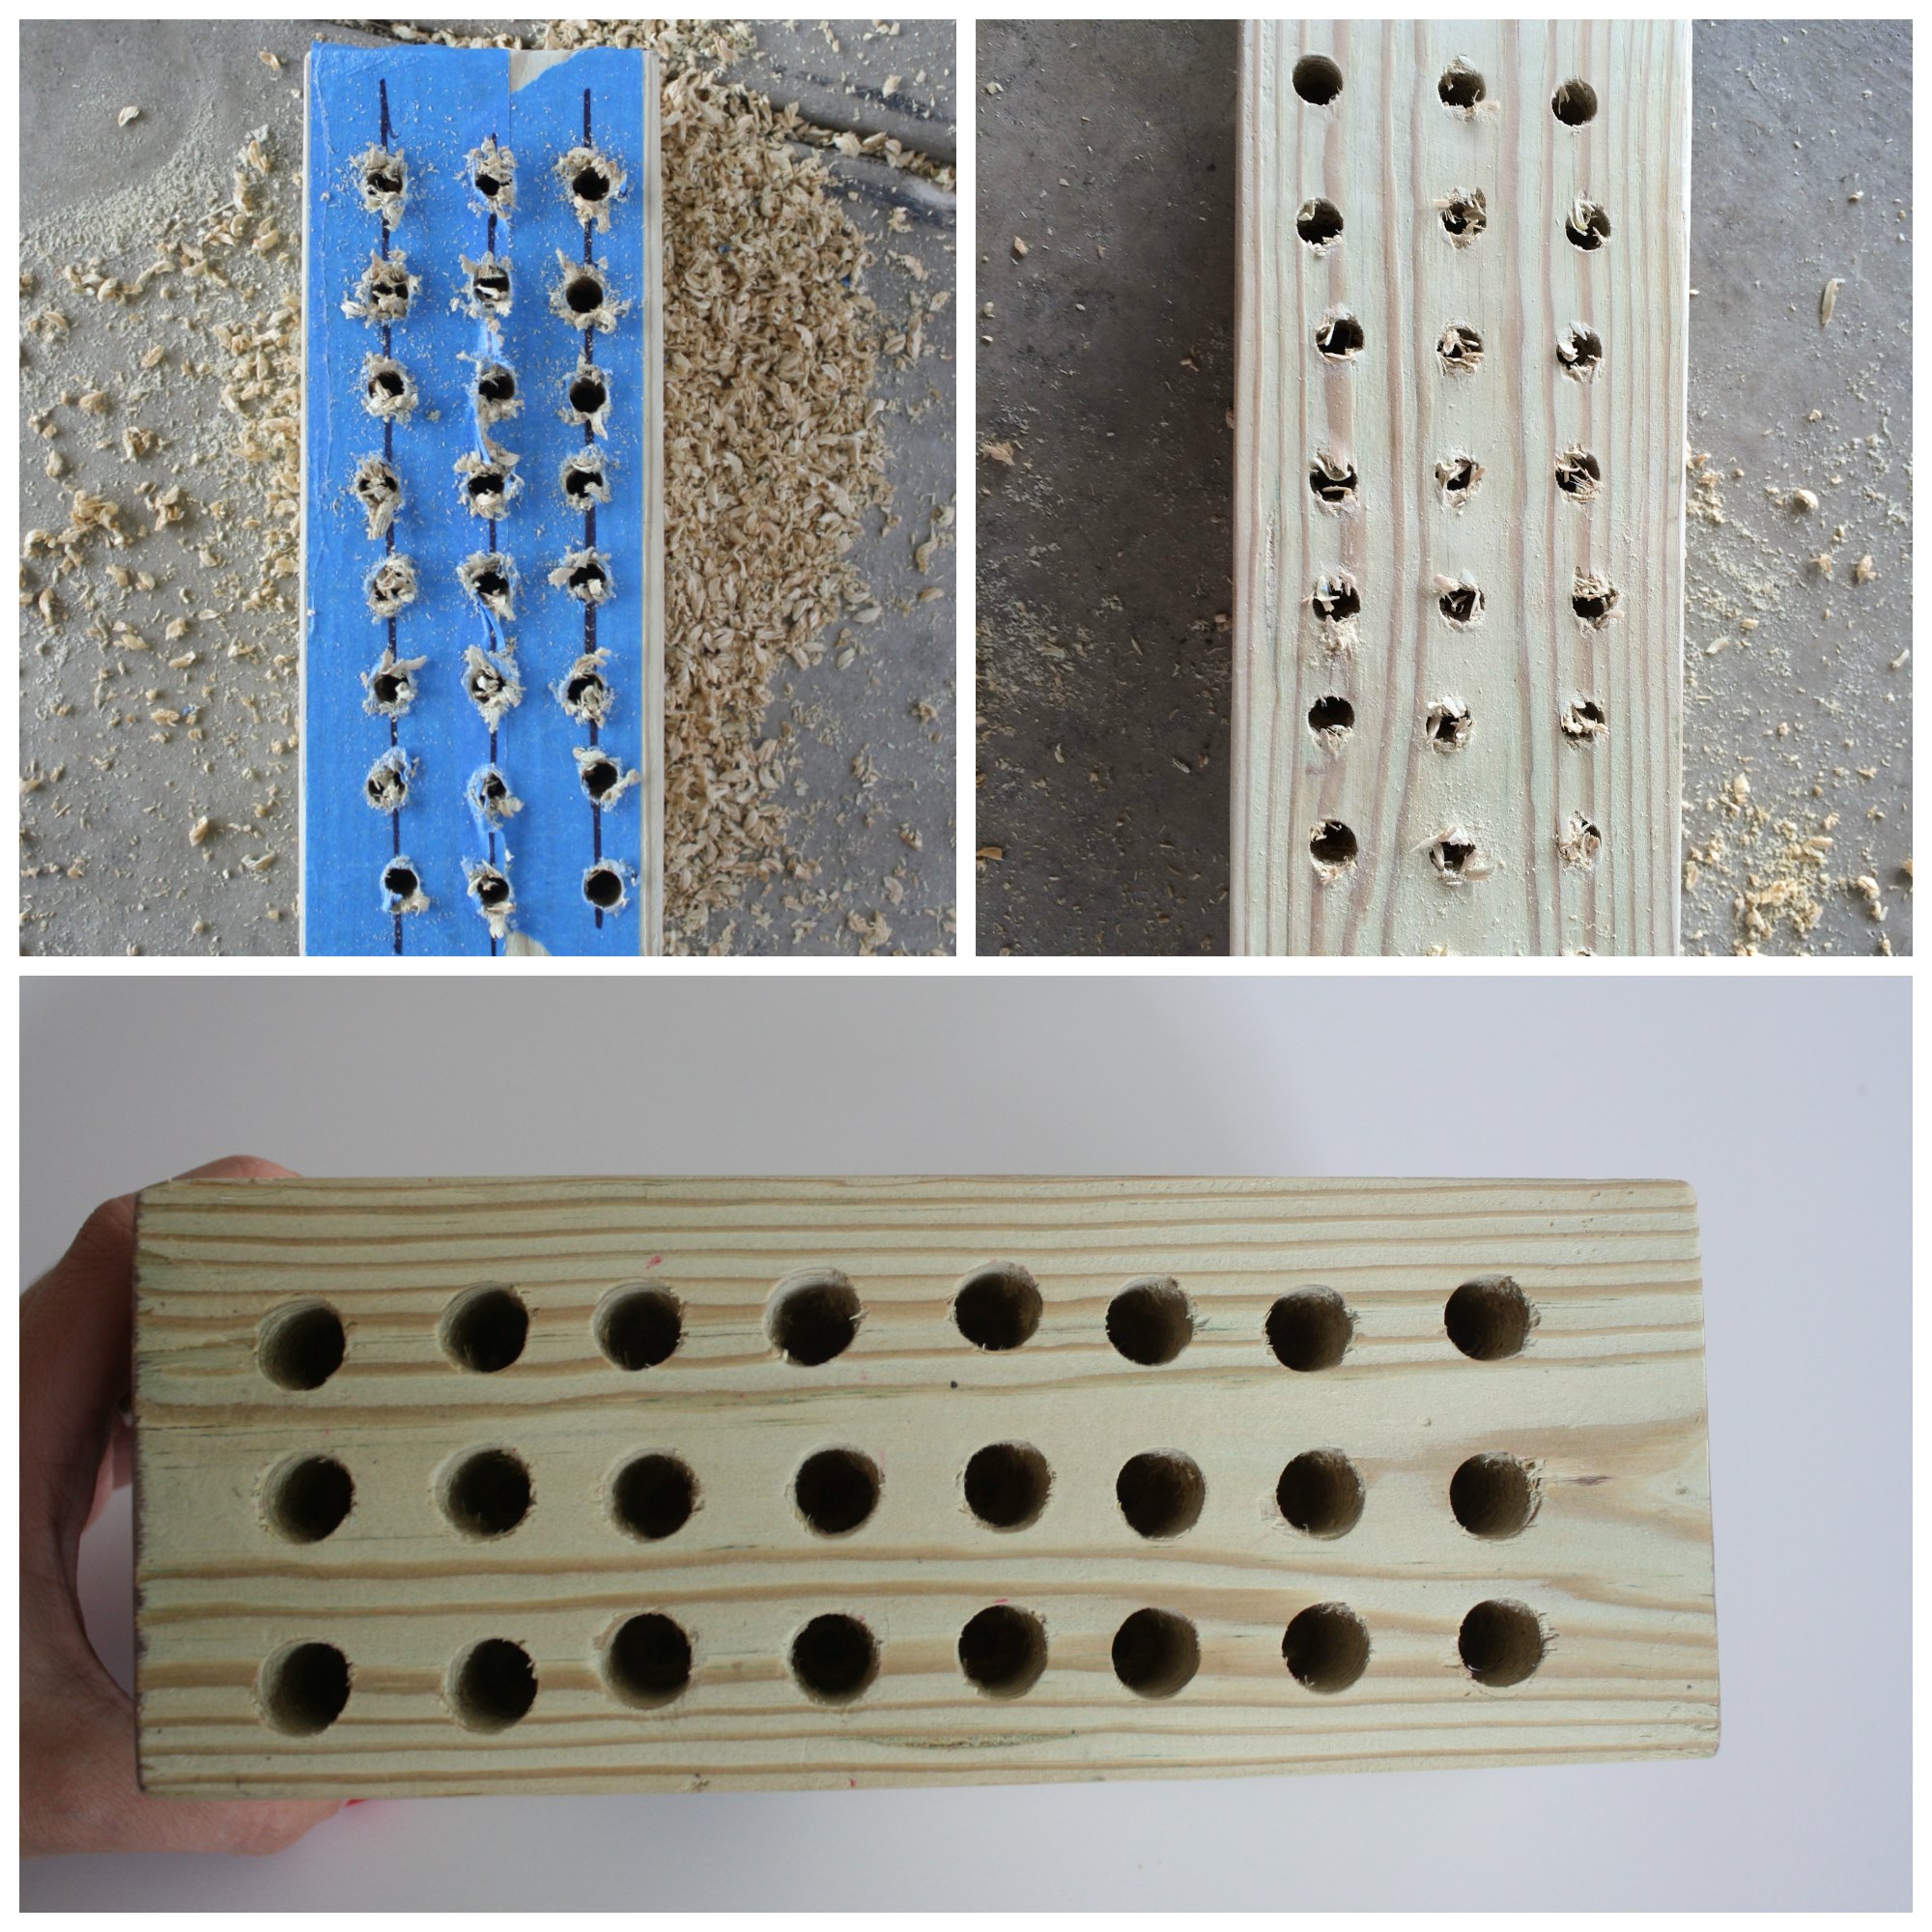
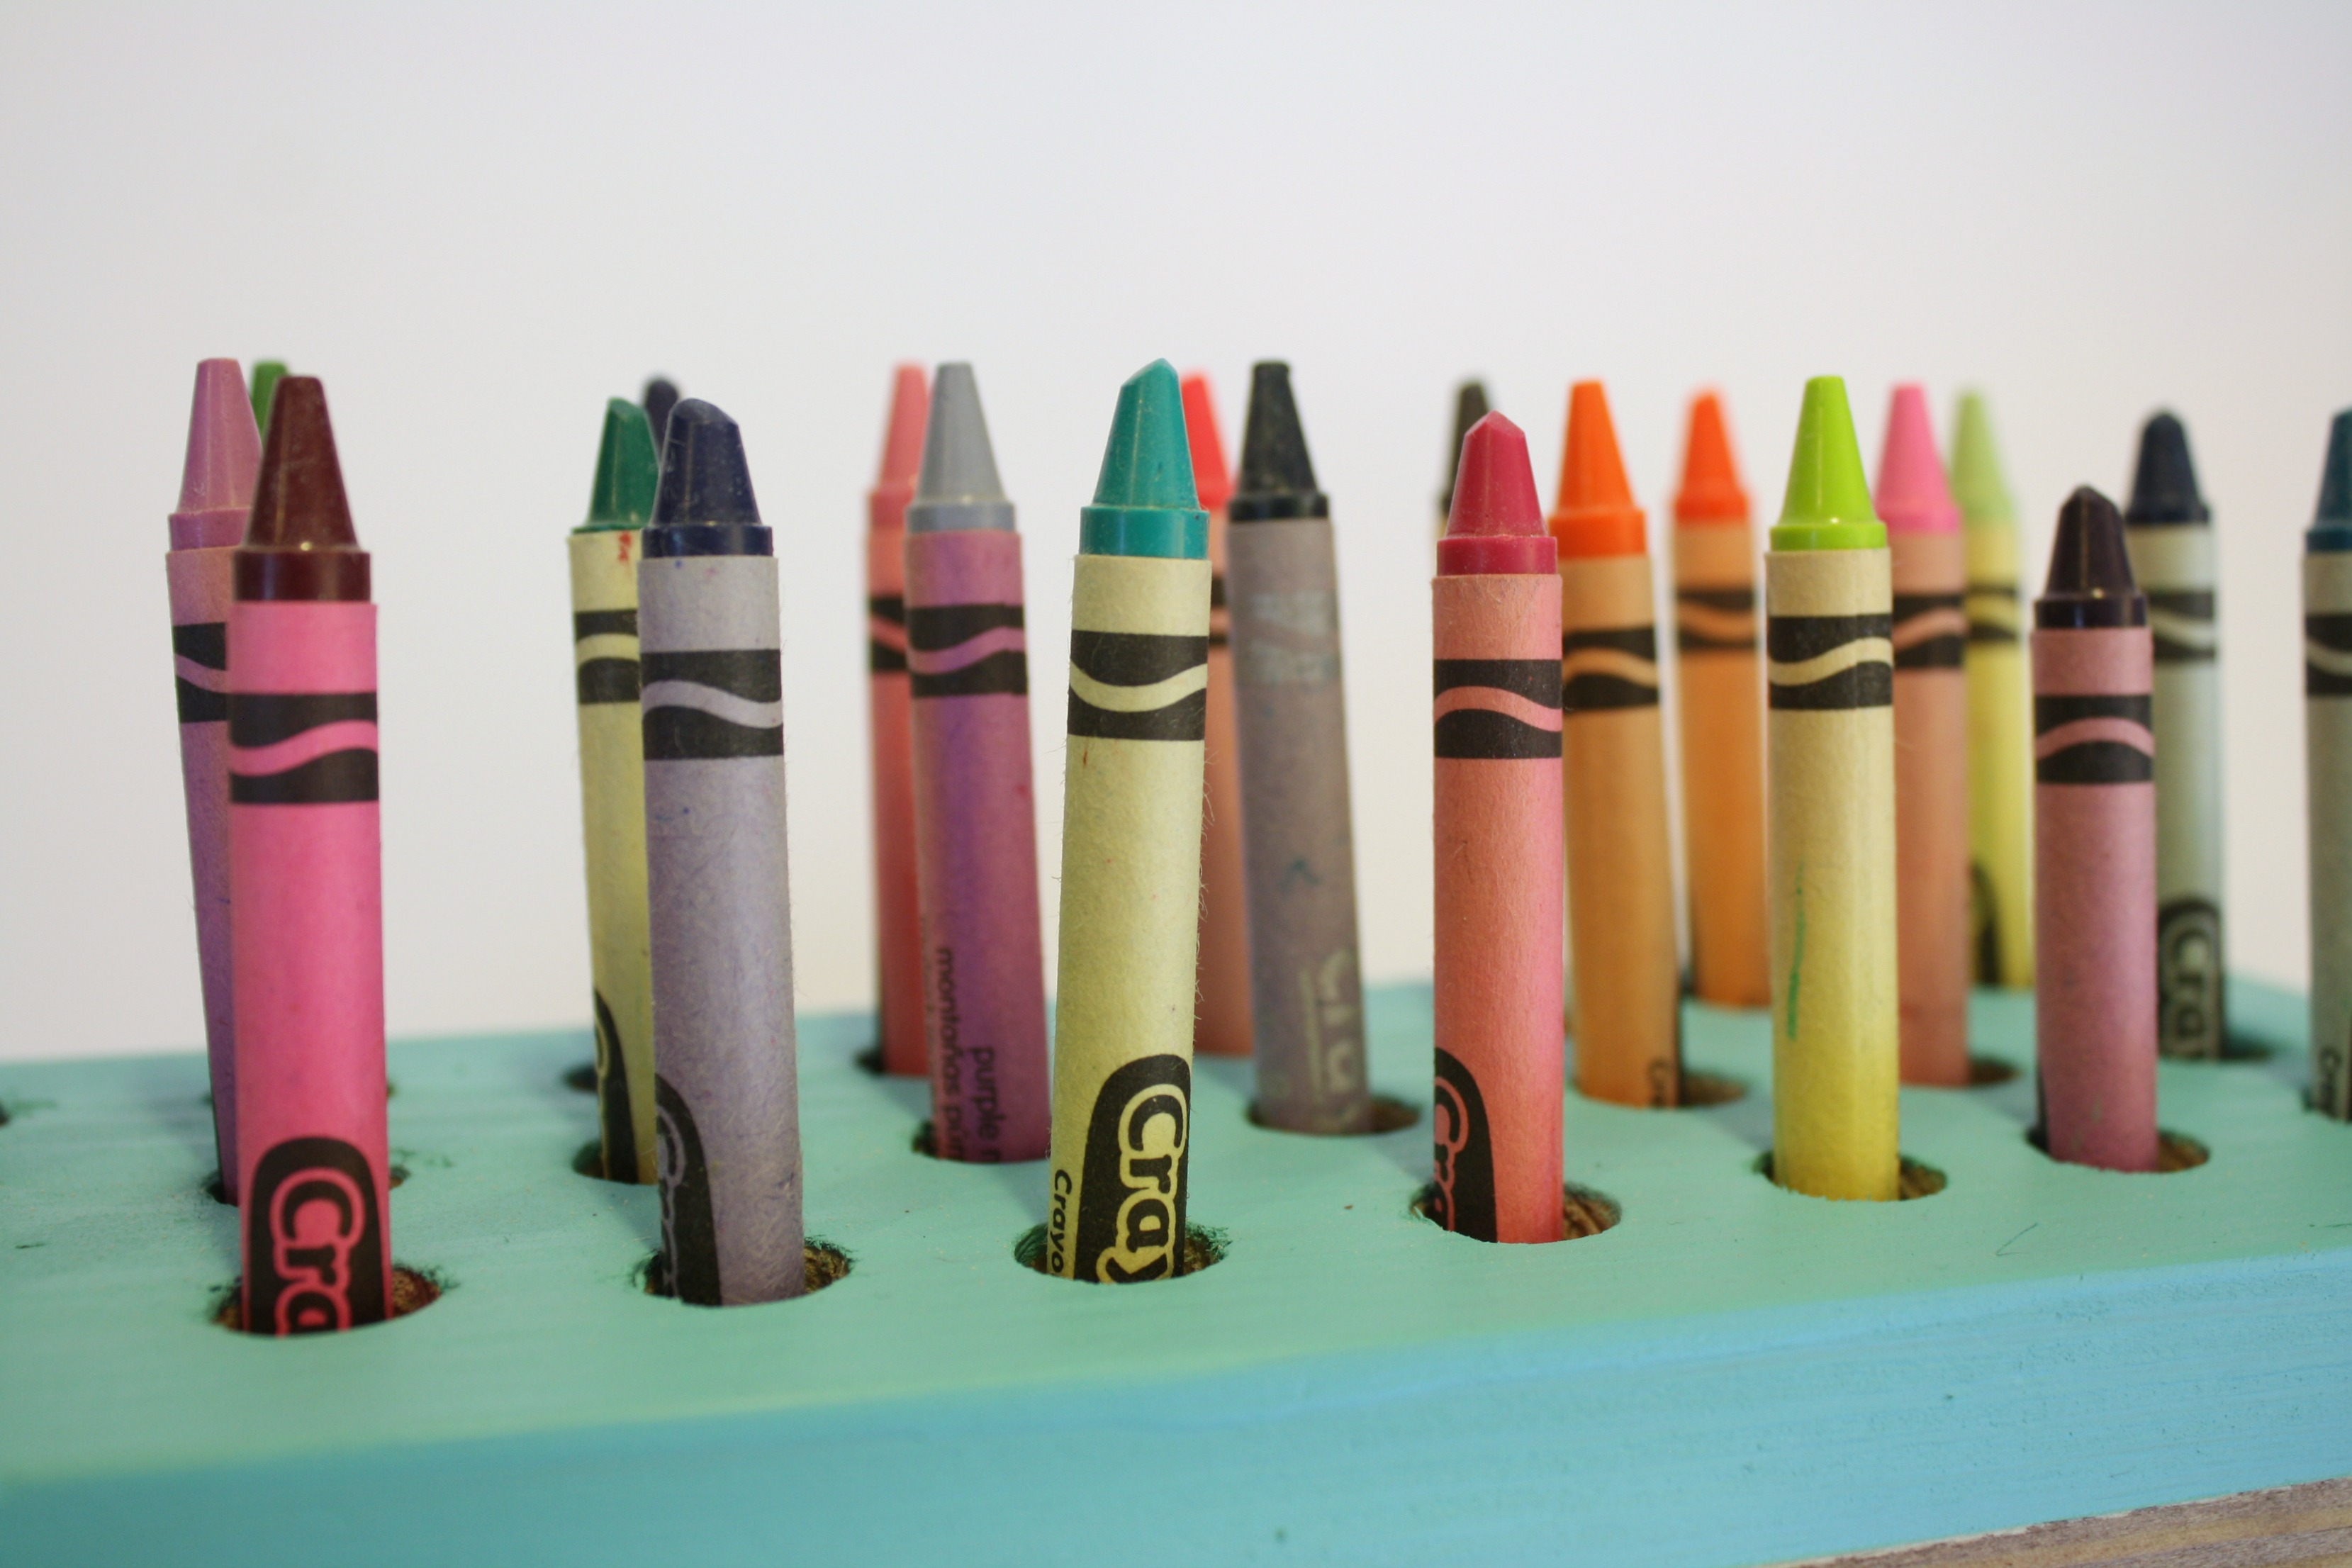
The above picture is actually entirely too deep (as I found out after the first try) unless you want to use this as a pencil or marker holder. The edges were super rough when I drilled using this drill. The wood was too new and I didn’t have the setting fast enough, which is where the drill press came in! The bottom photo was after using the drill press making the holes a bit larger and then finishing it off with a bit of sanding. Still not perfect but I didn’t know how else to fix it. Other people have done it perfectly with only a drill so I’m not sure why I wasn’t successful, but like always, I show what I learn!
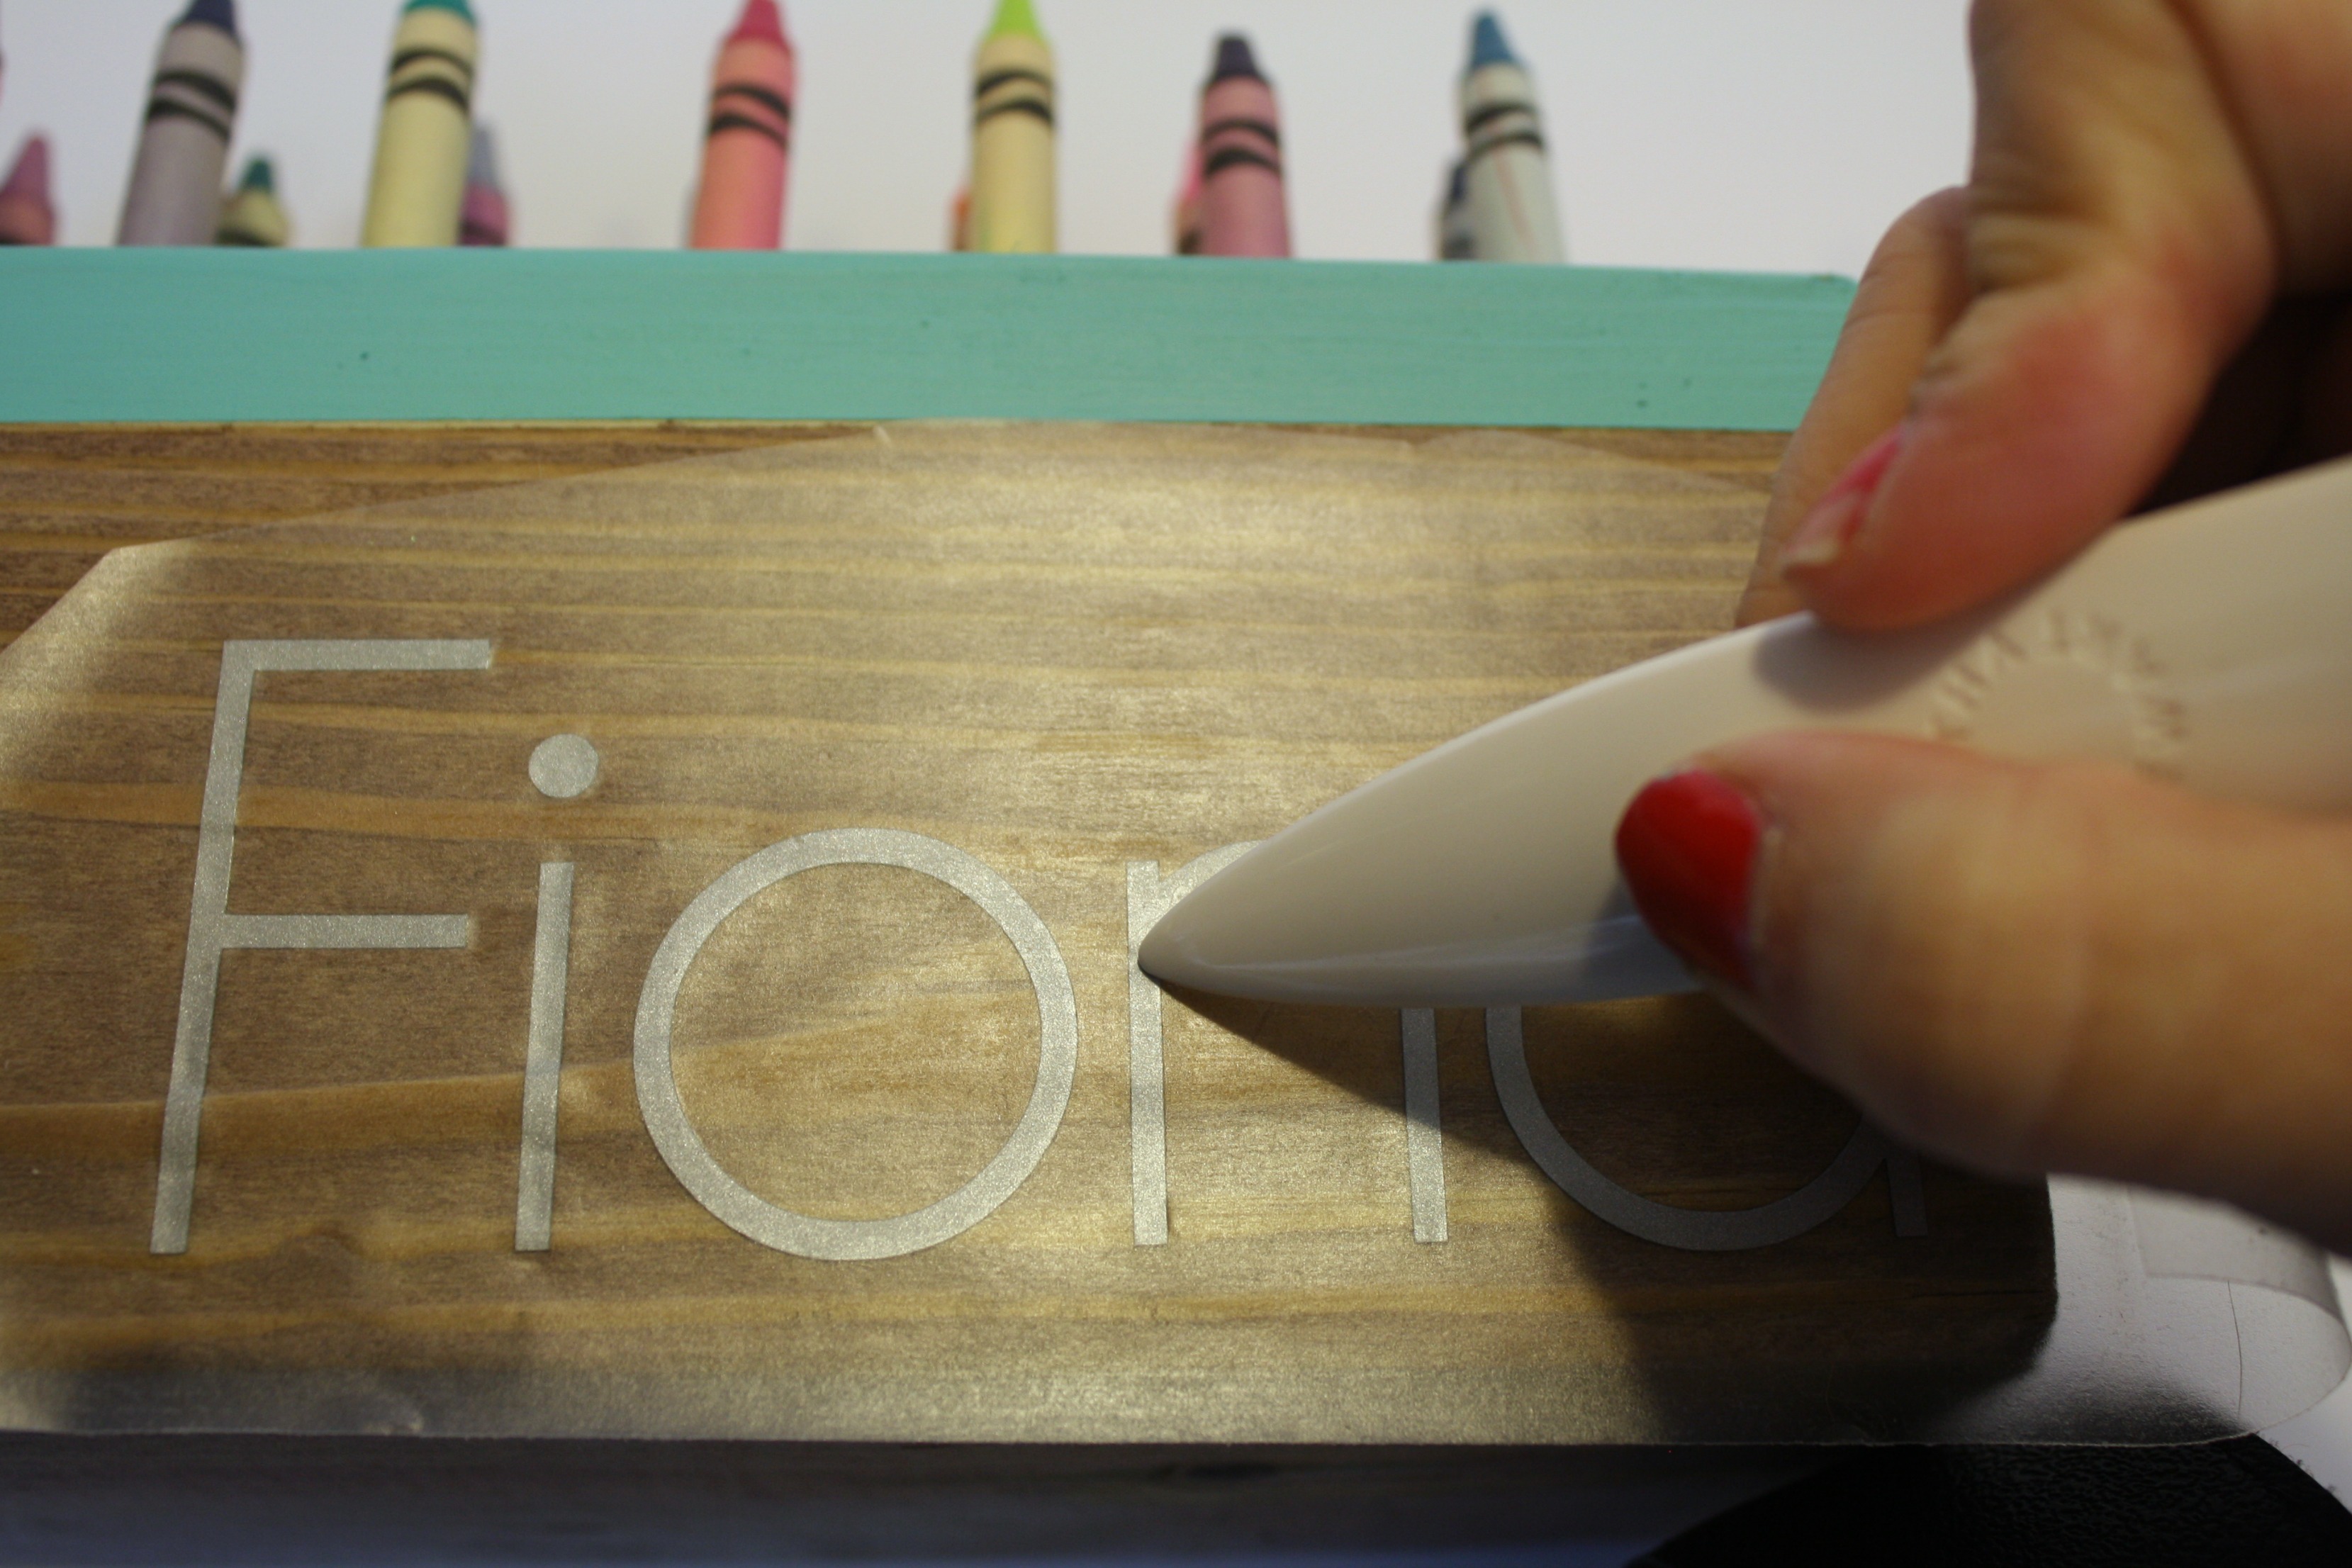
The next part was the fun stuff! I decided to make this crayon holder modern by doing a color blocking with stain and paint. I marked off where I wanted the wood stained with Frog tape, stained, waited for it to dry a couple of hours and then marked it off for painting. Both the stain and paint took two coats. Once they were both dry I adhered Fiona’s name using silver vinyl I’d cut out using my Cricut. If you do not have a Cricut you could hand cut lettering out from vinyl or use a stencil and painters tape to write directly on the wood.

This crayon holder could be used in a few different ways. I’m guessing she’ll use it as a crayon holder for now because that is her favorite medium. If you are making it as a colored pencil holder, you’d want to make the holes deeper and slightly more narrow. You can see with this shot that I left the inside of the holes raw and the extra room I left so the paper on the crayons won’t get chewed up when putting them into the holes.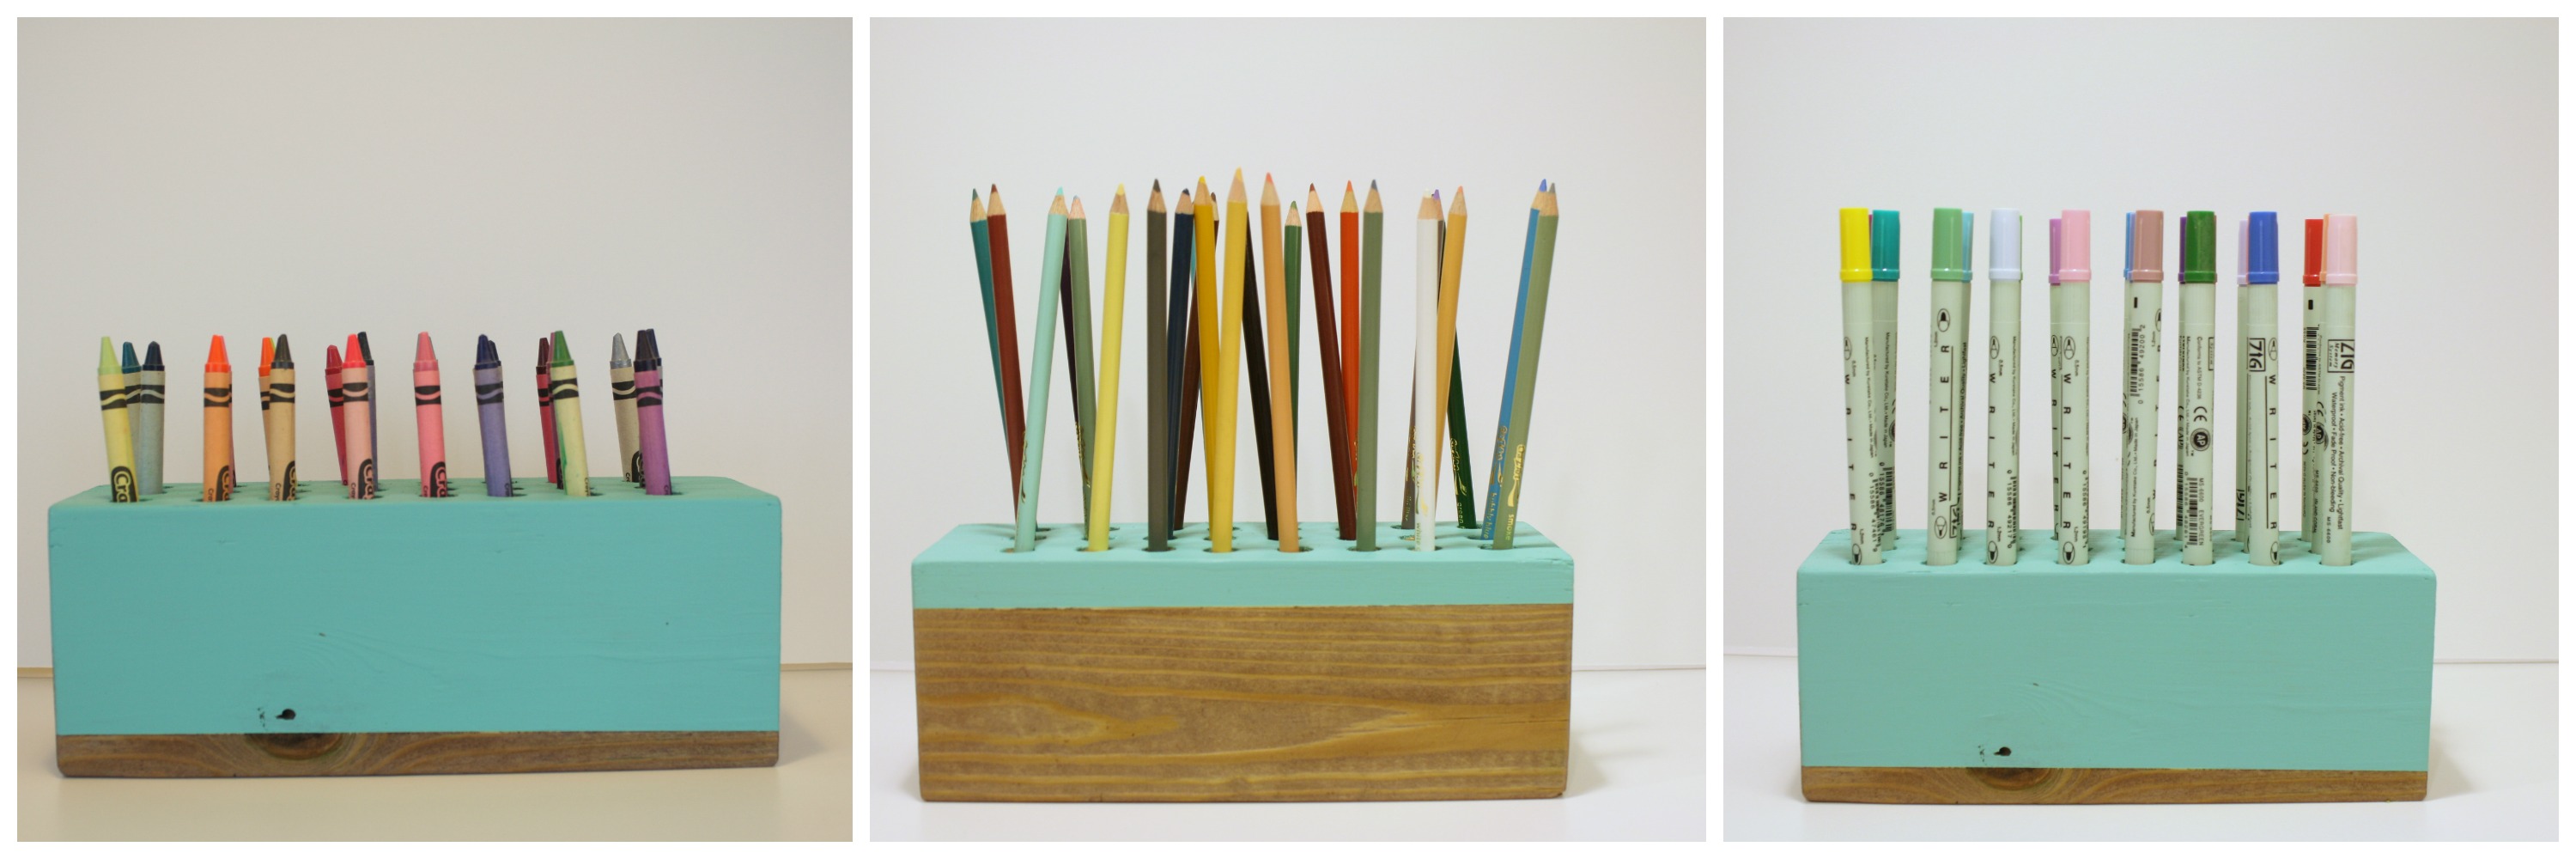
I think it turned out pretty awesome! I wish the holes on the top were more smooth but other than that, I love this crayon holder.
*You can modify these materials quite a bit. You could use two 2×4 glued together rather than a 4×4. Check out the scraps pile at your local hardware store! You could stain or paint the entire project or leave the wood in it’s raw form. You could use a drill rather than a drill press and you could hand write a name or ‘crayons’ on the project with a paint pen.
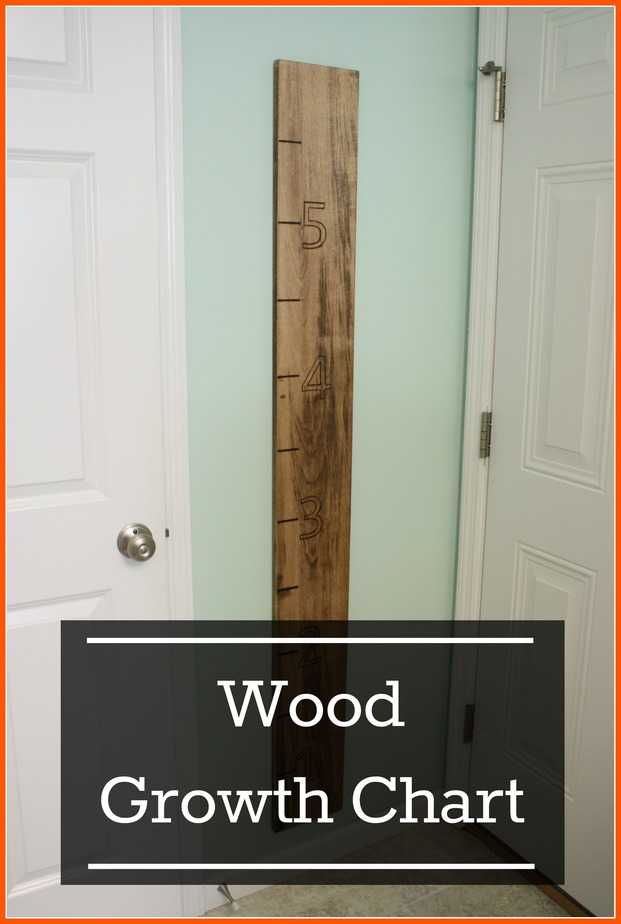
For other school inspired posts:
Pin for later…