Hello to all you people itching to decorate for Halloween! I started early this year, by a week, and my husband was NOT happy. I had to though because our October weekends are already full and I really wanted to make a Halloween street sign! I’d seen street signs like this for weddings and have always thought they were cool but didn’t know when I’d ever use one…until now!
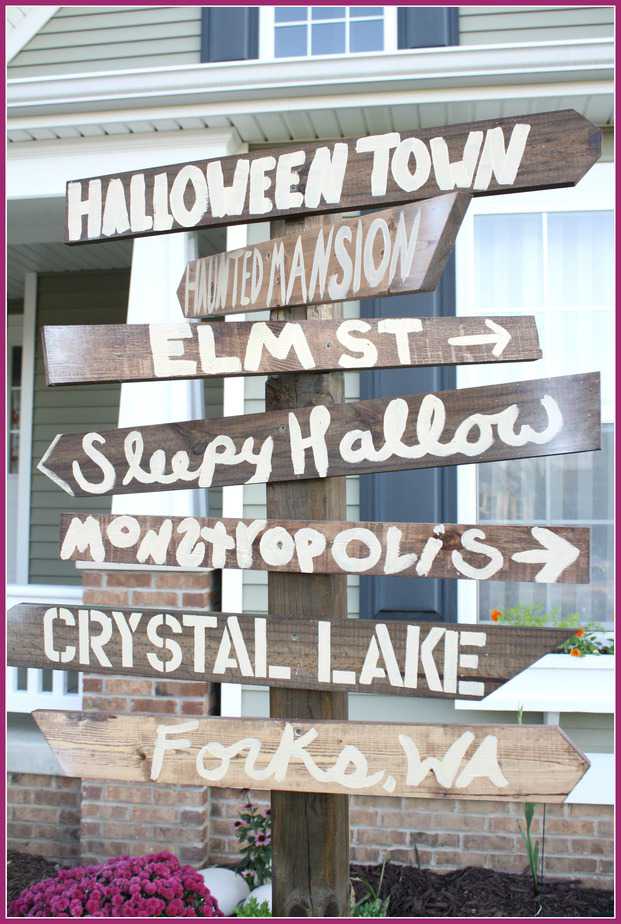
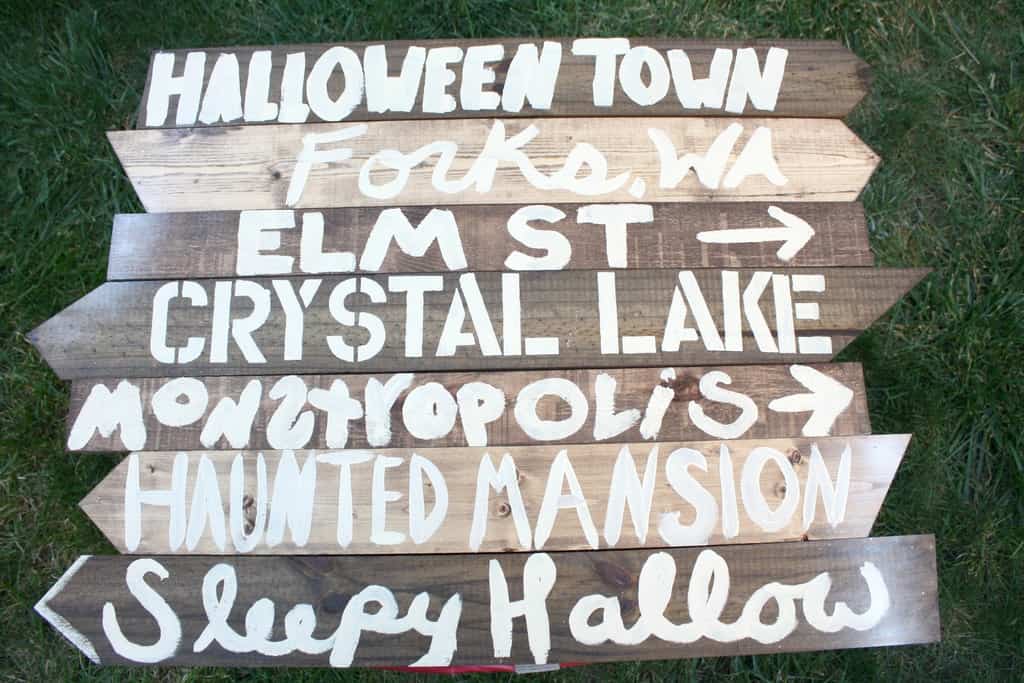
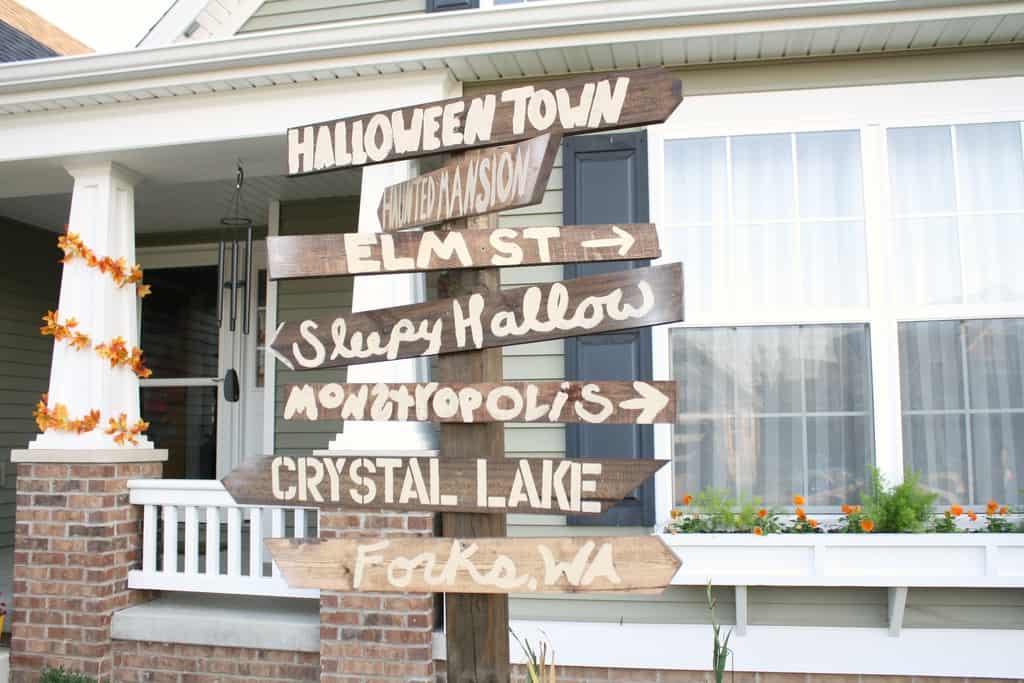
I loved making this sign because I could put our personalities into it. We made a list of scary/Halloween places and narrowed it down to our top 7 favorites. Unfortunately, the Shrieking Shack did not make the cut but I’m pretty happy with the ones that made it on the sign. Obviously to represent #teamEdward, I had to have Forks, WA. I also had a few nods to Disney with Jeffrey’s favorite Disney movie, Nightmare Before Christmas (as well as Monstropolis and The Haunted Mansion.) I’ve been told Crystal Lake and Elm St. are from popular scary movies of which I will never watch. I’m pretty sure everybody, young or old, knows the tale of The Headless Horseman so we threw Sleepy Hallow on as well. For us, this project was 100% free because we had every item on hand, but it would still be a fairly cheap project if you were looking to buy the materials. Check out the scrap wood pile at your local hardware store for free wood.
Materials Needed:
- 7 ft 4×4
- Several 1×3, 1×4, 1×5 or 1×6 boards cut at varied lengths
- 8ft 2×4
- Miter or Hand Saw
- Chisel (optional)
- Wood Stain
- Brush and Rag for Stain
- Screws
- 2 Bolts & 2 Nuts
- Acrylic Paint & Brushes
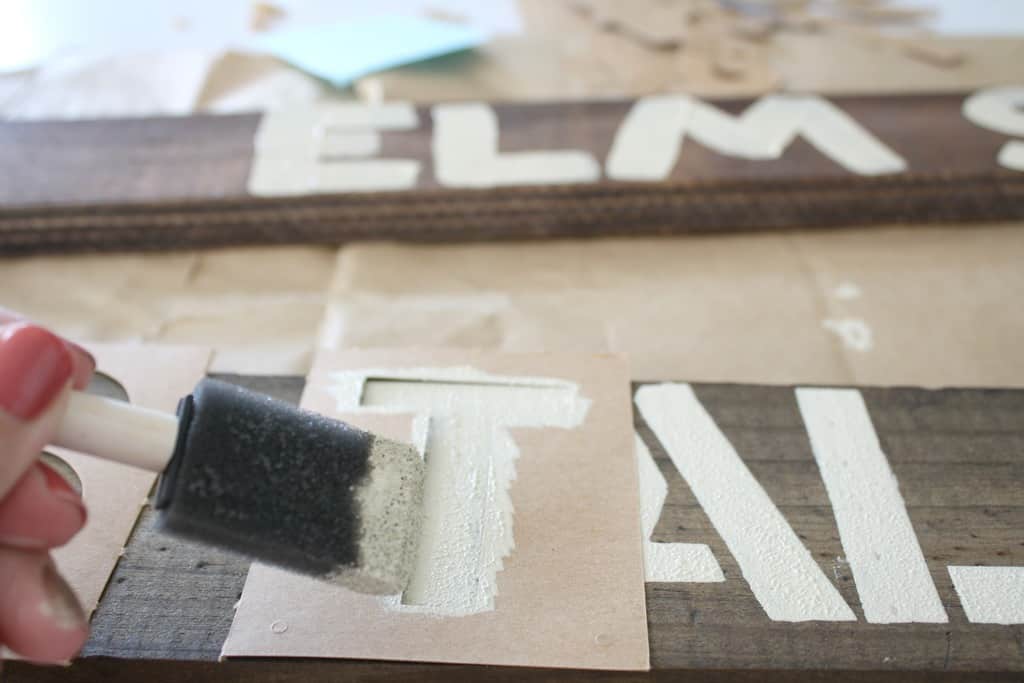
- Letter Stencils
- Polyurethane Spray
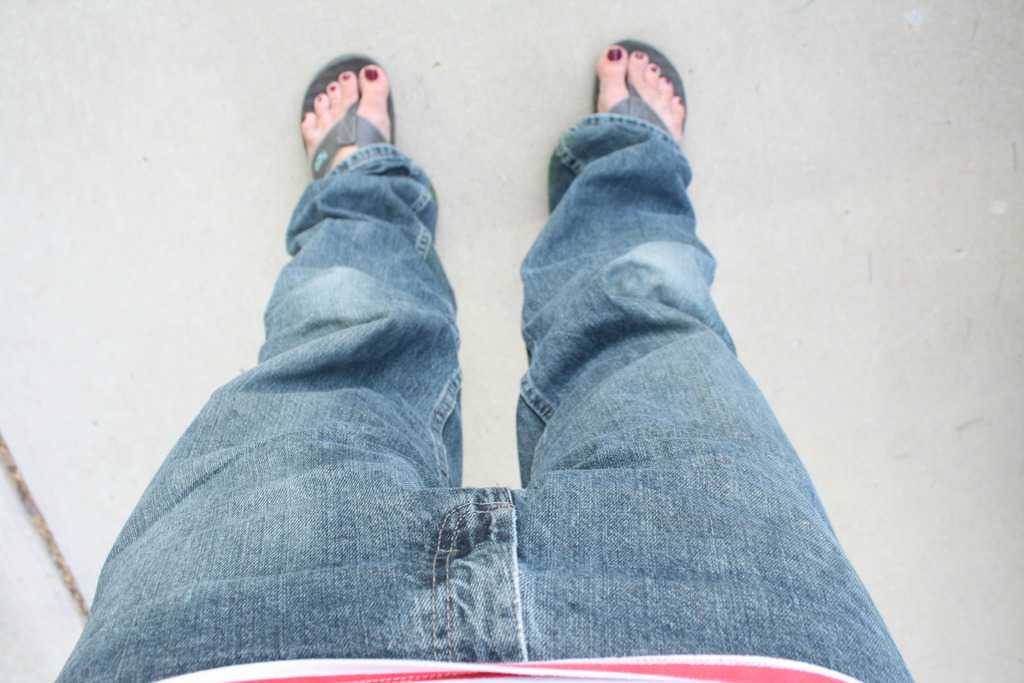
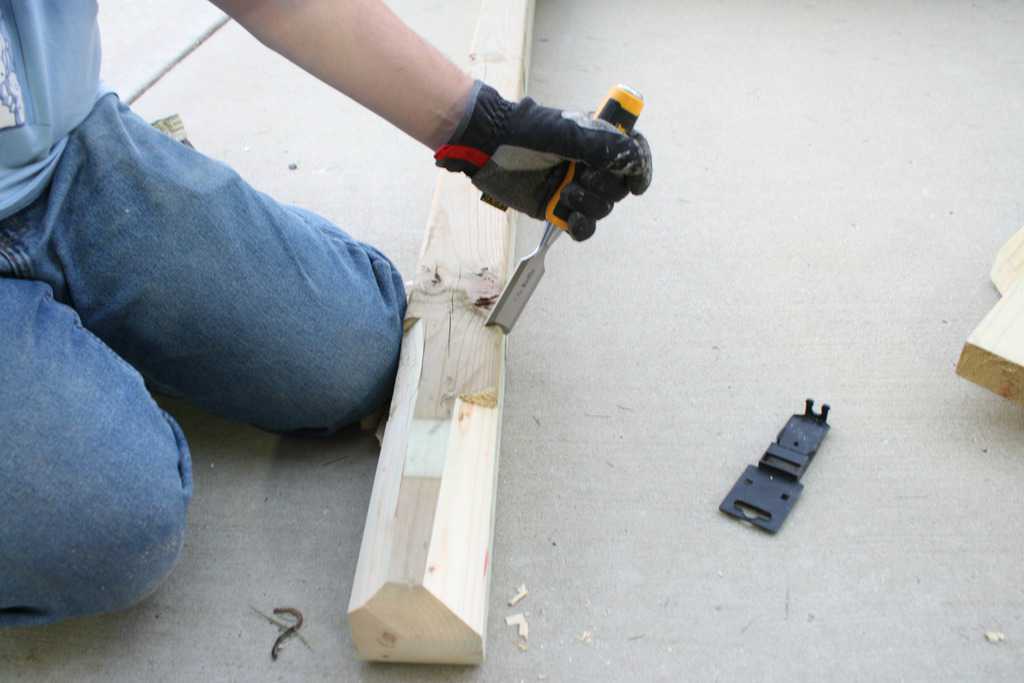 The first step is to wear the proper clothing. Flip flops are not the proper protection when working with large lumber and a saw but I can’t wear shoes because of my broken toe. Your husband’s jeans are the other piece of attire that you will want to wear, as you will get sawdust and stain on your clothes (don’t forget to ask first.)
Jeffrey had the great idea to have some of the boards angled, so he used the miter saw to cut the corners off the 4×4 and finished them off with a chisel to make the angles longer. This step is optional.
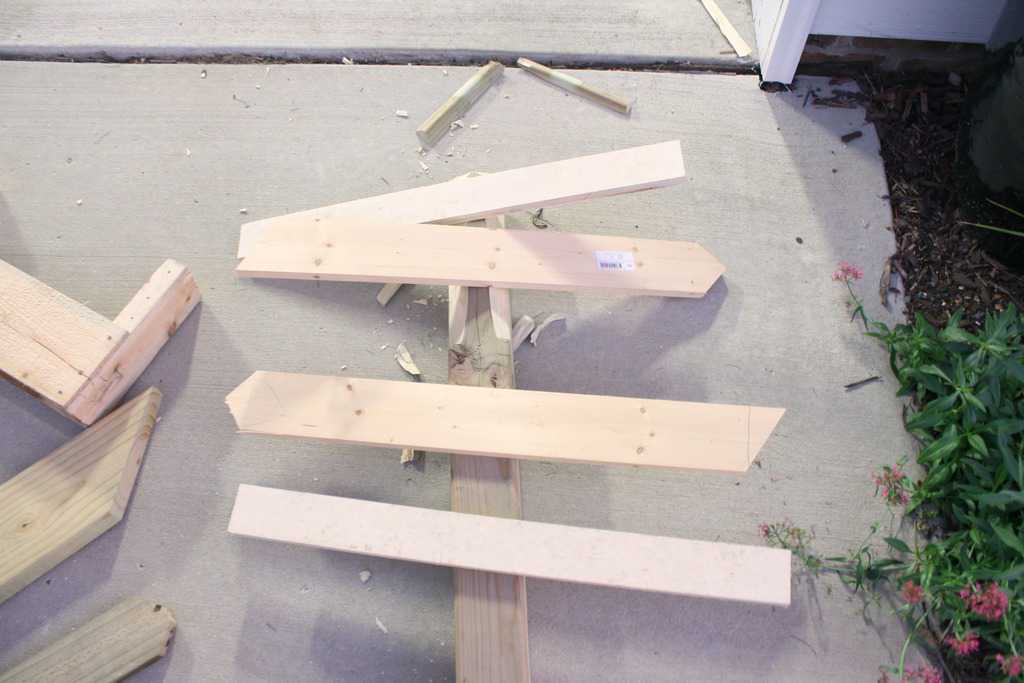
As you cut boards, lay them on the sign to see how you like them spaced. By laying them out we decided which ones we wanted to have points on the end and made sure we didn’t have too many that looked the same. (Please forgive the photo as it was dark when we were building.)
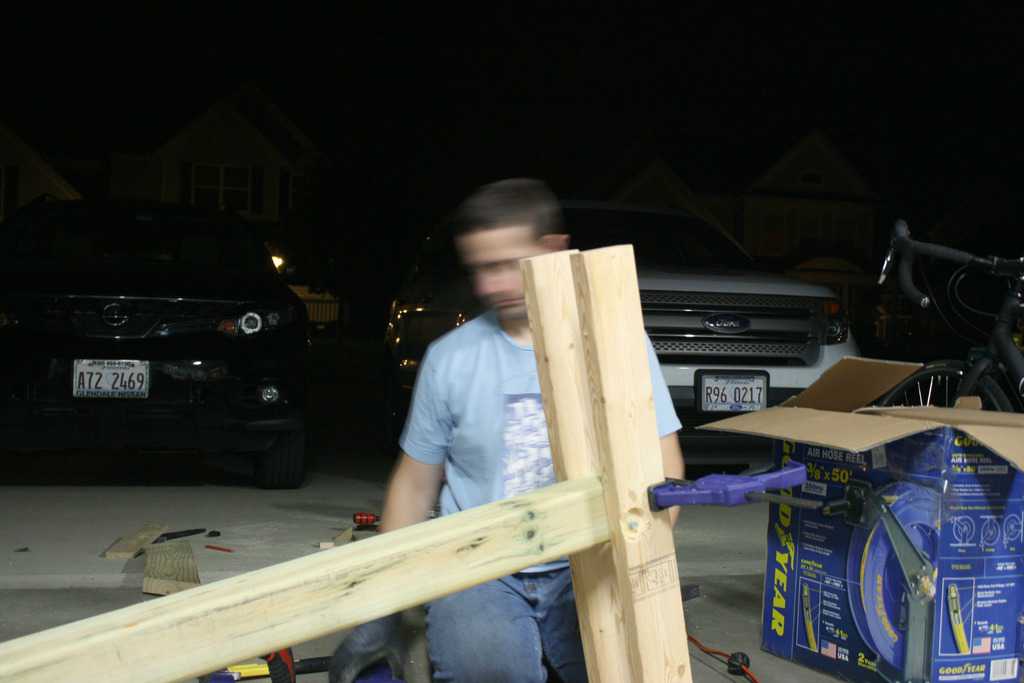
For the base, Jeffrey used nuts and bolts to attach two 2ft 2x4s and screwed two 2ft 2x4s perpendicular on the ends of those boards, making an H.
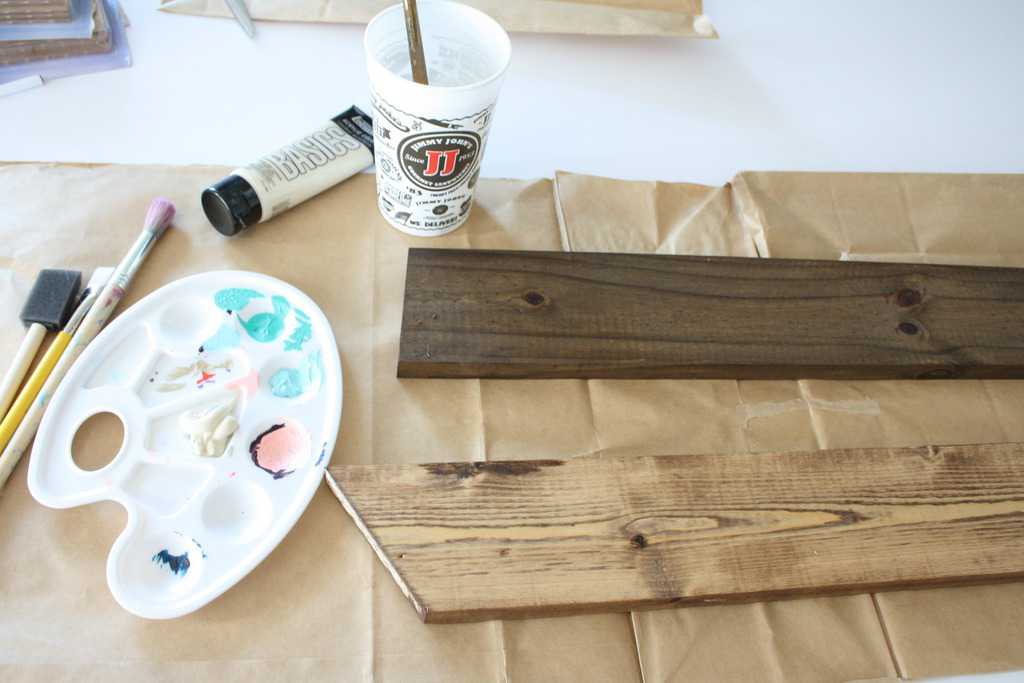
I stained the wood pieces according to the directions on the can. I stained them by the motion detective security light that constantly was turning off. Mistake number two (the first was wearing flip flops.) Thankfully, I didn’t mind if the stain was uneven and having some boards darker than others, because I wanted them to look different, as if they were added at different times. I also liked that we had several types of wood so the stain ended up being varying shades of brown.
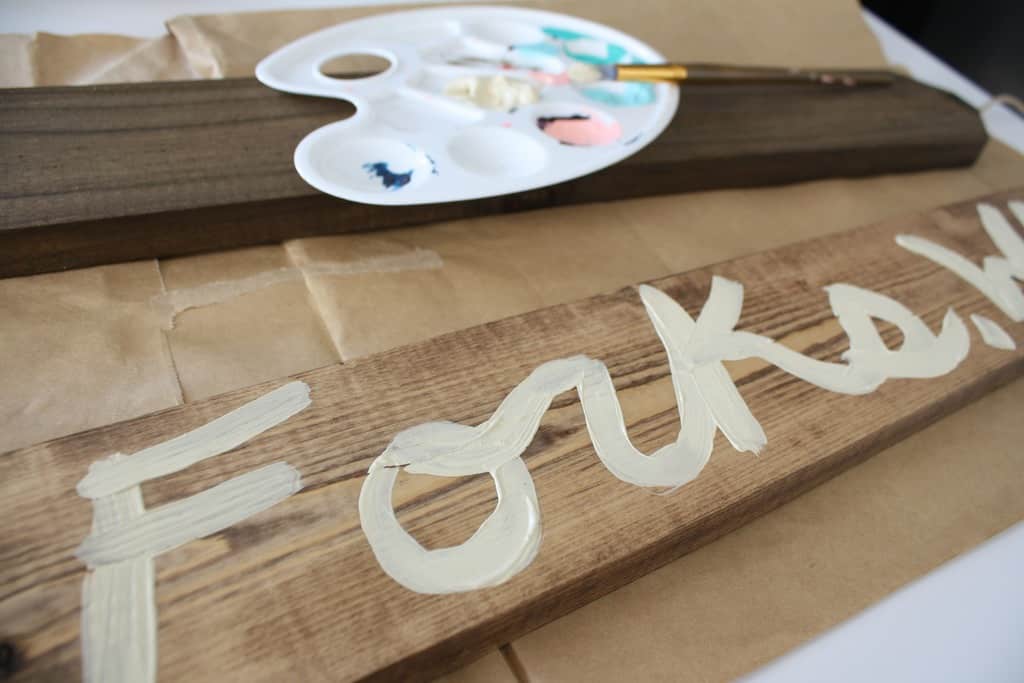
I was not meticulous on my hand writing or the evenness of the paint. Not sure why, but in my mind, the people who would write the signs didn’t really care that they looked nice? Not sure where I got that, but I feel since it is for Halloween, it can be a bit sloppy. I used a round tip brush for the cursive signs.
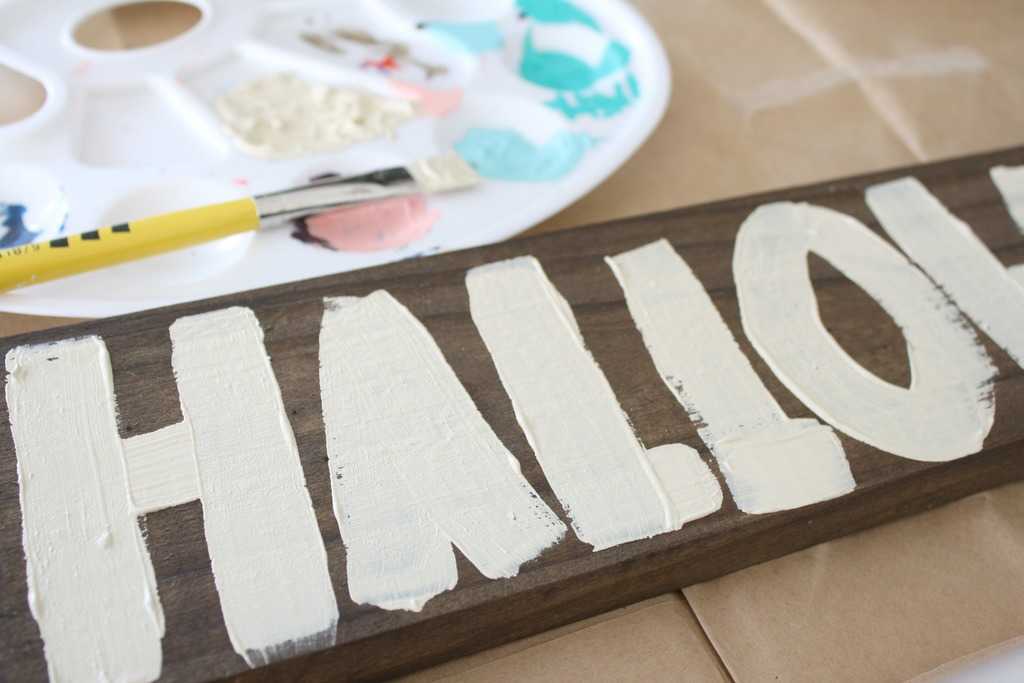
 For one sign, I did a sloppy job of painting an alphabet stencil. My husband suggested I use Sophie’s hand in red paint to smear on the sign. I thought using a baby’s hand print would be too creepy. Also, by adding another element on top of the words, I’d probably mess up the sign and make them too hard to read.
Once I wrote on all of the signs, we sprayed a clear polyurethane on the front of the boards. See the bottom right area where it’s sprayed white? I had the wrong can of spray paint and used white instead of clear! Mistake 3. I mimicked the white spray paint up in the top left to even it out and didn’t worry about it. Mistakes happen!
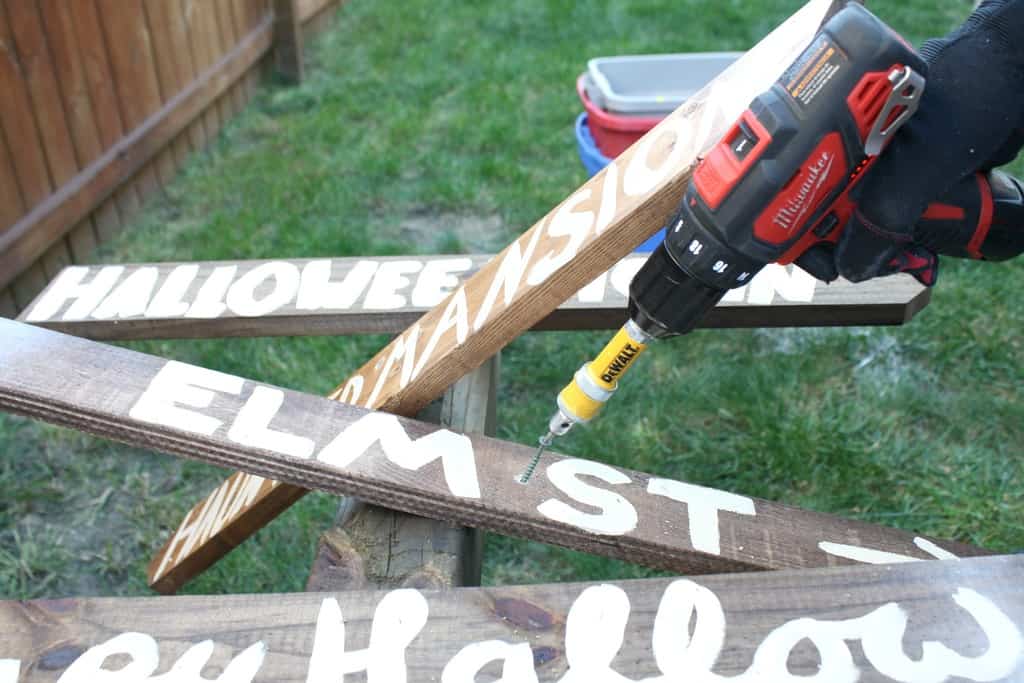
We attached the boards by pre-drilling a hole in each sign and then screwing it to the 4×4. We used only one screw in each board so we could adjust them once they were all added to the post.
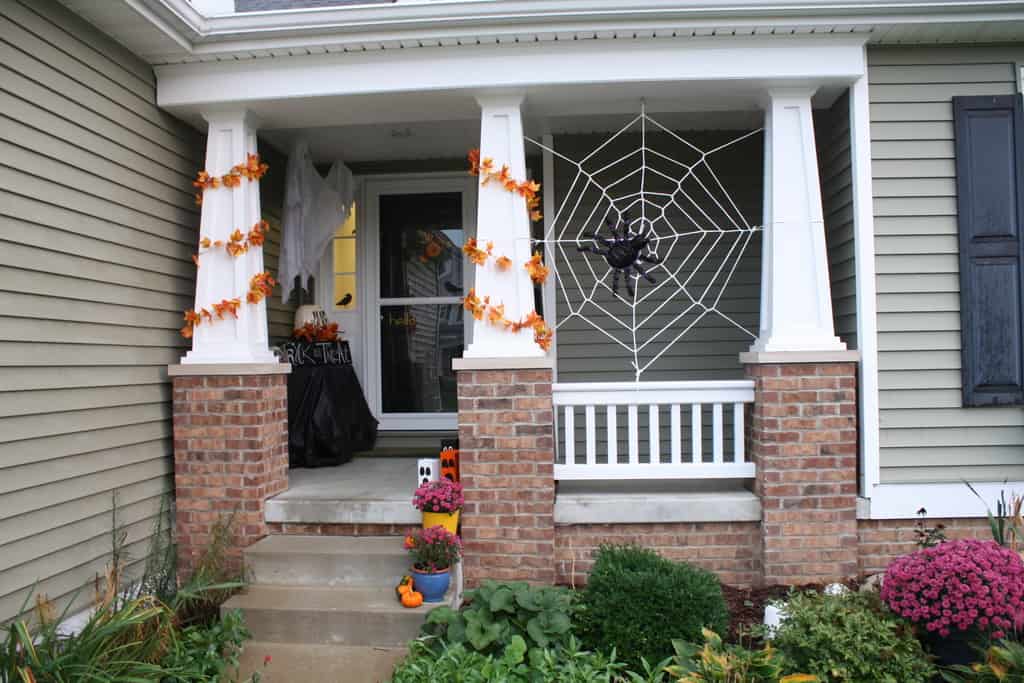
Tada! Our sign up in the yard! I still want to do quite a bit more decorating on the porch for Halloween (the leaves are just fall decor.)
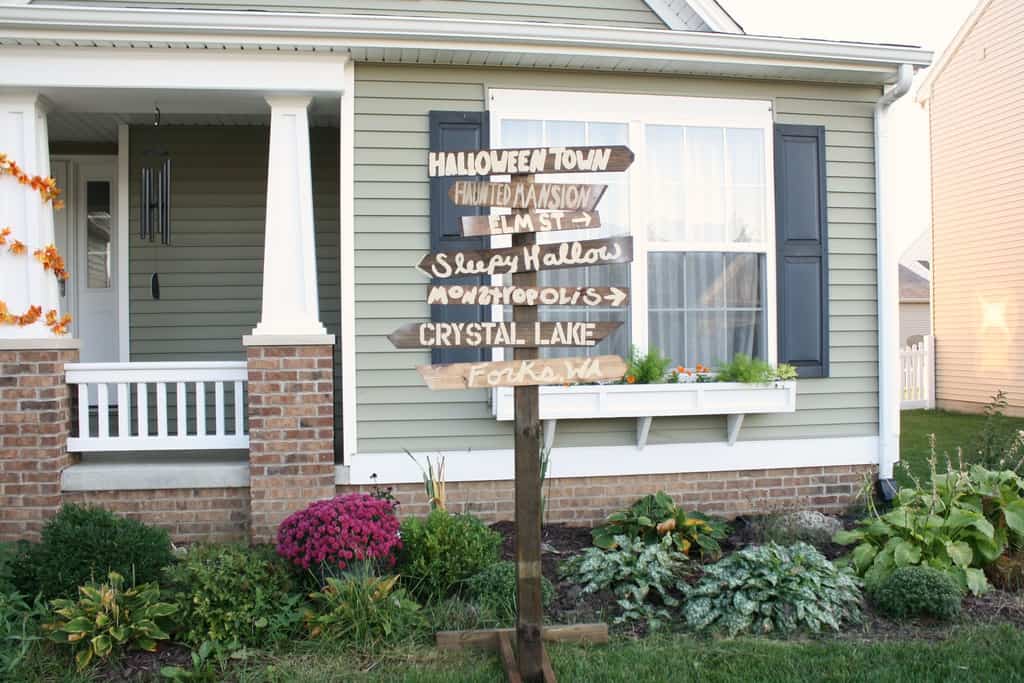 I’m going to add tomb stones around the base and light everything with can lights. I may add a few skulls or bone or spiderwebs as well. What do you do to decorate for Halloween? Do you decorate outside too? Are you the playful Halloween decor type person or a gruesome decor type person? Sorry, neighbors, for being ‘that neighbor’ who puts their Halloween stuff up in September!
Pin it for later: