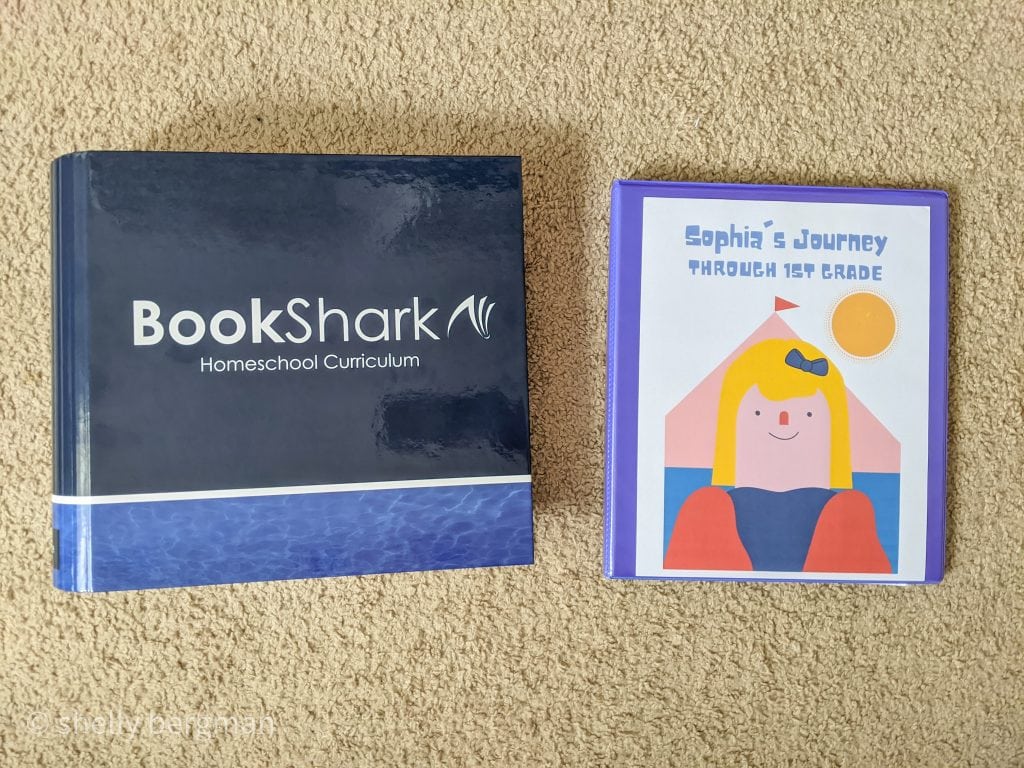
3 Steps on How To Organize Your Homeschool Room- This post is sponsored by BookShark. I am a BookShark partner and a portion of our curriculum was provided by them. As always, I only work with companies that I have previously used as a product. We used and loved BookShark when we homeschooled for Pre-K and are very happy with their 1st-grade curriculum.
One of the questions I get asked the most is ‘where do you homeschool?’ I think people see the Instagram version of homeschooling where people have entire rooms dedicated to their learning space. But, in actuallity, you only need one shelf, one binder, and some basic supplies to have a really great homeschool experience.
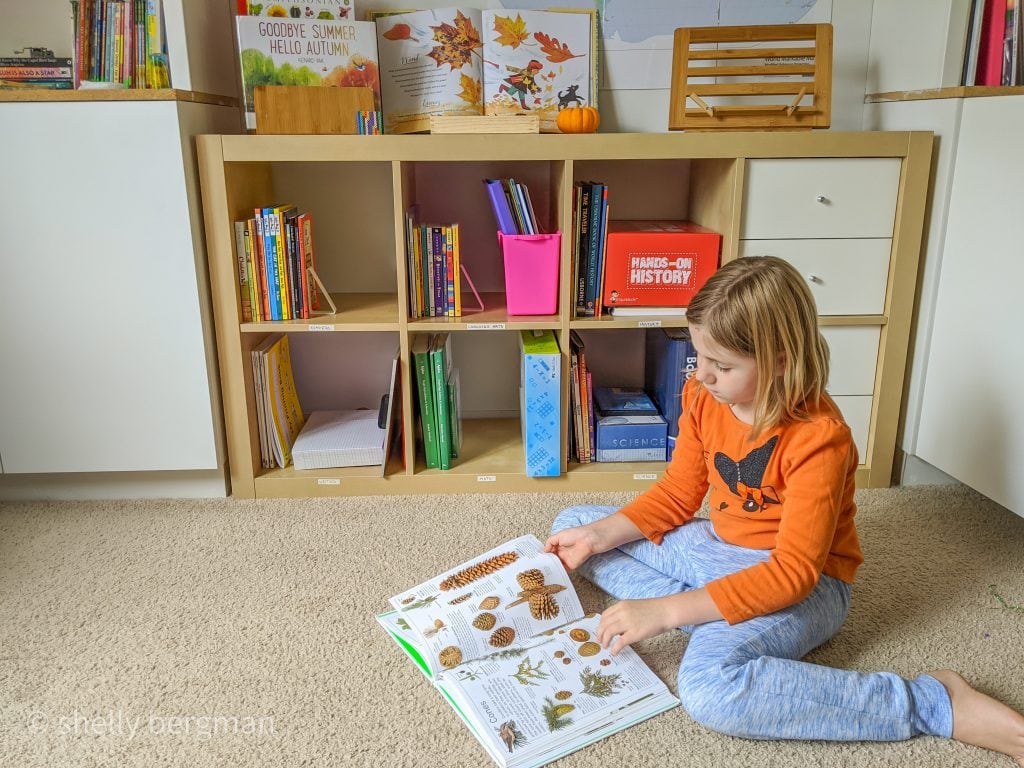
Notice I didn’t talk about special desks or tables or where you’ll actually teach. That’s because it’s ever-changing. For science, we might be at the table or kitchen island. For reading, we’re often outside on the hammock or swingset. For writing, I like to have my daughter at her desk so her arm is in the correct position to learn letter work, but we pretty much do school on the floor of our reading room because it has the most sunlight.
You can homeschool anywhere and need only a few basic essentials to be successful in your journey. The three steps on how to organize your homeschool room are to have a shelf to hold your curriculum, a base stock of supplies, and a binder to keep your schedule organized. If you’re strapped for money, try finding these items on your local Buy Nothing Facebook group or NextDoor.
1. A Shelf to hold your curriculum
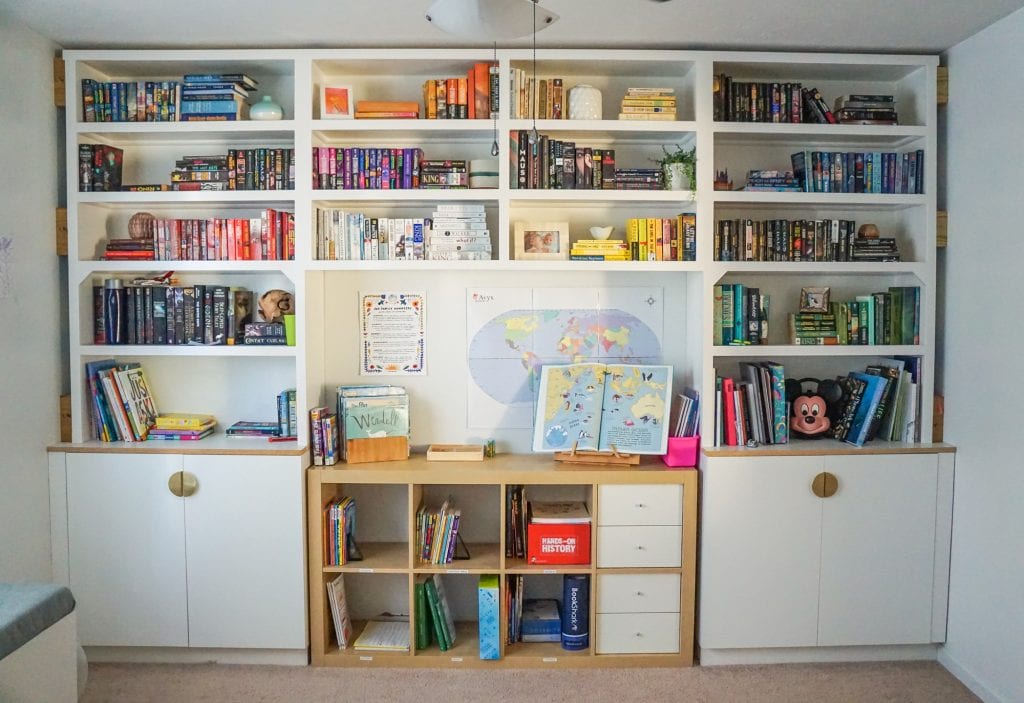
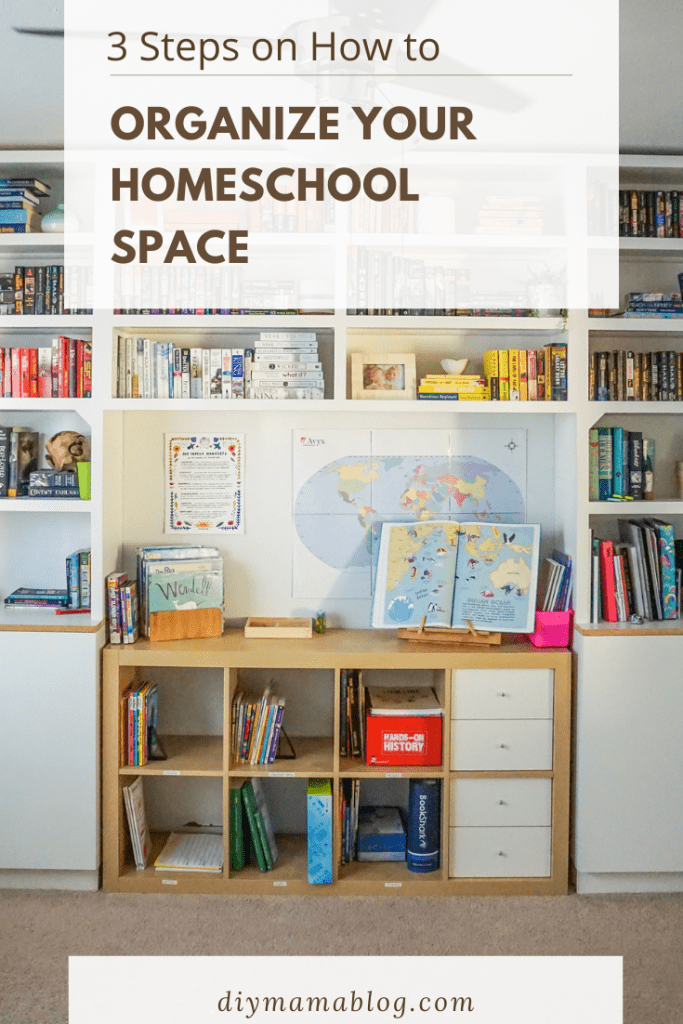
You could easily use whatever bookshelf you currently have to hold your curriculum for the year. With BookShark, all of the curricula could easily fit on one small bookshelf. We already had this 2×4 shelf in our basement that wasn’t being used well. Thankfully it fit here in our reading room and easily holds our Level B curriculum.
One thing that has helped keep things organized was to label each area with a subject. By doing this, my 7-year-old can easily grab the schedule, see what books we’re using, pull them out and mark the pages, and have everything set up for the day when we’re ready to start our lessons. This also helps in making sure all the books are put away in the right spot. Another benefit is that my husband, who typically doesn’t do lessons, is able to if I am sick. With the simple BookShark schedule he can pick up right where I left off and do school for that day.
This was a video I did of what a typical day might look like in our family. If you start at 6:50 you will see more detail of what our setup is and what materials we use.
2. A base stock of supplies
We specifically chose a boxed curriculum so that I wouldn’t need to buy a bunch of extra supplies. For us, all we needed was a smaller binder, a huge box of No2 pencils, large lined paper (for learning to write) and we use white copy paper a lot as well. We already had this but I suggest getting a small whiteboard, dry erase markers, and some kind of alphabet manipulative like Bananagrams for different ways to learn sight/spelling words.
We also supplement in art, PE and music so if you don’t already have supplies for those subjects you would need to add those. I’ve learned if you wait until a month after school starts, you can get all art supplies for at least half off.
3. A Binder to keep your schedule organized
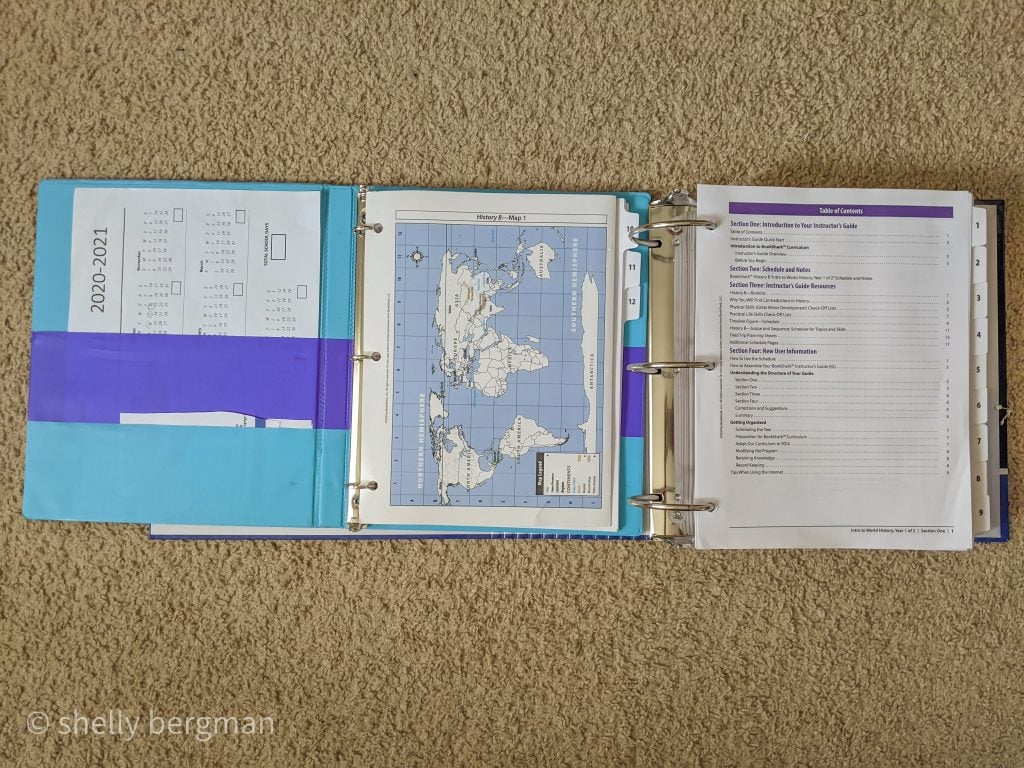
The final step in having an organized homeschool room is making a schedule. Our BookShark curriculum came with a giant binder that was divided into 36 weeks of the school year. Because it is so cumbersome they suggest putting 3 weeks at a time into a smaller binder. Doing this makes finding our week so easy to flip to for our lesson each day. As I said before, my 7-year-old gets out the school books so she’s easily able to access the schedule with this method.
In this post, I outlined how to easily set up a homeschool lesson. I also keep our attendance sheet in the front pocket so I see it and remember to do attendance each week. This may be a requirement for your state or county.
So before you think you don’t have the means or the space to homeschool, take these three steps and see that it can be.
Posts related to 3 Steps on How to Organize Your Homeschool Room
Pin it for later
Leave a Reply