Shelly

Fall Leaf Garland

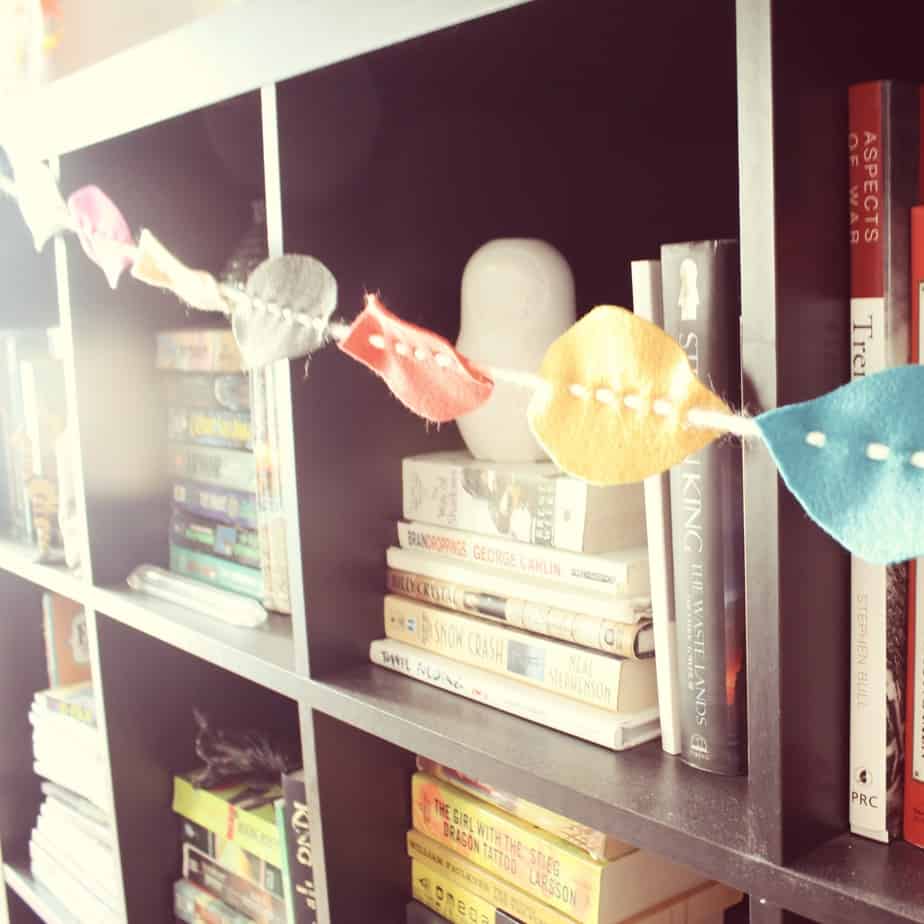
Fall Leaf Garland- I’ve noticed a lot of people saying they don’t decorate for fall because Halloween is right around the corner or the decorations are not their style. I say fall deserves it’s own decorations! When I think ‘Fall’, I smell pumpkin spice lattes and bonfires. I hear cheers during football games and the crunch of dried leaves. I feel the snuggles of a warm blanket while reading a favorite book and possibly sipping warmed cider. Guys, fall is awesome and it deserves it’s own decorations.

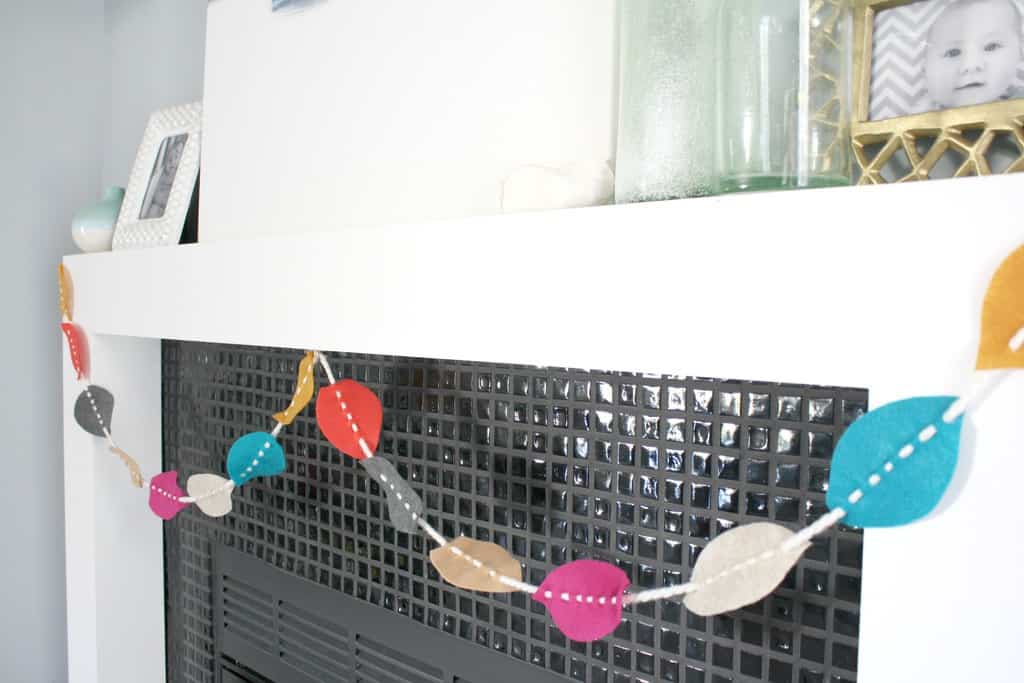
I made the most simple felt leaf garland that is super easy to customize by changing the colors to your favorite fall pallet. This fall leaf garland can be easily customized to suit your style.

This craft could not be easier or cuter! I love how happy these colors play together. These colors were inspired by a jewel toned hat I’d gotten one year. I always buy amazing hats but never wear them. Maybe this year will be the year of hat wearing!

instagramgarlandIf you follow me on Instagram, you’d have already seen these from last year but I wanted to be sure to do a tutorial this year.
materialsMaterials Needed:

  • Felt of your color choice
  • A piece of sturdy paper (for leaf stencil)
  • Scissors
  • Chunky Yarn
  • Tape

cutThe first step is to cut out your leaf pattern and trace it onto your felt. Use fabric scissors for an easier cutting experience. Once all your leaves are cut, fold each leaf in half (hotdog style) and snip little holes down the middle of the leaf. I would start in the middle and cut 4 to the right and 3 to the left allowing my thread to start and finish on the same side of the leaf after it was threaded. I suggest to do small snips and make them larger if necessary to make it look like you really sewed the yarn through the leaves.

sewOnce the leaf has it’s holes, use a piece of tape to make an aglet on the end of the yarn for easier threading. String all the leaves on your yarn and hang! Seriously. It’s that easy!

mantle-garland

triangleI also did the same method to make a mini garland for our family command center but cut the leaves in half.
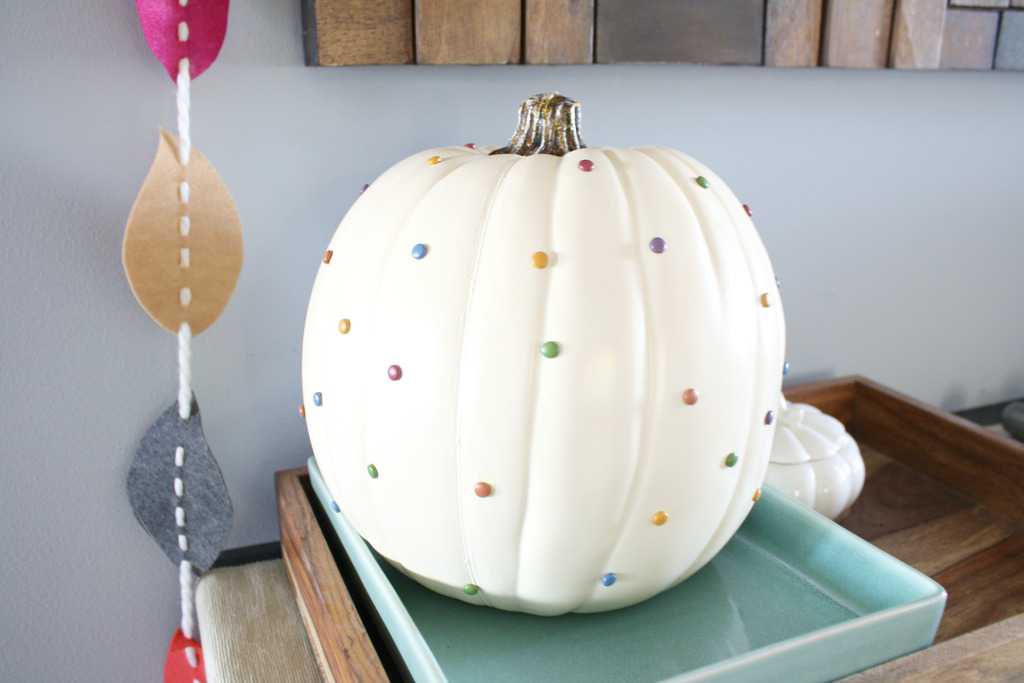
pushpinpumpkinThe felt leaf garland was extremely simple to make but this bradded foam pumpkin was the easiest and fastest decoration I’ve ever made. I love his happy polka dots. It’s a nice change of pace from the orange/red/yellow standard fall decor I see in stores.
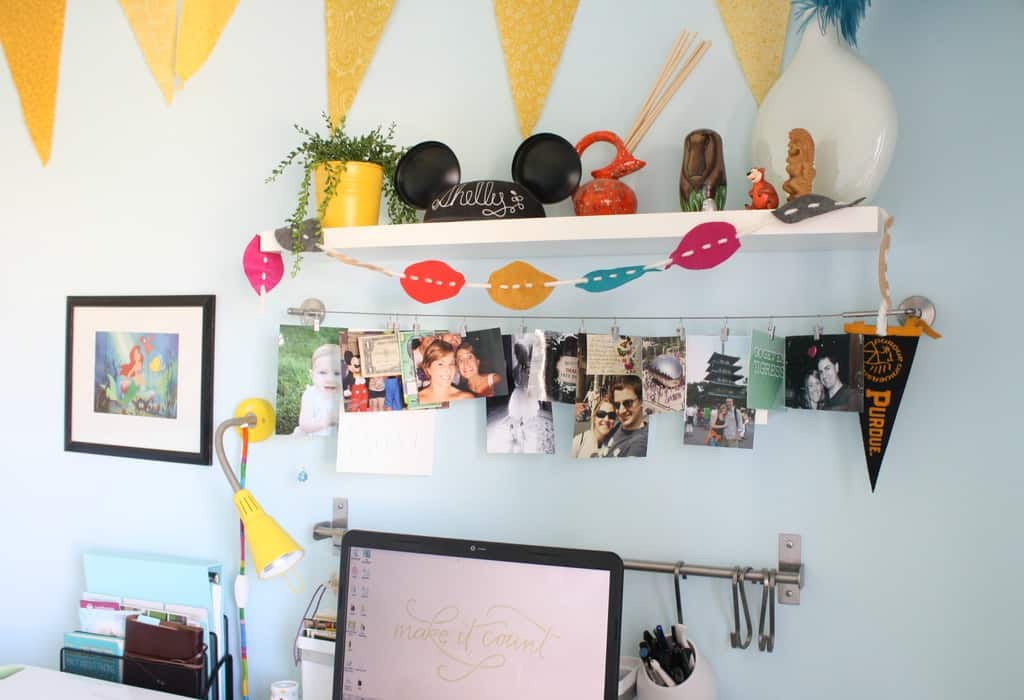
office-garlandI used 7 pieces of felt from the store which allotted several garlands. I even had enough to decorate my blog/craft desk! What’d you guys think? Simple enough? What colors would you use to match your fall decor? I think this would be a fun craft to do with your kids! Maybe use it as a count down or add a leaf for every book they read in the fall!

Pin it for later:

fall leaf garland

Love Letters Scrapbook

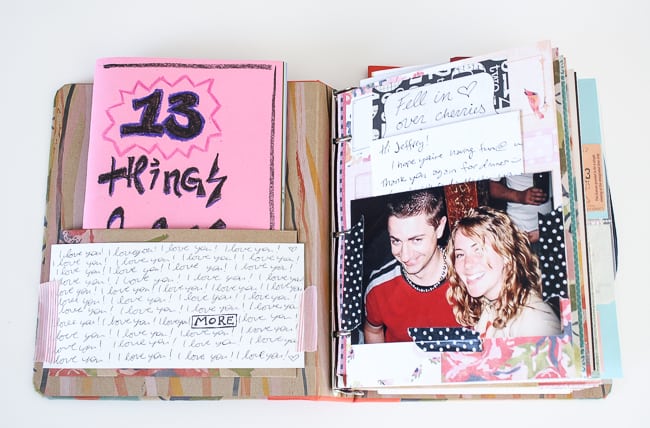
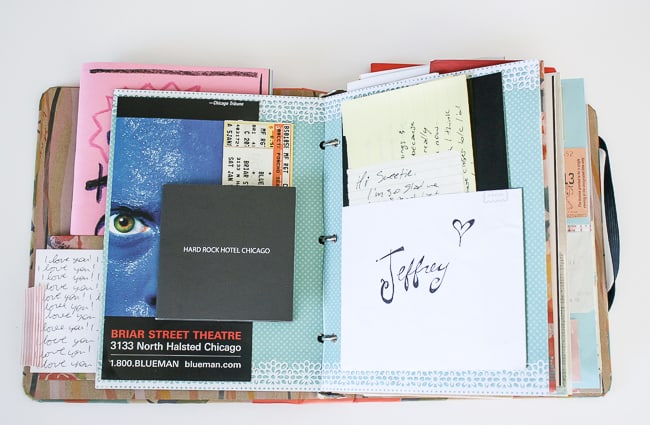
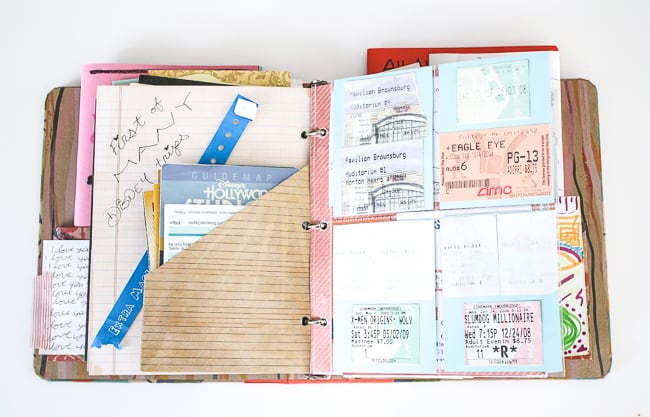
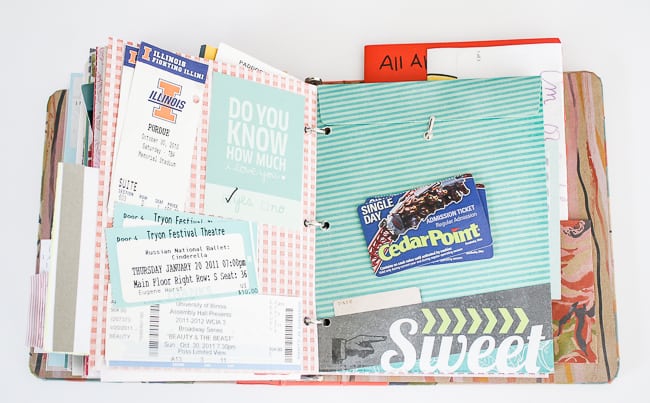
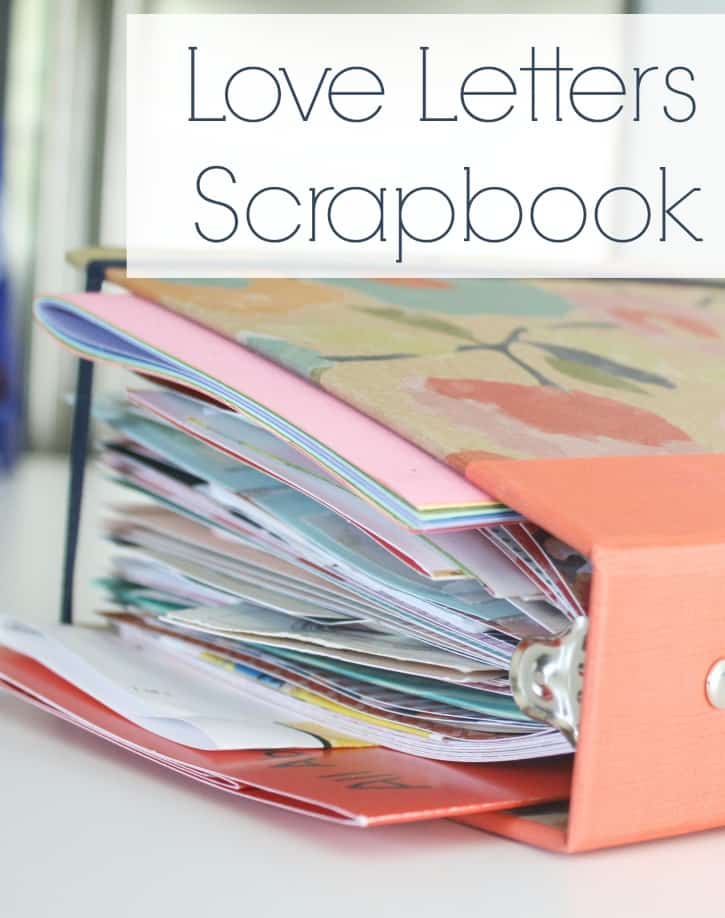
Love letters scrapbook is awesome to keep memories in one spot. My husband and I have a lot of letters, cards, drawings and tickets from the past 8 years. I had them all in two shoe boxes that we never looked at. I wanted to be able to have them in a place that was easy to pull out and flip through when I’m feeling especially girly and sentimental. I wanted this book to be all about the contents and not about the stickers, brads, gems and extra goodies I usually put into scrap booking, so I picked up a Smash Book binder from Michael’s and started loading everything in! Our love letters scrapbook is now one of my favorite keepsakes.

DIY Love Letters Scrapbook

Love Letters Scrapbook

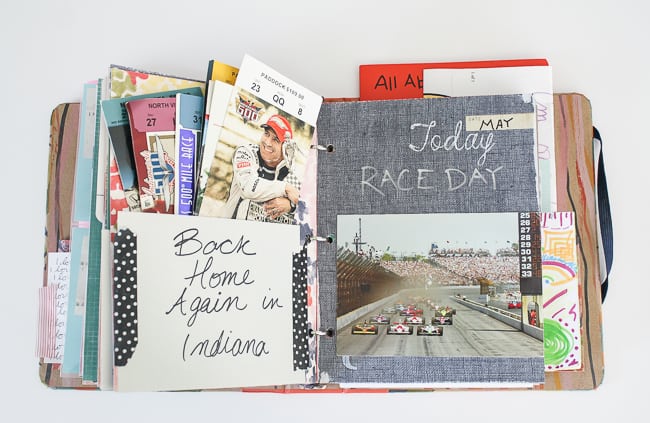
The first step was to sort through the most important memories. All of our memories are special but they can’t all fit in one book and I wanted them all in one space (up to this chapter of our lives). The next step was to attempt to put them into chronological order. This was, by far, the most time consuming step of the whole project. I didn’t stress out if I couldn’t remember when something had happened…I’d just throw it in somewhere close to that time period.

I loved that this book had a large pocket in the front and back to put larger treasures. I also used photos as pockets by adhering glue dots to the back and making it look pretty with washi tape on the front.

DIY Love Letters Scrapbook

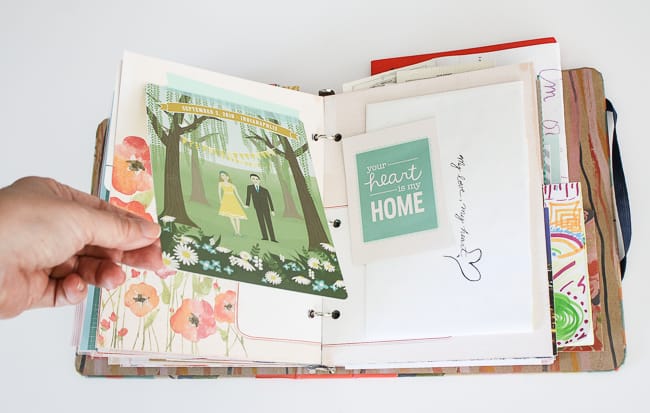
By layering pamphlets with their tickets, I was able to create a tangible layout. I’d kept the keycard holder from the hotel we stayed at and used it to hold the keys and tickets. I left everything in the envelopes accessible so we can pull them out later on. Envelopes also made for great pockets to hold letters.

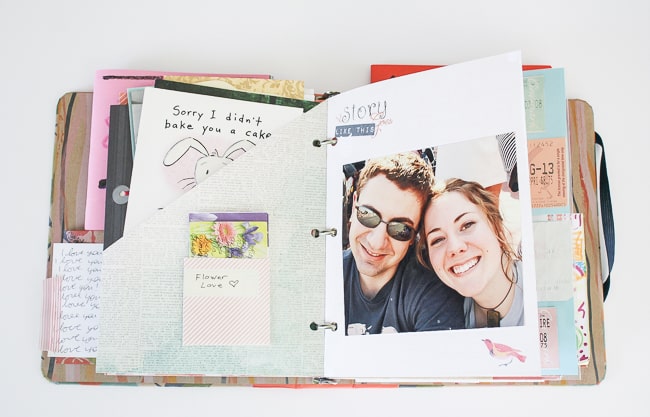
I also bought a pack of hole punched folders to stuff holiday cards. I’ve saved all of the cards from flowers that Jeffrey has sent me and put them in the mini pocket folders. Anything that was a little heavier, I adhered with glue dots.

DIY Love Letters Scrapbook

DIY Love Letters Scrapbook

Anything that was double sided, I attached with washi tape so we’d be able to lift and read both sides. Again, in the above photo, I used an envelope that held a card because it had writing on the back that I didn’t want to be glued to the page.

In a few cases I had a lot of one thing (tickets, letters, art) so I made an envelope out of scrap paper and glue dots but covered with washi tape to make it a bit prettier.

DIY Love Letters Scrapbook

DIY Love Letters Scrapbook

DIY Love Letters Scrapbook

I’d also gotten a clear photo holder  that was by another company so I had to re-punch the holes. I wanted something clear that would hold photos, or in this case, movie tickets.

With the pack of hole punched folders I’d already mentioned, I added all of the remaining holiday cards. Another helpful technique was to accordion letters and tape one edge so you could unfold the letter to read it. I would show you a picture but I don’t want our love letters on the internet.

DIY Love Letters Scrapbook

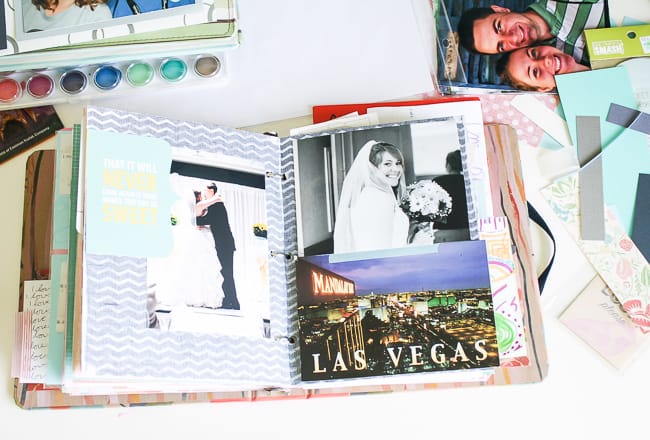
As always, a shot of my work area: messy. I was sure to include a few photos sprinkled throughout to show what we looked like during these memories. I have several photo scrapbooks already but wanted a memory album full of  tickets and love letters. There are a few more pages left in the book but it’s so packed I can hardly wrap the elastic around it. I’ll just have to make a new one in 5 years! Have any of you made a memory album? What do you do with all the little trinkets you save from trips, birthdays and invitations?

Similar Posts:

How to Make Time for Creativity with a Toddler

Modern Crayon Holder

Check out my Scrapbooking board on Pinterest for more ideas:
Follow Shelly @ DIY Mama’s board Project Life & Scrapbooking on Pinterest.

Pin it for later:

Love Letters Scrapbook

Washi Tape Light Switch

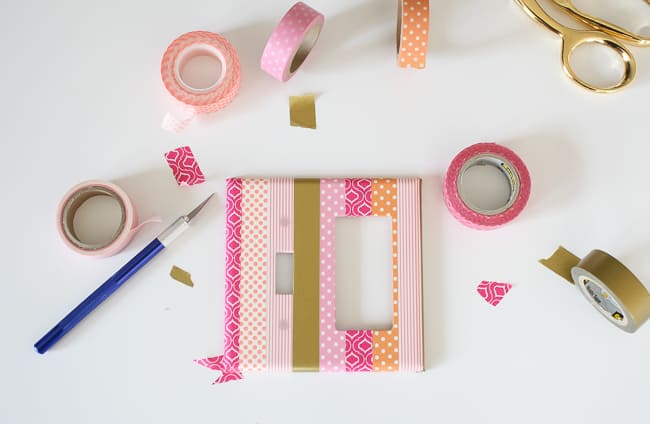
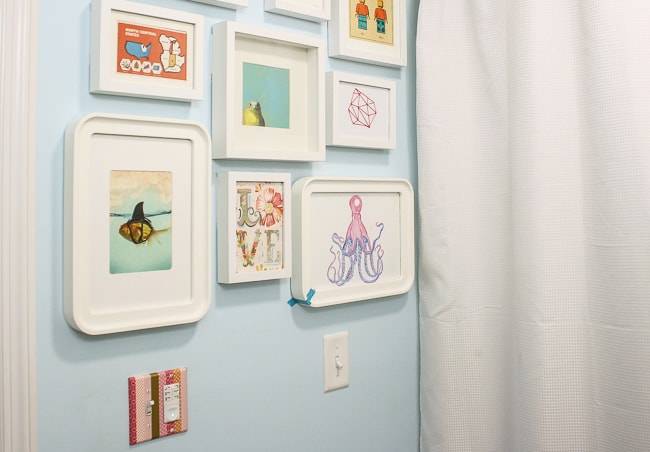
Today I wanted to share with you how I did the quickest, quirkiest update on Soph’s light switch cover. Seriously, this project took 5min. I did a simple washi tape light switch DIY to add a little fun to her bathroom.

I have this thing about not buying new stuff until I really feel I’ve been using up my current supplies pretty steadily. I wanted to buy more washi tape but knew I hadn’t been using my current stash since my last smash book. This was the perfect solution!

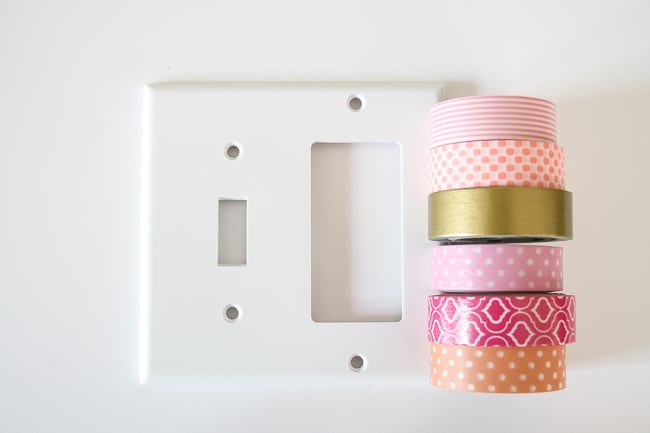
Materials Needed:

  • Washi Tape
  • Scissors
  • Exacto Knife
  • Switch Plate

Washi Tape Light Switch Cover

Washi Light Swtich Cover
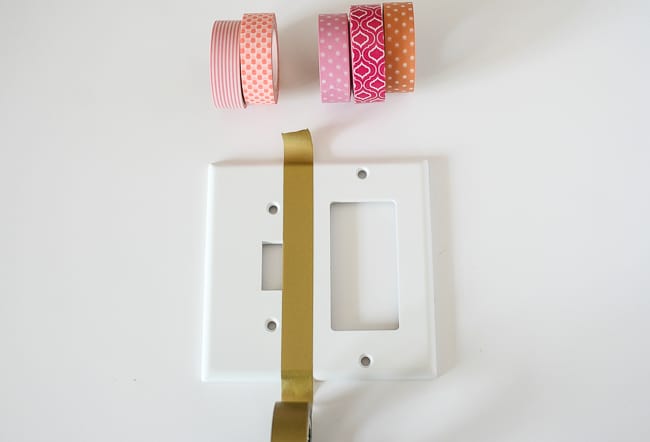
The first step is to figure out your color arrangement. I knew I wanted gold to be prominent so I started with it to ensure I’d have a full stripe.


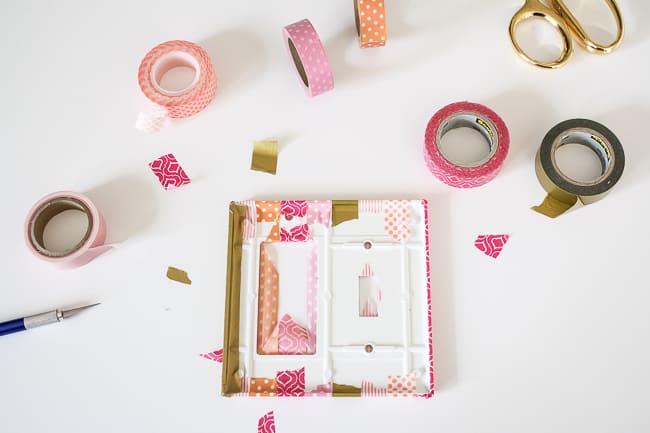
I made a little gif of the process with the PartyParty app. I have no affiliation with this app or the producers but I thought it would be a fun time to try it out! It was a good thing I did because I forgot to take a ‘middle of the project’ photo!

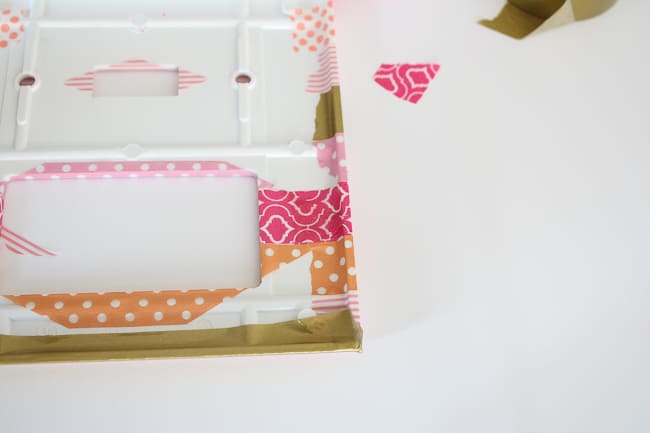
The corners were definitely the hardest part of this project. I cut a diagonal slit in the excess tape and wrapped it the best I could to alleviate wrinkles. I don’t get too nit-picky on details like this because I’ve since realized that no one ever notices these details!

Washi Light Switch Cover

Washi Tape Light Switch Cover
Once the entire plate is covered, it’s time to make the holes for the switches to fit. I used my exacto knife to make an X in the tape. Notice on the left hole I had to do an elongated X. This does not have to be perfect, it’s just a way to get the tape flaps back.

I also put a small slit in the screw holes. I was worried that forcing the screw through might pull up the tape or tear it in an area I could see.

Washi Tape Light Switch Cover

Washi Tape Light Switch Cover

Washi Tape Light Switch Cover
I love how it adds a bit of fun to her bathroom. Don’t mind the teal tape on Oliver’s (the octopus) frame. I’d dropped him right before this shot and broke the frame! Have you ever done something to liven up a playroom or your kid’s room? Anyone do anything other than scrap book with their washi tape? How many rolls do you have? It’s addictive once you buy your first roll!


Pin it for later:
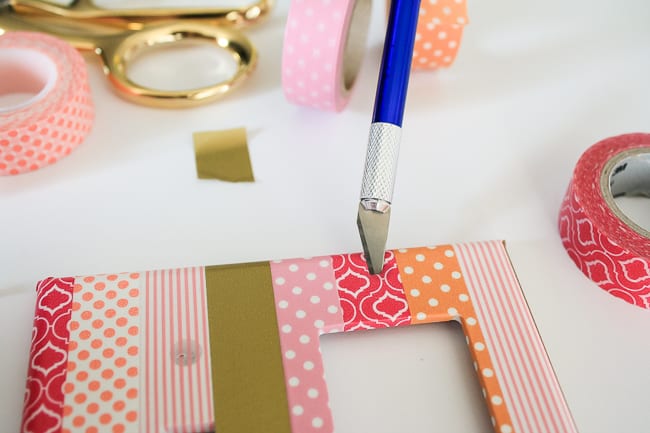
Washi Light Switch Cover

Kings Island with Little Kids

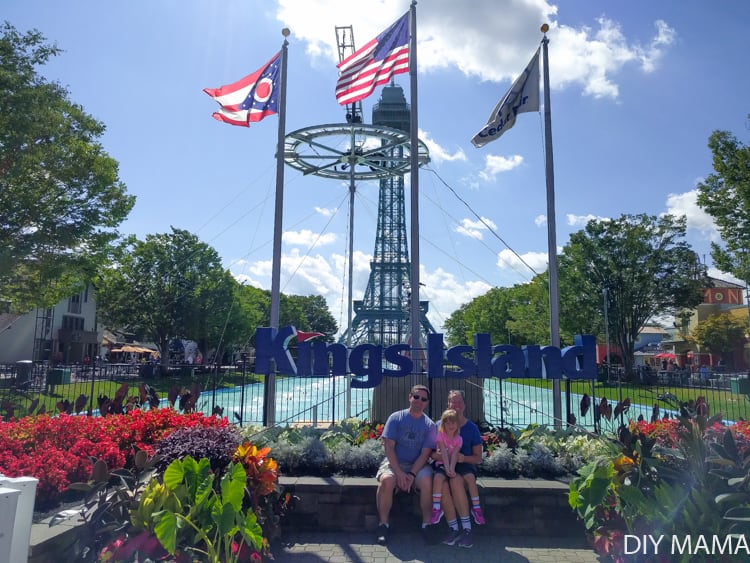
Kings Island with Little Kids- I was invited by Cedar Fair to attend Kings Island-Largest Amusement & Waterpark in the Midwest , but all opinions and photos are my own.

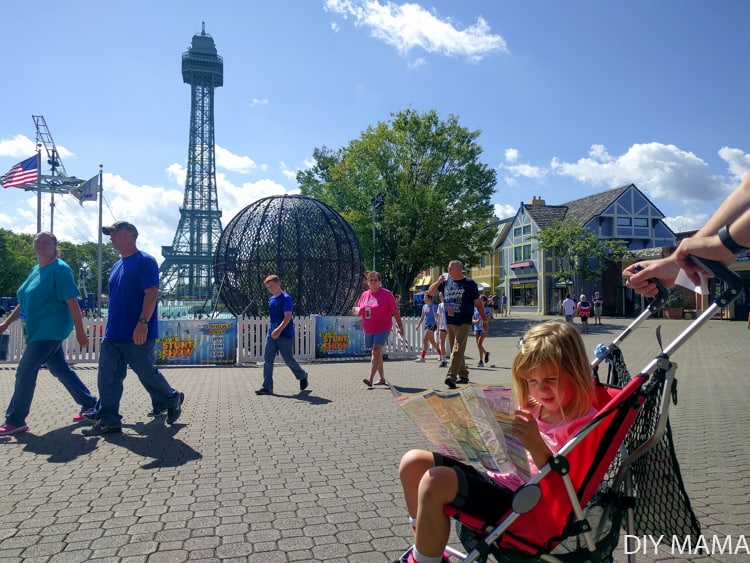
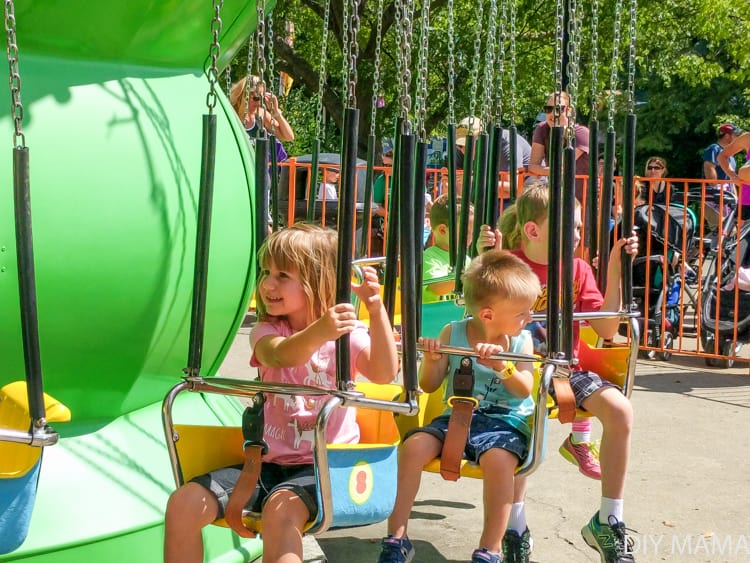
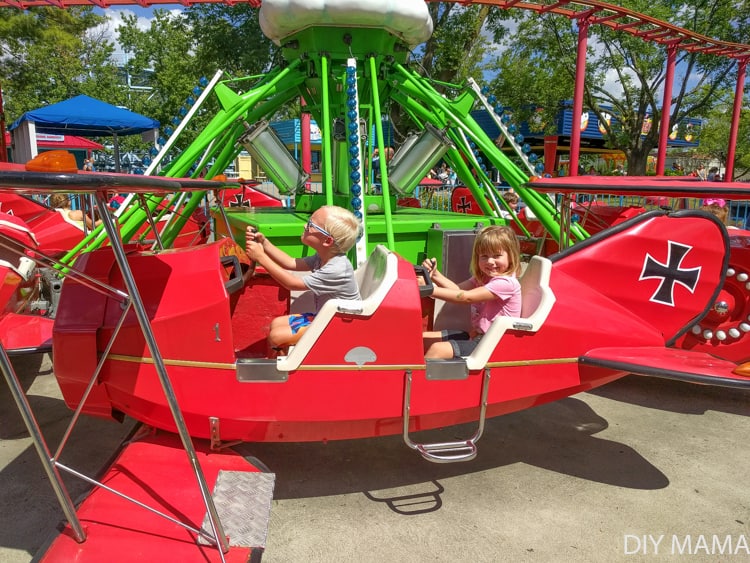
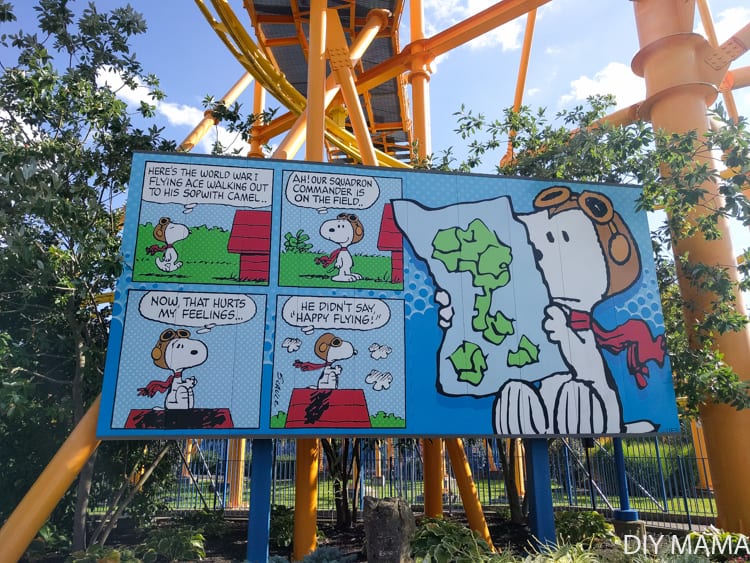
The days of easily spending 12 hours thrill ride hopping are over but with it comes a new way of visiting amusement parks. We let our three year old be the guide while at Kings Island and were pleasantly surprised by all there was to experience. We spent most of the day in Planet Snoopy while still having a little time for Soak City Waterpark in the middle of the day. Here are a few tips and suggestions that we learned from our trip:

Kings Island with Little Kids

Kings Island with Little Kids

How to Save at Kings Island:

  • Tickets– one of the biggest ways to save is through tickets. The best place to find discounted tickets is online or at Kroger. If will be visiting the park more than once in a year it would be beneficial to buy a season pass. Right now you can save big on the 2018 season pass.
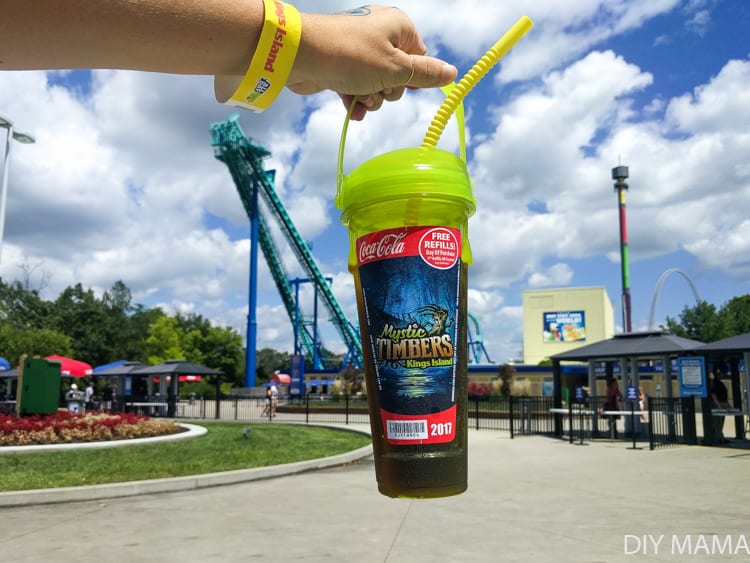
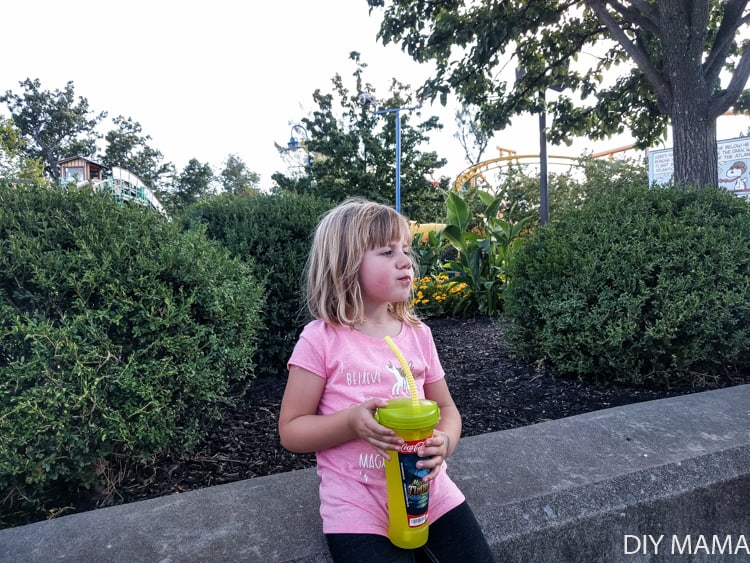
  • Food- In the past we have always eaten a hearty breakfast before our drive, packed a lunch in the car and had dinner in the parks. We always travel with our Camelbak full of water and refill at water fountains throughout the park. This year we decided to try out the All Day Dining Pass which allowed us a meal every 90 minutes for $30. We got only one, knowing that our daughter eats very little, and we could buy a snack if needed. The Dining Pass is only good for certain meals at certain locations. We also purchased the refillable souvenir cup where we were able to refill with lemonade or pop whenever we wanted. You can also get free ice water at any vendor. The downside with this plan was the limited food options (pizza, fries, burger, chicken fingers, hot dogs). The food did not fuel our family well enough to stay energized for the long hours of walking around and sensory stimulation.

TIP: If your Dining Pass wristband is loose, have them put on another. I lost ours when it slipped off at Soak City after only two meals. Set a timer on your phone for 90 minutes to remind you when you can get your next meal to maximize your value.


  • Time- Time is money if you’re visiting Kings Island for one day. We spent a lot of unnecessary time walking to and from our vehicle. Knowing we wanted to do rides, go to Soak City to cool off during the hot afternoon and then back to the rides meant we had to change clothes. Our suggestion is to get a locker near Rendezvous Run at Soak City ($15) at the beginning of your day. Having your swim gear in that central location between Planet Snoopy and Soak City will eliminate the long walks to the car.

Kids rides at Snoopy Planet in Kings Island

Soak City at Kings Island Ohio

Snoopy at Kings Island Cedar Fair

Refill Cup at Kingsl Island

Snoopy Planet at Kings Island

Tips While at Kings Island:

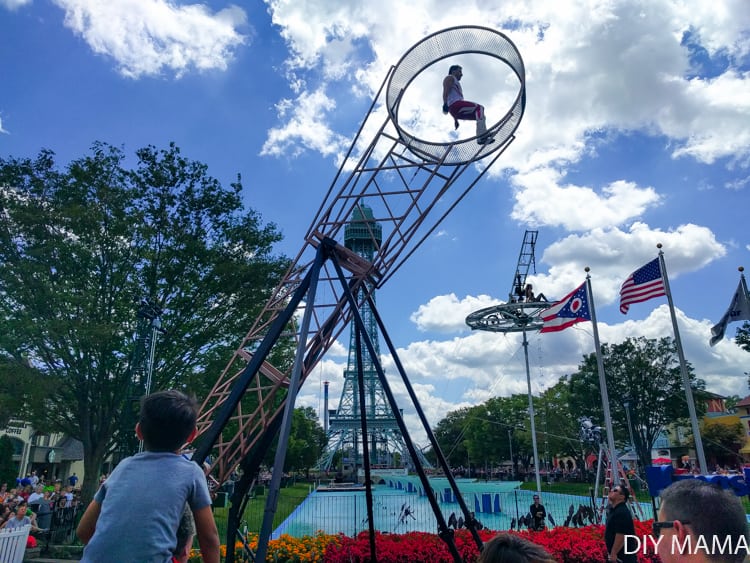
  • Lunch and a Show– get lunch and a great viewing spot of the shows ahead of time. Planning your meal around a show gives you a mandatory break to eat, cool off and rest while viewing awesome entertainment. I recommend getting in line for food 45 minutes to an hour before the show starts.
  • Kings Island App- like most amusement parks, Kings Island has their own free app that has a map, car locator, wait times and other info. A major improvement would be for them to add which rides are closed. We went at the end of the summer when things were slowing down and there were many rides closed due to low attendance. For example, at Soak City, 1/3 of the attractions were closed because of predicted low attendance. This meant the lines for the other attractions were still long despite there being ‘low crowds.’ It wasn’t worth our time to go over to experience only two attractions.
  • 2 Days- If you have kids who love the water park (check out the cabanas) or are able to go on bigger rides, I highly recommend getting a hotel and splitting your time between two days. If we were able to do more at Soak City we would have wanted to do two days.

Refill Cup at Kings Island

Kid Rides at Kings Island

Ultimate Stunt Show at Kings Island

Kids Rides at Kings Island

Sweet Spot at Kings Island Ohio

Overall we had a blast at Kings Island and I’m so happy to report that it is just as fun to go as a parent as it is as a teenager! If you’ve got any other ways to save or tips, please share them! I would love to know for future trips and to share with others.
Other related posts:
Pin it for later:
Kings Island with Little Kids

Gen Con with Kids

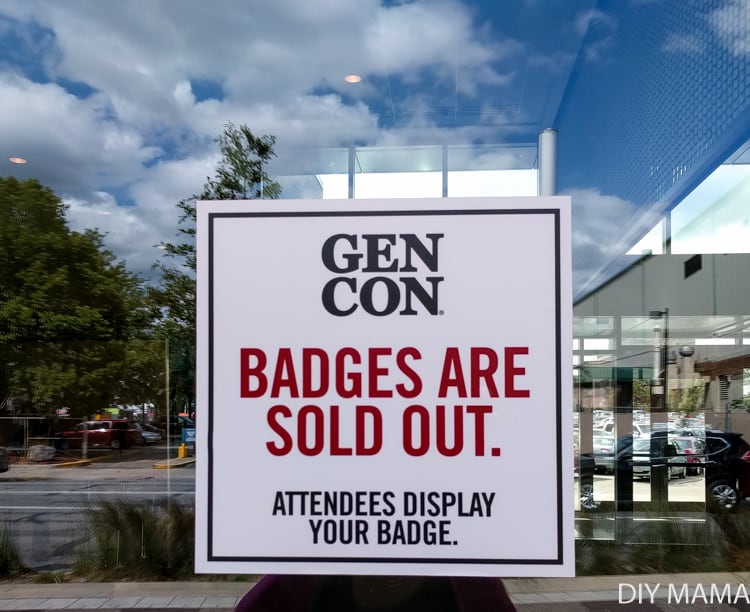
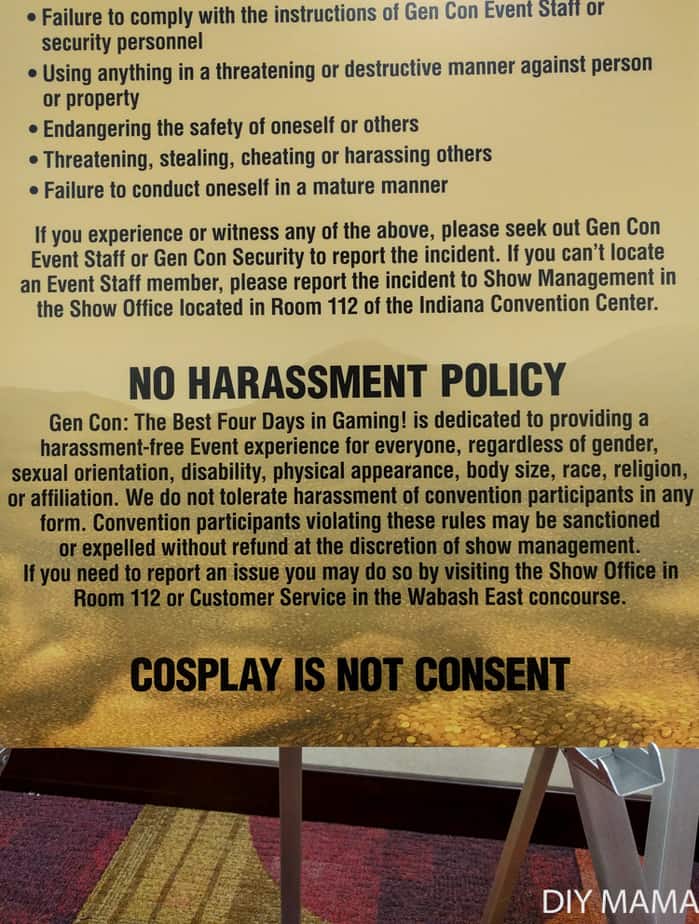
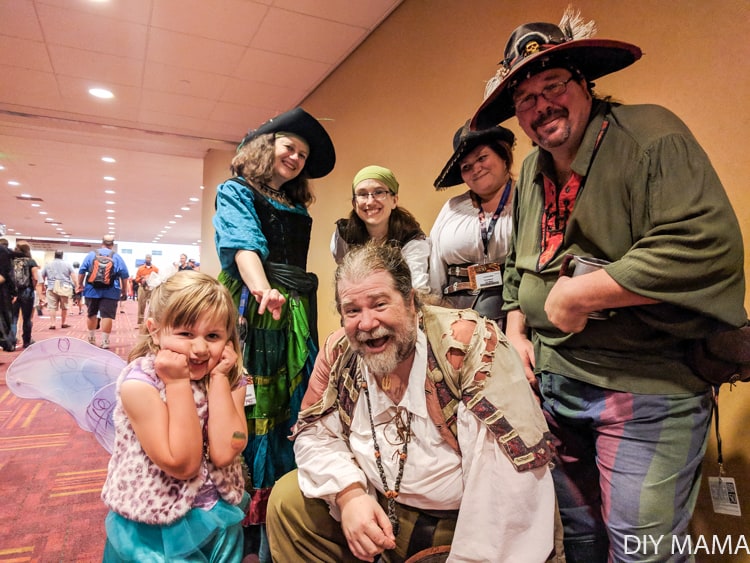
Gen Con with kids is one of my favorite activities to date. With everything that is going on around our world, it is so special to show our kids a place where everyone is accepted. Gen Con is accepting of all people which makes it a super fun place to meet friends and also play a few games. Gen Con is the largest tabletop-game convention in North America by both attendance and number of events. This year’s 50th year was the biggest yet with sold out badges and not a hotel room available for miles because of the 30,000+ attendees.

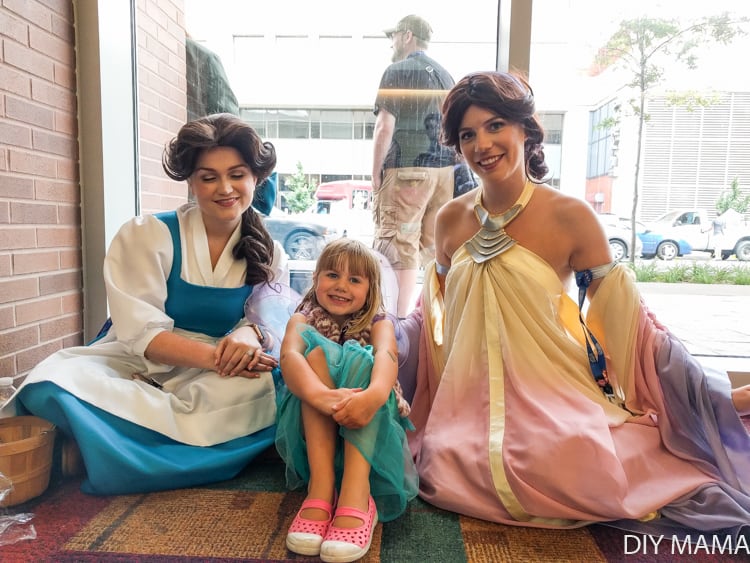
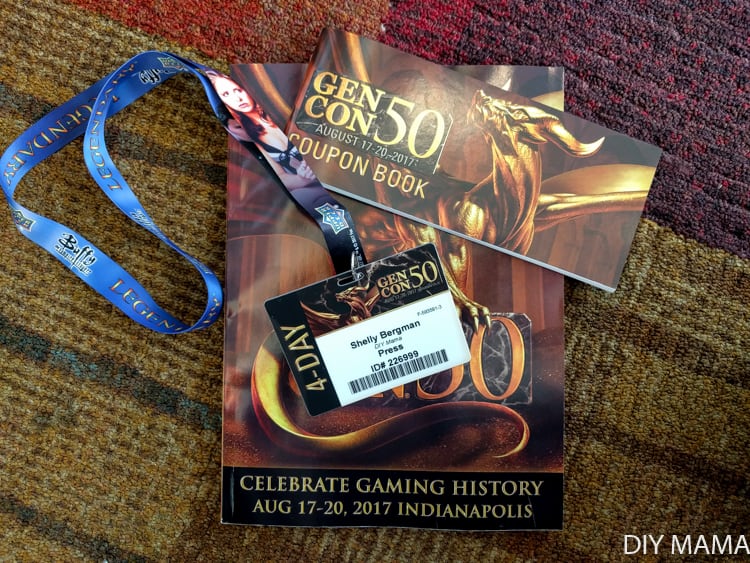
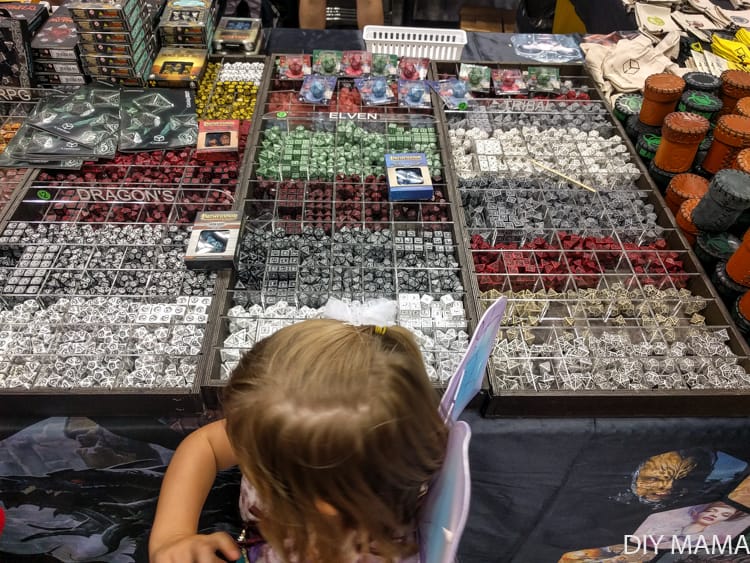
I was able to bring Sophia for a small taste of Gen Con on Thursday when I went to pick up my press pass. We thought we could pop in and out before heading out to the State Fair for the evening. I was pleasantly surprised by her awe and amazement at every cosplayer and event that was going on. There is a lot to do for kids throughout the week but Sunday is always Family Day. Many games and events are geared towards children and families.

Gen Con with Kids

Gen Con

Gen Con Cosplay

Gen Con Badges

Gen Con

Gen Con Badges

Gen Con Cosplay

Gen Con with Kids

The Pros of Gen Con for Kids

Gen Con is a place kids are able to freely converse with adults who will give them their full attention. Every single person our daughter spoke to had a genuine conversation with her which helps her be more confident in speaking to all ages, races and sexes. We also practiced using a map to plan what events to do and figure out where to go. Another great teaching moment revolved around money and saving. We had her bring some of her quarters that she could use to spend at the event. On the first day she really wanted to play the arcade games but ultimately spent her money on dice and gumballs. This lesson is two fold: learning about earning/saving money and helps alleviate the dreaded ‘can I have that?!’ problem when we go places. Not to say we never buy her goodies when we go out but there are certain places we’ll tell her to bring her own coins if she wants to buy something.

Speaking of money, your family can experience a day at Gen Con free if you do not want to participate in any tabletop games. You will have to pay for parking (cheapest at Circle Center or $20 at Lucas Oil) but if you bring your lunch you can have a day worth of entertainment in the corridors of the Convention Center. You could also bring some cash and experience the food trucks out on Georgia Street and Capitol Avenue.

Gen Con with Kids

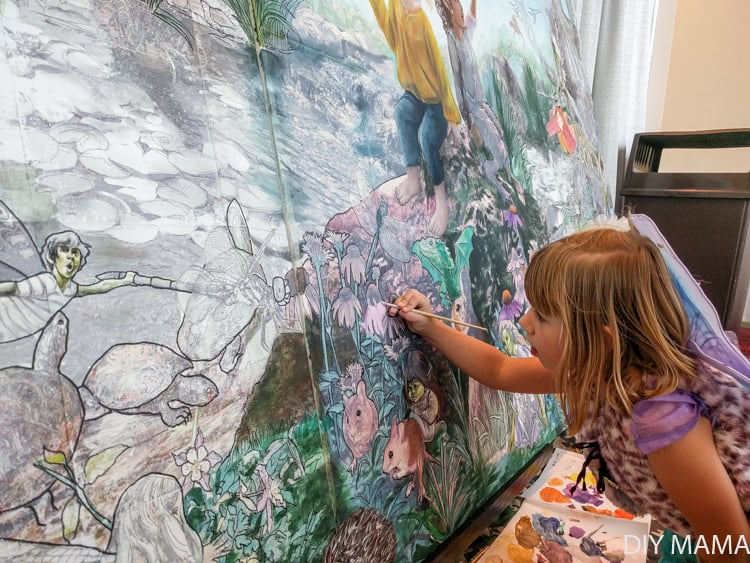
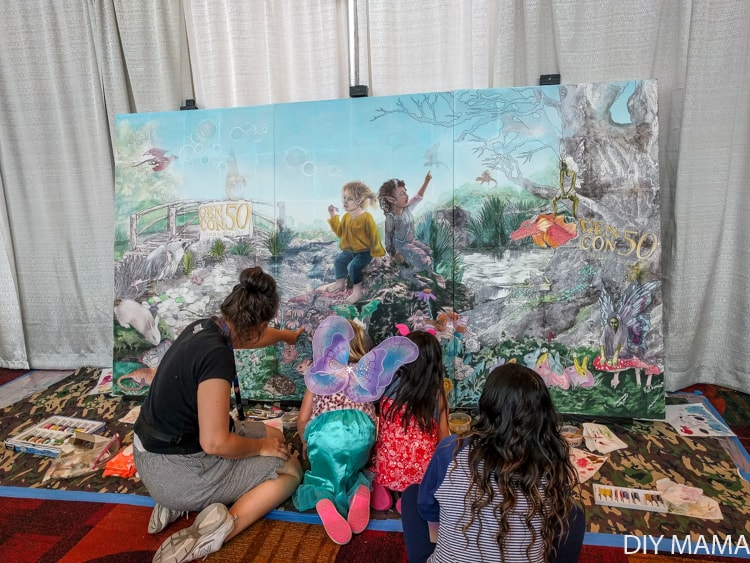
Gen Con Mural

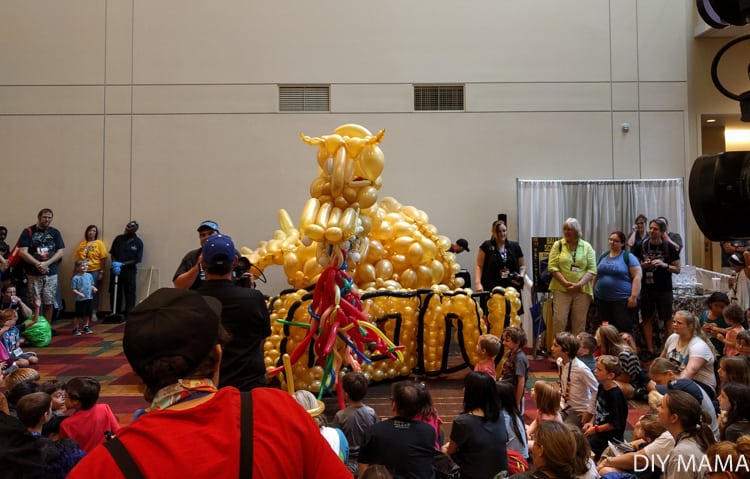
Gen Con Balloon Dragon

Gen Con Indianapolis

Gen Con Indianapolis

I’m so happy that Gen Con is contracted to be at Indianapolis through 2021 so we’ll have many years of cosplay and game play at this awesome event. The 2018 Gen Con will be held August 2 – 5, 2018 so start planning your costumes now! Pre-registration started late January this year so put it in the calendar to start checking in December. Let me know what questions you might have about taking your family to Gen Con or what you did while you were there!

Everybody’s Accepted at Gen Con


Similar Posts:

Indiana State Fair with Kids

Before You Go: Conner Prairie

Pin this for later:
Gen Con with Kids

Google+