Home

The First Steps of Getting a New Roof

The first steps of getting a new roof with Bone Dry Roofing are very thorough. I partnered with Bone Dry for our new roof because I know they do top notch work. They’re patient, considerate, informative (in a language I can understand) and extremely efficient. Many companies take a long time to respond back or get a project started but Bone Dry Roofing gave us the time we needed when our dog had surgery but when we were ready they were on top of making the entire process extremely smooth.

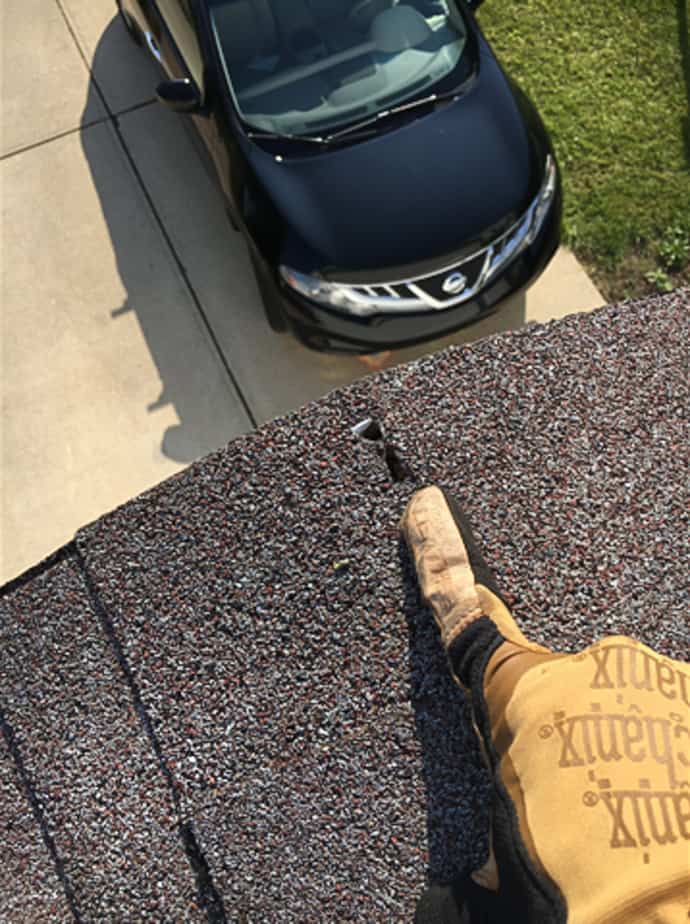
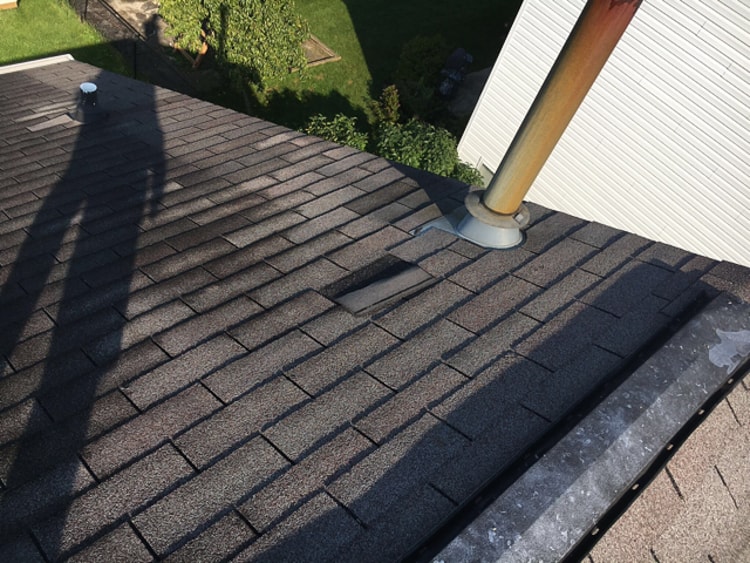
before new roof-bone dry roofing
new roof-shingles

Working with Bone Dry Roofing

I’ve never had to have a roof replaced and have never even been on a roof before. My husband wanted to replace it himself but I was adamant we had professionals do it because of the steep pitch of the roof. We had a boot replaced on our roof when we first moved in and they’d given us a quote for a new roof that would need to happen a few years down the road. That time came and I knew I wanted to work with Bone Dry because they did such a thorough job previously.

The First Steps of Getting a New Roof

  1. Call the scheduling department to set up an appointment for a date and time for the Roofing Specialist to come out. Ryan Van Treese is the specialist we worked with and I highly recommend asking to work with him.
  2. The specialist will give a courtesy call on his arrival time the day of which is really nice. Sometimes people give broad windows of time if they have other homes to go to before coming to yours. The courtesy call was nice as a mom with a dog that barks with new visitors who wakes up the baby.
  3. The specialist will introduce himself and the process that he will take during the appointment before heading up to the attic. This is a great time for a discussion about noises you’ve heard on the roof or problem areas you may know about.
  4. Next, the specialist heads up to the attic to survey the roof from the inside of your home. He will take a video describing what he sees up there as well as any suggestions to better your roofing system.
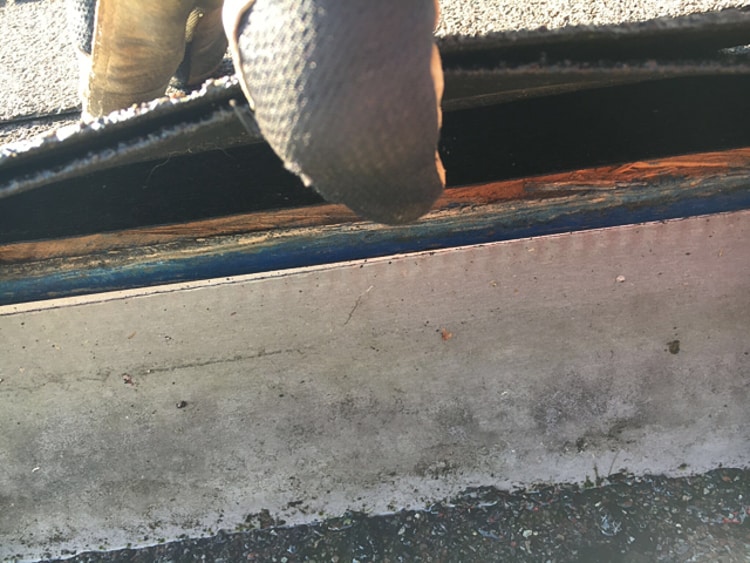
  5. After the attic inspection he’ll head outside to survey the property perimeter around the house taking note of what they will have to protect when the roofing job occurs. He will then head up to the roof and document with photos and videos (see video below) any problem areas as well as what they recommend to fix the issues.
  6. Inside, he’ll discuss the proposal of what they suggest in the way of fixing or replacing the roof and the different pricing options. He’ll go over the best possible roofing system, ventilation system, ice and water shield to protect from ice dams and shingle options.
  7. One really cool feature he shows is the Hover App which shows your home with their different shingle options. It can even show different paint colors if you’re doing a full renovation on your home.

There will be two more parts to this series. I’ll be sharing the process of Bone Dry Roofing taking off our old roof and replacing the new roof in the next post next week. The final post will come once we’ve been able to paint our home (it seems to rain a lot in spring) and get the final look of the updated exterior of our home. If you have any questions about the initial meeting I had to get our roof installed, leave them in the comments or send me a message!

Here is a video of the initial inspection of our roof:
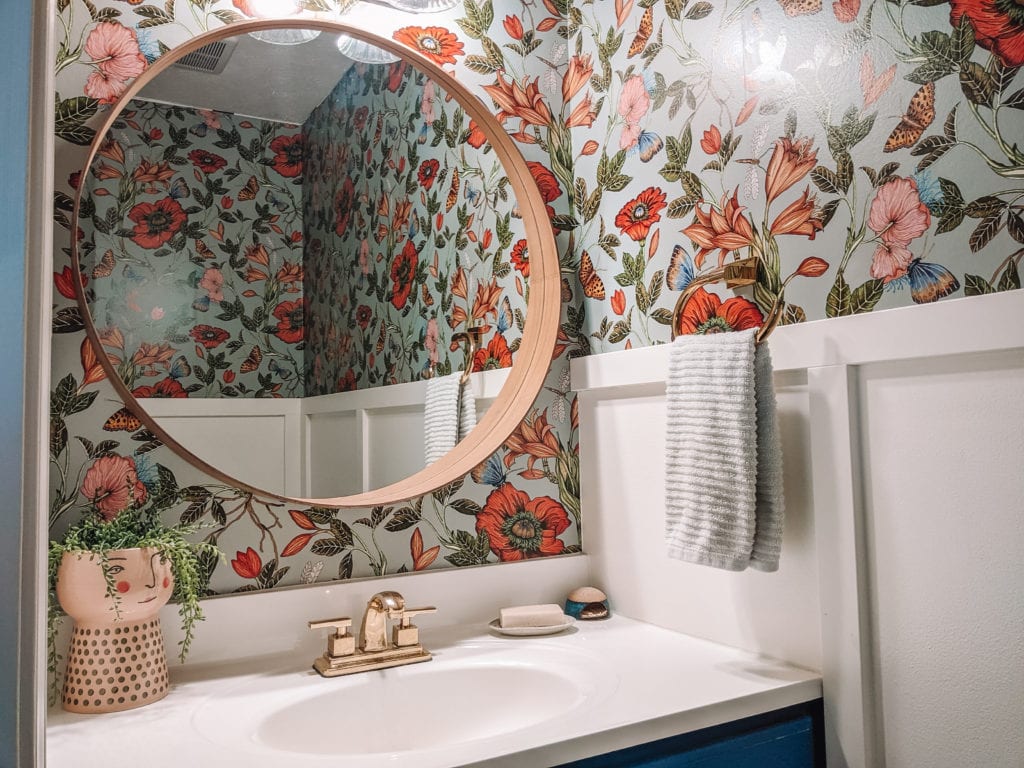
Beautiful Garden Half Bathroom Renovation

This post is sponsored by Photowall. The Blue Lily wallpaper was gifted in exchange for this post. As always, I only work with companies that I have previously used as a product. We used and loved Photowall wallpaper in Lilly’s preschool Montessori bedroom.

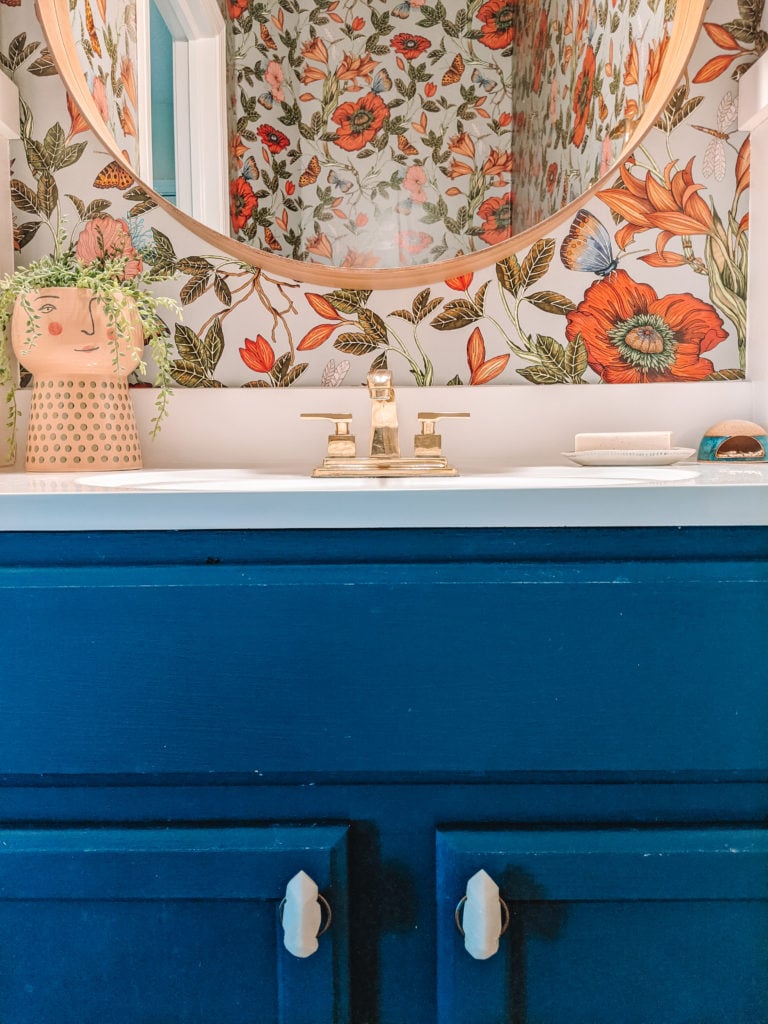
After a year of staring at the walls in my home, I started to get the itch to completely re-do every space. I’ve already done all the decluttering and cleaning projects and now I’m wanting more color and pattern! This past year, gardening as a hobby, brought me the most joy. I wanted to bring more plants and flowers inside. Especially to get rid of the grey winter blues, I needed to bring my garden inside! Que the birds chirping, sun shining and butterflies flittering around. That’s what my new bathroom is!

Photowall Wallpaper is Beautiful

As I mentioned I used Photowall for our daughter’s room and LOVED the product. (You can get 25% off your order of anything on the site until the end of May with code DIYMAMA25). Previously, we wallpapered one wall, ceiling to floor and it was gloriously easy. This time around, we had many obstacles. ‘It’ll be a super easy glow up’ I said. ‘It’s such a small room, what could go wrong?’ We learned a few things about how walls are never even but it’s nothing a little crown molding won’t fix.

Because it is a small half bath (like really small), I wanted wallpaper on top with a board and batten on the bottom. This is a great way to save money on wallpaper. We easily ordered the wallpaper on Photowall.com by putting the dimensions we needed (measure the wall’s height and width and add 6 inches both ways for error). Despite Photowall being in Sweden (across the globe from the US), the wallpaper was on my doorstep a few days after I put the order in!

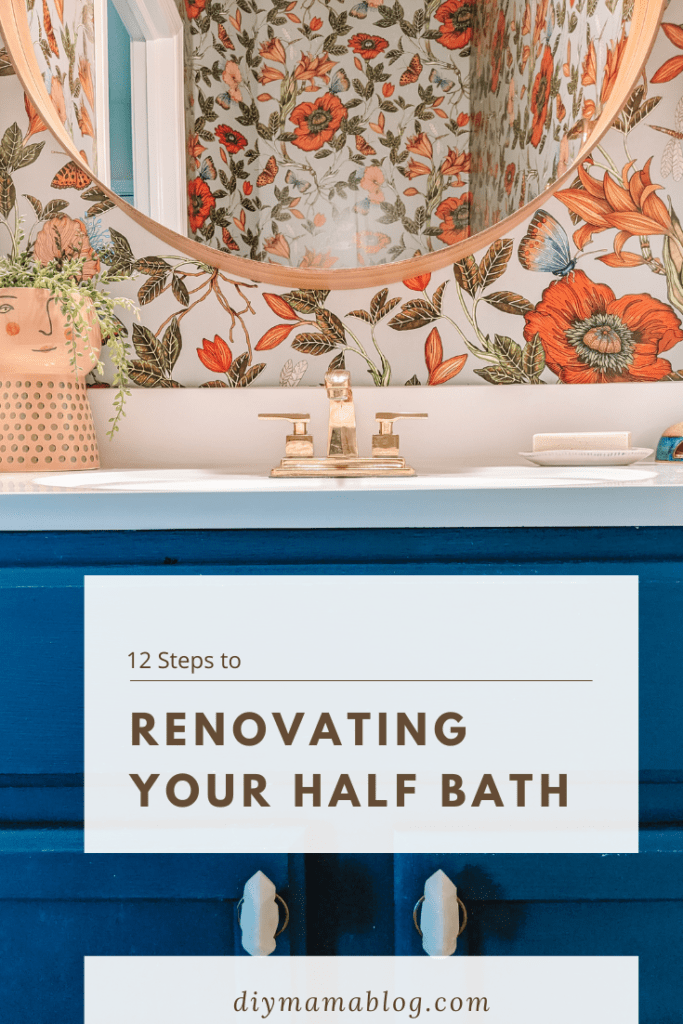
There were 12 steps to this bathroom renovation of adding wallpaper and board and batten. I want to remind you that this was not the first time I’ve assisted in helping put up wallpaper or board and batten BUT it’s the first time I did 95% of the project on my own.

The 12 Steps to Our Bathroom Renovation

  1. Remove everything from the walls- this includes a toilet paper holder, towel ring, mirror, and any art or shelving you may have hung in the bathroom. I left up the light fixture until I needed to wallpaper that section.
  2. Determine where you want your board and batten- We have an 8 ft ceiling in this room and I knew I wanted more white board and batten than wallpaper. The room is small and I didn’t want it to feel smaller with the pattern of the wallpaper. Once I found the height of the board and batten I drew a horizontal line around the room.
  3. Draw a vertical line the width of your first wallpaper panel- determine which corner you want to start at and draw a line to the ceiling the width of your panel. I knew I didn’t want a noticeable line where the end of the wallpaper meets up with the beginning of the wallpaper. I wanted that to be on the smallest part of the room which was over the doorframe. I started wallpapering with panel 5 in order to have panel 1 start over the door.
  4. Paint on wallpaper paste- you’ll want to fill in the area within your vertical line plus a couple inches past the line. It’s better to have too much paste than too little. If you miss a spot it could cause a bubble, whereas you can push out excess paste if there’s too much.
  5. Add wallpaper panels- line up the panel with the one to its left and continue around the room.
  6. Remove trim- I removed all trim around the door and the baseboards. Because we were adding board and batten I knew I wouldn’t need the baseboards.
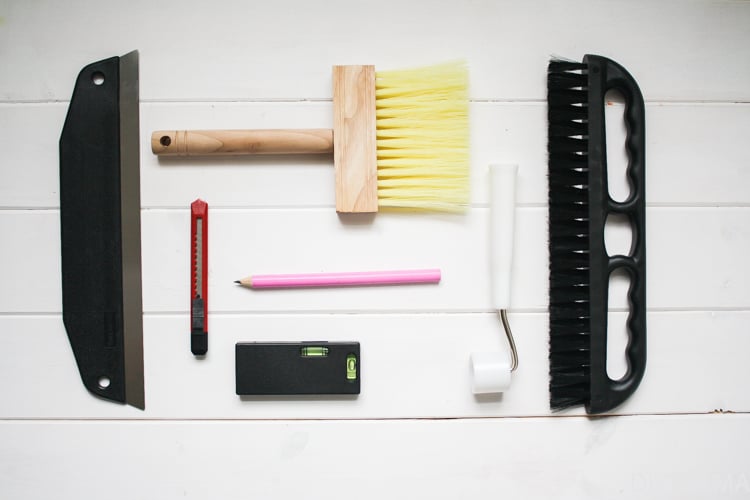
  7. Trim excess wallpaper- use a wallpaper ledge (or any long ledge) to help guide a box knife to cut along the initial horizontal line. This will be where the top horizontal piece of the board and batten will be.
  8. Paint, cut, and add baseboards- this was the hardest part for me. Figuring out how the angles needed to be cut for the baseboard trim was confusing. We have an angled wall and I needed lots of help figuring this out.
  9. Paint, cut, and add vertical board and batten- using liquid nails and a nail gun I added the vertical pieces of board and batten.
  10. Paint the board and batten- once all of the board and batten are up you can paint the walls for the board and batten look.
  11. Caulk and fill nail holes- here is another place I learned a valuable lesson. Be sure to use paintable caulk when sealing your seams. I just used some random white caulk we had on hand that apparently repels paint. I had to go back over all the seams with paintable caulk before painting again. I also filled all the nail holes with wood putty. Touch up the nail holes once the wood putty is dry.
  12. Add decor- here’s the fun part! Add back all the decor you took down and admire your newly renovated bathroom!
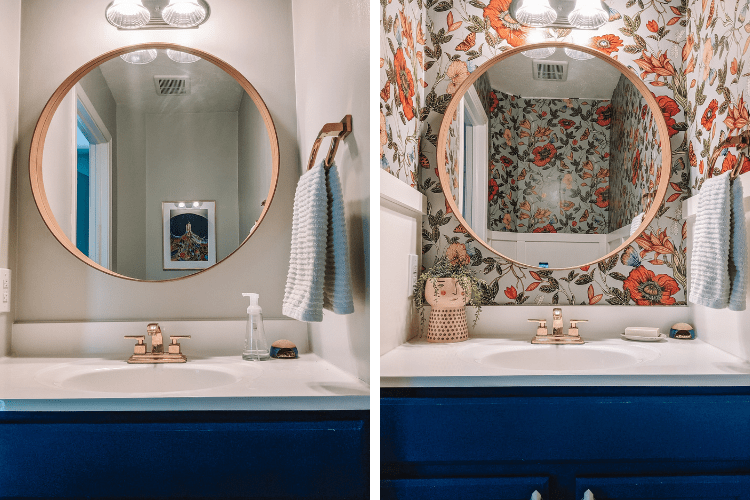
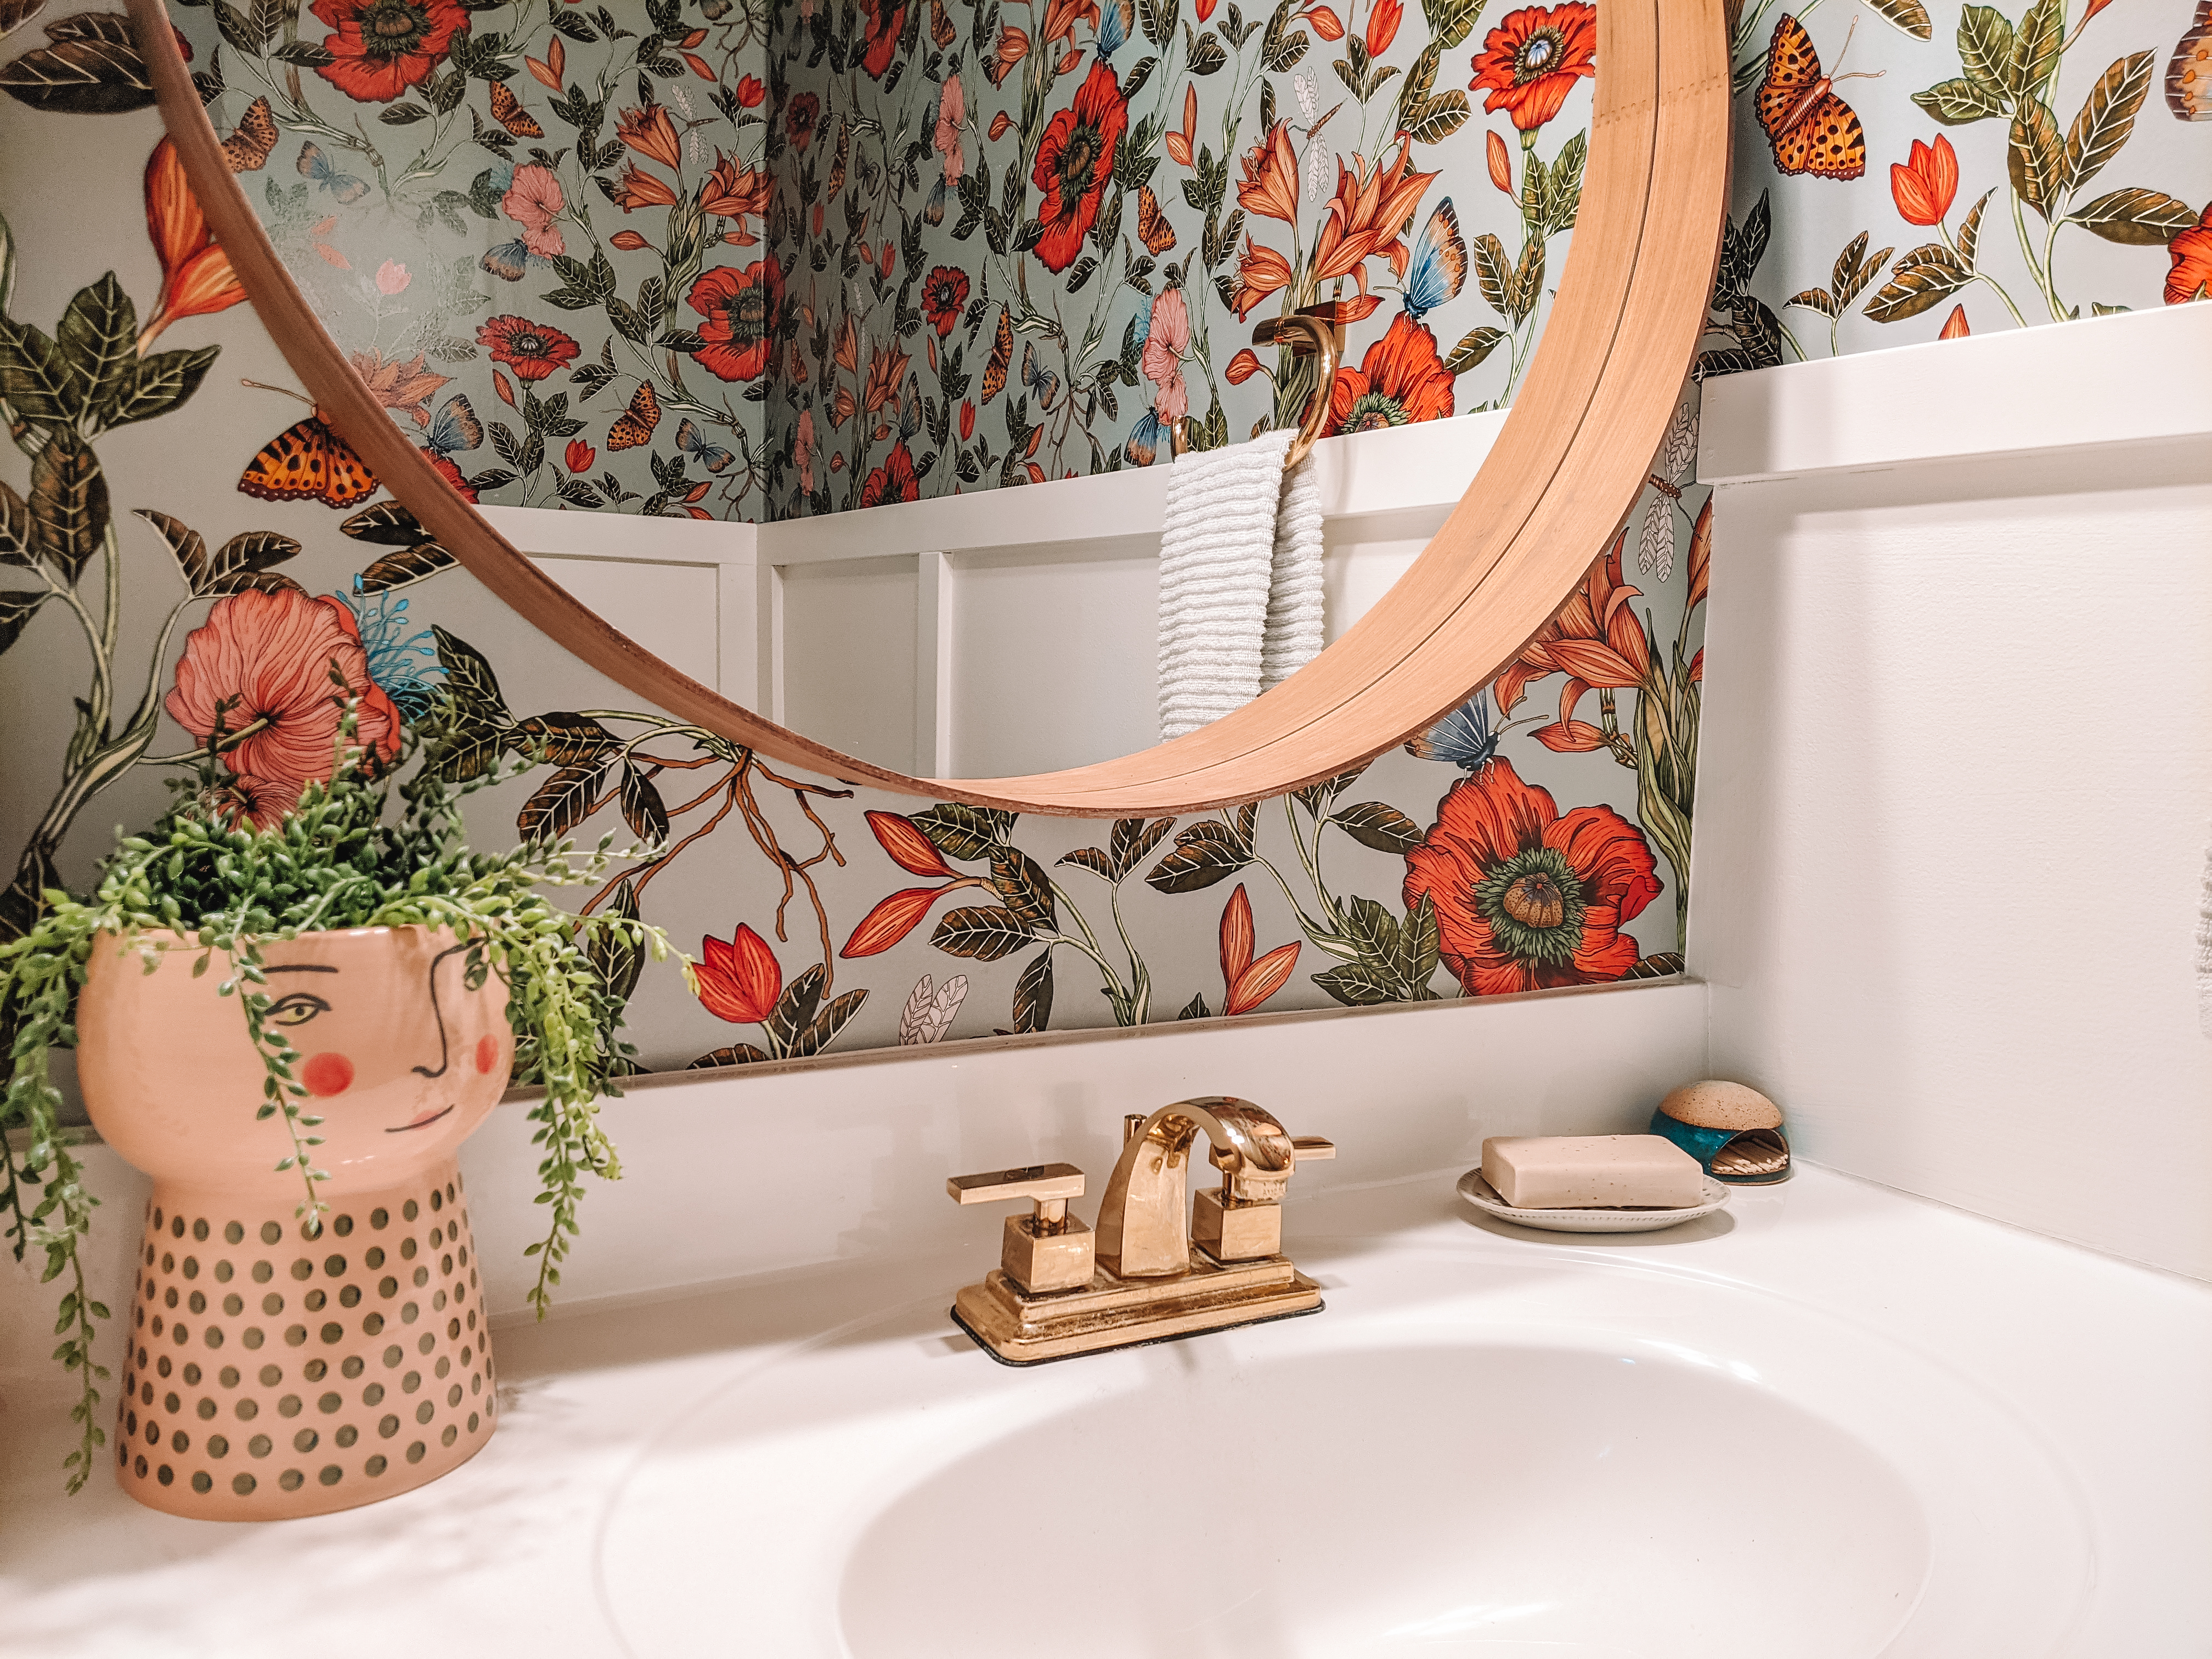
Bathroom renovation with wallpaper and board and batten

I made a video tutorial of how I put up the wallpaper as well as the board and batten. There are tons of great detailed videos on how to add your Photowall wallpaper if you need more tips. Below is the video I put together of the steps I took to renovate our bathroom.

I’m really proud of how well the bathroom turned out. When I first told my family I wanted to re-do the bathroom (after we already painted and changed out the vanity) they were not looking forward to it. My daughter didn’t like any of the wallpapers I’d chosen and my husband was worried that he’d end up doing the project. Thankfully in the end, everyone was happy and now I can go in my garden bathroom anytime I need the feeling of spring!

Related Posts to Garden Half Bathroom Renovation

Preschool Montessori Inspired Bedroom with Photowall Wallpaper

Pin it for Later

5 Simple Upgrades for a Spa Bathroom

This post has been sponsored by Quilted Northern®. All thoughts and opinions are my own. 

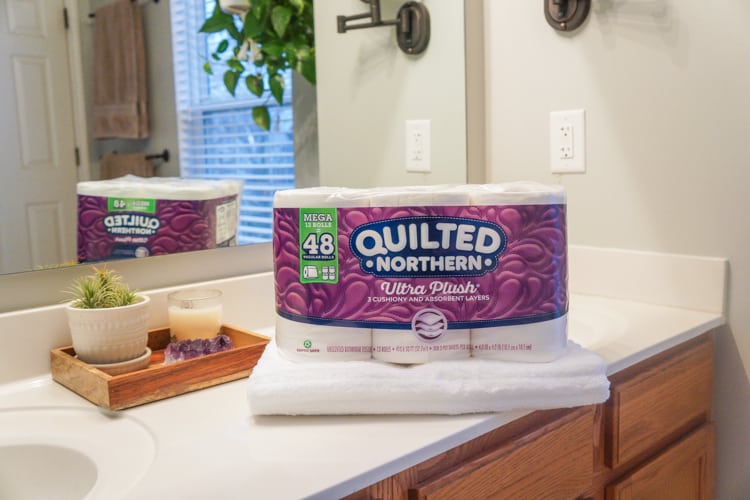
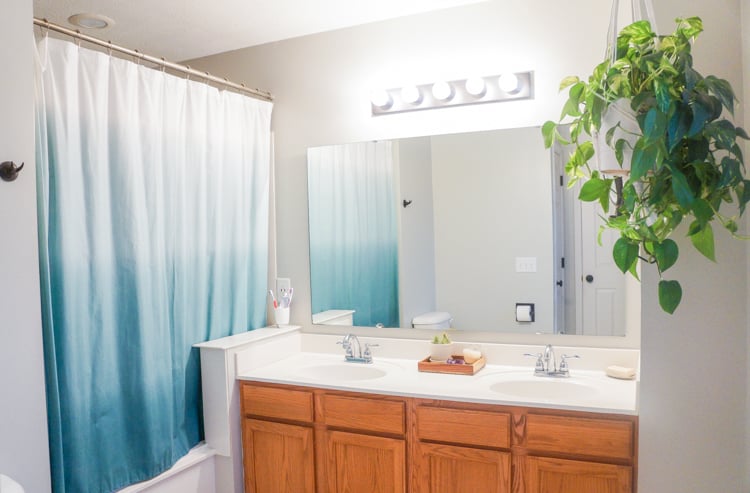
5 Simple Upgrades for a Spa Bathroom- Turn your drab bathroom into a peaceful place you want to get ready in when you wake up. Add a plant and crystals, minimize and de-clutter counter-tops, add a candle, and have the highest quality comfort in toilet paper with Quilted Northern.

These 5 simple upgrades will help turn your bathroom into the spa you've always imagined. With the help of Quilted Northern's luxurious feel you'll be happy to visit your bathroom. #ad

These 5 simple upgrades will help turn your bathroom into the spa you've always imagined. With the help of Quilted Northern's luxurious feel you'll be happy to visit your bathroom. #ad


1. Luxurious Toilet Paper

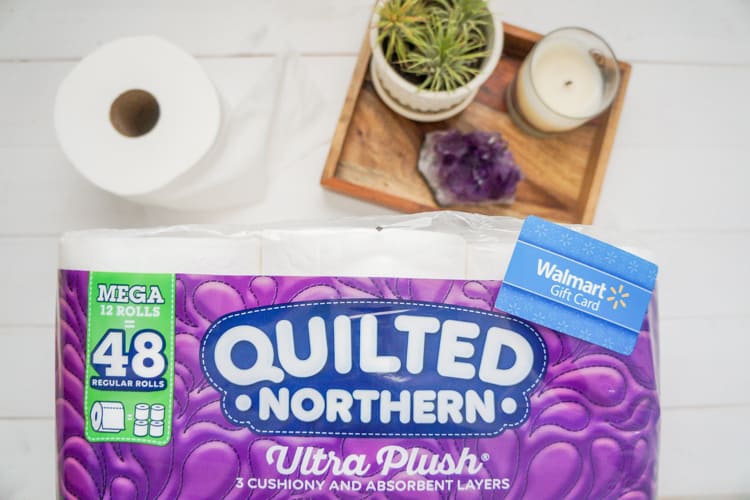
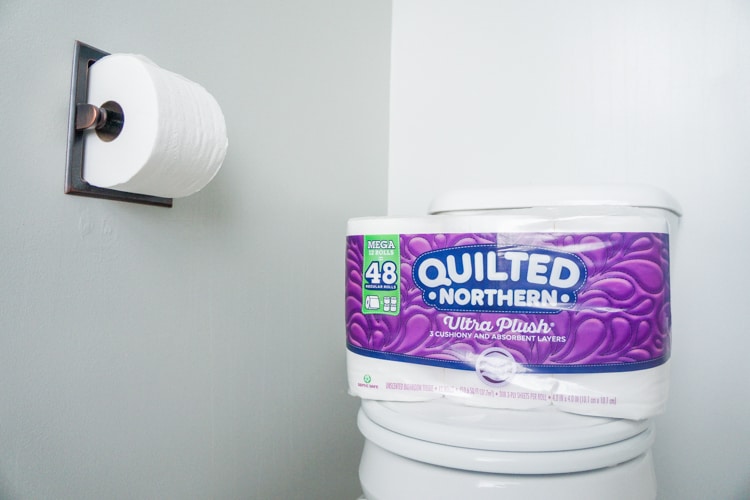
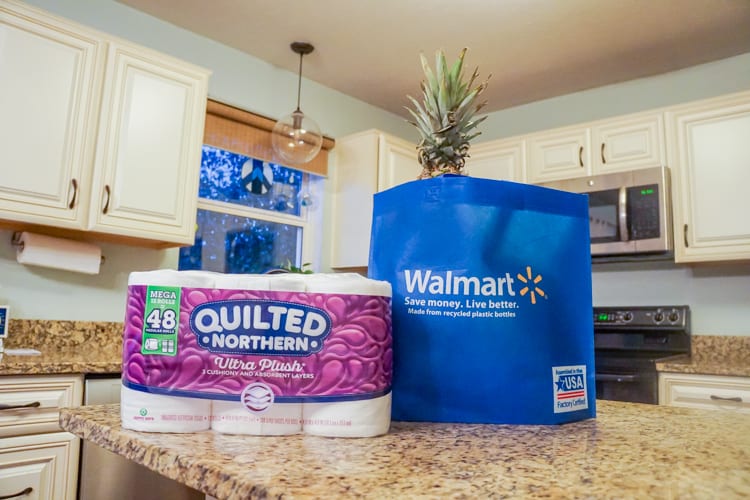
Here’s the key to a spa-like bathroom: Comfort. Comfort in your towels and robe, yes, but also in your toilet paper. Especially when there are 3 silky soft layers that are both cushiony and absorbent like Quilted Northern®. Their Ultra Plush® is the ultimate comfort for a luxurious experience. I get mine through Walmart’s Grocery Pick Up, making it super easy to get my necessities for the week without taking the girls inside. You can learn more about how amazingly soft Quilted Northern® is here. As their tagline says. “It’s just really nice toilet paper.”

2. Add a Plant

Have you ever been to a spa and not seen plants? There are several benefits to having plants indoors, including reducing carbon dioxide levels, reducing levels of certain pollutants such as benzene and nitrogen dioxide, and reducing airborne dust levels. Plus, I find bathroom plants to be the easiest to remember to water because they’re close to a sink.

These 5 simple upgrades will help turn your bathroom into the spa you've always imagined. With the help of Quilted Northern's luxurious feel you'll be happy to visit your bathroom. #ad

These 5 simple upgrades will help turn your bathroom into the spa you've always imagined. With the help of Quilted Northern's luxurious feel you'll be happy to visit your bathroom. #ad

3. Calming Crystals

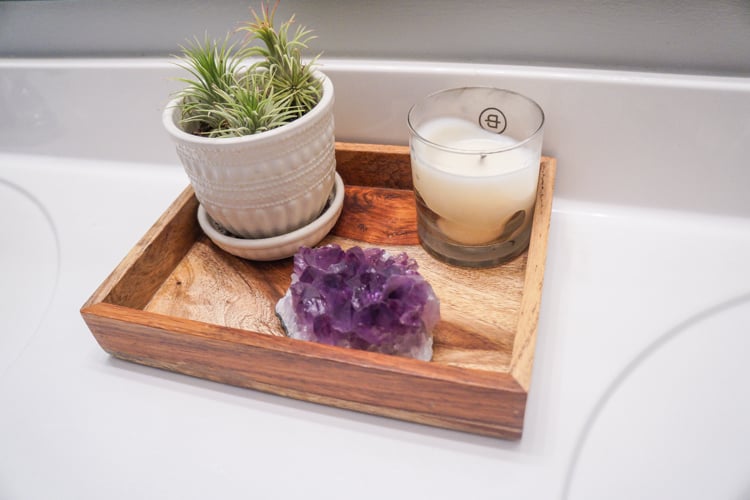
Believing crystals have powers is woo-woo, but I still love having them around. They’re beautiful and if they have special added powers, why not use them in decor? You can choose whatever type of crystal you like in your bathroom, but I use amethyst for my spa bathroom. Amethyst is said to bring peace and tranquility in the home as well as calm the mind.

4. Hygge Candle

Candles always give a special comforting feeling, so the bathroom only makes sense. Hygge is a Norwegian word for a mood of coziness and comfort with feelings of wellness and contentment. You don’t need a specific candle to achieve this feeling, just something that makes you feel content. For me, that’s the beach. I wanted something that reminded me of escape and being calm.

5. Minimize Clutter

Even if you have little storage space in your bathroom, there’s always a way to hide your products. We don’t have drawers on our vanity, so our counter could easily fill up with toothbrushes, toothpaste, face wash, shaving tools, etc. because we use them multiple times per day. Personally, I tend to feel anxious when there is clutter on surfaces. With all the clutter around our home from having two little kids, the bathroom is a space I can manage easily because they don’t use it.

See what products are necessary to keep on your counter, and find a way to make them look nice if they need to be there. Place them all on a tray or buy matching accessories to hold them. Walmart has a great selection of accessories for your toiletry needs.


You can do this quick spa-like update by picking up these items at Walmart on your next shopping trip in the store or through their grocery pick up. I hope this small update helps you start and end your day with some calm.


These 5 simple upgrades will help turn your bathroom into the spa you've always imagined. With the help of Quilted Northern's luxurious feel you'll be happy to visit your bathroom. #ad

These 5 simple upgrades will help turn your bathroom into the spa you've always imagined. With the help of Quilted Northern's luxurious feel you'll be happy to visit your bathroom. #ad

Other posts you might like:

Bathroom Linen Closet Organization

Pin it for later:

These 5 simple upgrades will help turn your bathroom into the spa you've always imagined. With the help of Quilted Northern's luxurious feel you'll be happy to visit your bathroom. #ad

Sharing a Bedroom With Baby

This post has been sponsored by The Clorox Company. All thoughts and opinions are my own.

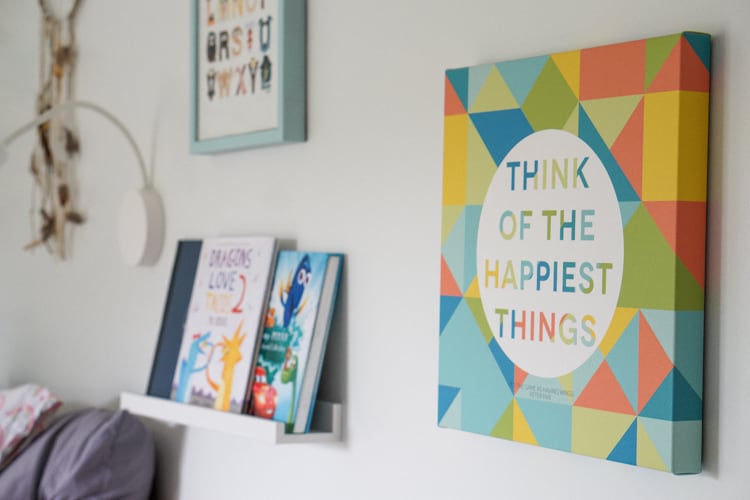
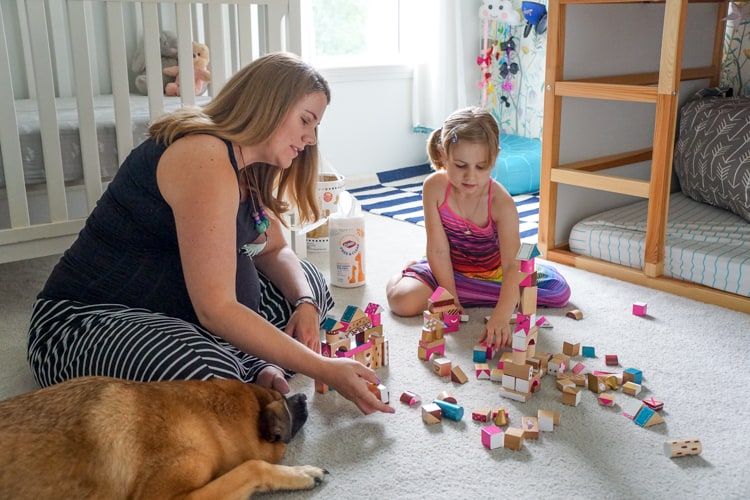
Sharing a Bedroom with Baby- When our daughter Sophia (age 4.5) said she wanted to share her room with her baby sister, our hearts melted. Then we realized what that meant for everyone! Those first few months with baby waking up every couple hours to eat makes for sleepless nights which we do not want to impose on our daughter. Our compromise was to set up her room to make it ready for the baby to join her once she’s sleeping at night after about six months. She was pleased with this compromise and has been very excited to get her room all set up to make her baby sister feel welcome.

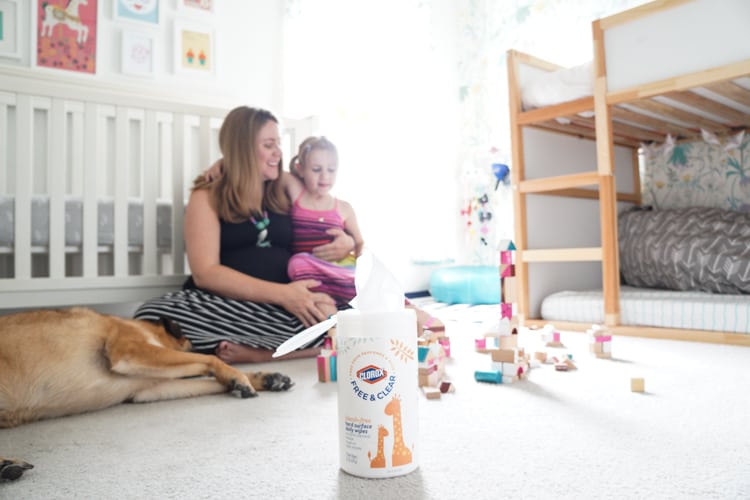
Sharing bedroom with baby and how to organize

Sharing bedroom with baby and how to organize

Clorox Free & Clear safe for baby

Sharing a Bedroom with Baby

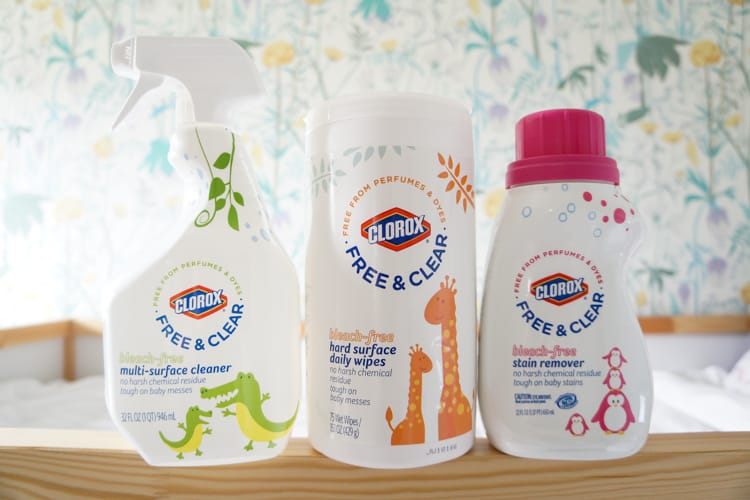
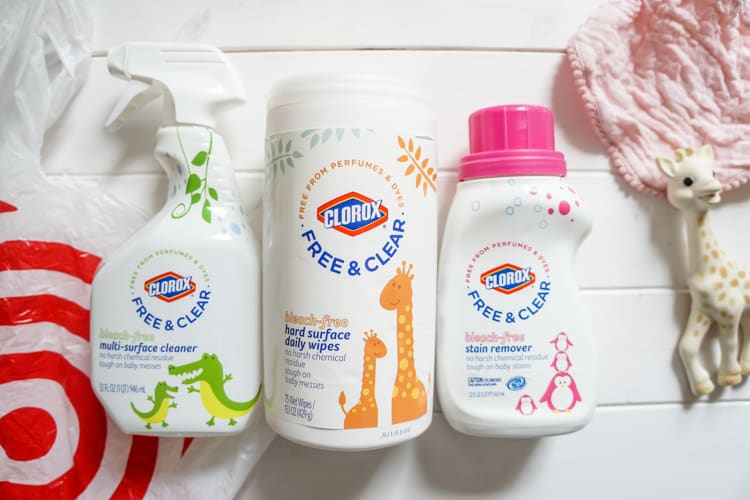
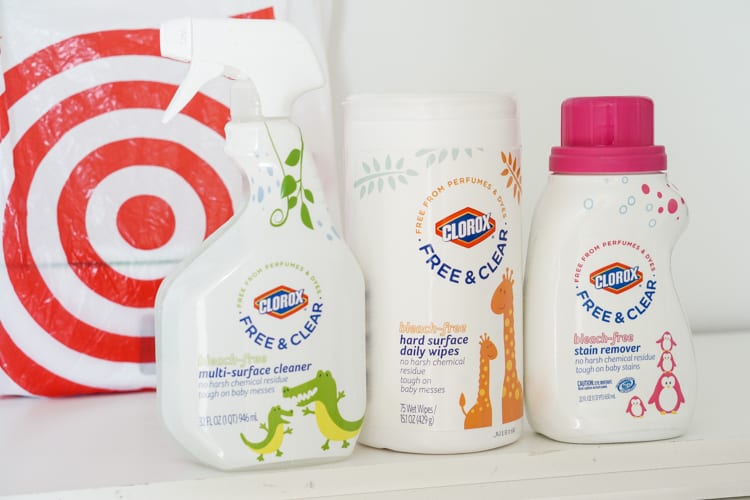
Being type A, my first thought was dealing with organization in a small room with enough stuff for two kids. My second thought was about cleanliness, keeping both girls as healthy as can be. I was so glad to see Clorox’s amazing line of Free & Clear cleaning supplies were safe for kids! On our weekly jaunt to Target, we picked up three of their products to test if they’d still work harder than natural products but be just as safe. We got Clorox Free & Clear Multi-Surface Cleaner, Clorox Free & Clear Stain Remover and Clorox Free & Clear Hard Surface Daily Wipes.

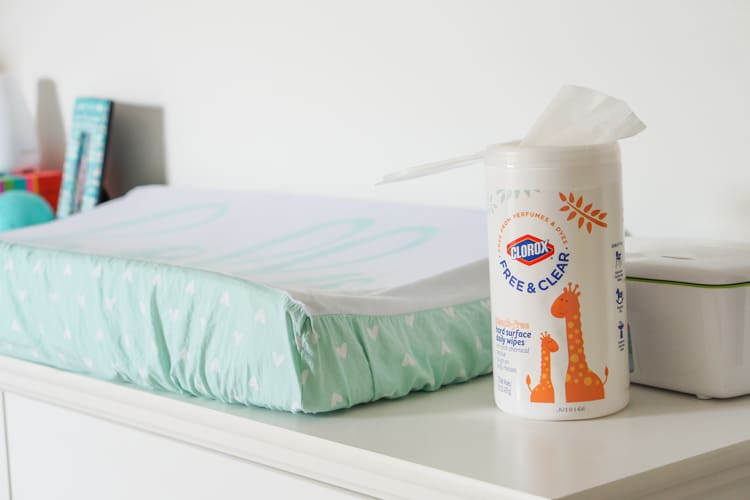
We’ve already been using the Clorox Free & Clear Hard Surface Daily Wipes while getting ready for baby. I’ve  been using them to wipe down the table after craft time, and I know it’ll come in handy when wiping down Sophia’s toys that the baby gets ahold of. Each product in the Clorox Free & Clear line is fragrance free with no harsh chemical residue, so it won’t irritate either of my daughters’ skin. To learn more about the products, go here.

Clorox Free & Clear safe for baby

Clorox Free & Clear safe for baby

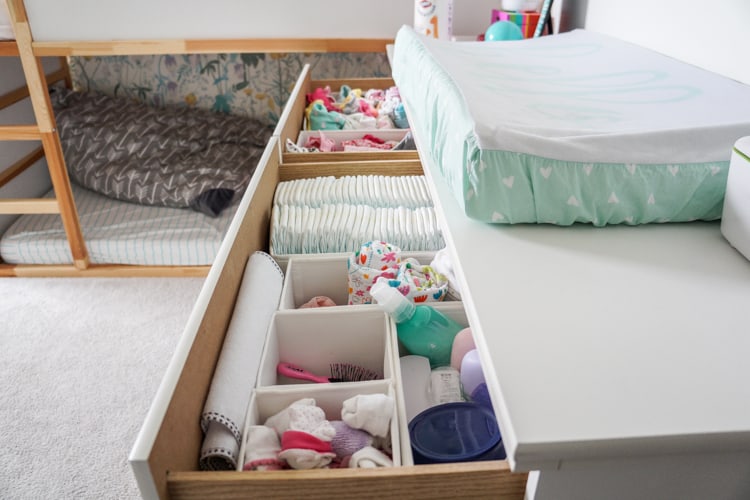
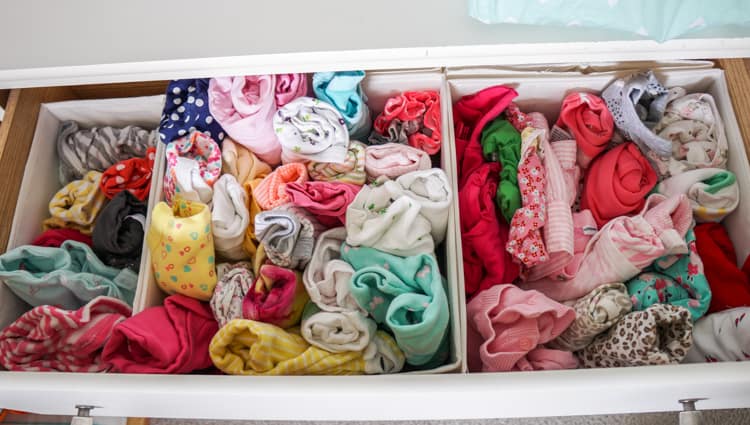
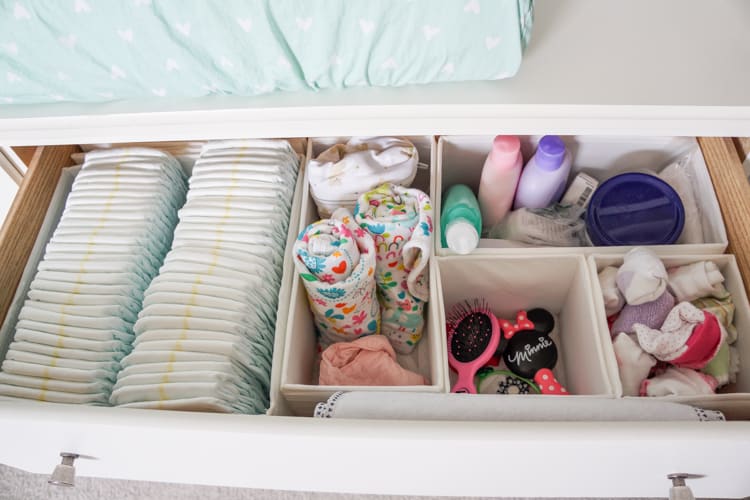
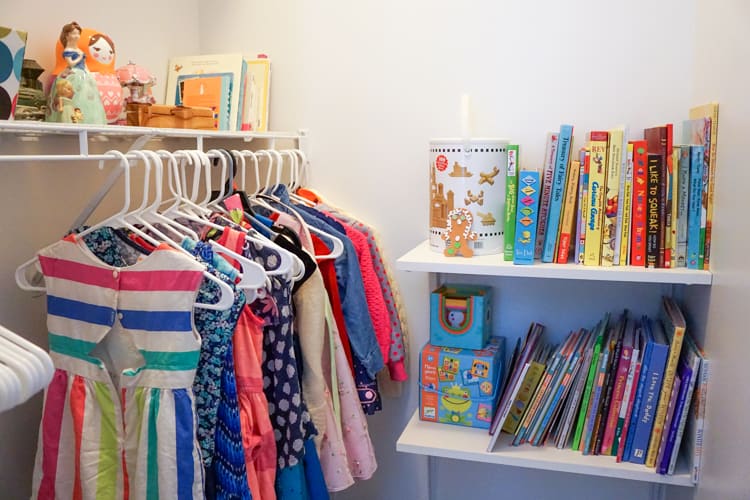
In order to give enough space to each child, we re-did the girls’ walk-in closet to be more accessible for Sophia. We moved her 4-by-2 shelving unit to the basement to make room for baby’s crib and added shelves in the closet for her books and toys. We also hung her dresses and sweaters low so she is able to easily get them down and put them away. By moving some clothes to the closet, it freed up two drawers in the large dresser for baby’s clothes and other necessities. The only other change we made was to secure all picture frames in the room so there was no way they could fall on baby. We added a changing pad back to the dresser and it was all ready for both girls to enjoy!

Sharing a bedroom with baby and how to organize

Sharing a bedroom with baby and how to organize

Sharing a bedroom with baby and how to organize

Kid closet organization

The Clorox Free & Clear Multi-Surface Cleaner, Clorox Free & Clear Stain Remover, and Clorox Free & Clear Hard Surface Daily Wipes products are currently in the baby aisle near the cleaning products at Target stores so you can pick them up next time you’re there. You can also use this Cartwheel offer to save in the Target App! Keep peace of mind while maintaining a grime-free space for your little ones.

Clorox Free & Clear safe for baby

Clorox Free & Clear safe for baby

Pin it for later:

Tips on how to organize and clean a shared siblings room. How to share a room with baby so both kids are happy and healthy. #ad #bedroom

Tips for a Smooth Back to School

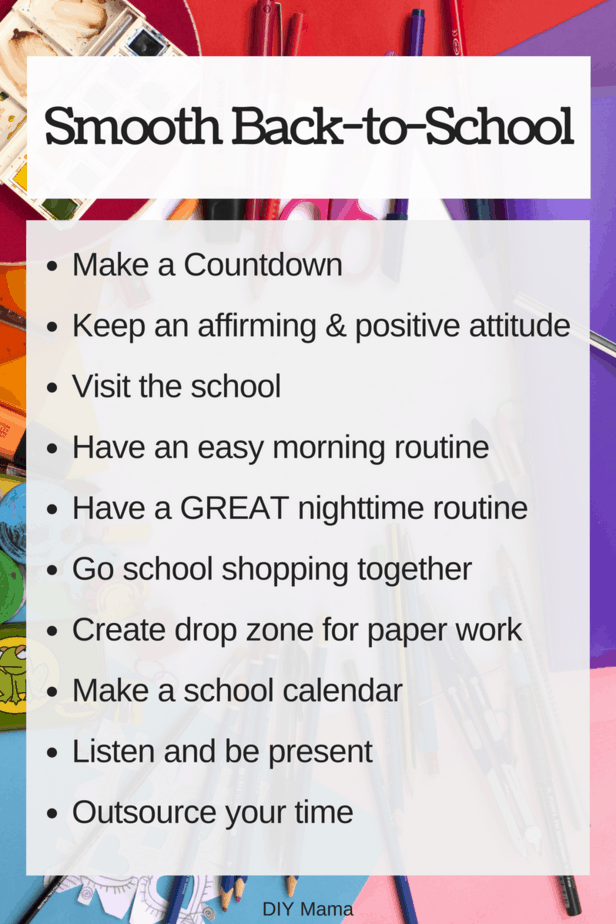
Tips for a Smooth Back to School- With the first day of school lingering in the not-so-distant future, you’re probably feeling both excited and overwhelmed. From creating healthy sleep habits and establishing a good morning routine to handling back to school anxiety and learning how to make communication more manageable, we’ve got 10 back to school tips and tricks for parents to help make this your best year yet!

10 tips for a smooth back to school

Tips for a Smooth Back to School

1.) Make a countdown- using a calendar, paper chain or white board start a countdown a couple weeks before school. With this countdown ease into their school routine with bedtime, setting out their clothes for the next day and when they’ll be waking up. It’ll be hard to stick to those routines while wanting to get in as much fun as you can but it will help the transition immensely if you start early.

2.) Keep an affirming and positive attitude- you know that your child will reap the benefits of going to school. Try to keep any anxiety or stress you may have from showing to your child.

3.) Visit the school- This is a great practice for young kids starting preschool or Kindergarten. It is equally great for children entering a new school. Map out their classes and let them try out their locker. Park where they will park and walk in making their first day of school more familiar.

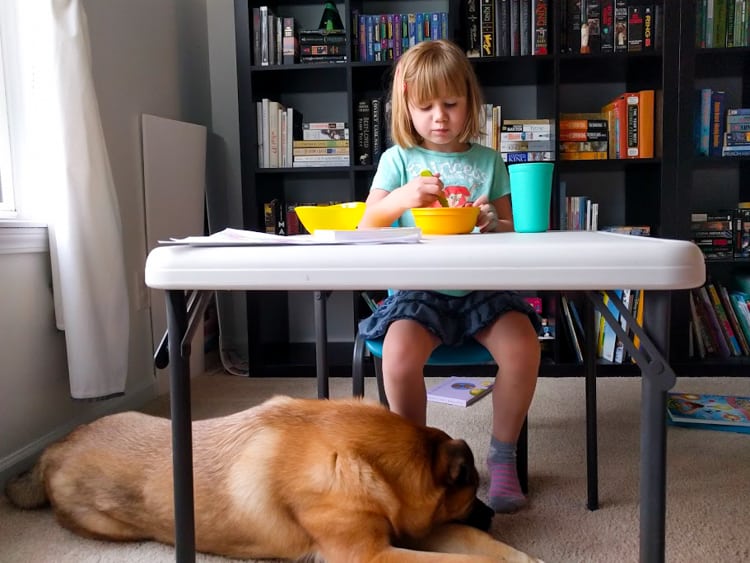
Kid eating Cheerios

4.) Have an easy morning routine- Routine is the key word here. It may take a few weeks or even months to figure out the perfect routine for your family but once you’ve got it, stick with it. Write it out or discuss it with your kids to let them know how you’d like to see the morning go. Have them help you figure out what works best for them.

5.) Even better, have a great evening routine- Although morning routines help with the ease into a new day, setting up an evening routine can make that morning routine breeze by. Again, see what works best for your family. Maybe make a chart or a evening routine clock that shows what things they need to accomplish before lights out. Do as much as you can the night before so the next morning is simple (set out clothes, make lunches, look at the week ahead etc.)

6.) Go school shopping- Head to the store for their favorite foods in their packed lunch. Purchase the necessary school supplies or even a new First Day outfit. Get haircuts. Having a day with them to prepare for the new year ahead will let them know you want to make this as easy as possible for them.

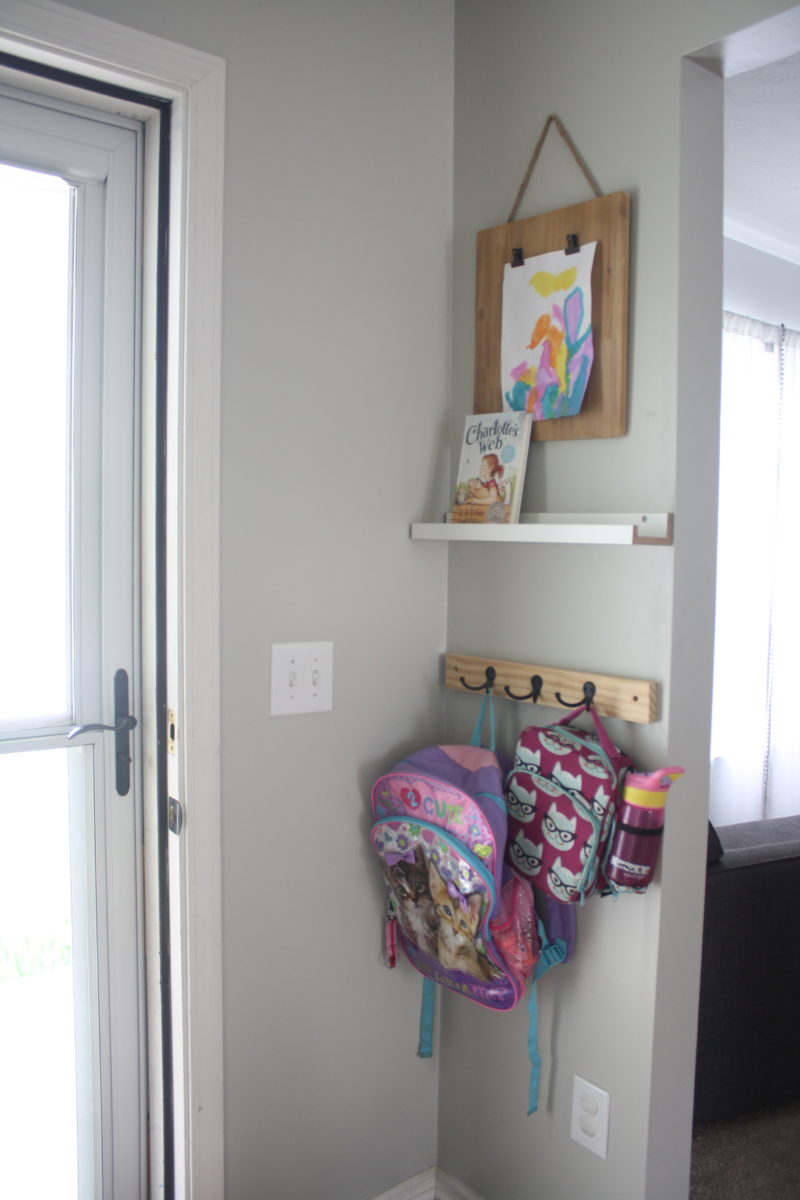
7.) Create a drop zone/command center for backpacks and permission slips- Talk to your child about homework rules and where they should put papers that need to be looked at or signed. Have enough space for each child’s backpack, shoes, water bottles or anything else they will be carrying home from school so there is no frustration in the morning to find these items. Make sure they know it’s their space and their responsibility to keep their items there.

10 Tips for Smooth Back to School

8.) Make a school calendar- Add all of the Holidays and School info and hang it where your child can see it. If they join a club or sport have them write in their games or practices to let them have a little responsibility over knowing when their time is scheduled. If you have a younger child, use stickers to let them know which days they have games or practices. Starting this habit of letting them schedule their time will help them decide what is too much on their plate.

9.) Listen and be present- As tempting as it is to tell our kids they have nothing to worry about as a way to distract them, sometimes the best thing we can do as parents is to simply listen. If your child is finding school stressful, allow her to put her feelings into words so you can figure out exactly what is bothering her and (hopefully) find a solution to her worries. Spend 5-10 minutes connecting with each child in the morning or evening routine- with your phone put away. Talk about who they’re excited to see or what they’re going to do at recess. If they are nervous for the week ahead brainstorm a family activity for the weekend.

10.) Outsource your time- Know that it’s OK to ask for help. Figure out what is taking up a lot of your time, therefore, keeping you from your family. Is there a way to pay to have it done by someone else? Hire a cleaning service, utilize grocery pick up or delivery, make crock pot meals, car pool with other parents for practices. There are a lot of ways to simplify all of the busyness if you are able to step back and see what needs to be adjusted.

Pin it for later:

10 Tips for Smooth Back to School

Related posts to Tips for a Smooth Back to School:

Preschool Montessori Bedroom

Preschool Supplies


Google+