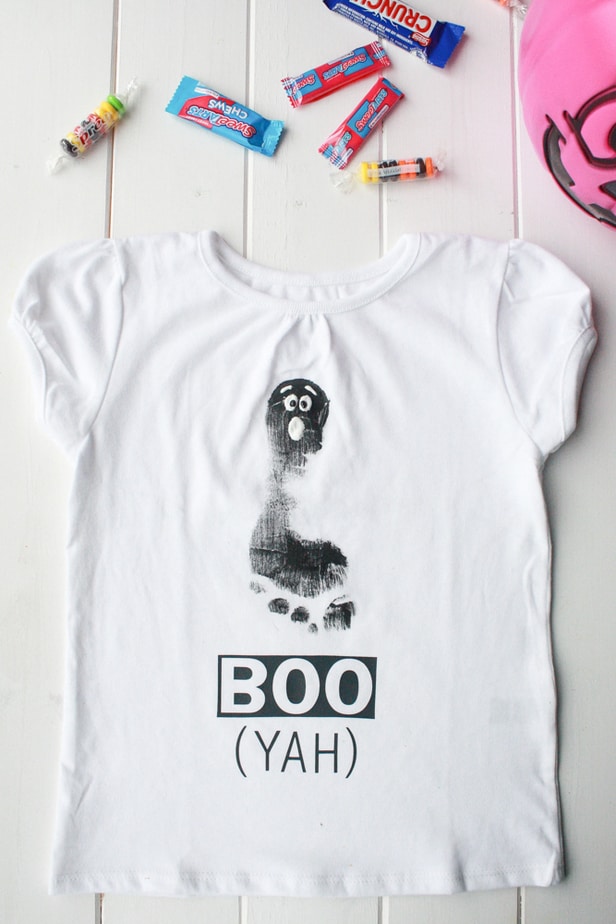
This DIY Halloween Ghost Toddler Shirt was so fun to make but I highly suggest having more than one adult help with the process so you do not have little black painted foot prints around your house!
If You Can’t Find What You Want, Make It.
I searched through several stores in town (Kohl’s, Walmart and Target) to find a Halloween shirt for Sophie and found zero in her size. I’d found one pair of PJs but knew in my heart that it would look like she was wearing PJs to school if I sent her in that shirt. It’s possible that there was a huge baby boom around Sophie’s birth date because I’ve always had a hard time finding her size in stores.
A friend suggested I make a shirt. After last year’s failed attempt, I knew I wanted a second shot at the ole ‘footprint character’ project. You know the one…where you turn a foot or hand into pretty much any object.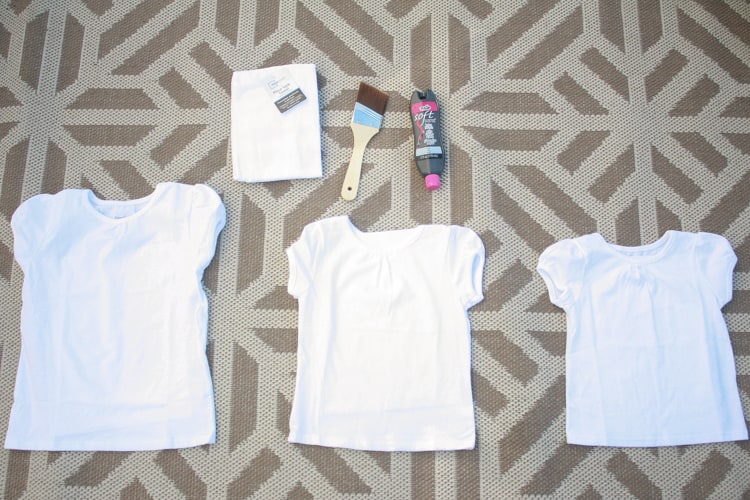
Halloween Ghost Toddler Shirt
Materials Needed (affiliate links included):
- Tshirt (any color works but be sure to use a contrasting color for the paint)
- Paint brush (any type of paint brush works, just use what you have on hand)
- Matte fabric paint

- Puffy Paint
- Scrub brush
- Dish with water (or nearby sink)
- Tshirt Transfer Paper
- Parchment paper
- Iron
- Cutting machine (I used a Cricut Explore but you could also print out the text on your printer or use a stencil to cut your text out of transfer paper)
Game Plan
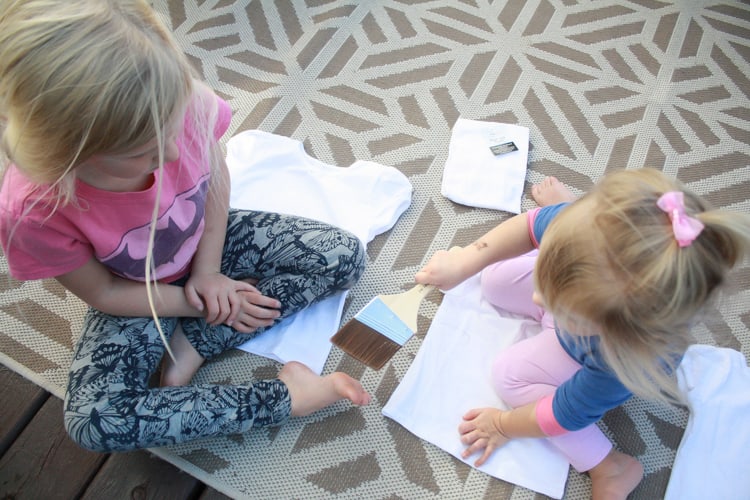
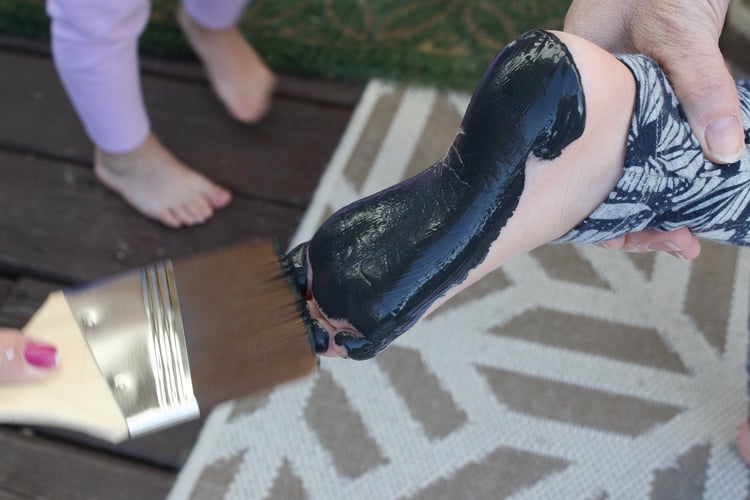
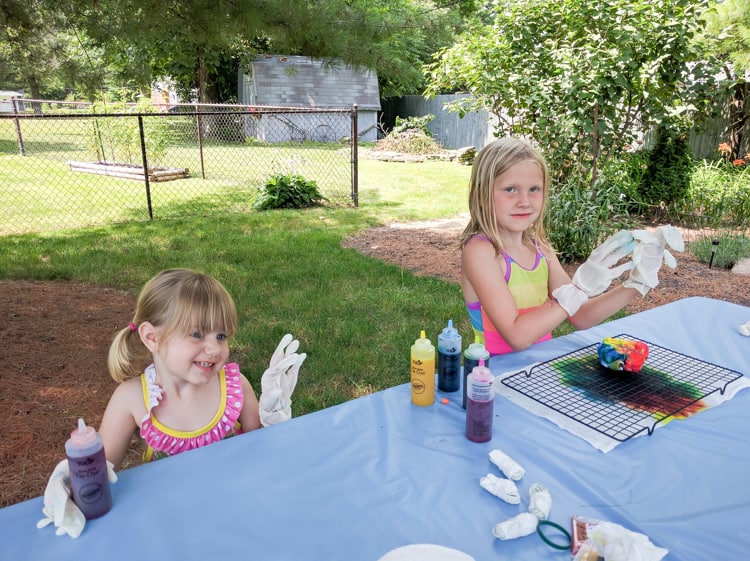
With a water dish for clean up nearby, paint a thick, even coat of paint on the child’s hand or foot. We had Fiona (5) do it first so the little girls could watch the process. Once the foot is covered, have them hold on to a chair while you press their foot down evenly onto the shirt.
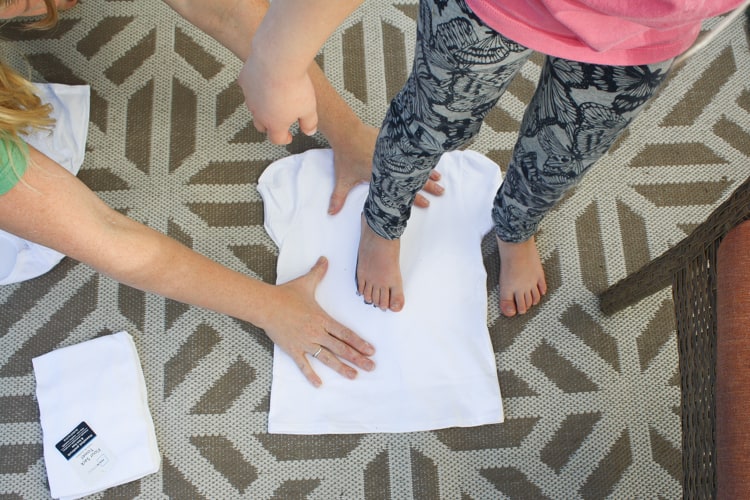
Pay attention to the direction of their foot. The heel should be at the neck of the tshirt. Make sure to leave room for your text. You could also put the foot lower and have them write a ‘BOO’ speech bubble from the ghost.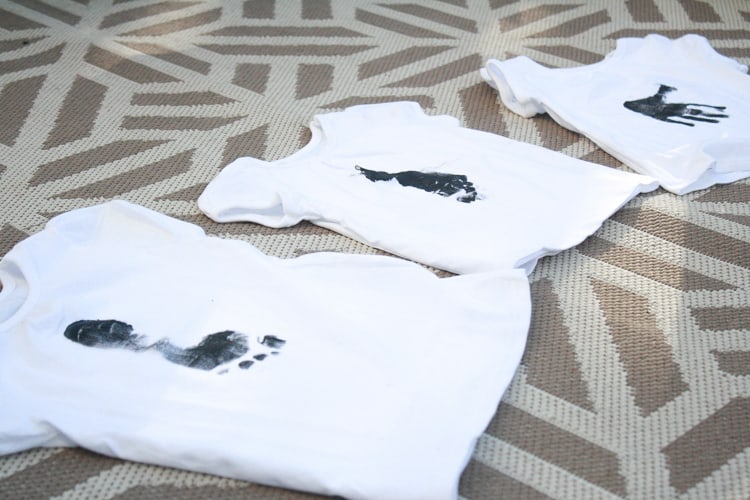
You Need a Helper
If you are doing this project with children under 5, I suggest having two people help the child. One person paints while the other holds their foot and places it on the tshirt. Once the footprint is on the shirt, the painter gets the dish and scrub brush ready to quickly transfer the child’s foot to the water. The fabric paint dries quickly and is difficult to clean if not addressed after a minute.
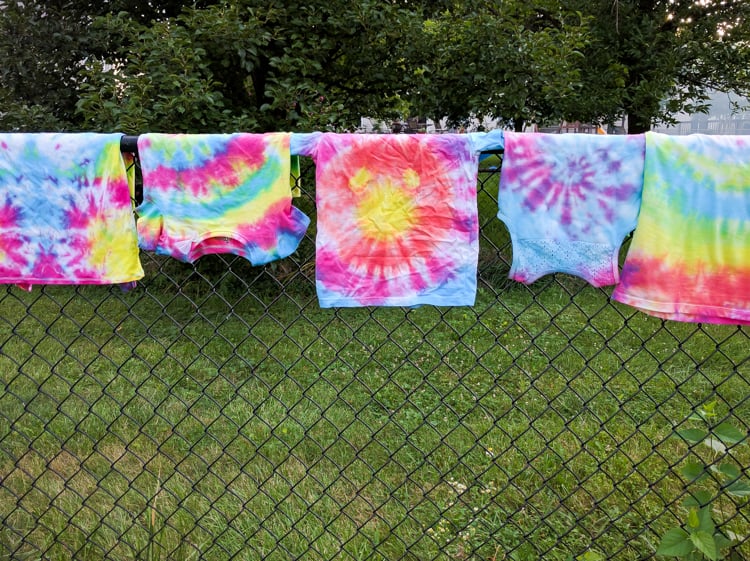
If your child, like mine, does not want to have paint on their feet, suggest their hand. It won’t look as much like a ghost but it’s still darling and will be a fun memory for you to share. We let the tshirts dry over night before adding the text and faces.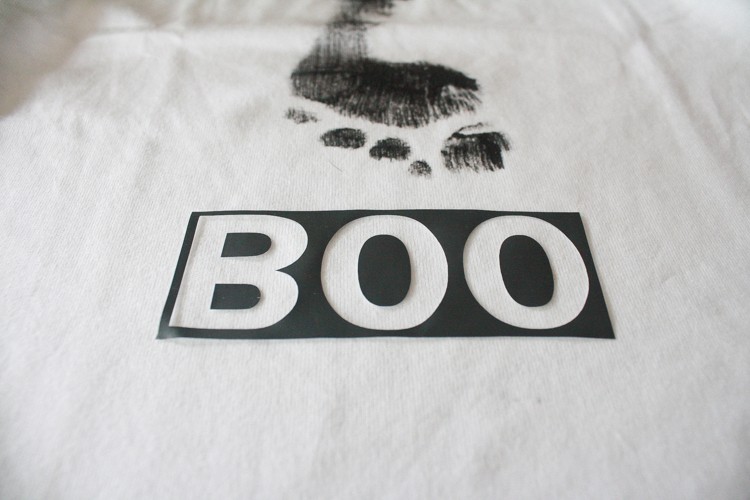

Cricut Cutting Machine
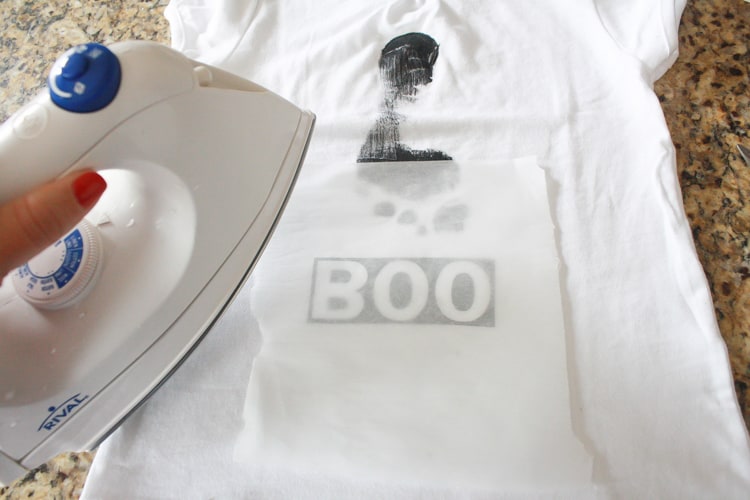
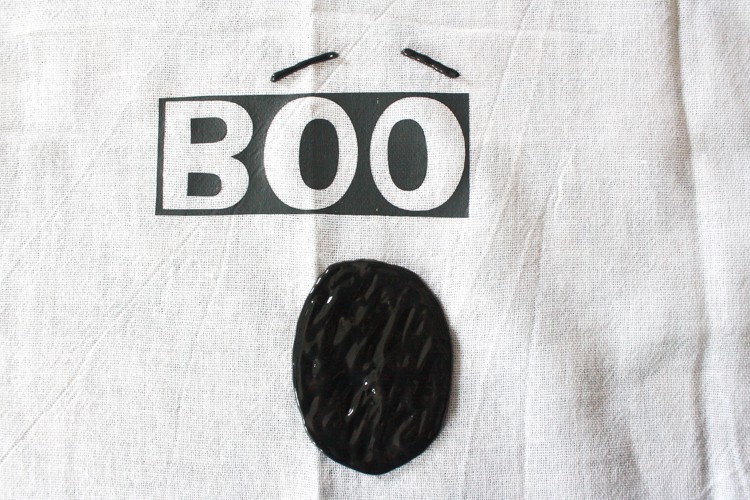
I created the BOO (YAH) text on my cutting machine and had it cut on leftover chalk board transfer paper from last year’s project. Use your transfer paper’s instructions on cutting (whether it should be a mirror image) and applying. The chalk board transfer paper isn’t recommended for this project only because it’s more expensive and won’t be used as a chalk board.
I urge you to read the instructions twice or even have a second pair of eyes read it over. My husband and I both read the instructions and I still did it wrong the first time.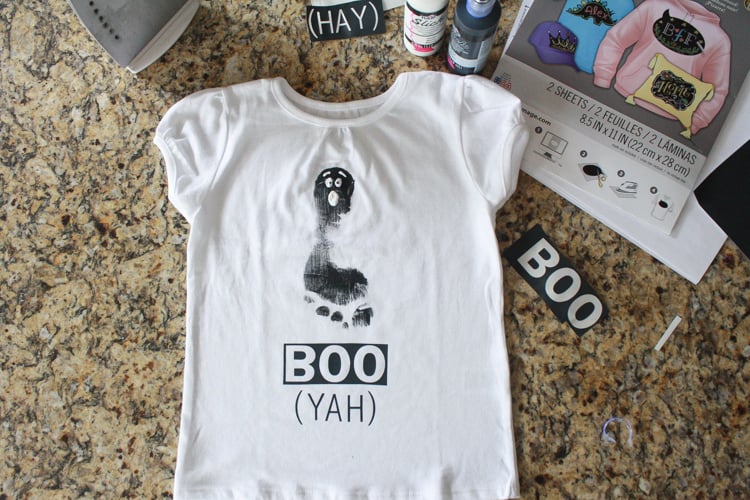
Try Try Again
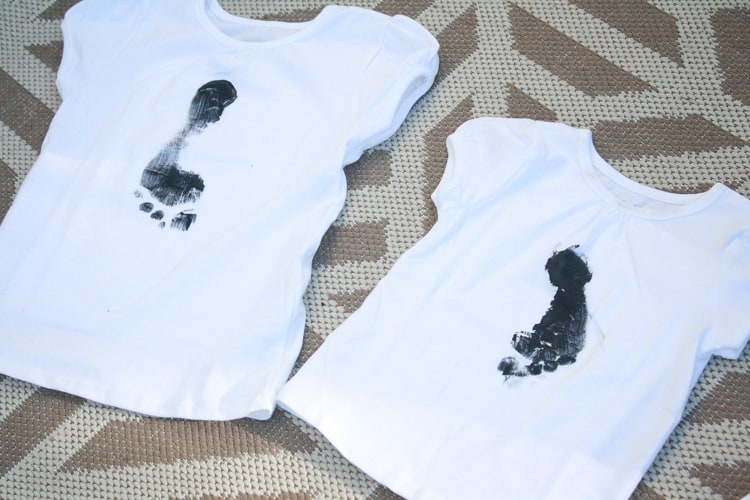
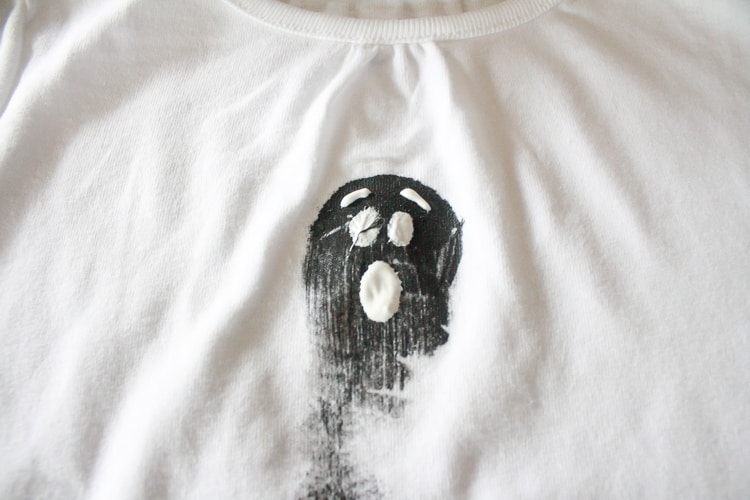
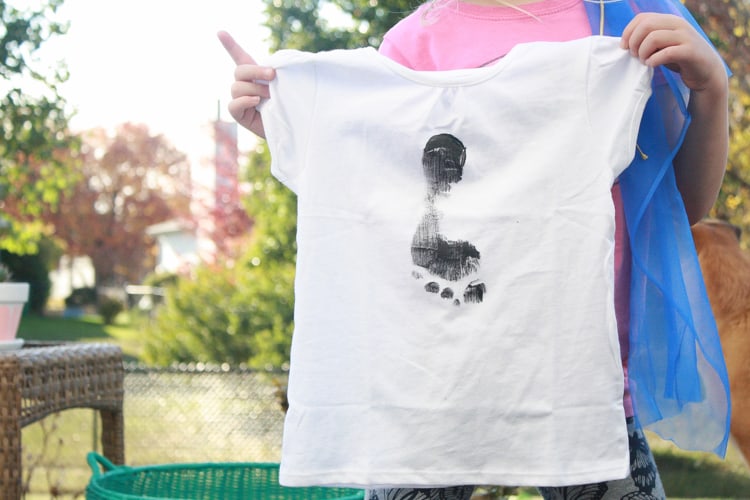
Once the text is applied and cooled you can add your ghost’s face using puffy paint. We wanted each of the girl’s shirts a bit different so I made the text and faces different on each shirt. I also put my hand in Fiona’s shirt when I was moving it to a better drying location. I simply touched it up with more puffy paint and it worked out fine!
It’s literally impossible for me to make a DIY project without messing up at least one thing. It never deters me from trying again.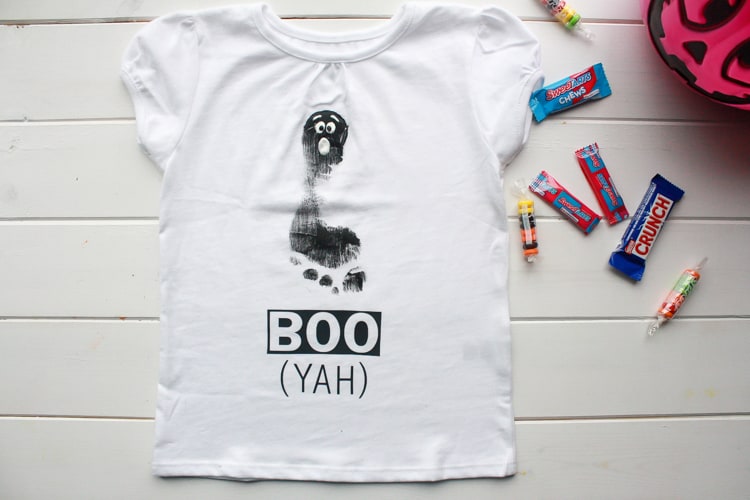
I also found a white tea towel at the grocery to make a festive Halloween Kitchen Towel. I often make things for other people because it brings me the most joy, but I was happy to have a reminder of our craft day together that I’ll be able to pull out each year with my Halloween decorations.
Have you attempted the ‘foot character’ craft with your kids yet? Any epic fails like my smooshed spider shirt? I think this craft would be even more fun with older kids (5-10) at a Halloween party because they could do their own ghost faces and word bubbles. Will you attempt a Halloween ghost toddler shirt this year or will your child be wearing Halloween PJs to school (or maybe you’ve found the jackpot of Halloween shirts)!
Related Posts to Halloween Ghost Toddler Shirt
Pin it for later:


