Gift giving is getting harder with how easy and quick it is to buy something with the click of a finger. Want something? Click. It’s there in 2 hours. It’s CRAZY!
I wanted to do a gift guide for the blogger. There’s a good chance that you know a blogger but have no idea what actually goes into their hustle.
That’s where I come in.
As a blogger of 6 years, I’ve accumulated a lot of tech gear that’s helped me do my job more efficiently and at a higher quality. These items have a wide range of price points but there’s definitely something on this list for every blogger.
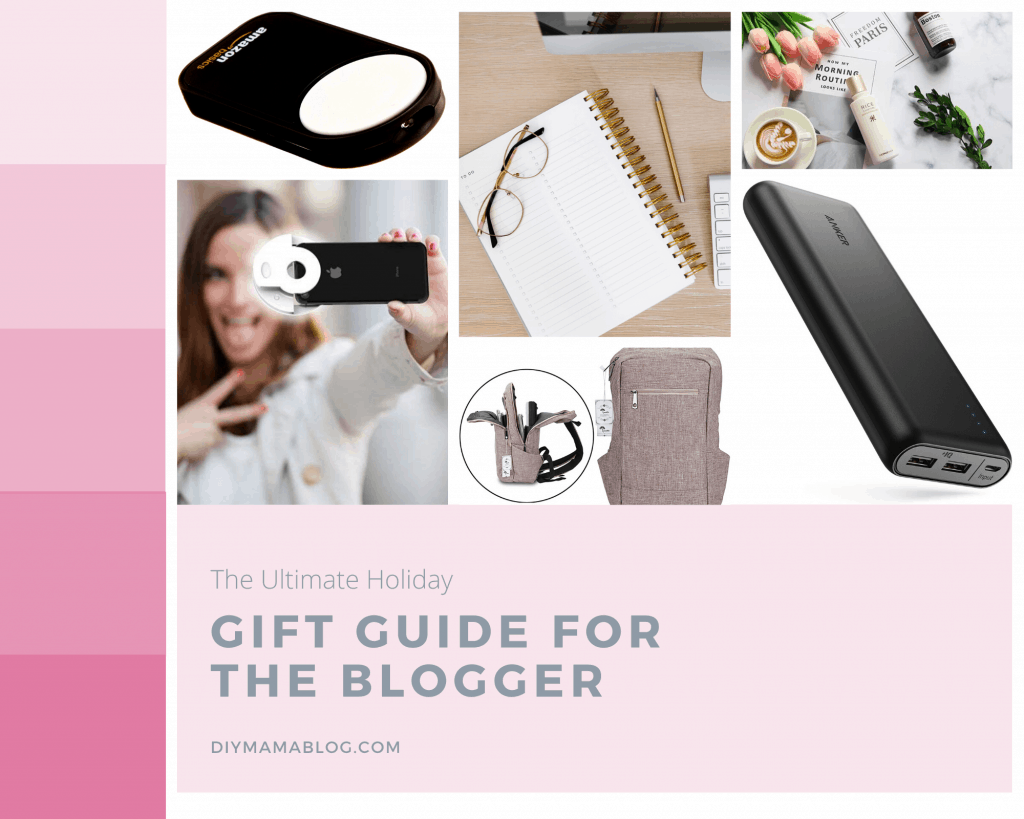
Gift Guide for The Blogger
The Amazon links are affiliate links and will give me a percentage of profit from your purchase.
Instagram Preset- An Instagram preset is a filter for photos so their feed looks congruent. Some of my favorite presets are through A Color Story. I especially like The Shore for brightening photos.
Camera Clicker- In order to be in the photos we can either set a timer and go back and forth looking to see if the photos are good OR we can use a wireless remote control for our cameras. Make sure you know what type of camera they have because the remotes are specific to different brands.
Phone Selfie Light- These ring lights that attach to someone’s phone are great for people that often take selfies for their content. They’re also great for people who do restaurant reviews and don’t want to bring a big flash.
Money Towards Coaching- This is a great gift for someone at any stage of their blogging journey. If they’re serious about making blogging a source of income it can be overwhelming on where to focus. I will start using a coach in January so I don’t have any to recommend right now but it’s a very personal choice so money towards it is your best bet.
New Theme- A theme is the layout of a blog. These can range in price from $0 to $200 but a common price would be $60-$100. It’s not something someone changes often but it can make a big improvement to them when doing the back-end of their work. I’m partial to Angie Makes because I can always get ahold of someone if I need help.
Portable Charger- Running out of battery on your phone, camera or laptop while out on assignment is very frustrating. It’s often difficult to find plugs to recharge. I always bring a small portable charger whenever I’m on assignment and a large portable charger if I go on a trip.
Photo Backdrop- There are a lot of choices for photo backdrops depending on what type of content they do. They may want a white cube for product shots or marble for food photography. You could also make them easily with this tutorial I used for mine.
Light Kit- It is frustrating to not be able to shoot content for your blog because of the weather. Having a basic lighting kit can make working on cloudy days possible.
Backpack- I love my lightweight travel backpack. It has a laptop sleeve as well as room for my DSLR and anything else I would need for a flight or a full day assignment. I’ve used it in Disney World, camping and for work assignments for 3 years. It looks exactly as it did when I bought it.
Surface- It doesn’t need to be a Surface specifically but a thin, lightweight laptop they can easily travel around with.
Planner- Planners are another very personal item that the person may need to choose themselves. Unfortunately, the good ones are often very pricey. Some of my favorites are Golden Coil and Erin Condren.
Changing Tent- A changing tent is a lightweight pop up tent people can use for privacy. Lots of fashion bloggers do wardrobe changes while shooting for the day. This would allow them to change quickly and easily. I’m not familiar with this product, because I am not a fashion blogger, but I know this would be super helpful for someone that is.
Lots of options for the blogger in your life that you want to support. More than gifts, your support is so important for them!
Were you surprised by any of these items as a non-blogger? Bloggers, what did I miss that is crucial to your efficiency as a blogger?
Related posts to Gift Guide for The Blogger:
Pin it for later: