Craft

Woven Wall Hanging

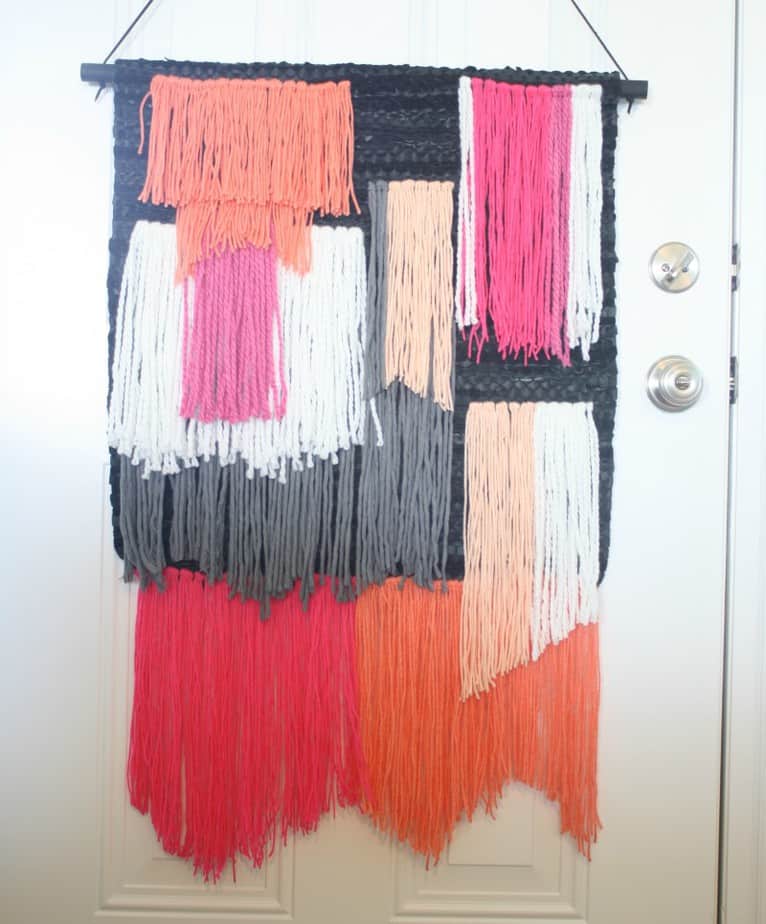
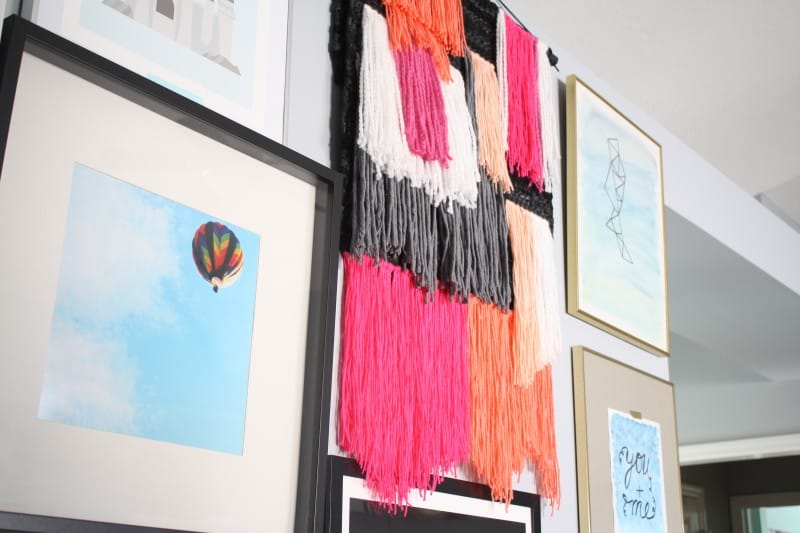
Hey crafters! As I said last week, I’ve been really busy with some projects around here and I’ve since completed two of them! I’ve seen people doing weaves and tutorials EVERYWHERE and was really interested, but kind of wanted to save that project until winter when I’ll be cooped up inside. Seems like sitting by the fire with hot chocolate is the perfect way to weave on a loom. I took the easy way out when I saw Laura post this amazing tapestry on ABM I knew it’d be perfect to fill the giant hole in my gallery wall.
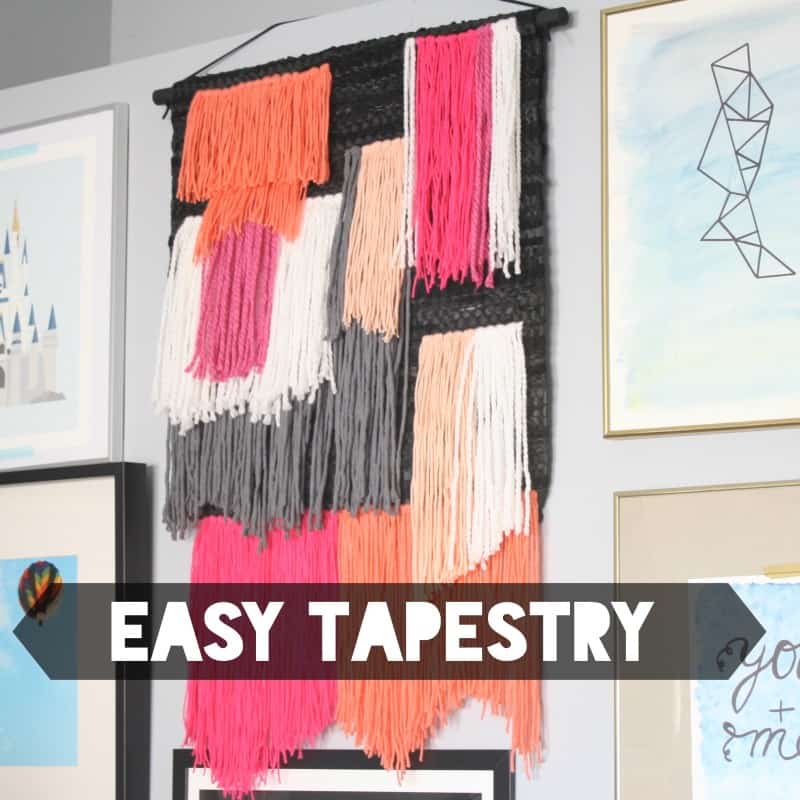
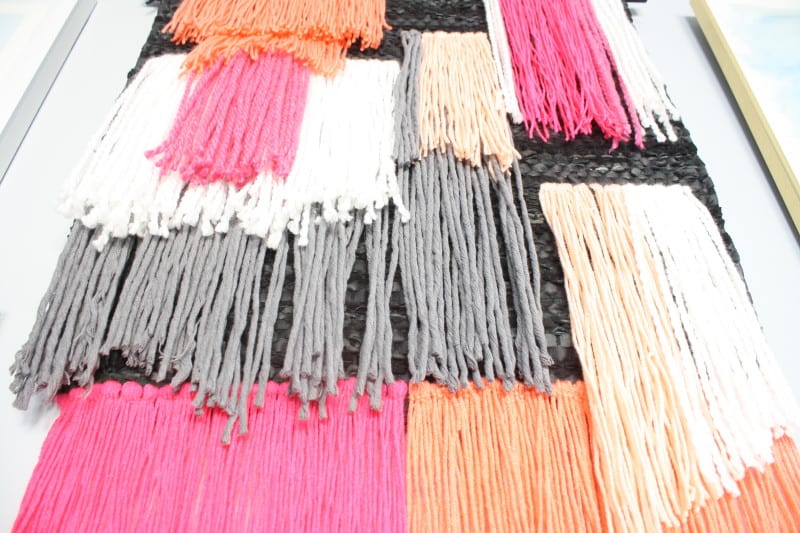
woven wall hangingThe technique couldn’t have been easier. The entire project was maybe a 3 out of 10 in terms of difficulty but a 7 out of 10 on time consuming.IMG_3761Materials Needed:
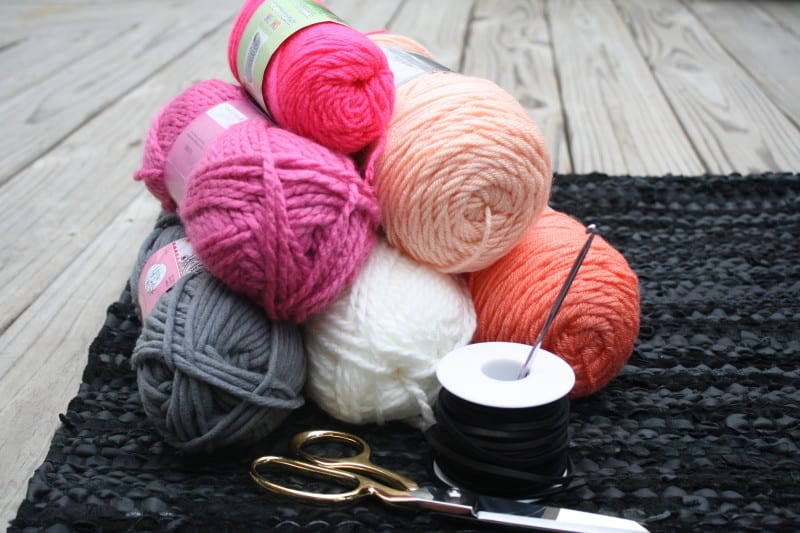
  • Woven rug (I got this leather rug)
  • Yarn of various textures
  • Crochet hook
  • Dowel rod
  • String for hanging (I used leather)
  • Drill
  • Spraypaint
  • Scissors
  • Patience

oden's-beard

Because this project was so time consuming and brainless, I only did weaving while we’d watch movies or I’d hang out with my friend. This was great for me because I like to do two things at once but it also means that I didn’t get any action shots! THE WORST! Laura’s tutorial is killer though and I couldn’t have written it better.
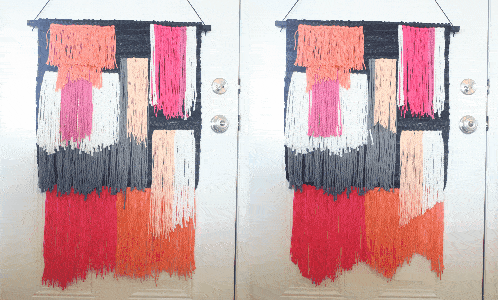
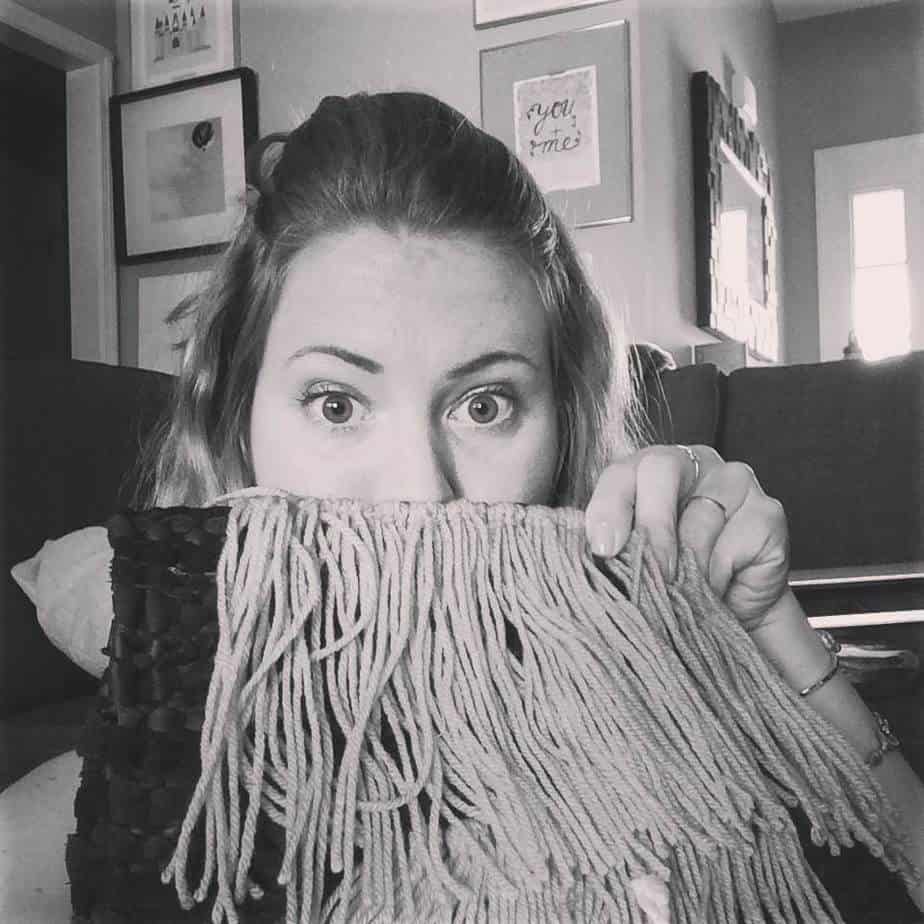
hair-cutOnce I had the full tapestry woven, it was time for a hair cut. I kind of just chopped as I saw fit. Some areas I did angles, others I just let them be raggity. Also, if you want to know how I made that nifty gif, go to this tutorial by Popcosmo!
tapestry1
woven wall tapestry
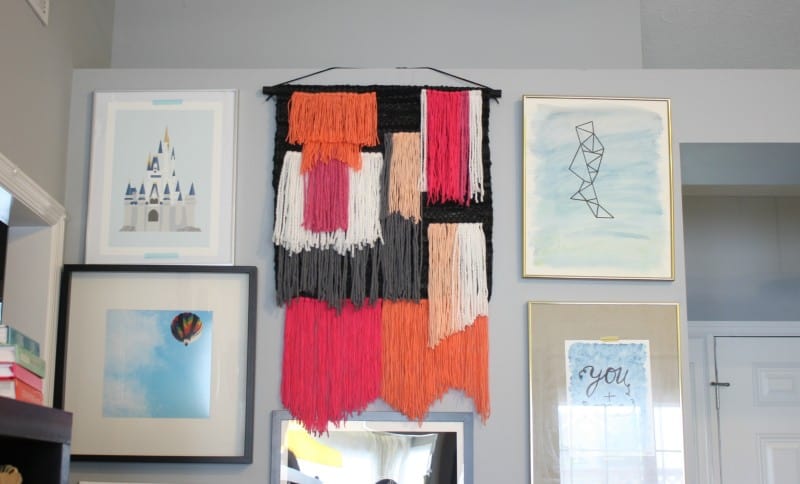
IMG_3972This is the beautiful view Sophie and I get when we walk out of her room. The two pieces on the right are mine but the dreamy Hot Air Balloon is a photograph by Tamara. I requested Rob to make Cinderella’s Castle and he pulled through! I also want to say that I’m thankful to my husband to being confident enough in his manhood that he allowed this massive tapestry of PINK in our family room. ๐Ÿ™‚ It makes me happy. Anyone else tried their hand at weaving yet? I’d love to see your projects!
weave2

Jewelry Dish

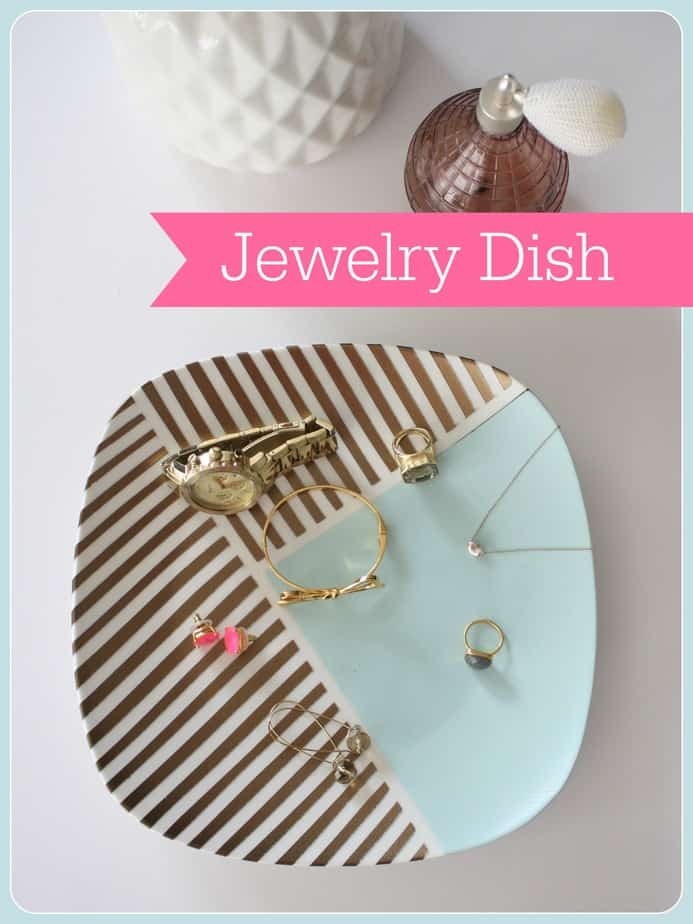
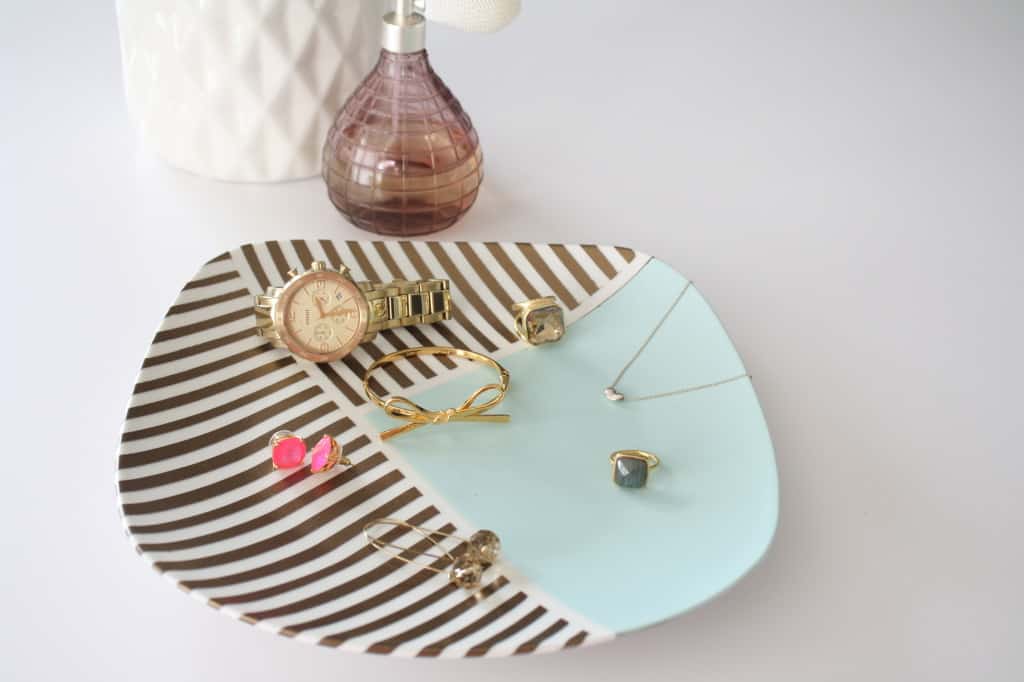
Hello Gorgeous! Do you love jewels? Do you have an amazing display for all your favorite pieces? Do you always take your jewelry off every night and put it back in it’s designated home? Me neither. I mostly wear the same gold triangle studs, wedding ring and very strong gold necklace that my daughter can not break no matter how hard she pulls. It has her name on it so I guess she assumes it’s hers. If I DO switch up my jewelry for a special occasion, it usually ends up sitting on the sink or my bedside table for…oh…weeks. This needed to change, which is why I made this jewelry dish.

jewelry-dishMaterials Needed:

  • White Plate
  • Spray Primer
  • (2) Spray Paint
  • Art Tape
  • Painter’s Tape
  • Mod Podge
  • Foam Brush

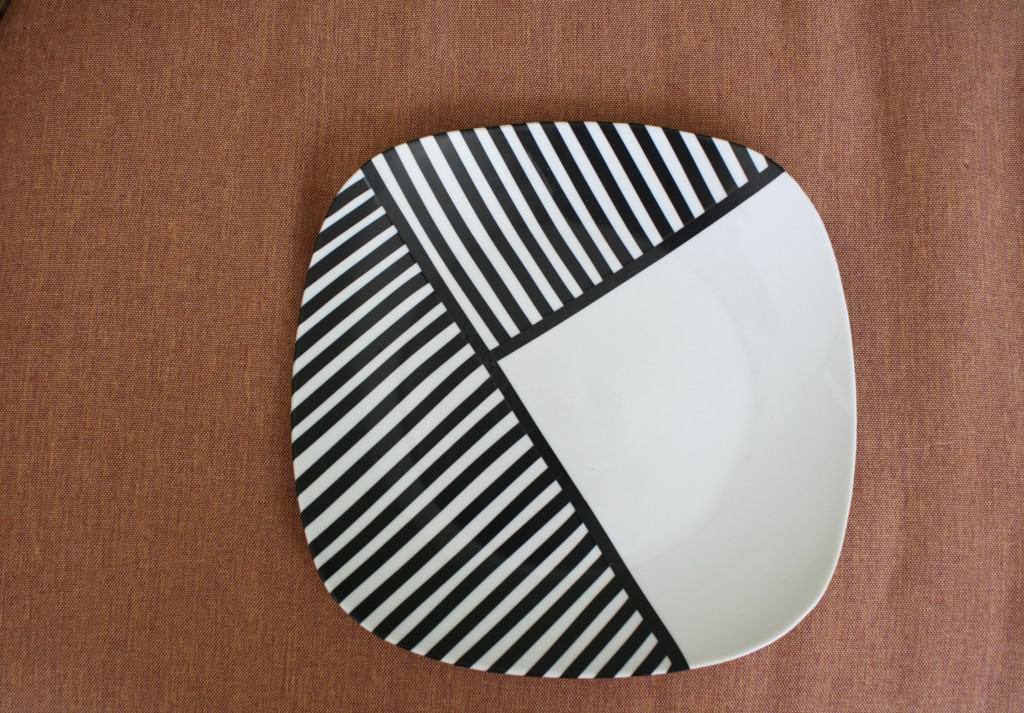
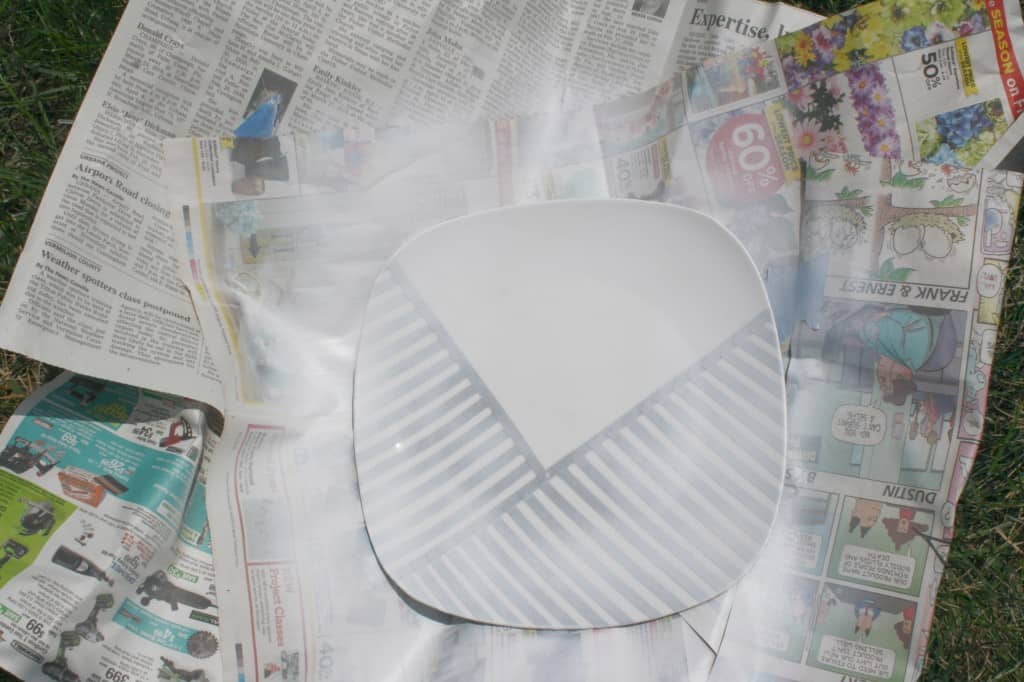
The first step is to wash your plate. Make sure all dust and residue is cleaned from the plate. The next step is to tape off the design you’re wanting with the art tape.

art-tapeOnce you have your design laid out you need to prime your plate so the spray paint will adhere. If you buy a spray paint that works on porcelain this step is not necessary (but I used spray paint I had on hand.)

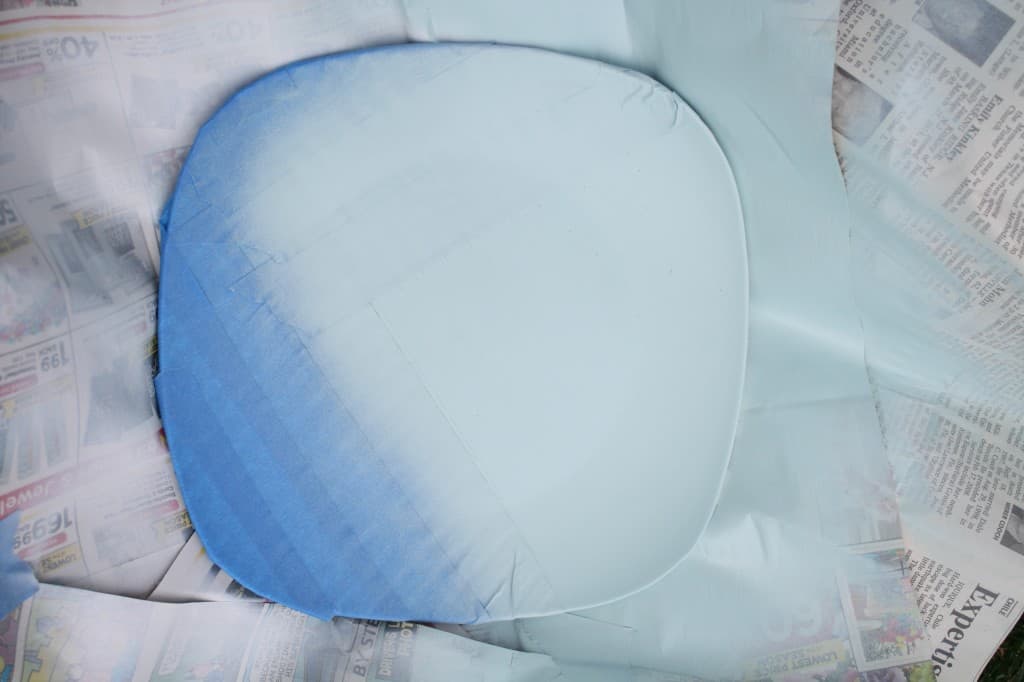
primer-sprayOnce the primer has dried, tape off the first color section. Make sure to follow the instructions on your can for drying time. If it is too hot or humid the paint will not dry well and the finished product will look messy.

first-blue-tape

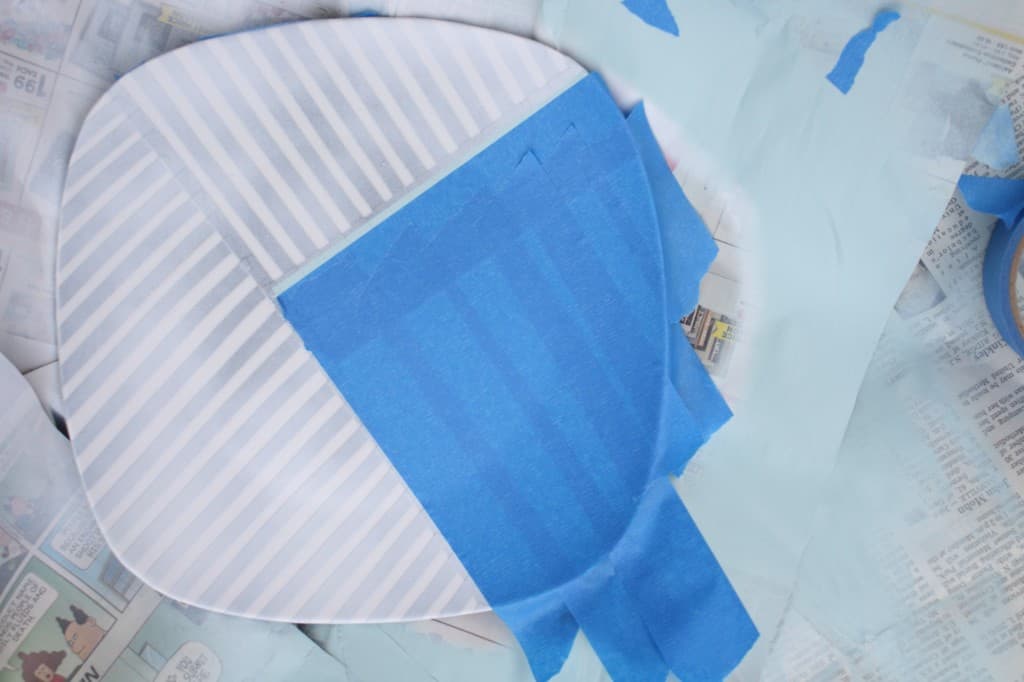
Once the first section of colored paint is dry, remove the painter’s tape and re-apply to the next section

second-blue-tape

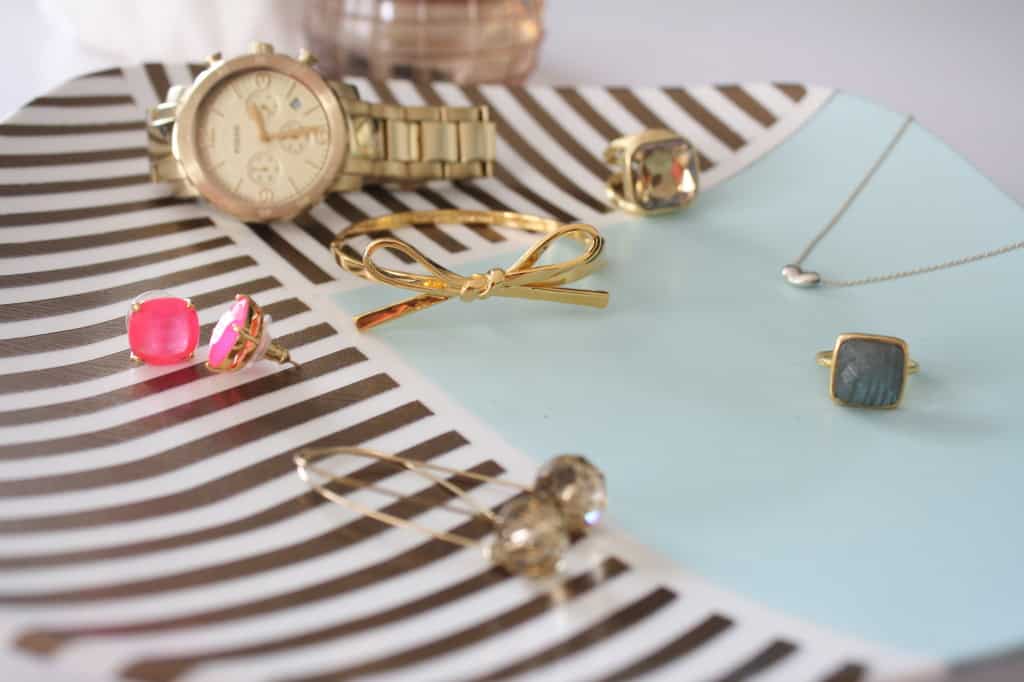
This is the best part! Remove the painter’s tape followed by the art tape. When removing any tape, pull at a 45deg angle. This will make for a cleaner line. Once all of the tape is removed, add a coat or two of mod podge for protection. I knew I would be dropping watches on this dish so I wanted to be sure the paint would be protected.

jewelry-dish-closeI loved the way it turned out! It’s different than anything I currently have in my home. I knew I wanted a soft feminine touch (which is why I have the mint green) mixed with a graphic design (the gold stripes.)

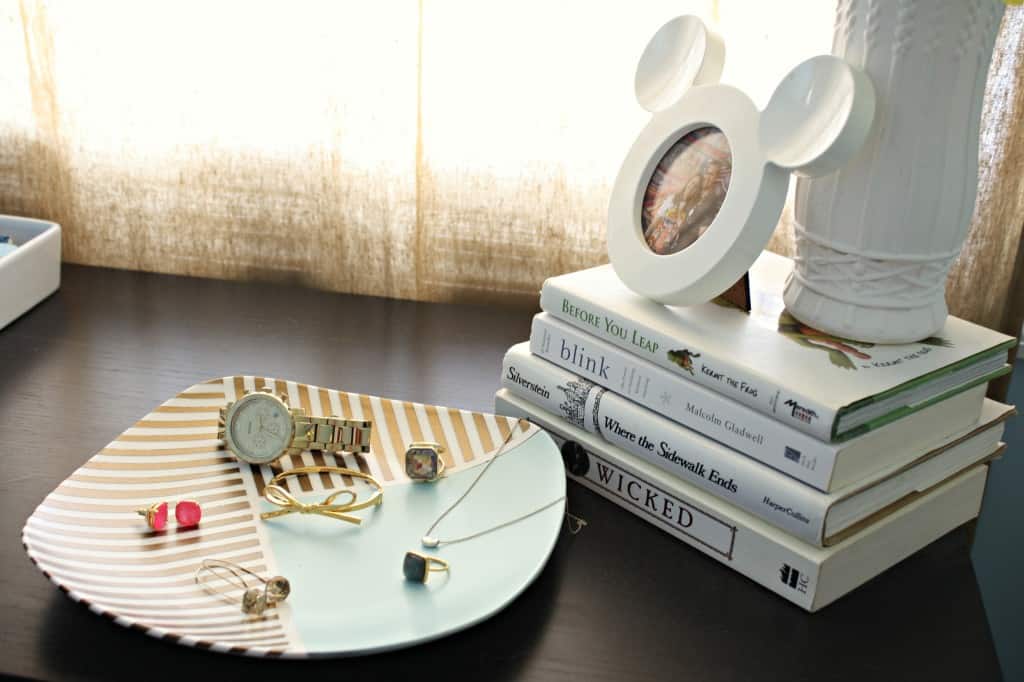
jewelry-dishNow, if my jewelry is laying out for a few weeks before I put it away, it looks beautiful! It’s usually my most special pieces and I love looking at them all together on my bedside table.

bedside-tableWhat do you ladies do to keep your jewels organized? Anyone else call their jewelry ‘jewels’? It makes them sound more sophisticated!

All Things Creative and Beautiful

Hello and a Happy Friday to you!! I’ve had a great week filled with a little crafting, sunshine and being in awe of my little crawler. It’s amazing how quickly babies learn! It took her one week to be a master crawler and is now set on learning to walk. Anchoring furniture and cleaning baseboards are on the list for this weekend! ๐Ÿ˜‰ For now, let’s go be inspired by all things creative and beautiful!

friday finds 5.30

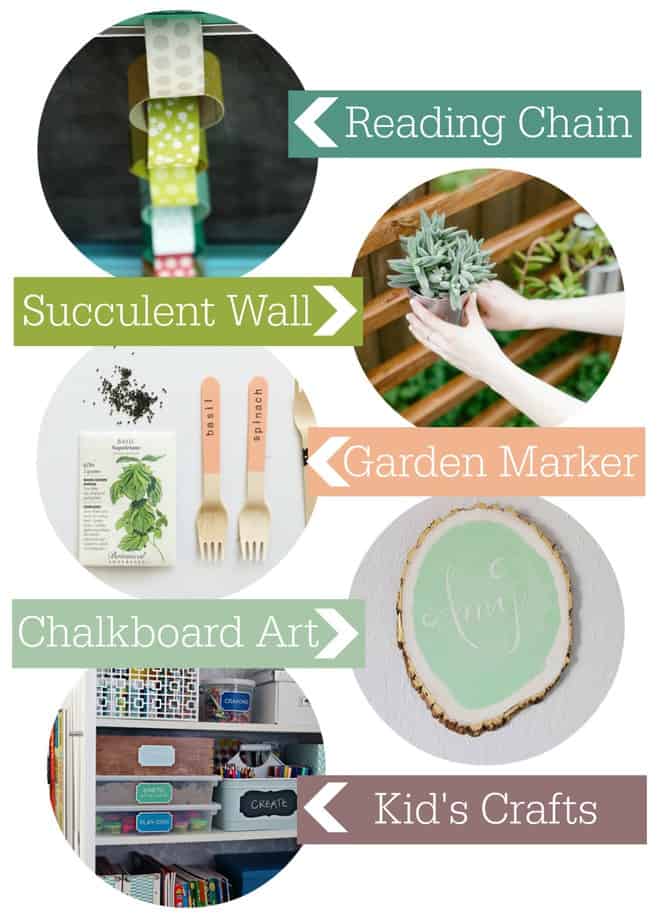
  1. I really loved the reading chain idea that the girls at eighteen25 wrote about in their Summer Activities post. Our little one isn’t old enough to start reading books on her own but I really think instilling the love of reading at a young age is extremely important. This is a great way to get kids excited about reading over summer break! PS. Reading Rainbow is coming back! (I hope I got that song in your head!)
  2. Ash at Sugar and cloth made this darling succulent wall for her back yard. I love the glossy stained wood for her yard but it might be cute to paint it a Robin’s Egg blue or Mustard yellow. You could also use spray painted food containers or tin cans as the vases as long as you drilled a few holes in the bottom. I love succulents because they’re so easy to care for and most of mine last outside during the winter.
  3. The ladies at Be Crafty made the simplest, yet cutest, garden markers ever! I can even see doing this with your kids but using kid-safe paint and having them write on the forks or later lettering them yourself.
  4. Amy at Delineate Your Dwelling made the most creative piece of art that I’ve seen in a while. Her chalkboard tree stump art has the perfect mix of delicate girlishness and natural texture. I loved her color choice of mint and gold and that this could be applied on any shape or size of wood.
  5. Jen over at i heart organizing has THE most organized home of anyone I’ve ever seen. She has a great way to make her kid’s crafts organized, easily accessible and beautiful. I loved her method for organizing their loom supplies!

These ladies all had great ideas on how to make education and crafting fun and make simple DiY projects to decorate your home. No joke, I want to do every last one of these projects! Has anyone used chalkboard paint for a project? What about making your own garden markers? Did you get the kids involved in your garden this year? For now, I’m happy with watching Soph learn to go from sitting to crawling to standing but I’m also excited for her to read, plant and make crafts with us! ๐Ÿ™‚ Hope you have a wonderful weekend!

Geometric Canvas

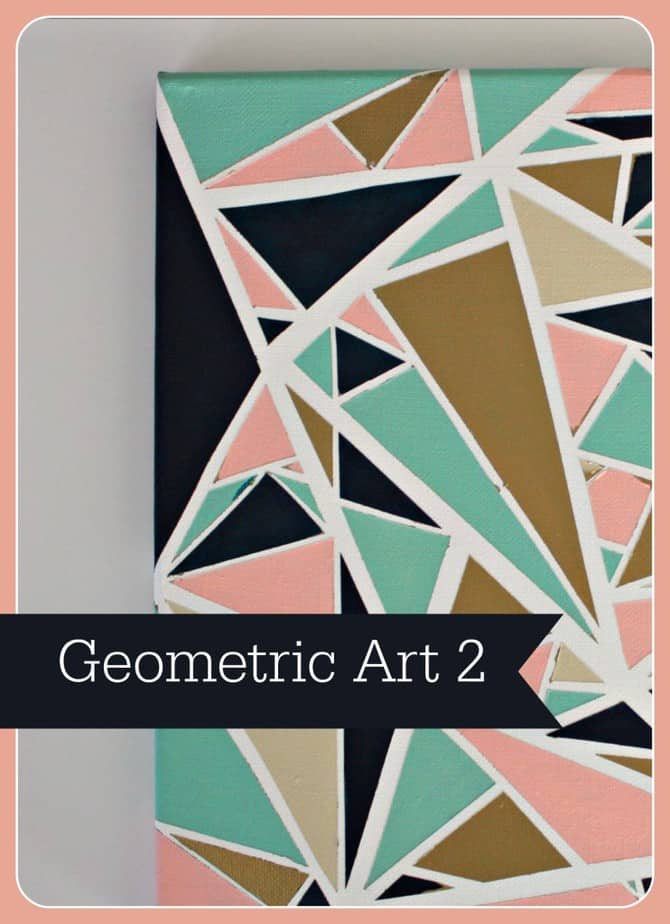
geometric art 2

My sister is working with a wonderful program in Indianapolis called Art with a Heart. The program gives hands-on visual experiences that educate at-risk children who have lost art classes in their schools. Let’s let them tell you what they’re all about:

Art with a Heart is having their annual gala in April and will be having an auction of local art pieces. I wanted to try to improve upon the technique I used for my Happy Glam painting a few years back.

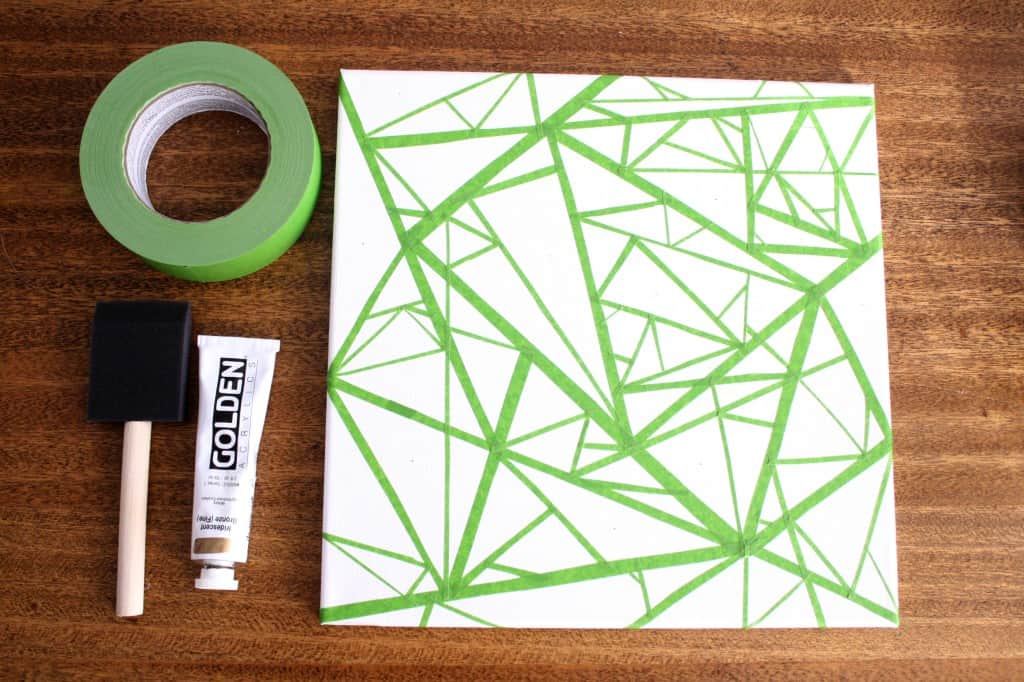
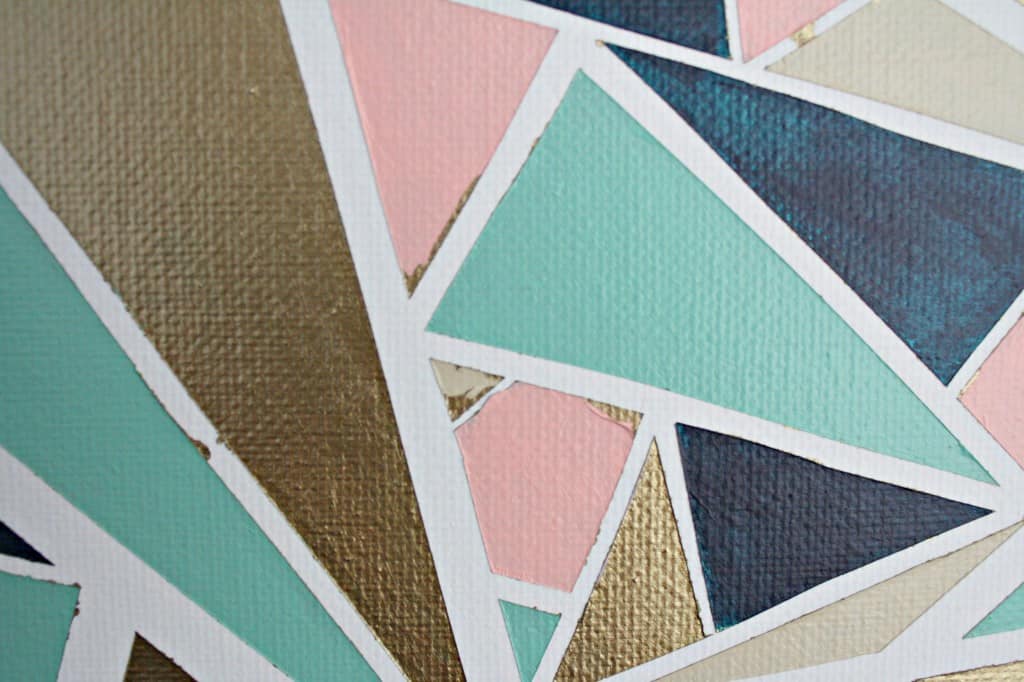
I started by prepping the canvas with gesso. This helps to even out the woven texture of the canvas. Looking back I should have put at least two coats. I taped the canvas off using Frog Tape that I’d cut into thin strips with scissors. This was a very frustrating task. I’d used art tape in the past but thought the Frog Tape would stick better.

It didn’t.

I still don’t know what I’m doing wrong to get a clean line but I will keep trying! I think the key is to have a smoother canvas surface and make sure to go over all of the tape once it’s laid with a credit card or something stiff to adhere the tape further.

prep

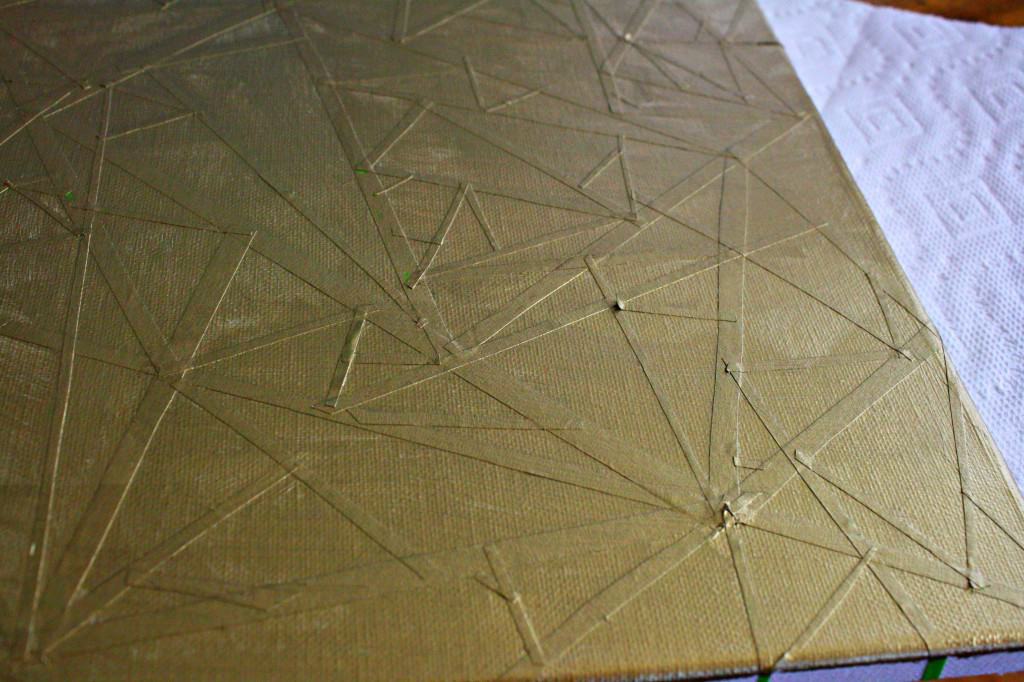
I covered the entire canvas with two coats of Bronze acrylic paint. Here is what it looked like after only one coat.

gold

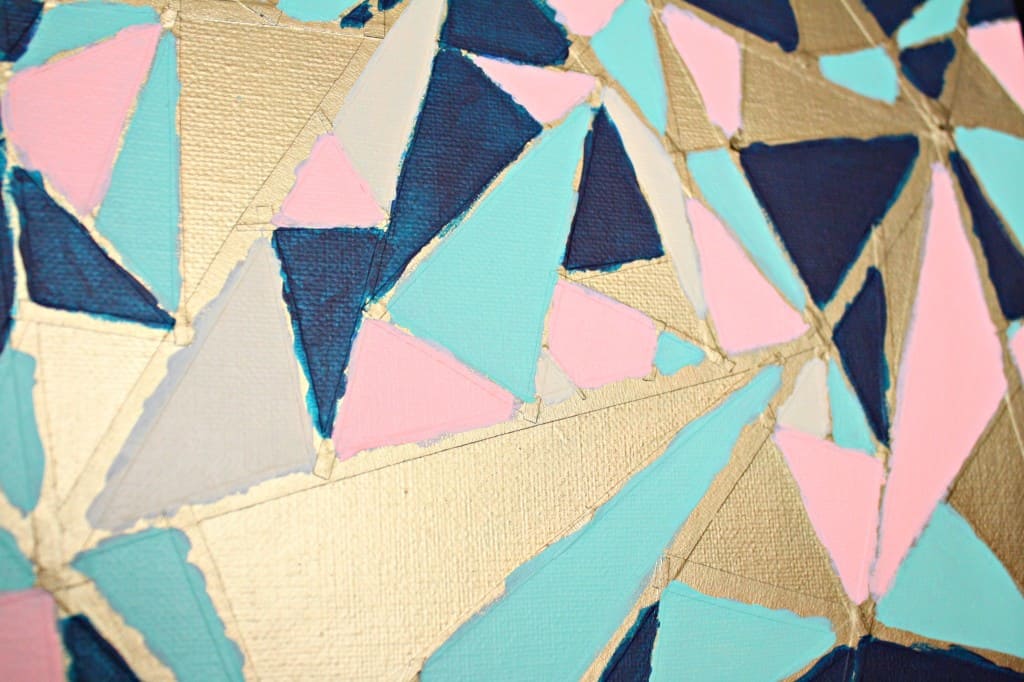
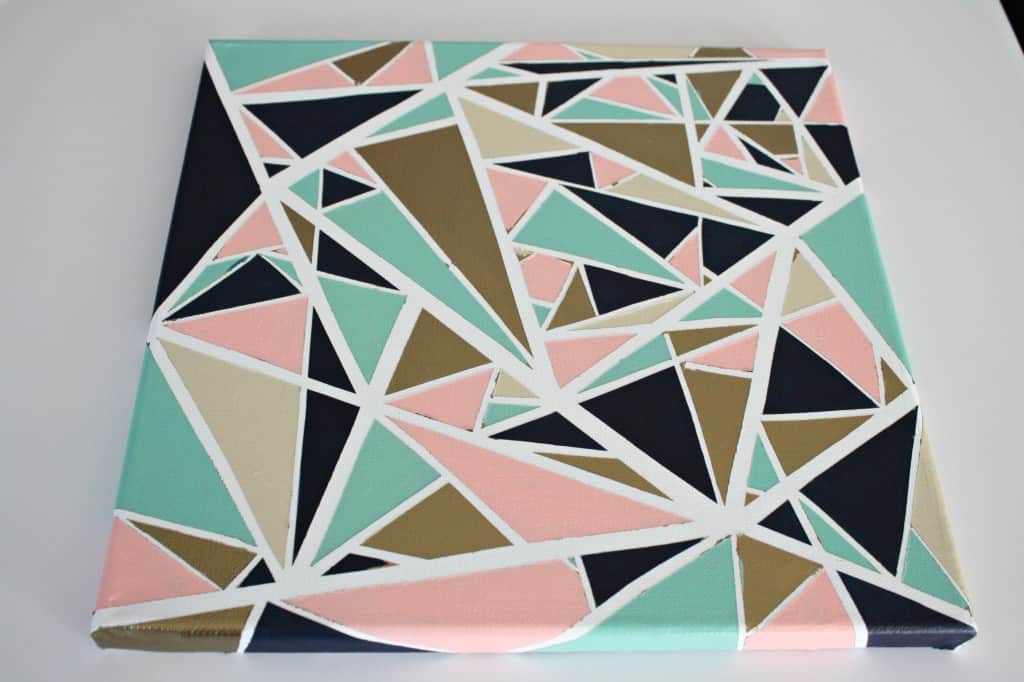
The next step was to fill in the triangles that I didn’t want bronze. It ended up being more than I had first envisioned. In the beginning I was envisioning mostly bronze with splashes of the other colors. Once I started painting I loved the color combo so much I just kept painting!

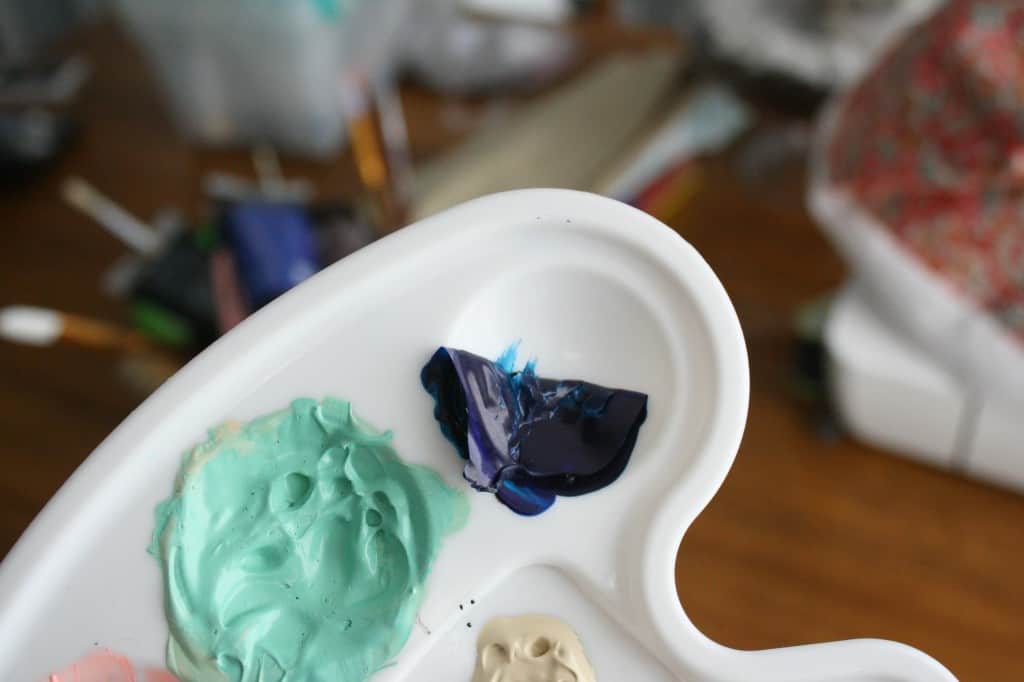
Again, I had to do more than one coat of paint, depending on the color. The pink was very translucent and I had to do 5 coats on some triangles. I rotated between painting the different colors for a couple reasons: 1. Acrylic dries on your pallet quickly. 2. Acrylic dries on your canvas quickly. This is bad and good. I like that it dries quickly between coats but I had to hurry because I didn’t want to mix more paint to try to match the shade I started with.

first coat

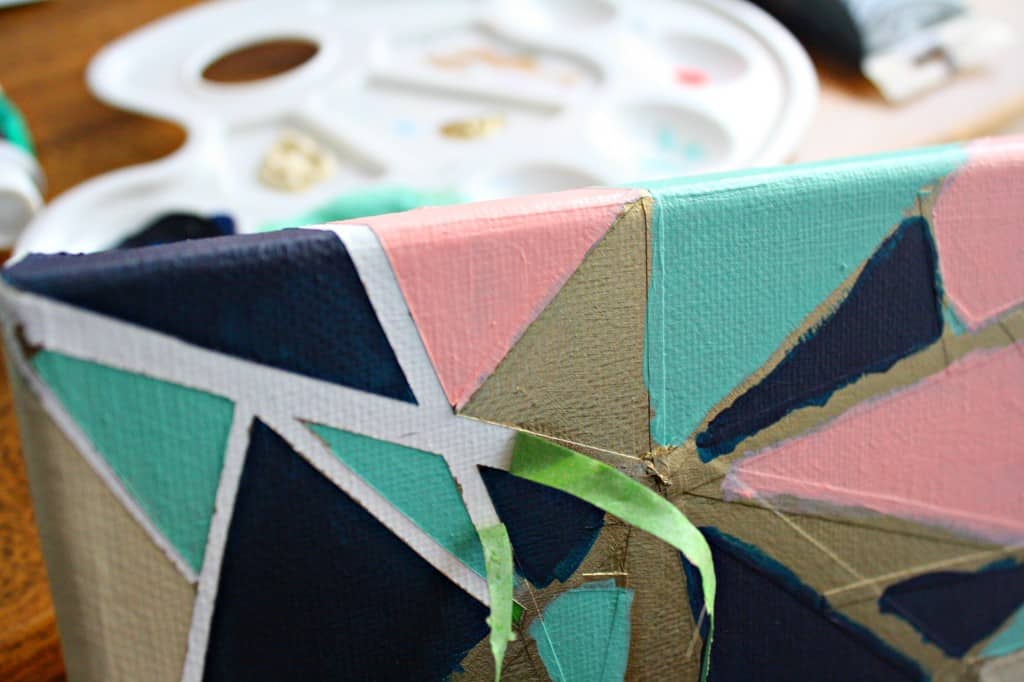
Once I was satisfied with each triangle being as opaque as I’d liked, I let it dry over night. I usually peel tape off while paint is wet but since I had so many layers underneath that I’d let dry, I thought it would be safer this way. As I peeled the tape I made sure to go with the grain of the tape. This helped to not let the top layer of paint peel off with the tape.

peel

Or so I thought. It obviously did not work well enough. There were spots where the bronze leaked under the tape from the very beginning. There were also spots where the top layer of paint had peeled off to expose the bronze underneath. All in all, the lines were not as clean as I’d hoped for by using the Frog Tape.

bad peel

Sigh. My heart had deflated once all the tape was peeled off. I didn’t have the drive to try to touch up the mistakes because, in my past experience, this only makes things worse. I feel bad because this painting is going to someone who is generously donating money for a great cause. I can only hope they’re looking for an ‘antiqued modern’ piece. Maybe it’s best to just look at from an arms length (like my nails once they’re painted.)

final

Although I’d call this painting a failure, one thing that felt strangely rewarding was the clean up!? If you are using a plastic pallet, you can let the paint dry over a few days and peel it off easily. It’s the little things.

paint

What did you think about the painting? Nice colors at least? Have any of you done acrylic painting? I’d love to know how to get clean lines! I’ll keep you updated if I ever figure it out. ๐Ÿ˜‰ OH! Also, I named this piece ‘Yacht Dreams’ because the colors seemed like preppy colors I’d wear if I were to go sailing on a yacht. A girl can dream!

St. Patrick’s Day

With St. Patrick’s Day coming up next week I am, obviously, just now getting around to getting my green ready. Ya hear me? I’m biting at the bit to get my Halloween and Christmas decorations up but when it comes to these smaller holidays I seem to wait until the last minute. I wanted to share with you my favorites that are trending this year. All of these wonderful bloggers worked very had to put these tutorials up so go check out their blogs!

There are a few simple DiY last minute crafts in there as well as a super cute hair tutorial for those of you with daughters.

St. Patty’s Day Version 2014

garlandEverythingEtsy1 LoomPagingSuperMom1 hairOneCreativeMommy1 luckyeighteentwentyfive1 necklaceAnechkasJewlery1 polishEighteenTwentyFive1 punchTheCraftedSparrow1 puppychowShugarySweets1 shamrockphotoKellyNPhotography1 topperStudioDiY1

  1. Crochet Shamrock Pattern by Everything Etsy. There’s even a video!
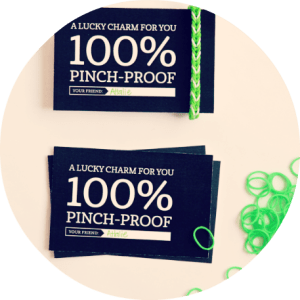
  2. Loom Lucky Charm Gift Tag by Paging Supermom. My daughter’s only 5mo. so she’s not into the loom bracelets yet but I’m tempted to get in on the action!
  3. Shamrock Hair Tutorial by One Creative Mommy. DARLING!!!
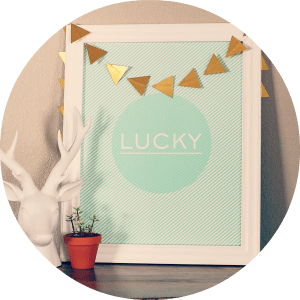
  4. Lucky Printable by EighteenTwentyFive. Love this blog! They always have great printables!
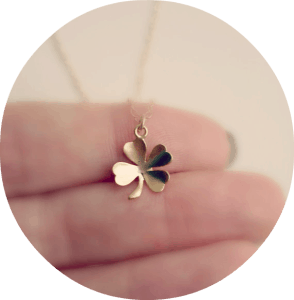
  5. Gold Shamrock Necklace by Anechkas Jewlery on Etsy. Anything that’s tiny, delicate and gold I’m a bit obsessed with.
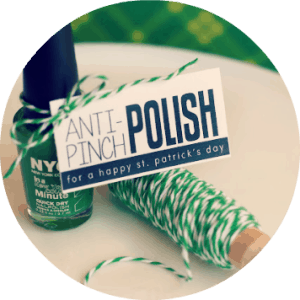
  6. Anti-pinch Nail Polish Gift by EighteenTwentyFive. I ALWAYS have green nails on St. Patty’s day to make sure my bases are covered.
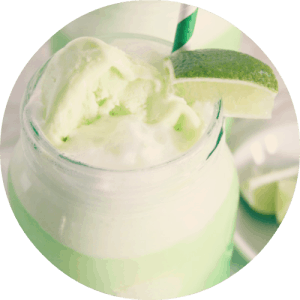
  7. Shamrock Lime Sherbet Punch by The Crafty Sparrow. I have a weakness for sherbet and get really excited when it’s at parties!
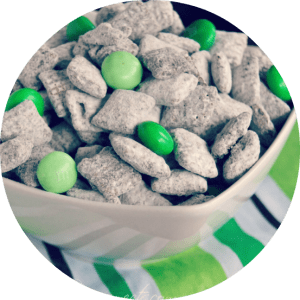
  8. Thin Mint Puppy Chow by Shugary Sweets. How can you go wrong when Thin Mint OR Puppy Chow is in the title?!
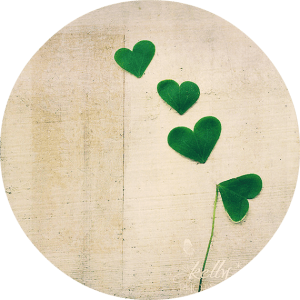
  9. Love and Luck Shamrock Photo by Kellynphotography on Etsy. This is definitely cute enough to keep up all year! He loves me, he loves me not!
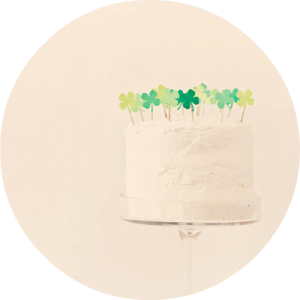
  10. Clover Patch Cake Toppers by DiY Studio. Just can’t get enough of this girl’s cake toppers!

Do you wear green to avoid those annoying pinchers? Do you have any Irish traditions for St. Patrick’s day? Anyone dye their toilet water green? Yea, me either. Let me know your favorites!

Google+