Food

5 Tips for Throwing a Neighborhood Summer BBQ

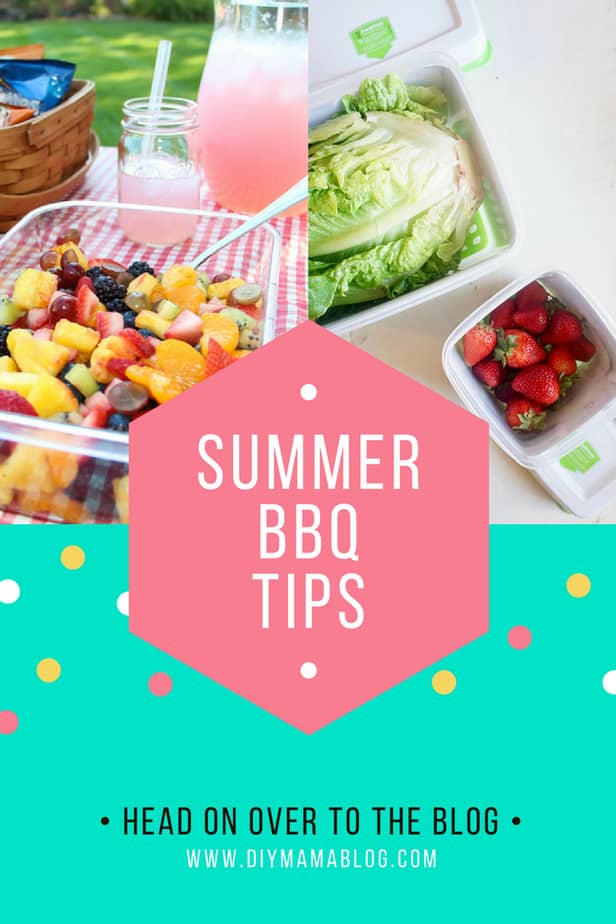
5 Tips for Throwing a neighborhood summer BBQ- This shop has been compensated by Collective Bias, Inc. and its advertiser. All opinions are mine alone. #SeeHowFreshWorks #CollectiveBias

On every summer bucket list you can find ‘BBQ’. Every time we move, we look for a neighborhood that is full of kids playing outside and neighbors chatting on the side walk. This summer we were lucky enough to host the neighborhood summer BBQ in our back yard. Being my first neighborhood party, I learned a few tricks that I wanted to share with you.

throwing the best neighborhood summer bbq ever

Tips for Hosting a Neighborhood Summer BBQ:

DON’T DO ALL THE FOOD YOURSELF

Have everyone bring a different side dish or dessert.  If the crowd is large, separate dish types by last name.  For example, have A-I bring sides J-N bring drinks O-R bring snacks and S-Z bring dessert. This way, you’ll only have to handle the main dish.

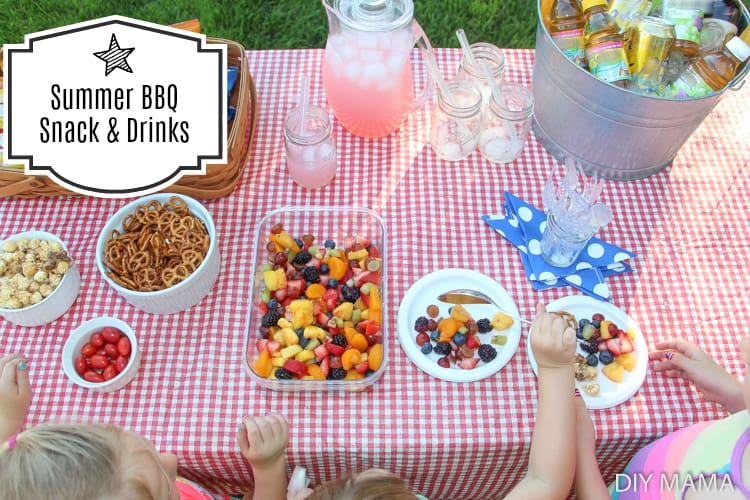
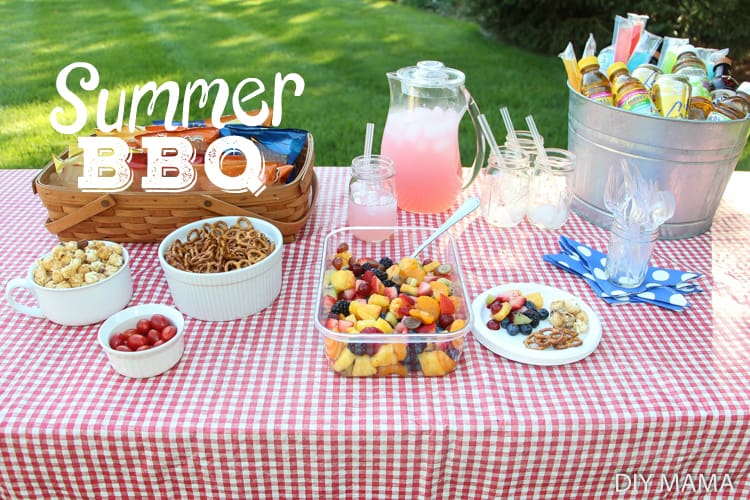
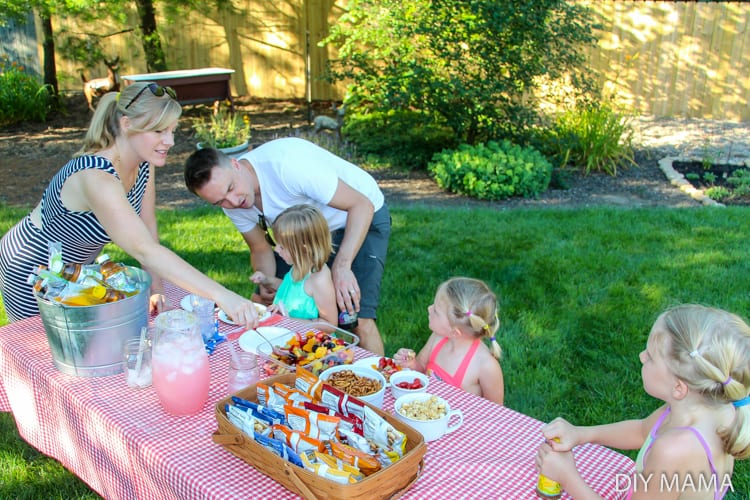
HAVE A DESIGNATED DRINK AND SNACK STATION

This helps with the flow and can be set up away from the food.  Depending on the size of the crowd, you could also have a special table with just kid’s drinks and another one just for adults!

Rubbermaid FreshWorks Summer BBQ

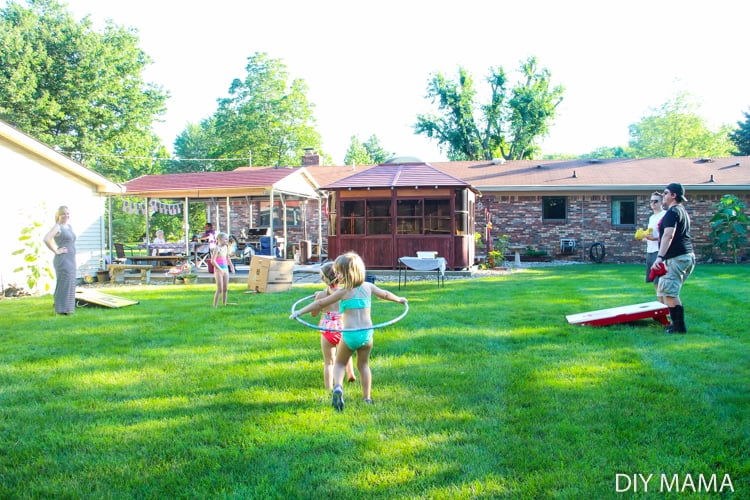
HAVE ACTIVITIES FOR ALL AGES

Turn up the tunes and have games such as , whistle helicopters, frisbees, bags set, hoolahoops, bubbles, footballs, sprinklers, chalk, scooters and a tub with water for super soakers. On hot summer days the water games are most popular. We also had a suntan/bug spray station to keep everyone protected while playing outside.

tips for throwing a neighborhood summer bbq

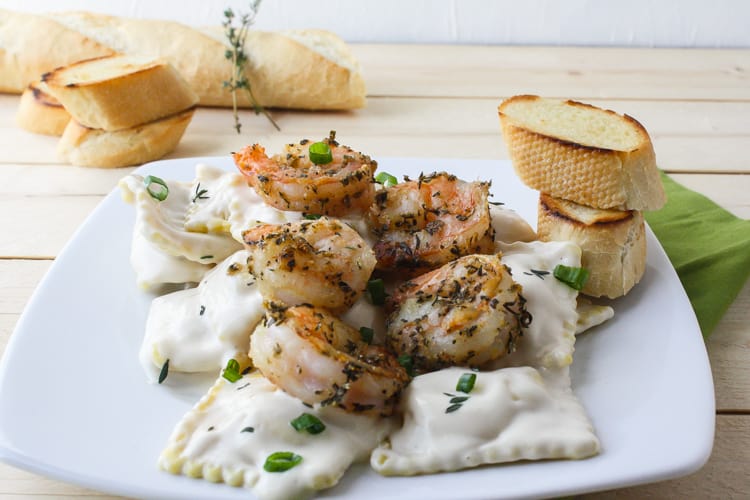
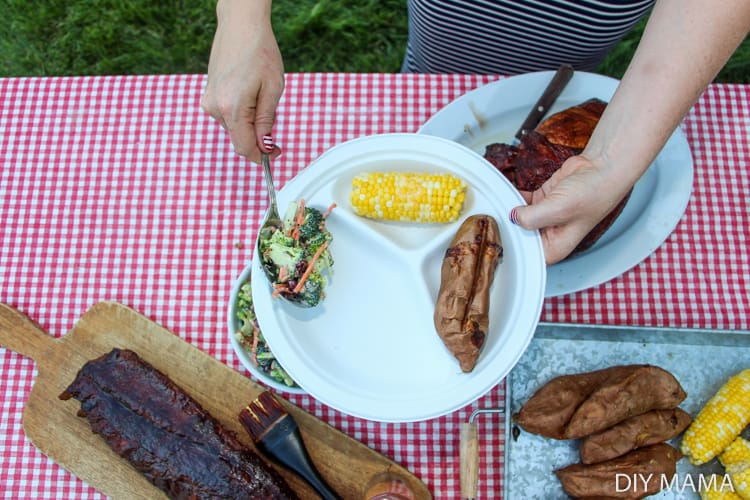
HAVE FOOD OPTIONS FOR EVERYONE

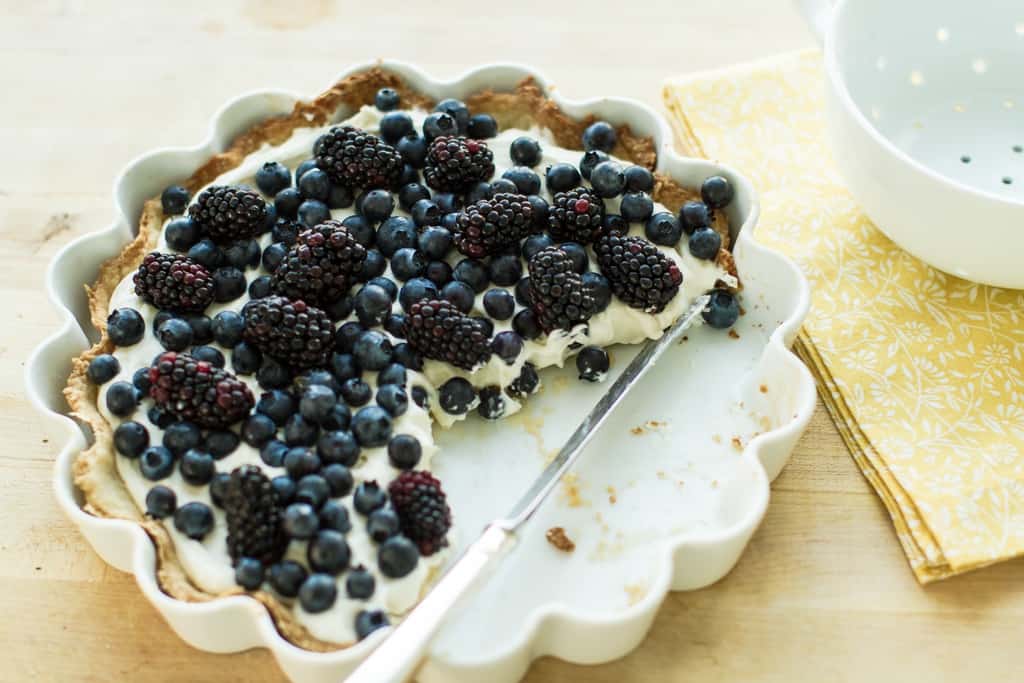
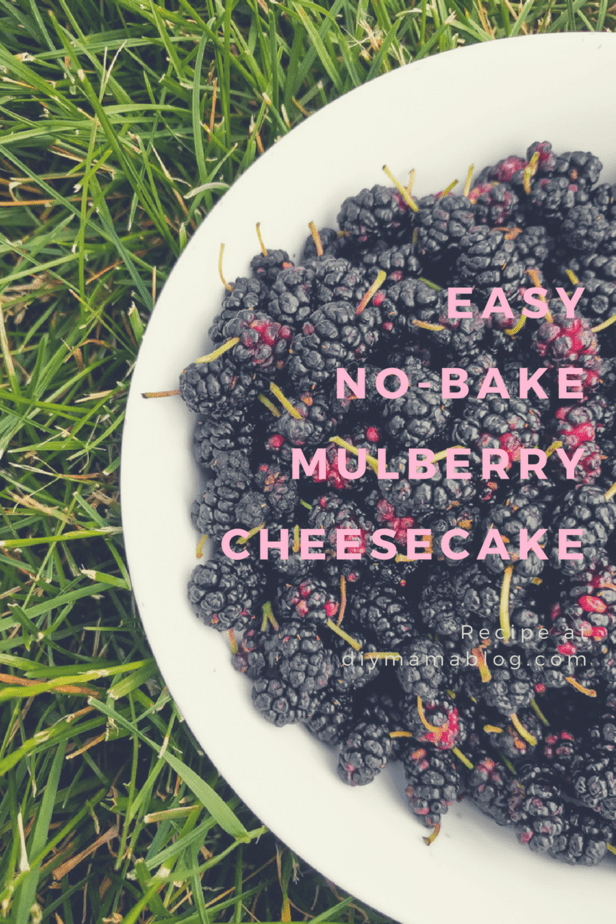
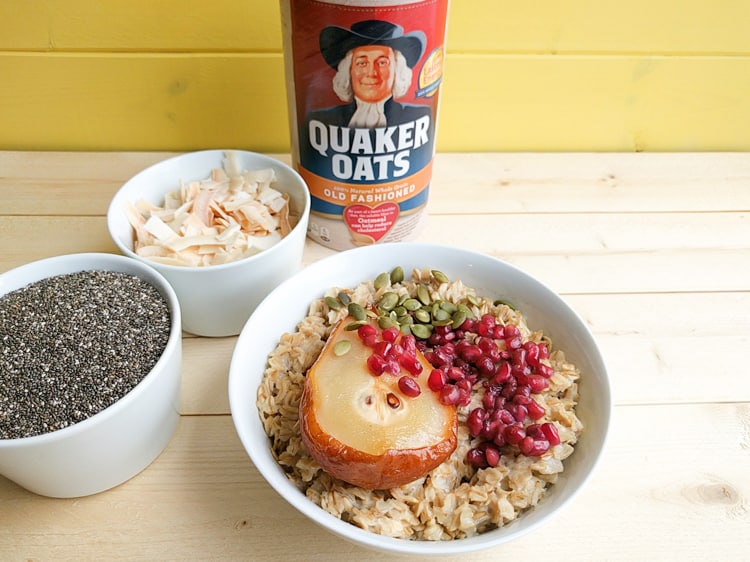
Because we want to be sensitive to everyone’s health needs we were sure to provide options for everyone. For example, we had a set of ribs with no BBQ, plane baked sweet potatoes, salad and had a fruit salad as a dessert option. Because I know how hard it is to stay away from the cookies and brownies, I always bring my famous fruit salad. I’ve never brought any leftovers home!

tips for throwing a neighborhood summer bbq

tips for throwing a neighborhood summer bbq

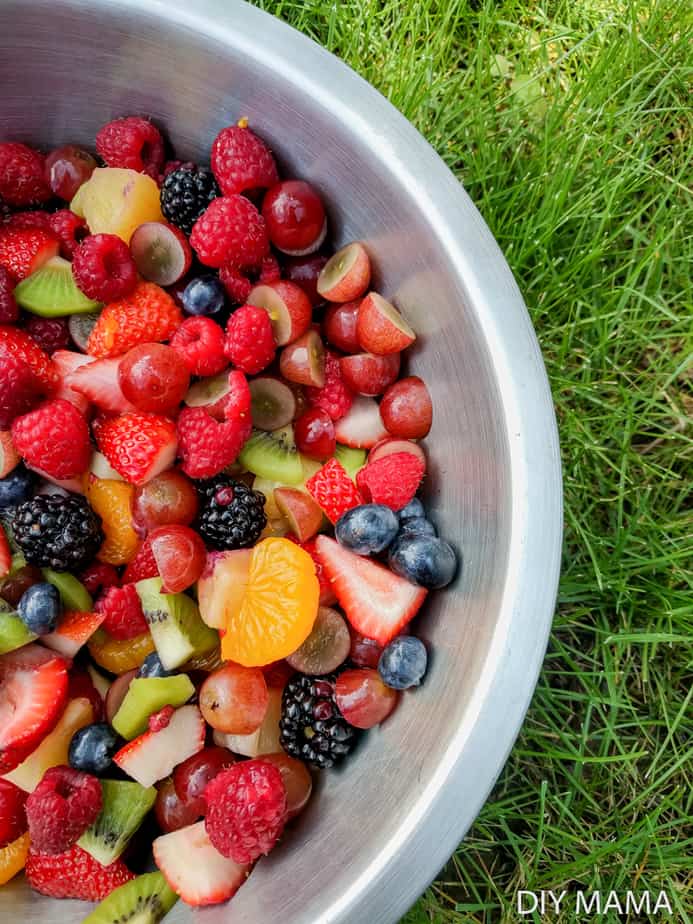
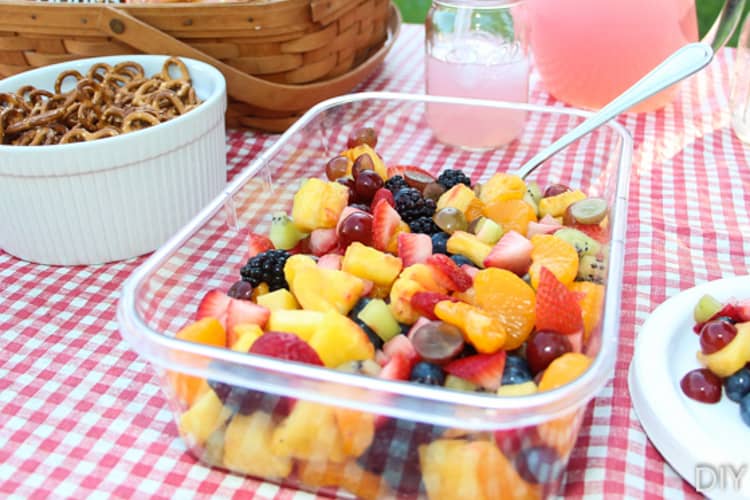
Summer Fruit Salad Recipe

Ingredients

  • Strawberries (1 large container)
  • Kiwi
  • Mandarin Oranges (1 8oz can)
  • Pineapple (cut a fresh one for best results)
  • Red Grapes
  • Blueberries (small container)
  • Blackberries (small container)
  • Lemon Juice (a 3 second squirt)
  • Honey (5 second squirt)

See the video below for how to mix my Summer Fruit Salad:

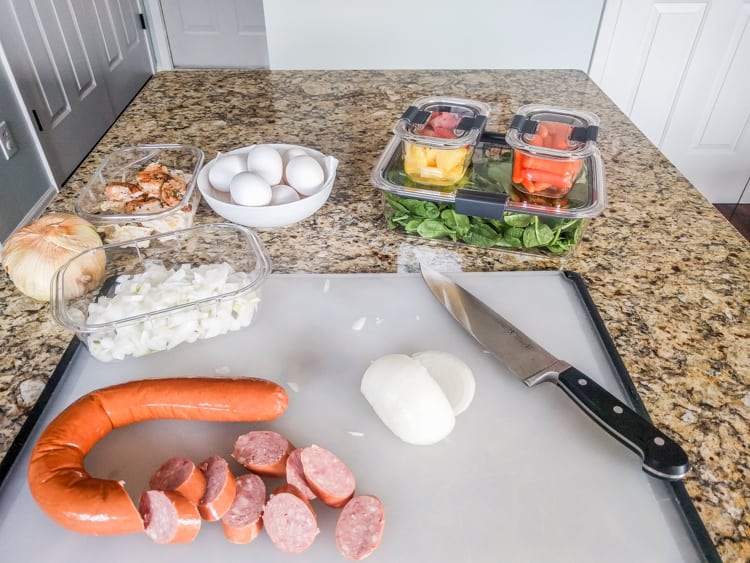
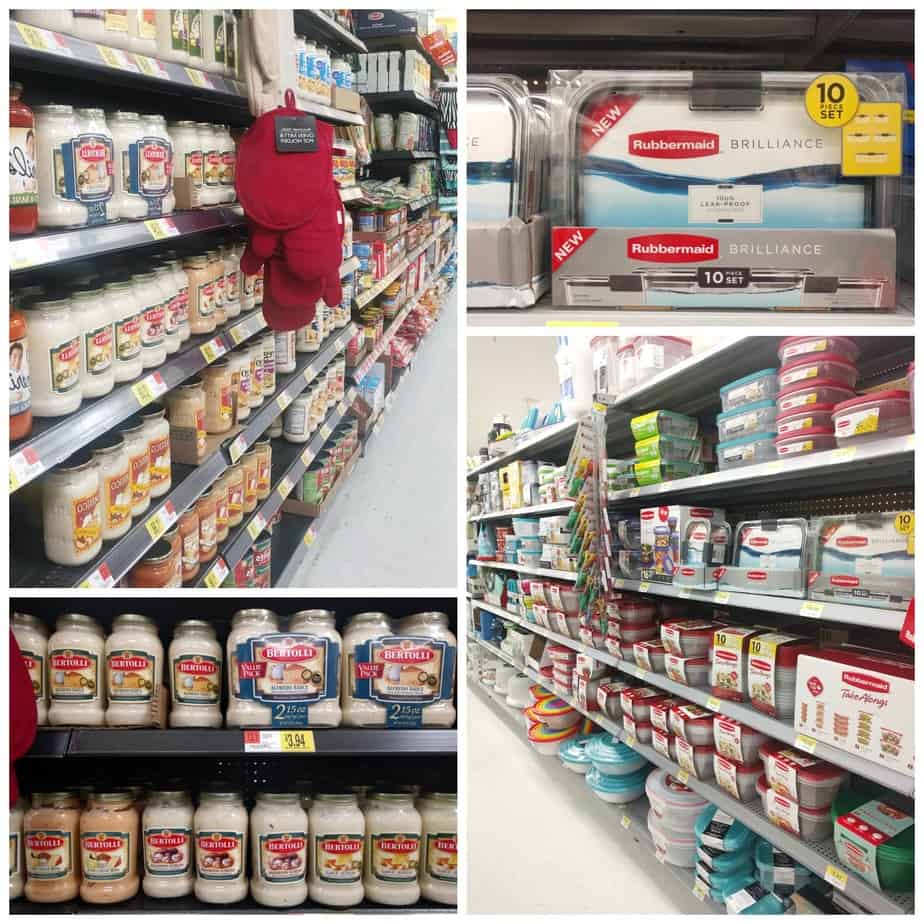
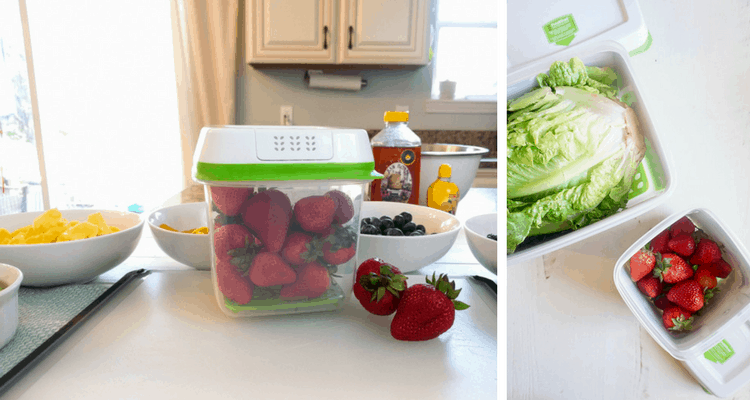
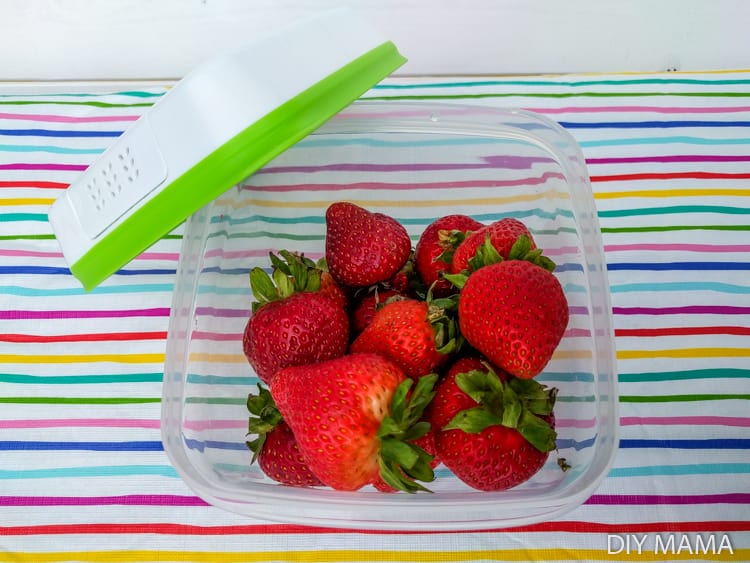
TIP: My biggest secret for this delicious summer fruit salad is keeping the fruit fresh until the weekend in my Rubbermaid® FreshWorks™ produce container.  Two reasons I use my FreshWorks containers over all others are:

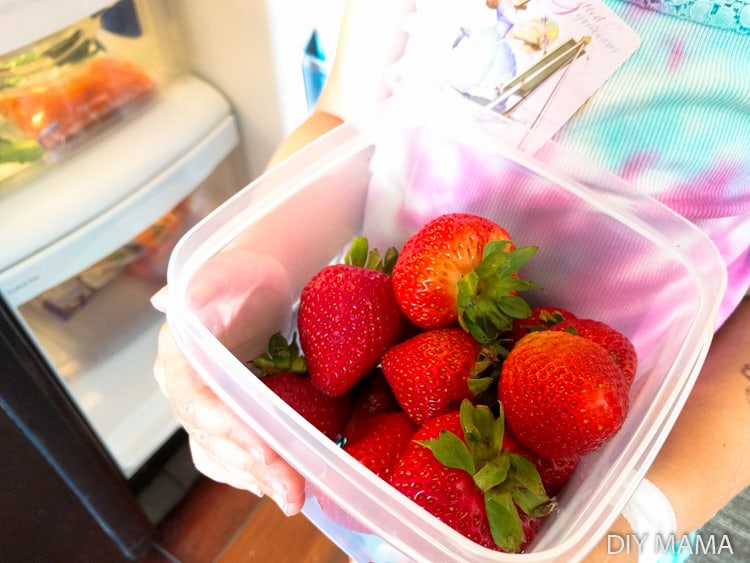
  • That they have a Crisp Tray™ which elevates produce away from moisture and promotes proper airflow to help prevent spoilage. The FreshVent™ technology allows excess CO2 to escape, delaying produce spoilage. My strawberries stay fresh all week after my routine grocery trip on Sunday morning.
  • Lid, container, and tray are dishwasher safe and BPA free. Quick to clean and non-toxic for my family.

Rubbermaid FreshWorks produce containers #seehowfreshworks

FreshWorks Rubbermaid produce storage container

MAKE CLEAN UP SIMPLE

Having several designated areas for trash makes it easier on you!  If you are using disposable plates and utensils, it will make clean-up a  snap because everyone will be “pitching-in.” At the end of the night, wash a few containers that held your main dishes and that’s it!

tips for throwing a neighborhood summer bbq

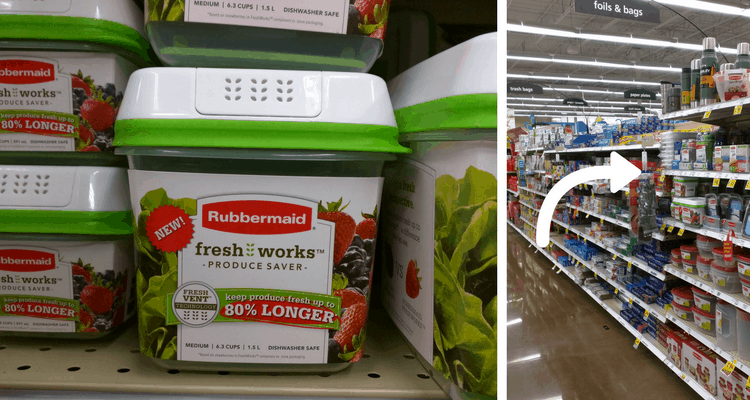
Now that I’ve hosted my first Summer Neighborhood BBQ at our new house, I’m already planning next summer’s 4th of July Bash! Find more Rubbermaid® FreshWorks™ inspiration and learn about how the product works here. No more throwing out moldy strawberries after one week! You can also get $2 off FreshWorks™ produce containers while supplies last with this link.

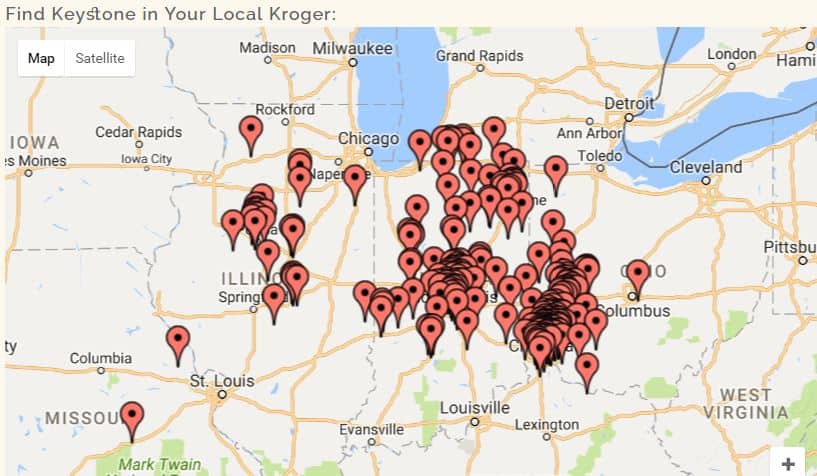
Here is how you can find Rubbermaid® FreshWorks™ next time you’re at a Kroger near you:

Rubbermaid® FreshWorks™

FreshWorks Rubbermaid produce storage container

Pin for later:

Throwing your first Summer Neighborhood BBQ can be daunting. Here are my tips (including my famous Summer Fruit Salad recipe!) #seehowfreshworks #ad

No Bake Mulberry Cheesecake

No Bake Mulberry Cheesecake is my new favorite summer treat. Each year I make a mulberry dessert with the berries I’ve harvested. It all started with my childhood summer nights. My sister and I would ride our bikes along the cornfield to this area of trees that lined the road. The gravel road was speckled in purple polka-dots from the fallen berries. We would stand there and eat handfuls at a time, leaving our hands and faces stained purple. Once full, we’d head out to the field to chase fireflies. It was the best.

Each summer I relive those childhood summer memories once I see the mulberries turning dark. Now that I have a child of my own, I want to share those memories with her and begin new memories. She helped me pick (but mostly eat) the mulberries I used for this quick no bake mulberry cheesecake.

No Bake Mulberry Cheesecake

No Bake Mulberry Cheesecake

Ingredients:

Crust: store bought graham cracker crust or you can make it homemade using this recipe from Crazy for Crust.

Cheesecake Filling: 

  • 16 ounces cream cheese, softened to room temperature (but not warm)
  • 1 teaspoon pure vanilla extract
  • 1 cup (4 ounces) powdered sugar
  • 1/2 cup sour cream
  • 3/4 cup cold heavy whipping cream

Directions:

  1. In a large bowl with an electric handheld mixer (or stand mixer), mix the cream cheese, vanilla and powdered sugar until smooth and light, 2-3 minutes. Add the sour cream and whipping cream and mix until very thick and creamy, 4-5 minutes.
  2. Spread the filling evenly into the prepared crust. Cover with plastic wrap and refrigerate at least 4 hours or up to overnight.
  3.  Serve with blueberries or mulberries on top. I didn’t pick enough mulberries so I had to mix in some blueberries.
    TIP: You can also mix the berries into the cheesecake. I also like throwing all the berries in a container with 1/4-1/2 cup of sugar overnight to let them macerate turning them into a fruity syrup you can then drizzle on top.

For more awesome summer dessert recipes, follow my Desserts + Drinks board on Pinterest:

Pin it for later…
No Bake Mulberry Cheesecake

3 Tips to Simplifying Meals

This shop has been compensated by Collective Bias, Inc. and its advertiser. All opinions are mine alone. #PremiumPrep #CollectiveBias

Meal planning is key for our family. Neither my husband nor I like cooking so I get all the prep work done on Sundays to make the week less stressful. Having good food storage to keep our food safe until the end of the week is crucial and Rubbermaid® has the best! I’ll show how I do meal planning, grocery shopping and Sunday food prep in a short amount of time leaving more time for dance class and playing games with our family on school nights. Here are 3 tips to simplifying meals in your life.

3 Tips to Simplifying Meals

Cheesy Shrimp Ravoili

1. Meal plan.

Saturday morning is the best time to meal plan for our family. Once I eat breakfast I am able to meal plan based on healthy choices rather than cravings. I often have several staple meals we rotate through the weeks. Making one new recipe is always on my agenda so I’ll hop on Pinterest and choose one of the 1000 I’ve saved. I send an email to myself and my husband with our dinner menu for each day and write it on the calendar hanging in the kitchen. Having the meal plan makes the dreaded ‘what do you want for dinner’ conversation non-existent. The meal plan also helps us stay in budget. If we choose to have a more expensive cut of meat one night, we’ll know we need to have a lentil type meal another night.

2. One Day Stop.

We’re lucky to have most local grocers have online ordering. I add all the ingredients to the shopping cart right after I make the meal plan. Scheduling the grocery pick up first thing on Sunday morning gives me an excuse to get outside early and have plenty of time for food prep. Shopping online also makes the dreaded ‘don’t push the cart into that lady’ conversation with your toddler non-existent.

3. Sunday Food Prep.

This is the step that has made all the difference in our family. We’ve done meal planning and online shopping for a year but would still say ‘eh, I don’t want X tonight, let’s just order pizza.’ On Sundays, before putting the groceries away, I leave out everything that can be chopped or cooked quickly. All fruits and veggies are chopped and placed front and center of our fridge to make sure those are the foods we’re reaching for when hungry. We always put eggs on to hard boil while I cook breakfast sausages for the week. I’ll soak dried beans or cook noodles knowing that they re-heat well. To make sure our prepped food is still fresh by Friday I use Rubbermaid® Brilliance™ Food Storage. On nights we have dance class or a fun night out, I’ll use pre-boiled noodles, cookie kielbasa sausage and throw on some Bertolli® Tomato Basil red sauce. One of my favorite things with the Rubbermaid® Brilliance™ Food Storage is that it doesn’t stain with red sauce!

Food_prep_simplifying_meals

I’d mentioned using several recipes that rotate through the weeks. Recipes that I know my family will eat and not cost a fortune. Some of our favorites are Quinoa Enchilada Bake, Taco Night and Salmon with Steamed Broccoli. Our newest favorite is our ‘cheat’ meal for the week because it is not healthy. It is fast and easy to make and re-heats well in my Rubbermaid® Brilliance™ Food Storage.

Cheesy Shrimp Ravioli

Ingredients:
1 package of frozen cheese ravioli
1 lb fresh raw shrimp, peeled and de-veined
1 T blackened seasoning
1 T fresh thyme leaves
3 T olive oil
1 jar Bertolli® Alfredo Sauce
salt and pepper to taste
Chopped green onions for garnish (optional)

Instructions:
Boil frozen cheese ravioli according to package directions and drain. Season shrimp on both sides with blackened seasoning and fresh thyme. In a heavy saucepan, heat the olive oil on medium-high heat and sear the shrimp on each side for 3 minutes, making sure to fully cook. Remove the shrimp from the pan and add the alfredo sauce to deglaze the pan. Stir the sauce while heating and once the seasonings have been incorporated into the sauce, add the ravioli and gently stir to coat them. Place the ravioli on a plate and top with seared shrimp. Garnish with green onions and serve with slices of french bread.

Bread_prep_bertoli

Cheesy_Shrimp_Alfredo_Ravioli

Before you make this recipe, you can use this code from the Ibotta App for $0.75 off any selection of Bertolli® sauce to make your own Cheesy Shrimp Ravioli. That code is also good for $5 off Rubbermaid® Brilliance™ leak proof 10-piece set or $2.00 off a single Rubbermaid Brilliance container at Walmart. Check the Rubbermaid® Brilliance™ hub for more features on how food storage is at a new level. What do you do to make meal planning easier for your busy family? I’d love to know your favorite staples for dinner that are quick and easy!

Bertoli Rubbermaid in Store


Cheesy Shrimp Ravioli Recipe


3 tips

Grown Up Mac & Cheese

This is a sponsored blog; while the views expressed here were genuinely mine, consideration was paid to me by Keystone Bar & Grill to review this product.

Keystone Frozen Mac n Cheese

You know how you go to a restaurant and you order the exact same thing every time because you wouldn’t dream of missing out on it while you’re there? That’s totally me. I’m also the huge skeptic. Once I see that my perfect dish at my favorite restaurant is being sold in the frozen food aisle at my grocery store; ‘there’s no WAY that is going to be as good as it was at the restaurant!’ My mind has recently been blown, my friends. I have found that magical unicorn called Keystone Bar and Grill’s Frozen Mac & Cheese aka Grown Up Mac n Cheese.

Keystone Frozen Mac N Cheese

There is no better time than now to stock up on this savory side to get us through these brisk nights. Buffalo Bleu mac & cheese combines powerfully scented dense bleu cheese crumbles with Keystone’s tangy, spicy Buffalo-style sauce. BBQ & Bacon mac & cheese mixes smoky bacon with Keystone’s signature sweet and savory BBQ sauce. The BBQ & Bacon mac & cheese was a huge hit in the Bergman house. It can stand alone but we paired it with brats from the butcher.

Keystone Mac N' Cheese
For $8.99 retail, consumers can now get a 16-oz serving of the popular mac & cheese to consume as an entrée for two, a side dish for four, or as mac & cheese bite appetizers for 8. To best replicate the restaurant experience, Keystone recommends preparation in a conventional oven. I haven’t tried it in the microwave but it was delicious in the oven. You can use my special link to save $2.50 off your purchase by downloading the coupon here:  http://bit.ly/kscro-4. Be sure to print out a copy as Kroger does not accept digital coupons (I learned that the hard way).


Keystone Mac n Cheese store locator
If you’ve got an idea for a great Mac N’ Cheese flavor you can submit it at this sweepstakes where Keystone Bar & Grill will add it to their menu! If you’d like to find out more about how this fan favorite came to be in your grocery store, check out their website.

Hearty Oatmeal with Maple Roasted Pears & Pomegranate

Hearty Oatmeal with Maple Roasted Pears & Pomegranate: this post contains affiliate links- Our favorite recipe this winter has been a hearty oatmeal with maple roasted pears & pomegranate. Even though this has been a very mild winter, I still can’t seem to shake the chill in my bones. We’ve been so lucky to have very little snow here in the midwest but I am ready for Spring!

In an attempt to keep my family warm, I’ve been cooking more comfort foods. Since Sophie is such a picky eater, we must make sure she eats a full breakfast to last her through the day. Oatmeal has always been a favorite of hers but I often put in the same old toppings (peanut butter, honey or blueberries). We often buy new fruits for her to try and she was enamored by the seeds of a pomegranate so I knew I had to figure out a way to incorporate poms in her oatmeal.

Quaker Oats Maple Roasted Pears and Pomegranate- Hearty Oatmeal

My newest ‘How to be an Awesome Mom’ tip is online ordering my groceries. Can I just say that we’ve not only been eating healthier but cut our grocery bill significantly by using Kroger’s online ordering service called ClickList. I’m a little obsessed with the routine I’ve figured out to eliminate the ‘what should we have for dinner’ headache.

Every Sunday I take 15-20 min to find one or two new recipes. I hop on Kroger’s site and order our groceries for the week. I write out the meal plan and stick it to the fridge so there’s never a question of what we’ll be eating for dinner. It’s helped us to not waste food because we only order exactly what we’ll need for our recipes as well as snacks and lunch for Sophie. TIP: add a reminder in your phone for crock-pot meals. This post is not sponsored by Kroger, I’m simply sharing because it rocks.


Maple Roasted Pear and Pomegranate Hearty Oatmeal
Roasted Maple Pear and Pomegranate Hearty Oatmeal
Back to the point of this post- the miracle breakfast that my picky toddler loves.

Hearty Oatmeal with Maple Roasted Pears & Pomegranate

  • 1/2 c Quaker oats
  • 1 c water or milk (I used unsweetened cashew milk)
  • pinch of sea salt
  • spoonful of raw pumpkin seeds
  • sprinkle of pomegranate seeds
  • sliced pears (see below for Roasted Maple Pear recipe for added awesomeness)

Bring the Quaker® Oats and milk to a light boil in a medium sauce pan. Reduce heat to low and cover. Cook for about 5 minutes. If you’d like to add some superfood like chia seeds or flax seeds, add now and cook for another 5 minutes or until the oats have reached a creamy consistency.

Divide the oats into bowls, then top with pomegranate, pumpkin seeds, splash of cashew milk, drizzle of maple syrup and the maple roasted pears.

Maple Roasted Pears (Hearty Oatmeal)

Maple Roasted Pears

  • 4-6 seckel pears halved (any pear will do)
  • 1 tbsp coconut oil
  • 1/4 c maple syrup
  • 1/2 tsp vanilla extract

Preheat the oven to 375 and line a baking sheet with parchment paper.  In a mixing bowl whisk together the coconut oil, maple syrup + vanilla extra. Toss in the pears and evenly coat. Roast the pears on their backs 15-20 min flipping half way through.

Maple Roasted Pear and Pomegranate Hearty Oatmeal

There are at least a hundred different combinations you could use to enhance your hearty oatmeal breakfast. Breakfast is essential fuel for your day so make it count. What do you add to your oatmeal? I’d love some new ideas!

hearty maple roasted pear oatmeal

Google+