Hello friend! Guess what? More Halloween awesomeness is happening today on the blog! I’ll think about cooling it with Halloween…once I make every Halloween recipe and decoration I see on Pinterest.
lifestyle blog sharing diy, family, travel, organization & disney tips
Hello friend! Guess what? More Halloween awesomeness is happening today on the blog! I’ll think about cooling it with Halloween…once I make every Halloween recipe and decoration I see on Pinterest.
Hidy ho crafters and green thumbers! Anyone else having beautiful weather today? It’s supposed to be nice here all week and I am extremely excited about that! I am still missing my lil bean but Lexi is getting better every day and today I was confident enough to run errands, which was a big boost to my mood (especially because I bought clothes for Soph!) I have been seeing pots on sale everywhere I go lately, which means it’s a great time to buy pots for next year’s spring lay-out OR to put some new greenery inside your home for the winter. I love how inexpensive terracotta is but never buy it because it cracks if left outside year round here in the midwest. I saw some small pots for $0.50 and couldn’t resist doing a little diy to bring some more green into our home.
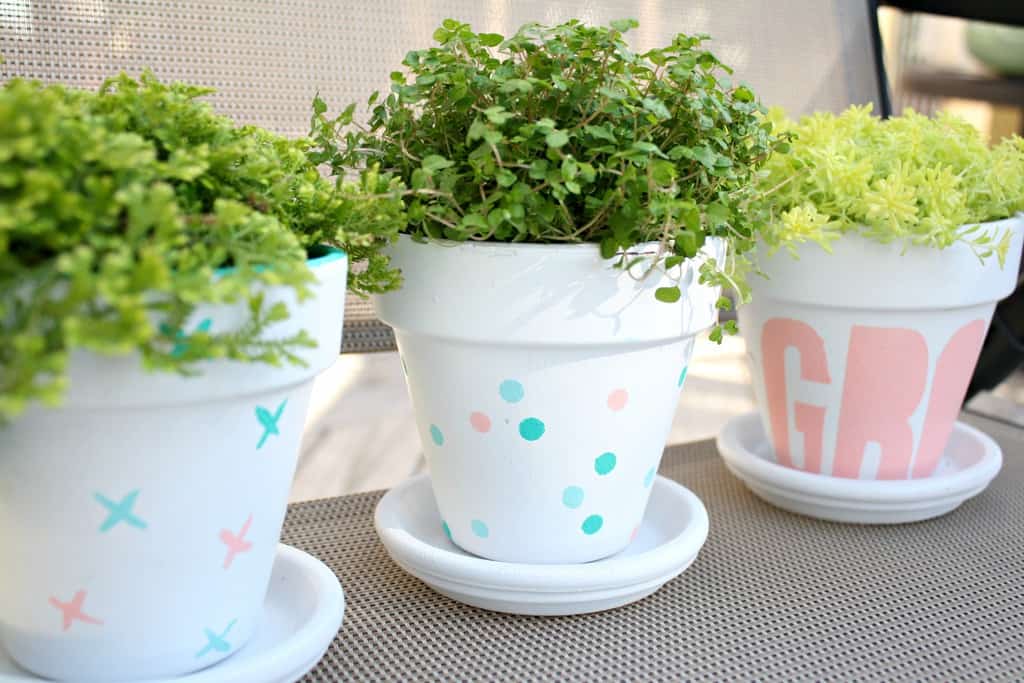 Not pictured: me spray painting three coats of white Rustolium on the outsides of my pots. You never want to paint the insides of vases or pots where the dirt or water will get exposed to paint. The bare inside is never exposed once the plant is inside, so there’s no need to worry that it’ll look unfinished. Continue Reading about DiY Terracotta Pots →
Hey crafters! As I said last week, I’ve been really busy with some projects around here and I’ve since completed two of them! I’ve seen people doing weaves and tutorials EVERYWHERE and was really interested, but kind of wanted to save that project until winter when I’ll be cooped up inside. Seems like sitting by the fire with hot chocolate is the perfect way to weave on a loom. I took the easy way out when I saw Laura post this amazing tapestry on ABM I knew it’d be perfect to fill the giant hole in my gallery wall.
 The technique couldn’t have been easier. The entire project was maybe a 3 out of 10 in terms of difficulty but a 7 out of 10 on time consuming.
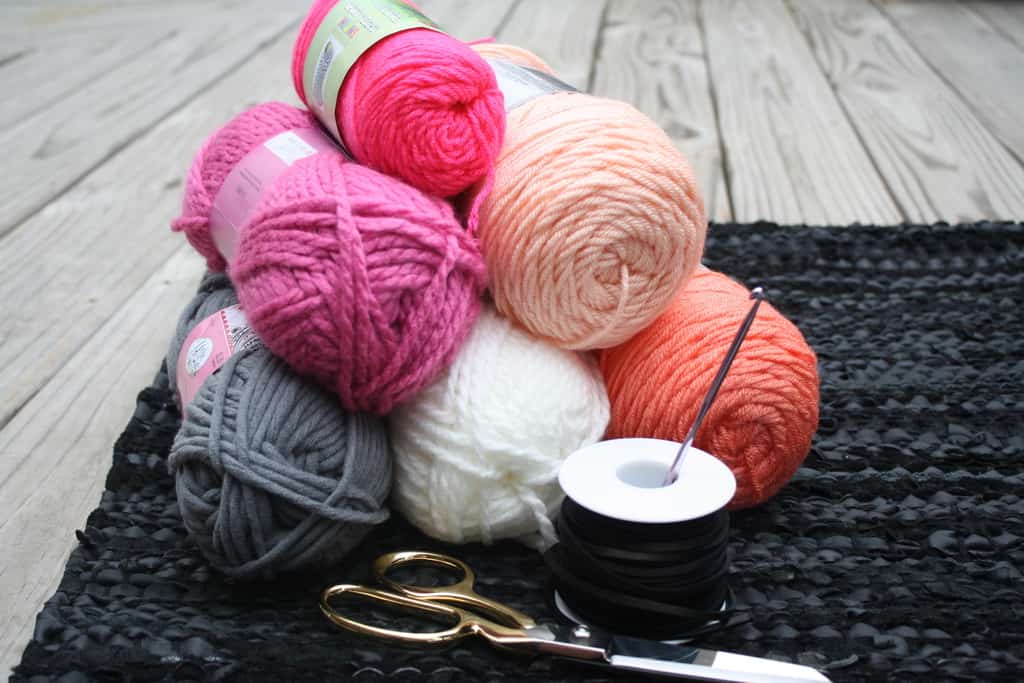 Materials Needed:
Because this project was so time consuming and brainless, I only did weaving while we’d watch movies or I’d hang out with my friend. This was great for me because I like to do two things at once but it also means that I didn’t get any action shots! THE WORST! Laura’s tutorial is killer though and I couldn’t have written it better.
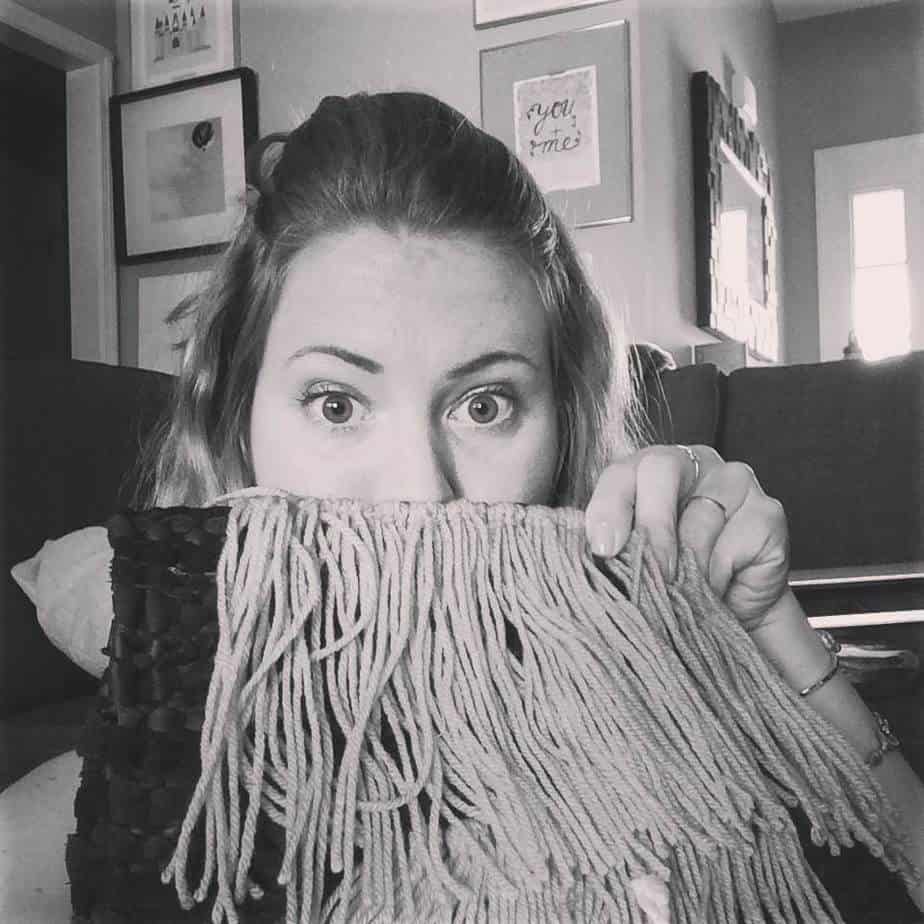
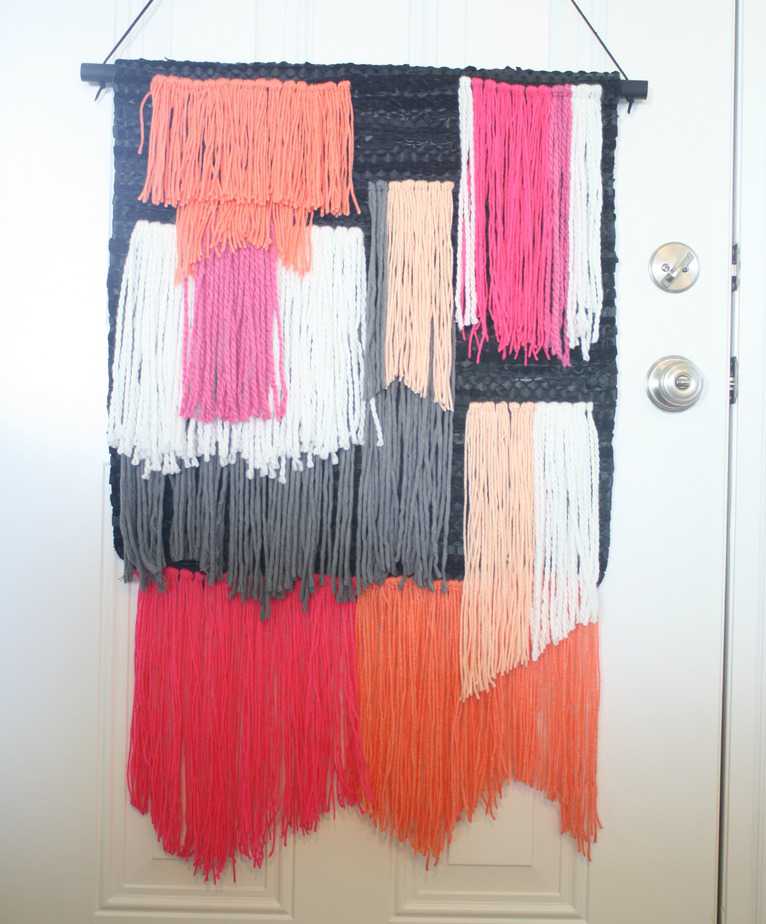
 Once I had the full tapestry woven, it was time for a hair cut. I kind of just chopped as I saw fit. Some areas I did angles, others I just let them be raggity. Also, if you want to know how I made that nifty gif, go to this tutorial by Popcosmo!
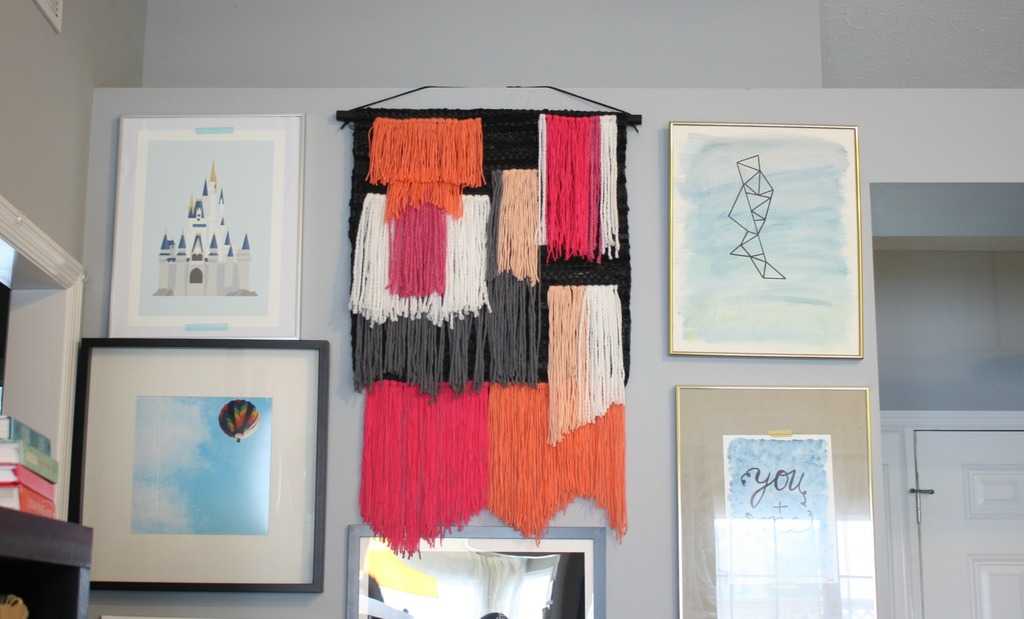
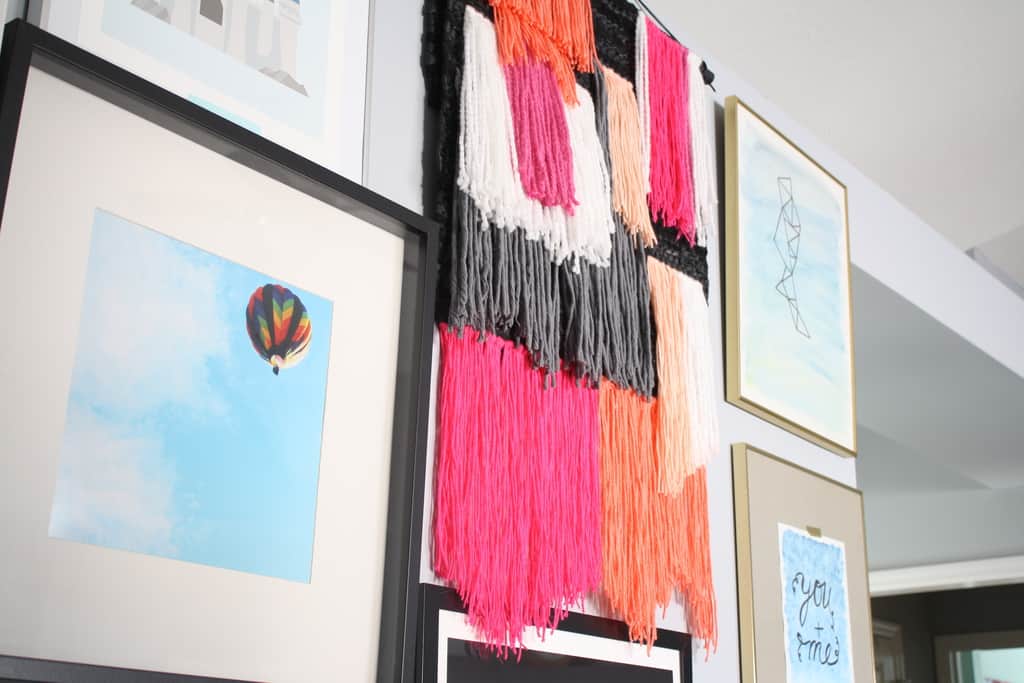
 This is the beautiful view Sophie and I get when we walk out of her room. The two pieces on the right are mine but the dreamy Hot Air Balloon is a photograph by Tamara. I requested Rob to make Cinderella’s Castle and he pulled through! I also want to say that I’m thankful to my husband to being confident enough in his manhood that he allowed this massive tapestry of PINK in our family room. 🙂 It makes me happy. Anyone else tried their hand at weaving yet? I’d love to see your projects!
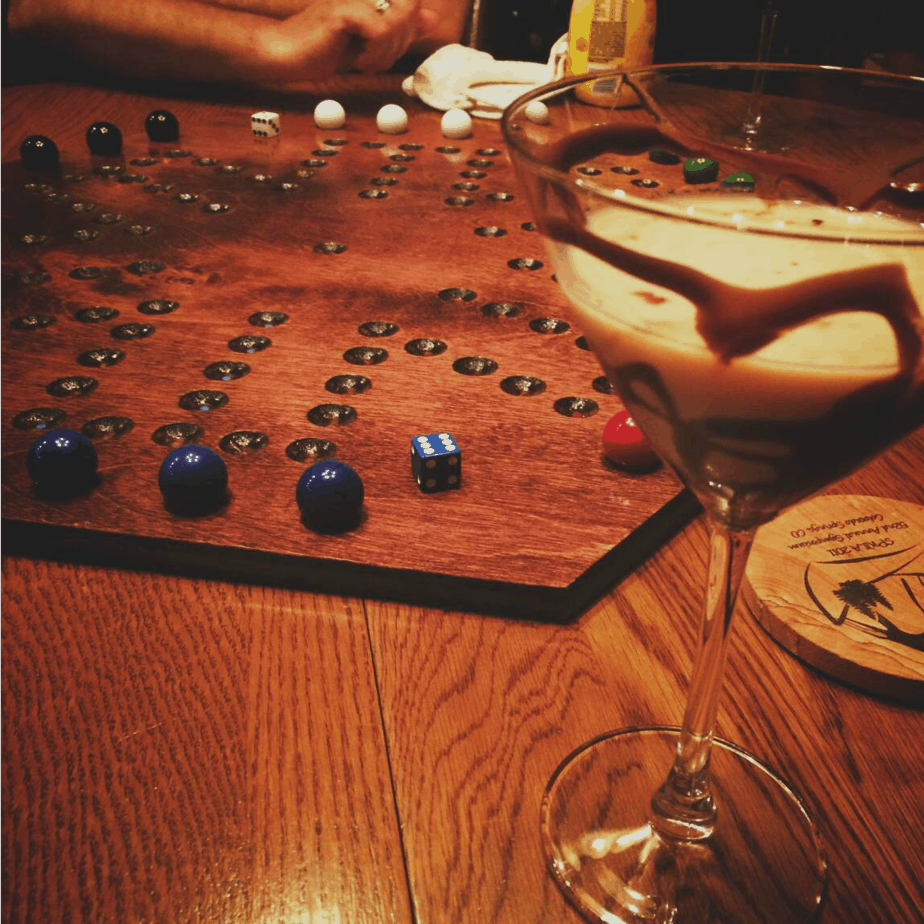
Cheers mates! Summer time, for me, always means martini time! We went on vacation last week and made up a new martini that was SO delish that I knew I had to share! I thought I might as well share a few other of my favorites as well so here are 5 of my fav martini recipes!

I might as well start with the Snicky Wicky which is the martini we made up this past week while playing a game of Wahoo. This martini was a dessert drink that took a lot of control to pace myself! Needed: Hershey’s Chocolate Syrup, Smucker’s Carmel Syrup, 1oz Amaretto, 3oz Roasted Carmel Whiskey, 1oz Bailey’s Irish Cream, and 1tsp cream. Swirl the glass with both syrups in whatever artistic fashion you desire. Mix the remaining ingredients over ice and add to prepared glass. Enjoy! You could also use carmel vodka in place of the whiskey.
 My most favorite martini, to drink while having sushi, is a mango martini. It goes heavenly with the coconut mango shrimp tempura sushi. Averie posted an amazing Mango Coconut Water Tropical Martini that honestly made my mouth water reading about it. Needed: 1.5oz Mango Passion Fruit Schmirnoff Vodka Light, 1.5oz coconut water, and 1oz pineapple juice. Shake ingredients over ice and strain into glass. Averie made them look super cute using mango, pineapple and maraschino cherries.
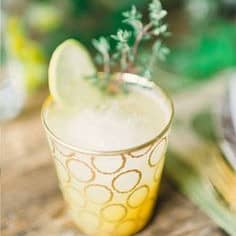
 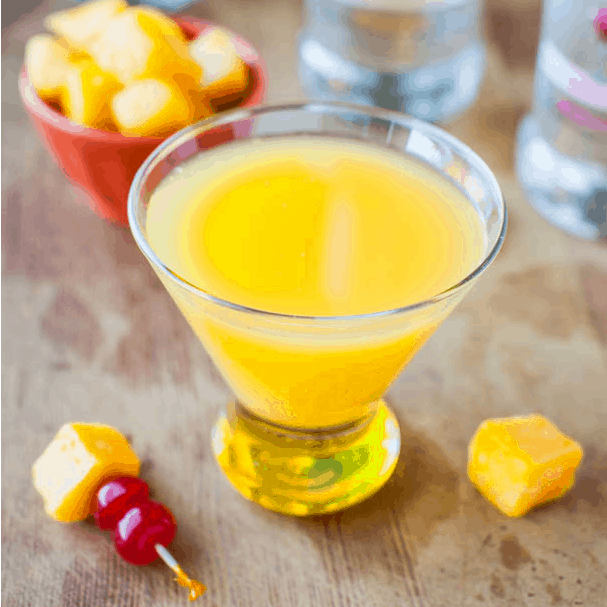 This summer I’ve been really digging lemonade since we swore off soda a couple months ago. I made a strawberry lemonade from scratch that was stellar but this Boozy Peach Lemonade on Style Me Pretty looks like my next weekend BBQ drink! I love it because you can make a big batch and let guests serve themselves! Needed: 2oz (or so) peach flavored vodka (Absolute APeach), 1.5c sugar, 1c hot water, 2.5c lemon juice and 1c peach juice or puree. Stir sugar in hot water until dissolved, add vodka, lemon juice and peach juice. If using peach puree add to glass before pouring in other ingredients. Add thyme or peach as garnish.
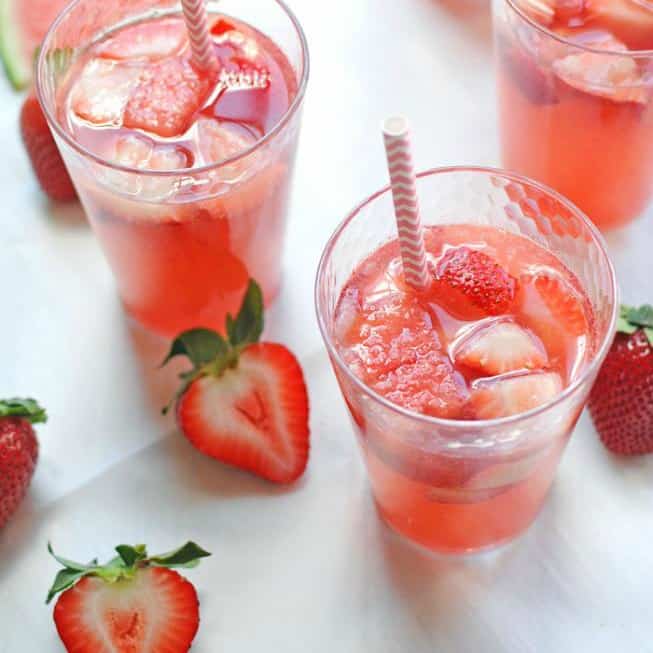
 Another killer summer party quencher is this Strawberry Watermelon Sparkling Sangria from Kelly at Nosh & Nourish. Ok, I know, it says sangria…but it’s just so pretty, I drink it in a martini glass and call it a martini. 😉 For some reason, I’d never considered mixing strawberries and watermelon but they are amazing together! Needed: 1c vodka, 1tbsp key lime juice, 1c chopped strawberries, 1c chopped watermelon, 1c watermelon juice (after straining), and 1bottle sparkling white wine. Combine vodka, lime juice, strawberries and watermelon in a large measuring cup to marinade for an hour. Using a strainer, juice the watermelon chunks to extract the juice. Add everything together in a large pitcher and serve immediately. Garnish with fruit or mint leaves.
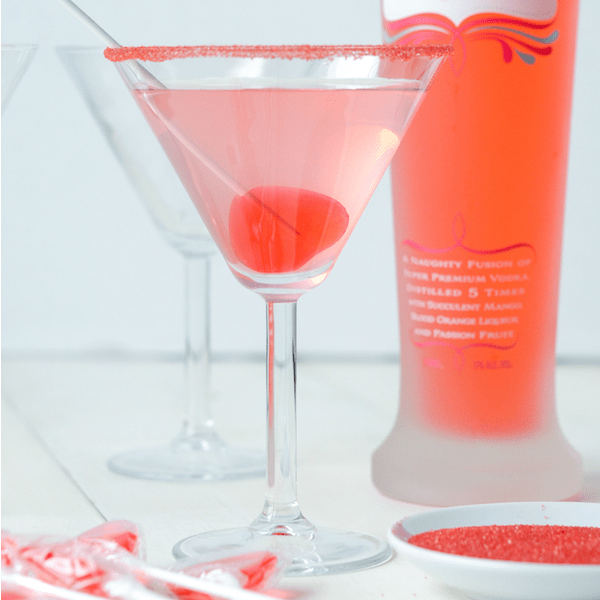
 I’m such a sucker for packaging! I bought this Kinky liqueur a few years ago and have mixed it with Sierra Mist and OJ but didn’t LOVE it until I came across this Kinky Blow-Pop recipe by Jessica at The Novice Chef. It is darling with her heart shaped lollies but like it with strawberry or watermelon blow-pops! Needed: 1.5oz Kinky liqueur, 1oz bubblegum vodka, 1oz pink lemonade and a splash of sprite. Garnish with a red sugared rim and a lolly pop.
 Who’s coming over for some tinis?! Good thing my best friend is coming to visit this week so I can quench my craving! Which one are you going to try first? What is your go-to martini to make when having friends over or to wind down from a hectic week?
 Click on each photo for a re-direct to the photographer.
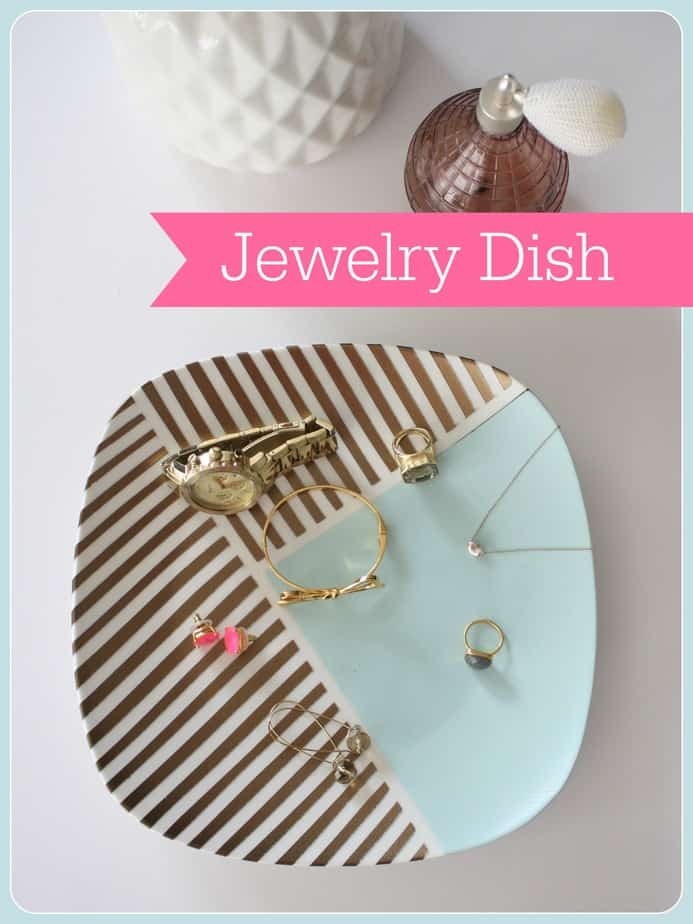
Hello Gorgeous! Do you love jewels? Do you have an amazing display for all your favorite pieces? Do you always take your jewelry off every night and put it back in it’s designated home? Me neither. I mostly wear the same gold triangle studs, wedding ring and very strong gold necklace that my daughter can not break no matter how hard she pulls. It has her name on it so I guess she assumes it’s hers. If I DO switch up my jewelry for a special occasion, it usually ends up sitting on the sink or my bedside table for…oh…weeks. This needed to change, which is why I made this jewelry dish.
 Materials Needed:
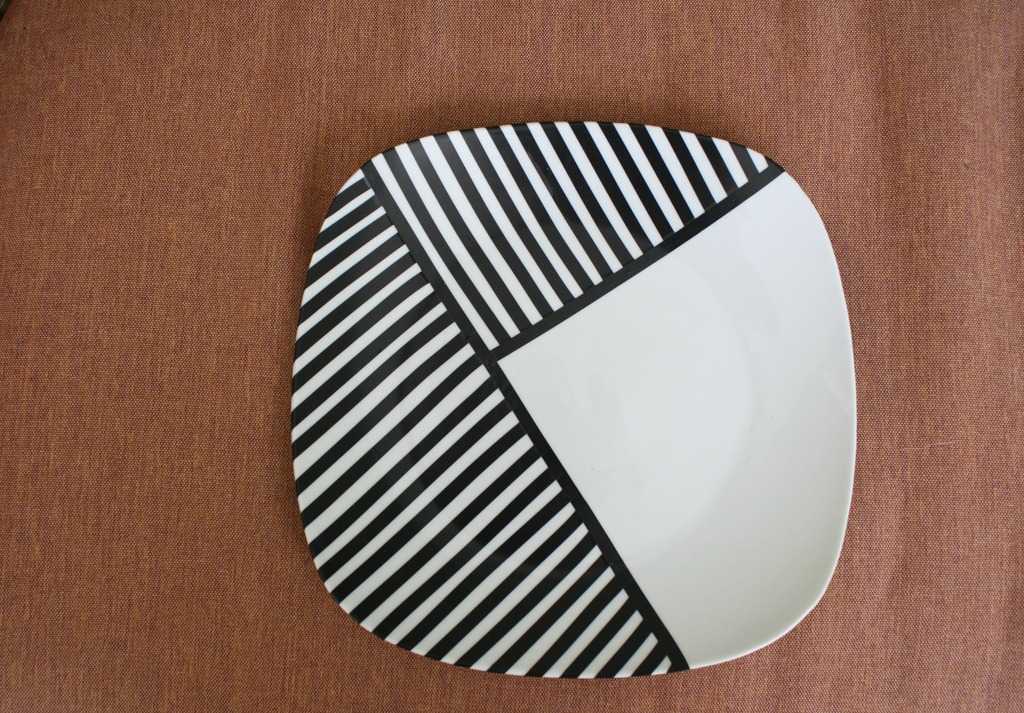
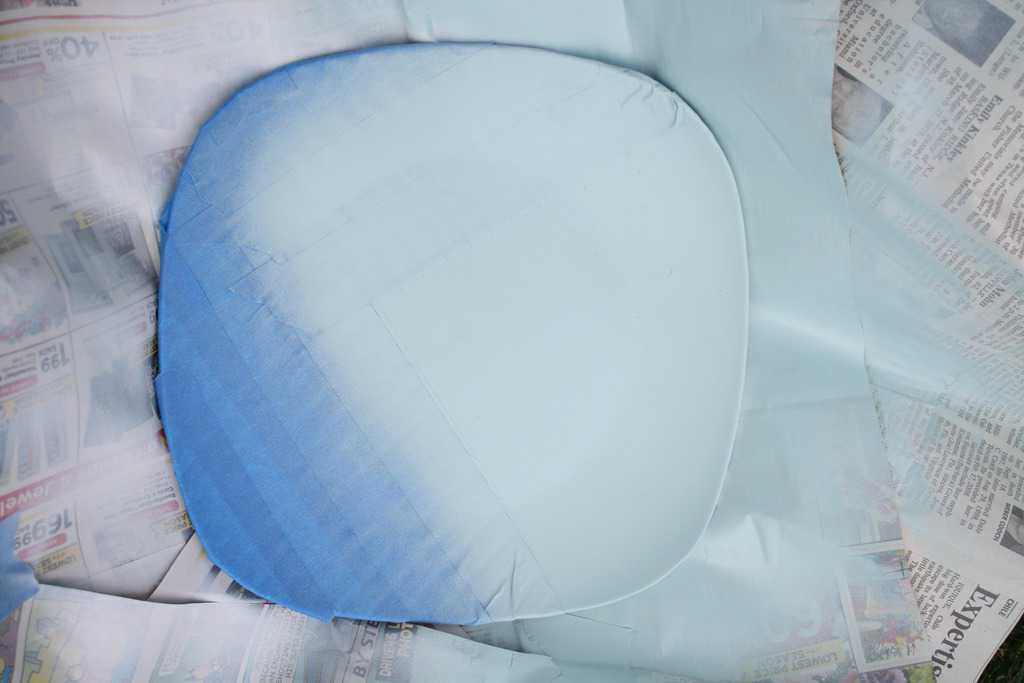
The first step is to wash your plate. Make sure all dust and residue is cleaned from the plate. The next step is to tape off the design you’re wanting with the art tape.
 Once you have your design laid out you need to prime your plate so the spray paint will adhere. If you buy a spray paint that works on porcelain this step is not necessary (but I used spray paint I had on hand.)
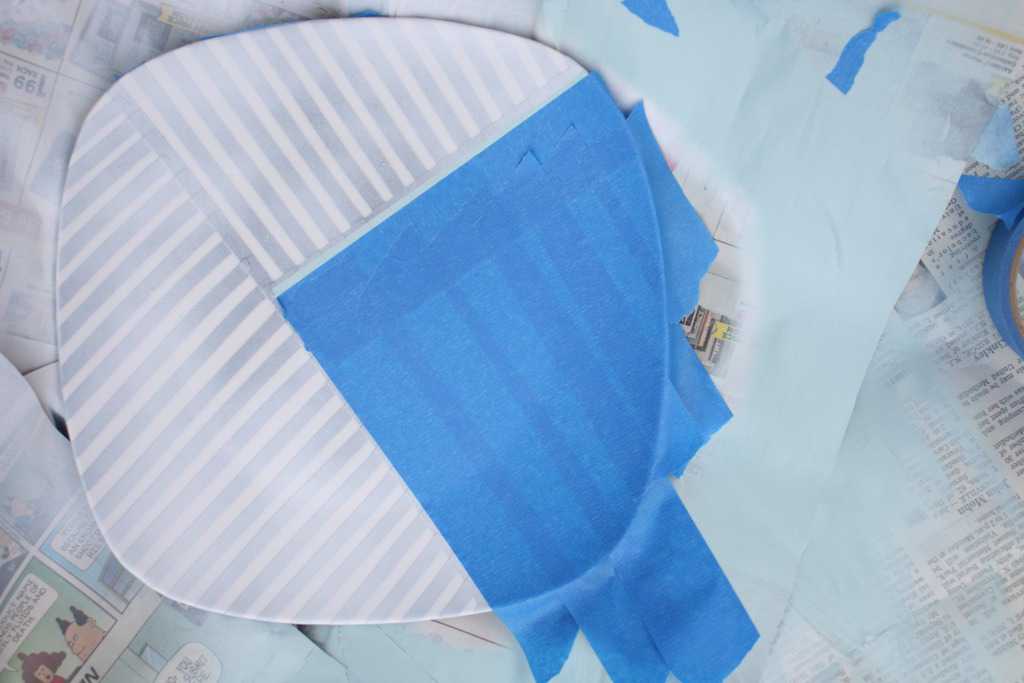
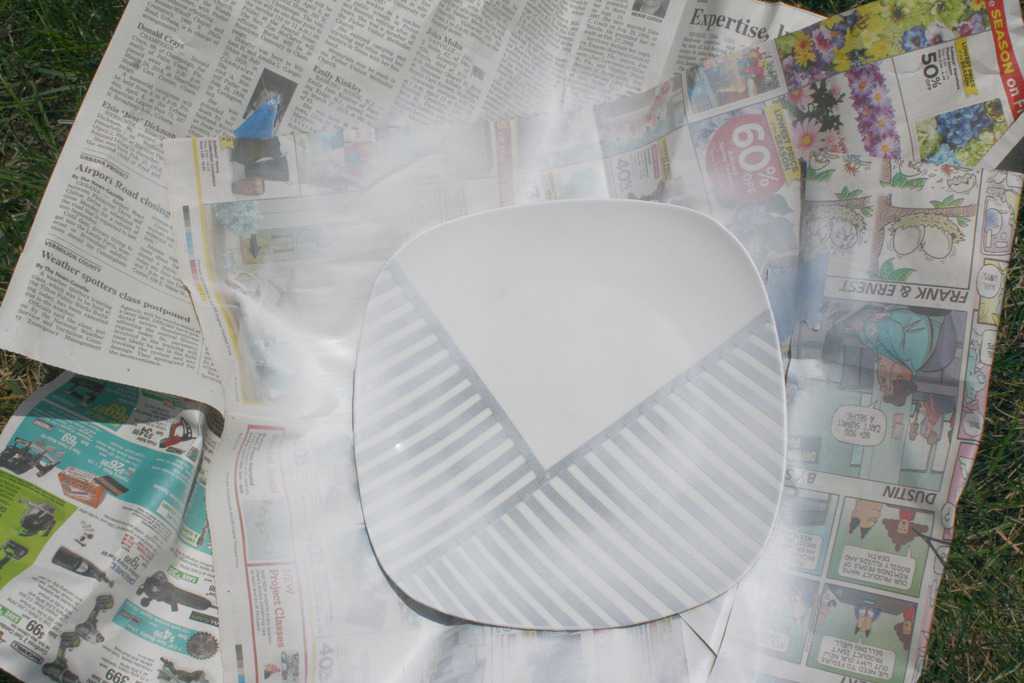 Once the primer has dried, tape off the first color section. Make sure to follow the instructions on your can for drying time. If it is too hot or humid the paint will not dry well and the finished product will look messy.
Once the first section of colored paint is dry, remove the painter’s tape and re-apply to the next section
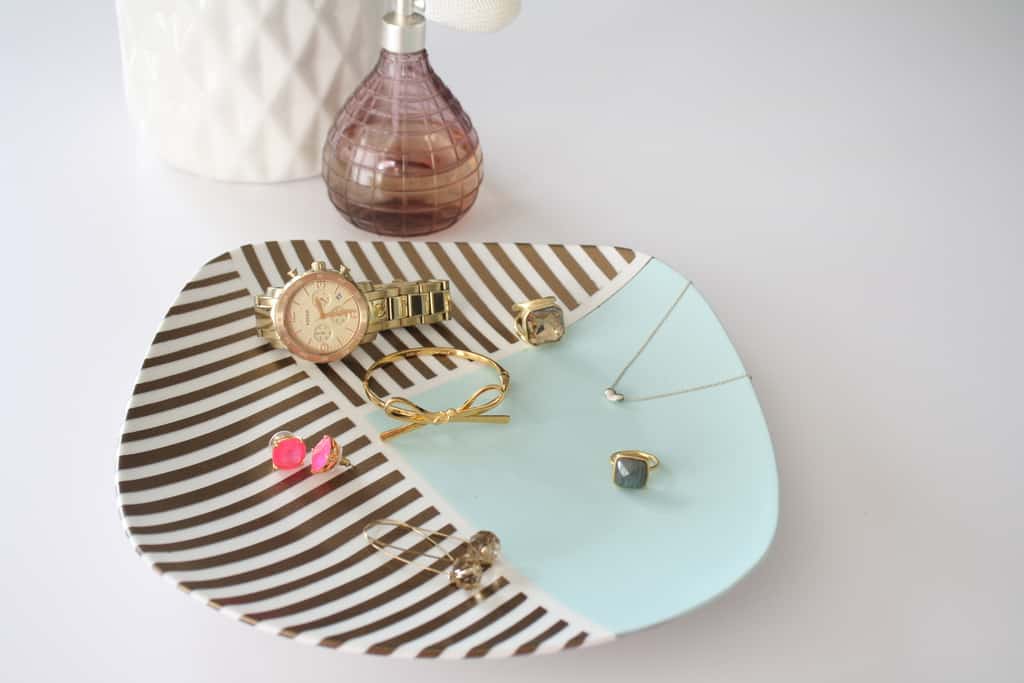
This is the best part! Remove the painter’s tape followed by the art tape. When removing any tape, pull at a 45deg angle. This will make for a cleaner line. Once all of the tape is removed, add a coat or two of mod podge for protection. I knew I would be dropping watches on this dish so I wanted to be sure the paint would be protected.
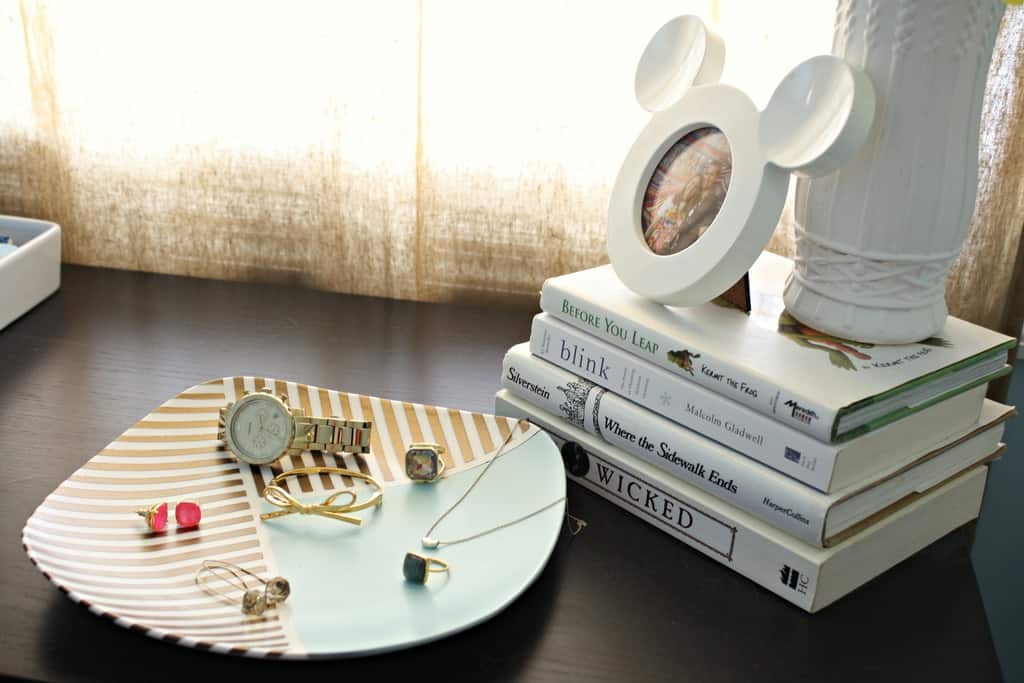
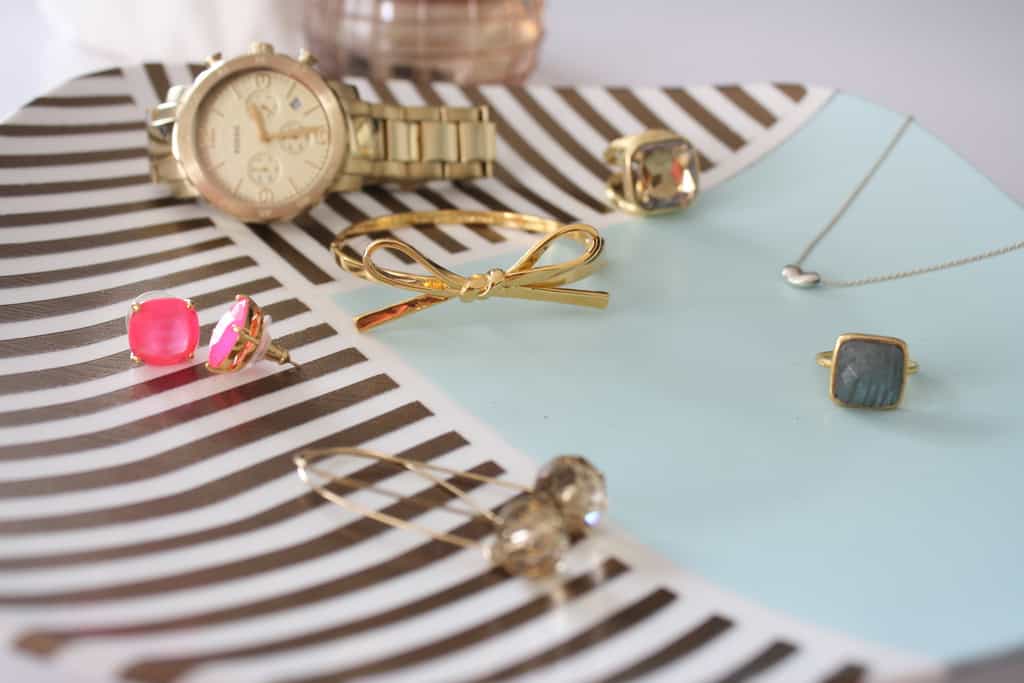 I loved the way it turned out! It’s different than anything I currently have in my home. I knew I wanted a soft feminine touch (which is why I have the mint green) mixed with a graphic design (the gold stripes.)
 Now, if my jewelry is laying out for a few weeks before I put it away, it looks beautiful! It’s usually my most special pieces and I love looking at them all together on my bedside table.
 What do you ladies do to keep your jewels organized? Anyone else call their jewelry ‘jewels’? It makes them sound more sophisticated!