Make

All Things Creative and Beautiful

Hello and a Happy Friday to you!! I’ve had a great week filled with a little crafting, sunshine and being in awe of my little crawler. It’s amazing how quickly babies learn! It took her one week to be a master crawler and is now set on learning to walk. Anchoring furniture and cleaning baseboards are on the list for this weekend! ๐Ÿ˜‰ For now, let’s go be inspired by all things creative and beautiful!

friday finds 5.30

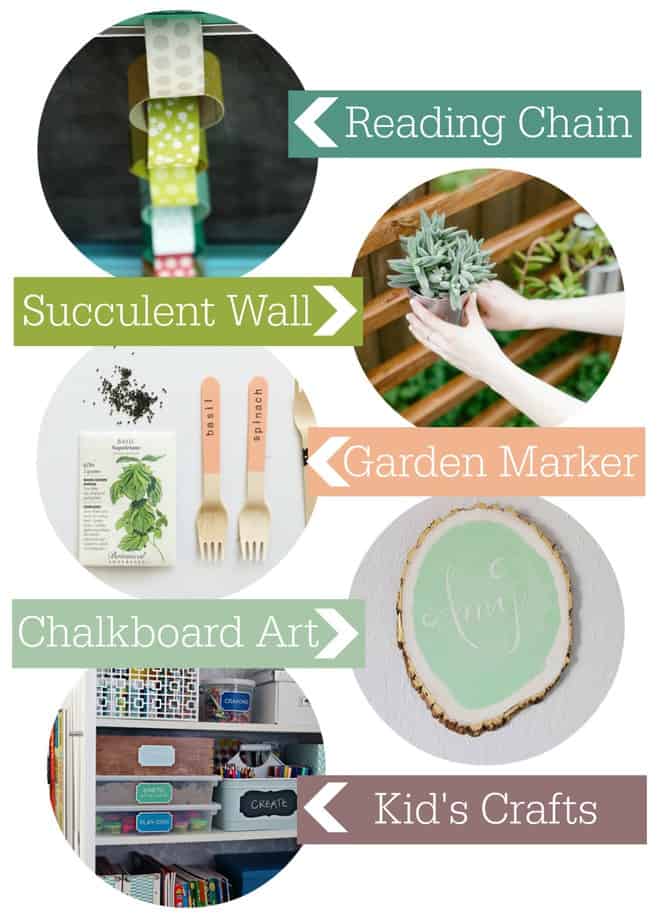
  1. I really loved the reading chain idea that the girls at eighteen25 wrote about in their Summer Activities post. Our little one isn’t old enough to start reading books on her own but I really think instilling the love of reading at a young age is extremely important. This is a great way to get kids excited about reading over summer break! PS. Reading Rainbow is coming back! (I hope I got that song in your head!)
  2. Ash at Sugar and cloth made this darling succulent wall for her back yard. I love the glossy stained wood for her yard but it might be cute to paint it a Robin’s Egg blue or Mustard yellow. You could also use spray painted food containers or tin cans as the vases as long as you drilled a few holes in the bottom. I love succulents because they’re so easy to care for and most of mine last outside during the winter.
  3. The ladies at Be Crafty made the simplest, yet cutest, garden markers ever! I can even see doing this with your kids but using kid-safe paint and having them write on the forks or later lettering them yourself.
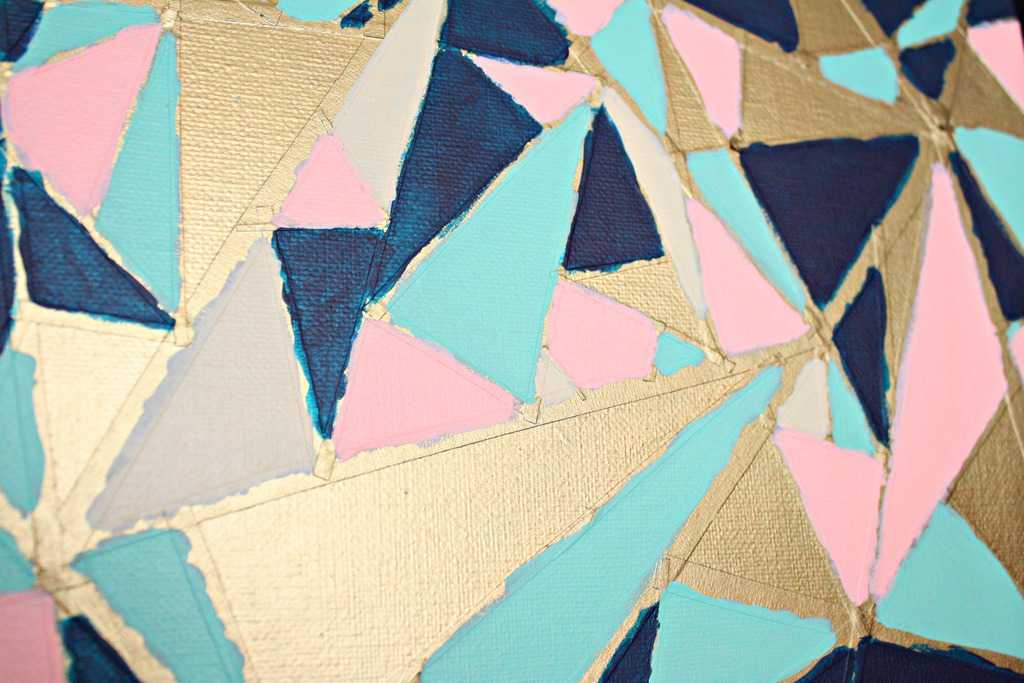
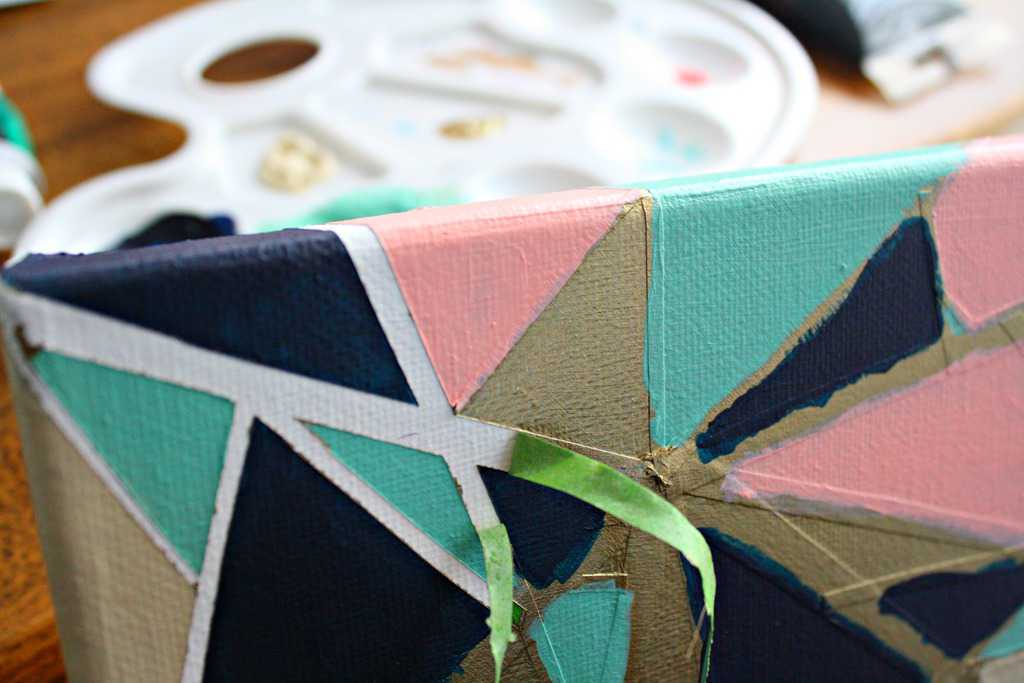
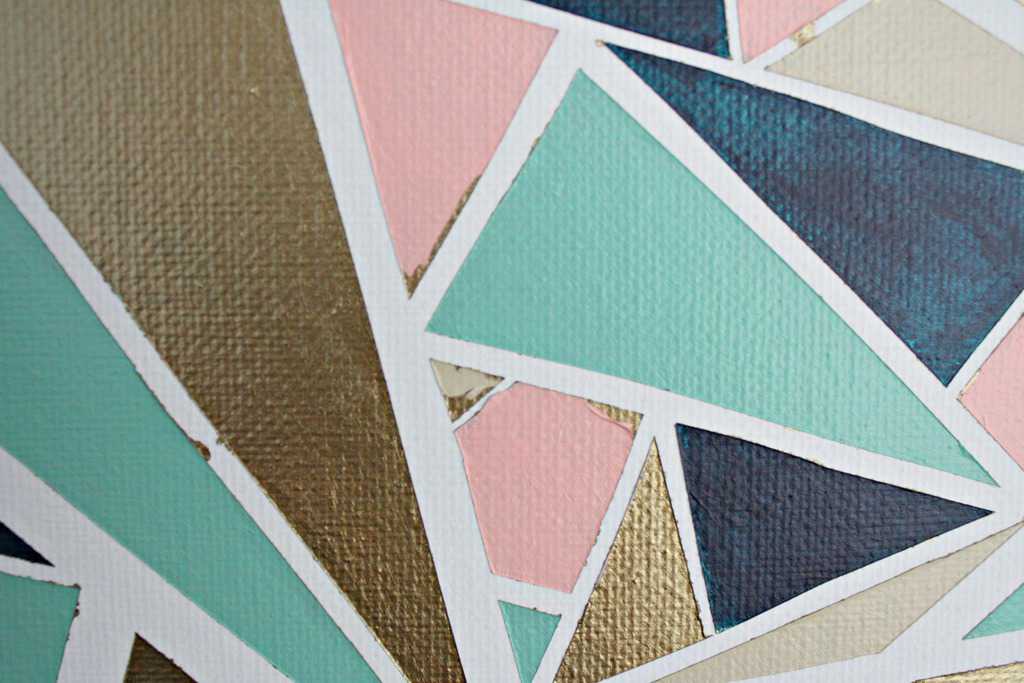
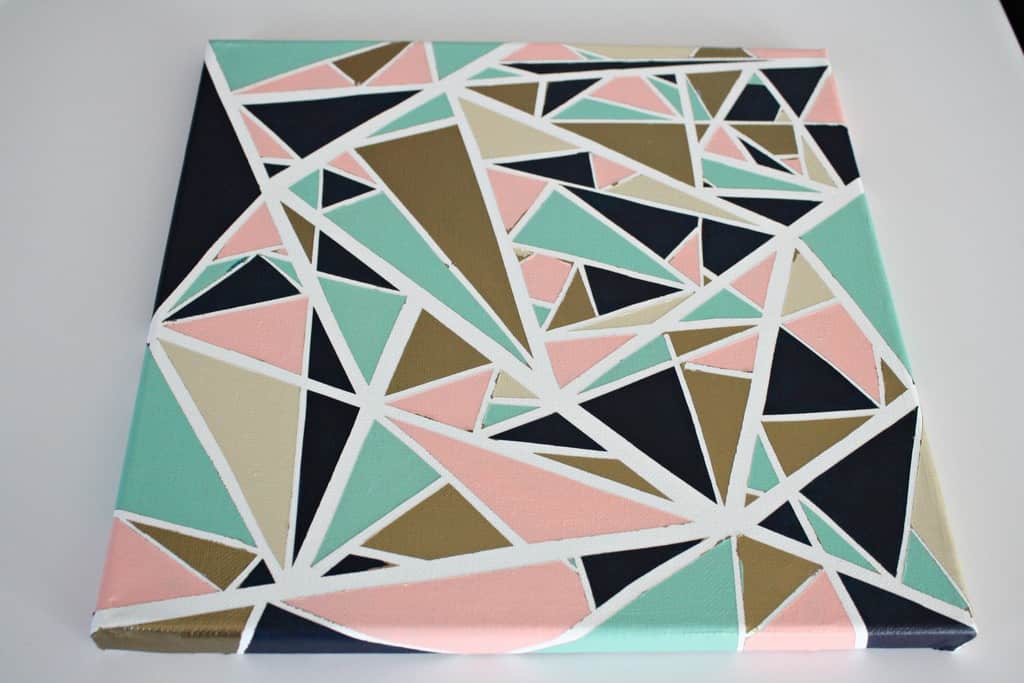
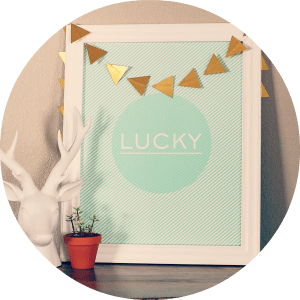
  4. Amy at Delineate Your Dwelling made the most creative piece of art that I’ve seen in a while. Her chalkboard tree stump art has the perfect mix of delicate girlishness and natural texture. I loved her color choice of mint and gold and that this could be applied on any shape or size of wood.
  5. Jen over at i heart organizing has THE most organized home of anyone I’ve ever seen. She has a great way to make her kid’s crafts organized, easily accessible and beautiful. I loved her method for organizing their loom supplies!

These ladies all had great ideas on how to make education and crafting fun and make simple DiY projects to decorate your home. No joke, I want to do every last one of these projects! Has anyone used chalkboard paint for a project? What about making your own garden markers? Did you get the kids involved in your garden this year? For now, I’m happy with watching Soph learn to go from sitting to crawling to standing but I’m also excited for her to read, plant and make crafts with us! ๐Ÿ™‚ Hope you have a wonderful weekend!

How to Make Baby Food

Everything is more fun when you do it with someone! I’ve been making Soph’s baby food for at least a month. It’s been easy because she doesn’t eat much per day so it goes a long way once I make her food. She’s starting to eat more though, so I was happy when my friend asked if I wanted to do a day of baby food making. I’d say it was quite easy and efficient!

chop, cook, puree

I took Soph over with me and she did her thang (lots of loud yelling) while we steamed, chopped, baked and pureed our hearts out! It makes me feel proud when I make her food. I’m not against store-bought baby food, we’ve given it to her, but I enjoy saving money while knowing the exact ingredients in the little bean’s food. Also, I have the time and tools to make it so I’d kind of feel bad if I wasn’t making her food. ๐Ÿ˜‰

We made four different meals, two of which, I’d never made. We picked up a bag of spinach, a bag of carrots, three acorn squashes and 4 sweet potatoes. We used an oven, a microwave, a borrowed Beaba babycook, and a Cuisinart food processor. We also have two different methods for freezing and storing. My friend has these trays which stack well and have a lid but are a bit tougher to get the food out. I have these that have no lid (I use foil) but the food pops out easily and you can use them for brownies (their main purpose)!

baby food storage

I really liked making this food with two people because while my friend worked on one food, I would be working on another. First, we cleaned all the vegetables. For the spinach we de-stemmed the leaves, put them in the Beaba to steam and attempted pureeing it in the Beaba. The consistency seemed pretty difficult for our new eaters, it only lasts 3 days in the fridge (you’re not supposed to freeze spinach) and it didn’t make very much for the quantity of leaves we bought. For the carrots we peeled, chopped and steamed them in the Beaba. The Beaba did a good job of steaming the carrots but we weren’t able to fit that many in the container so we had to do two rounds of steaming. We, again, attempted processing the carrots in the Beaba but transferred them to the food processor because we didn’t like the consistency.

IMG_3016

For the sweet potatoes we poked them with a knife, wrapped them in foil and put them in the oven at 425F for an hour. Once we pulled them out of the oven we peeled, quartered and threw them into the food processor.

sweet potatoes

The acorn squash is my favorite food to make because it’s the easiest and yields the most food. We cut the squash from top to bottom, scoop out it’s seeds, put the halves upside down in an inch of water in a glass baking dish, and put it in the microwave for 20 minutes. Once we pull it out of the microwave we scooped out the insides and threw it in the food processor. Most vegetables you could mash well enough with a fork, including the carrots, sweet potatoes and squash, if you didn’t have a food processor.

squash

After splitting everything, We both ended up with two full trays and meals for the fridge for this week. We were happy that we didn’t buy any more food because we wouldn’t have enough freezer storage. We also learned that spinach isn’t worth our effort because of the small amount yielded and that we’d buy a lot more carrots next time. We’ll also be using our steamers next time, rather than the Beaba for steaming because we can do a larger quantity. Next time we’re going to try broccoli, cauliflower and turkey!

Have you pureed your own baby food? What was your favorite methods? What did your babies LOVE to eat?? Be sure to check over at my friend Beth’s site to see how myself and other mommy bloggers make time for ourselves!

Top 5 Bean Recipes

We’ve been having beans in almost every meal, including breakfast! I’ve never disliked beans (it’s actually my nickname) but it gets old trying to incorporate them into every meal. Beans are a slow carb (complex carbohydrate) so they stick with you longer and make you a less hangry person. There are over 40,000 different types of beans but only a handful are cultivated for mass consumption. They’re full of fiber, protein and iron which help with cholesterol and energy.

Everyone knows the old children’s rhyme ‘Beans, beans the musical fruit’ but do you know why? Beans contain oligosaccharide, a sugar molecule also found in cabbage, that can not break down in our digestion, therefore producing flatulence as a byproduct. By thoroughly rinsing beans you can lower the amount of toots! For a little more info, check out this article.

beans pinterest

Now that we have a background on why beans are good for our bodies, here are some of my favorite ways to integrate beans into our meals.

My top go-to meal for beans is chili in the crockpot. It can be made a ton of different ways and I always have the ingredients on hand. I switch it up depending on what I need to use up, so sometimes it’s a 3 bean chili (chili beans, white beans, kidney beans), sometimes it’s a chicken and white bean chili, and sometimes it’s a standard beef and chili beans kinda chili. Check out Weight Watchers’ Chili.

3 bean chili

Our second go-to meal is the burrito bowl. My husband would be ok with us eating this 3 times/day everyday. Again, we throw in the bowl what we have on hand and it can be mixed up according to your tastes. We put Tyson  steak or chicken, Ro*Tel, black beans and guacamole on a spinach/romaine mix. You could always add cilantro rice, corn, cheese, salsa, or sourceam too! No body does it better than Chipotle though!

burrito bowl

Another super yummy dish is this Garlic Shrimp and White Beans meal by Bon Appetit. If you like garlic, you’ll be obsessed! It takes a little bit longer to cook, so we’ve only had it twice, but it’s worth the time. If I want to cook something special for my husband as an ‘I love you’ this is one that I cook.

garlic-shrimp-and-white-beans

 A tride and true heart warming soup is Ham and Bean soup. There aren’t a ton of different ways to cook this soup, which means there aren’t a ton of ways to mess it up. ๐Ÿ˜‰ I have a recipe that my Mom passed down that I love. Mama B at My Edible Journey had the great idea to make this soup after Easter with the leftover ham!

ham-and-white-bean-soup

The final delishous way to introduce beans into your meal is through Stuffed Peppers. I remember my parents making these for dinner and only eating the insides of the pepper. This is another meal that can be customizable for different people in the family by making them vegetarian, Italian, beef, chicken, or jalepeno! Check out Kayln’s Kitchen or Manly Kitchen for more recipes!

peppers 2

BONUS! Here’s a great snack food that you don’t often think of as a bean. Amanda at Pickles and Honey made these AMAZING Cool Ranch Roasted Chickpeas that are SO good! I always see chickpeas (garbanzo beans) with spicy flavors but these were perfect for the girl who can’t have chips!

chickpeas

Anyone else have ‘Beans, beans the musical fruit’ stuck in their head now? Are you guys bean fans? I LOVE baked beans with my favorite meal of hotdogs! What other ways do you include beans in your dinners?

Geometric Canvas

geometric art 2

My sister is working with a wonderful program in Indianapolis called Art with a Heart. The program gives hands-on visual experiences that educate at-risk children who have lost art classes in their schools. Let’s let them tell you what they’re all about:

Art with a Heart is having their annual gala in April and will be having an auction of local art pieces. I wanted to try to improve upon the technique I used for my Happy Glam painting a few years back.

I started by prepping the canvas with gesso. This helps to even out the woven texture of the canvas. Looking back I should have put at least two coats. I taped the canvas off using Frog Tape that I’d cut into thin strips with scissors. This was a very frustrating task. I’d used art tape in the past but thought the Frog Tape would stick better.

It didn’t.

I still don’t know what I’m doing wrong to get a clean line but I will keep trying! I think the key is to have a smoother canvas surface and make sure to go over all of the tape once it’s laid with a credit card or something stiff to adhere the tape further.

prep

I covered the entire canvas with two coats of Bronze acrylic paint. Here is what it looked like after only one coat.

gold

The next step was to fill in the triangles that I didn’t want bronze. It ended up being more than I had first envisioned. In the beginning I was envisioning mostly bronze with splashes of the other colors. Once I started painting I loved the color combo so much I just kept painting!

Again, I had to do more than one coat of paint, depending on the color. The pink was very translucent and I had to do 5 coats on some triangles. I rotated between painting the different colors for a couple reasons: 1. Acrylic dries on your pallet quickly. 2. Acrylic dries on your canvas quickly. This is bad and good. I like that it dries quickly between coats but I had to hurry because I didn’t want to mix more paint to try to match the shade I started with.

first coat

Once I was satisfied with each triangle being as opaque as I’d liked, I let it dry over night. I usually peel tape off while paint is wet but since I had so many layers underneath that I’d let dry, I thought it would be safer this way. As I peeled the tape I made sure to go with the grain of the tape. This helped to not let the top layer of paint peel off with the tape.

peel

Or so I thought. It obviously did not work well enough. There were spots where the bronze leaked under the tape from the very beginning. There were also spots where the top layer of paint had peeled off to expose the bronze underneath. All in all, the lines were not as clean as I’d hoped for by using the Frog Tape.

bad peel

Sigh. My heart had deflated once all the tape was peeled off. I didn’t have the drive to try to touch up the mistakes because, in my past experience, this only makes things worse. I feel bad because this painting is going to someone who is generously donating money for a great cause. I can only hope they’re looking for an ‘antiqued modern’ piece. Maybe it’s best to just look at from an arms length (like my nails once they’re painted.)

final

Although I’d call this painting a failure, one thing that felt strangely rewarding was the clean up!? If you are using a plastic pallet, you can let the paint dry over a few days and peel it off easily. It’s the little things.

paint

What did you think about the painting? Nice colors at least? Have any of you done acrylic painting? I’d love to know how to get clean lines! I’ll keep you updated if I ever figure it out. ๐Ÿ˜‰ OH! Also, I named this piece ‘Yacht Dreams’ because the colors seemed like preppy colors I’d wear if I were to go sailing on a yacht. A girl can dream!

St. Patrick’s Day

With St. Patrick’s Day coming up next week I am, obviously, just now getting around to getting my green ready. Ya hear me? I’m biting at the bit to get my Halloween and Christmas decorations up but when it comes to these smaller holidays I seem to wait until the last minute. I wanted to share with you my favorites that are trending this year. All of these wonderful bloggers worked very had to put these tutorials up so go check out their blogs!

There are a few simple DiY last minute crafts in there as well as a super cute hair tutorial for those of you with daughters.

St. Patty’s Day Version 2014

garlandEverythingEtsy1 LoomPagingSuperMom1 hairOneCreativeMommy1 luckyeighteentwentyfive1 necklaceAnechkasJewlery1 polishEighteenTwentyFive1 punchTheCraftedSparrow1 puppychowShugarySweets1 shamrockphotoKellyNPhotography1 topperStudioDiY1

  1. Crochet Shamrock Pattern by Everything Etsy. There’s even a video!
  2. Loom Lucky Charm Gift Tag by Paging Supermom. My daughter’s only 5mo. so she’s not into the loom bracelets yet but I’m tempted to get in on the action!
  3. Shamrock Hair Tutorial by One Creative Mommy. DARLING!!!
  4. Lucky Printable by EighteenTwentyFive. Love this blog! They always have great printables!
  5. Gold Shamrock Necklace by Anechkas Jewlery on Etsy. Anything that’s tiny, delicate and gold I’m a bit obsessed with.
  6. Anti-pinch Nail Polish Gift by EighteenTwentyFive. I ALWAYS have green nails on St. Patty’s day to make sure my bases are covered.
  7. Shamrock Lime Sherbet Punch by The Crafty Sparrow. I have a weakness for sherbet and get really excited when it’s at parties!
  8. Thin Mint Puppy Chow by Shugary Sweets. How can you go wrong when Thin Mint OR Puppy Chow is in the title?!
  9. Love and Luck Shamrock Photo by Kellynphotography on Etsy. This is definitely cute enough to keep up all year! He loves me, he loves me not!
  10. Clover Patch Cake Toppers by DiY Studio. Just can’t get enough of this girl’s cake toppers!

Do you wear green to avoid those annoying pinchers? Do you have any Irish traditions for St. Patrick’s day? Anyone dye their toilet water green? Yea, me either. Let me know your favorites!

Google+