Or ‘crown’ planter as I would pronounce it. I wanted to make something with crayons for my best friend’s classroom because we LOVE coloring together (yes, we’re 29 and still color before going out on the town.) I also wanted her to have something living in her room in the way of a plant but super easy to take care of.
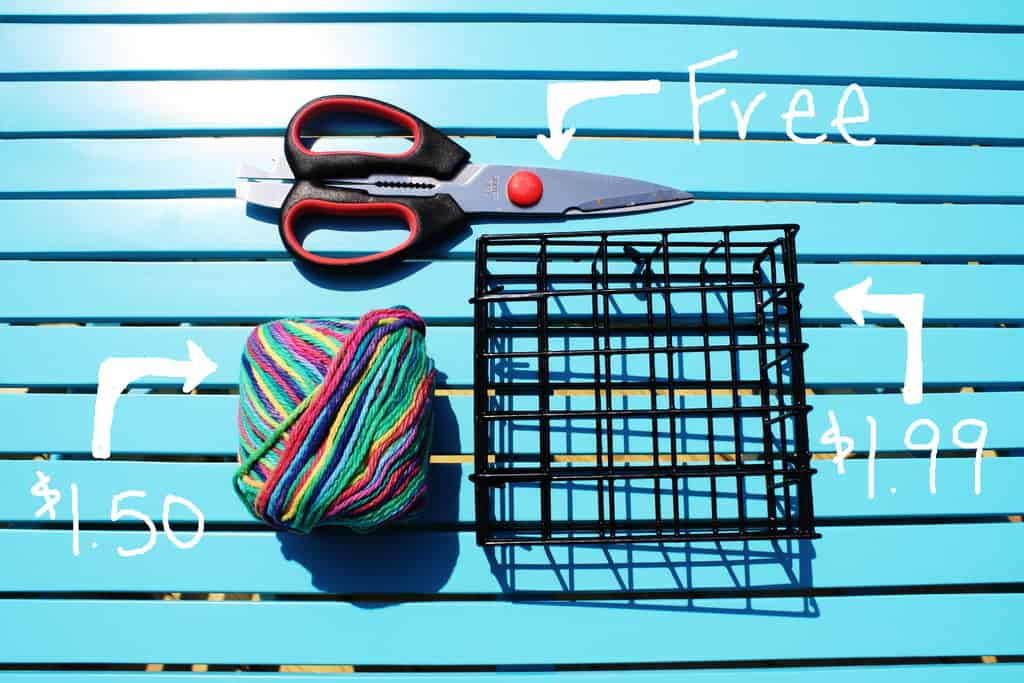
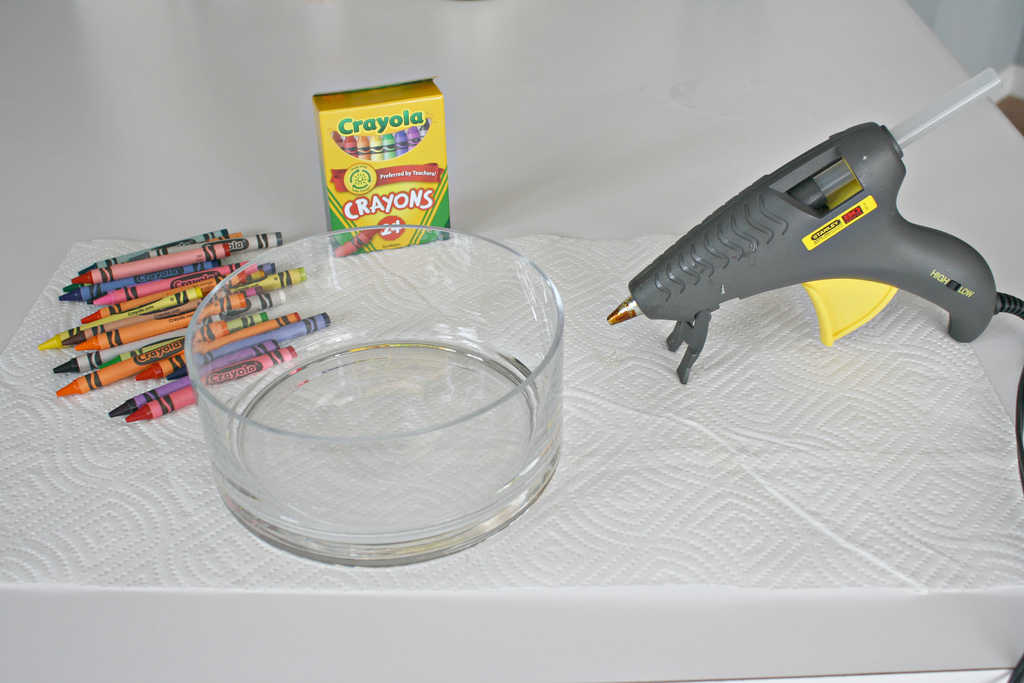
I started by laying out all the supplies needed for this project. I only had to buy the crayons and plants. If you don’t have any of these supplies on hand it would cost you around $25-$30.
Supplies Needed:
- 2 boxes of 24 crayons
- Hot glue gun & glue
- Vase of some sort (does not need to be glass)
- Rubber feet
- Cactus Soil
- Succulents
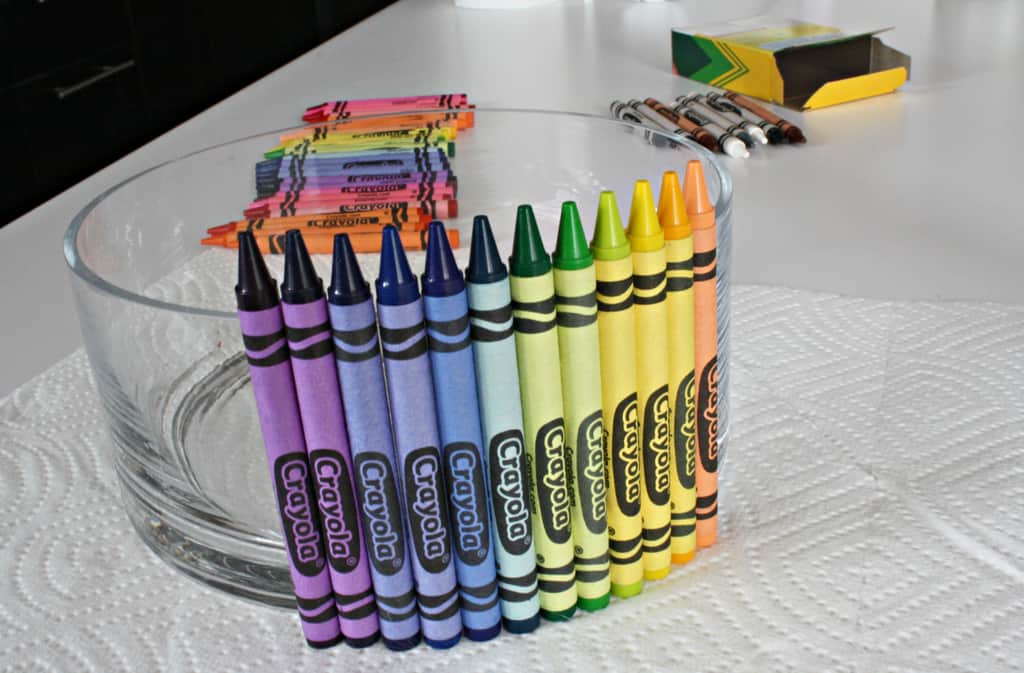
I started by laying out the order I wanted the crayons to be glued onto the glass vase. I put a little glue on the crayon, stuck it vertically on the vase and made sure it was sitting flush with the base. It is easier to make sure they’re flush if the vase is sitting on the counter.
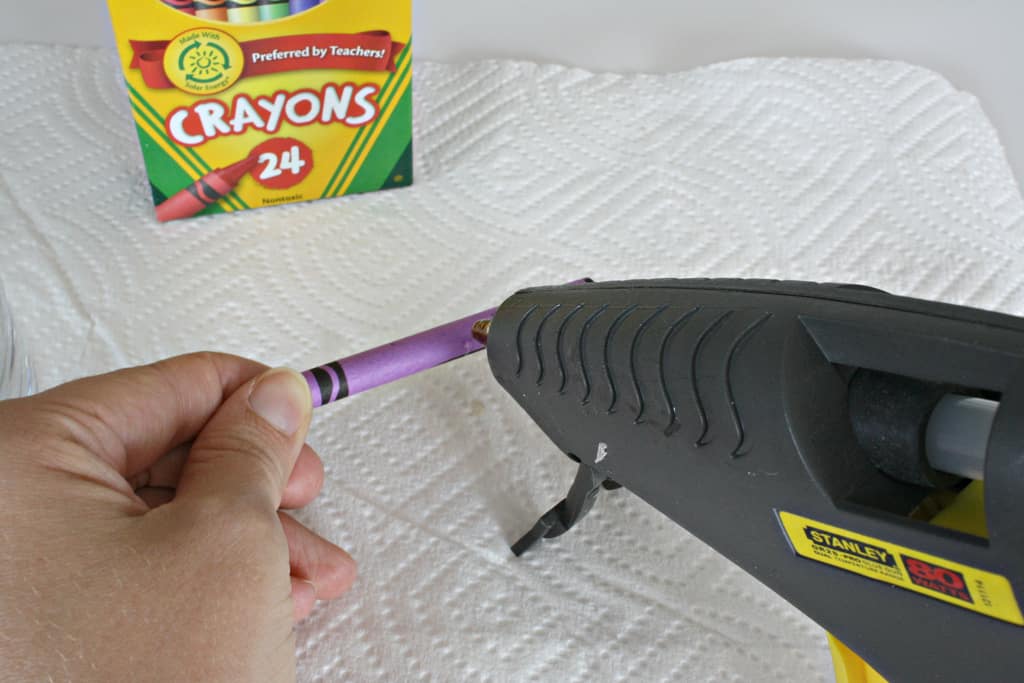 Once I got this method down it was super easy and quick to line up and glue the rest of the crayons.
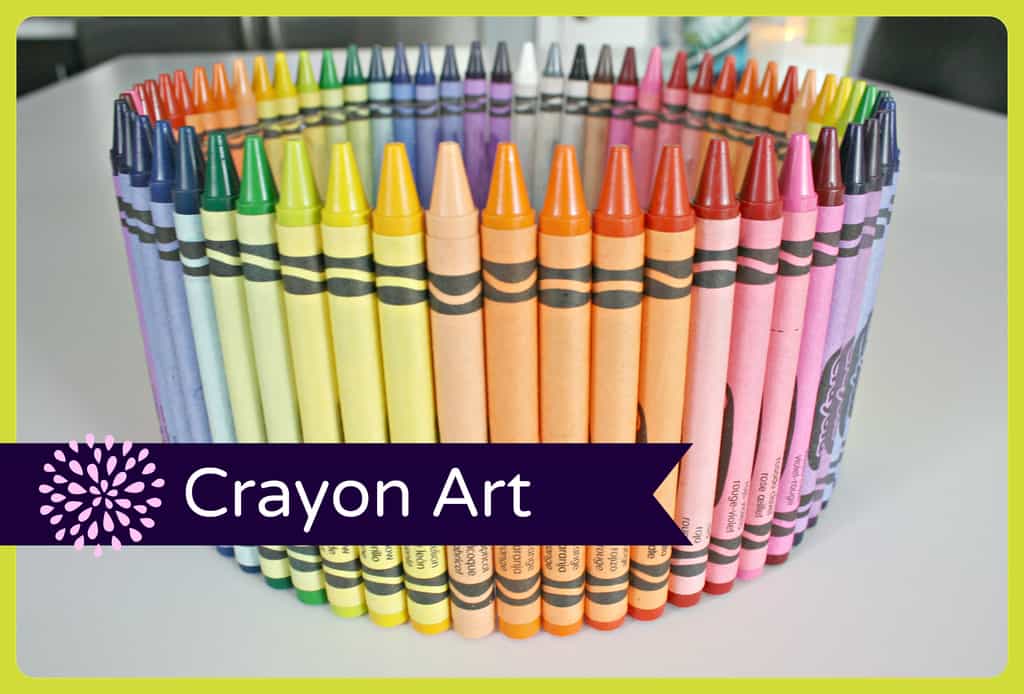
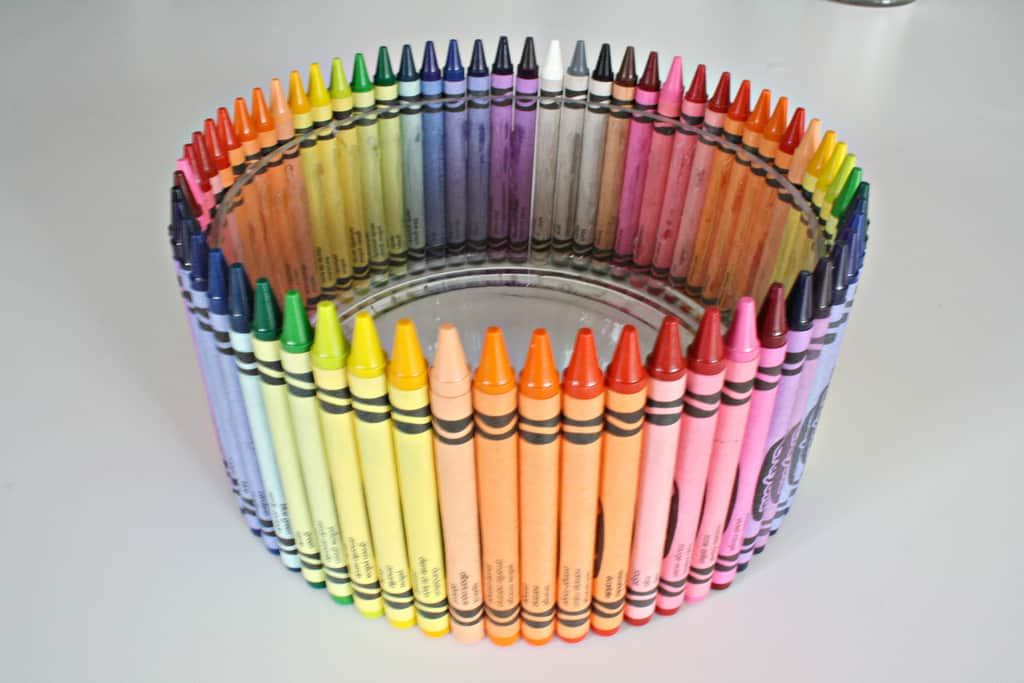
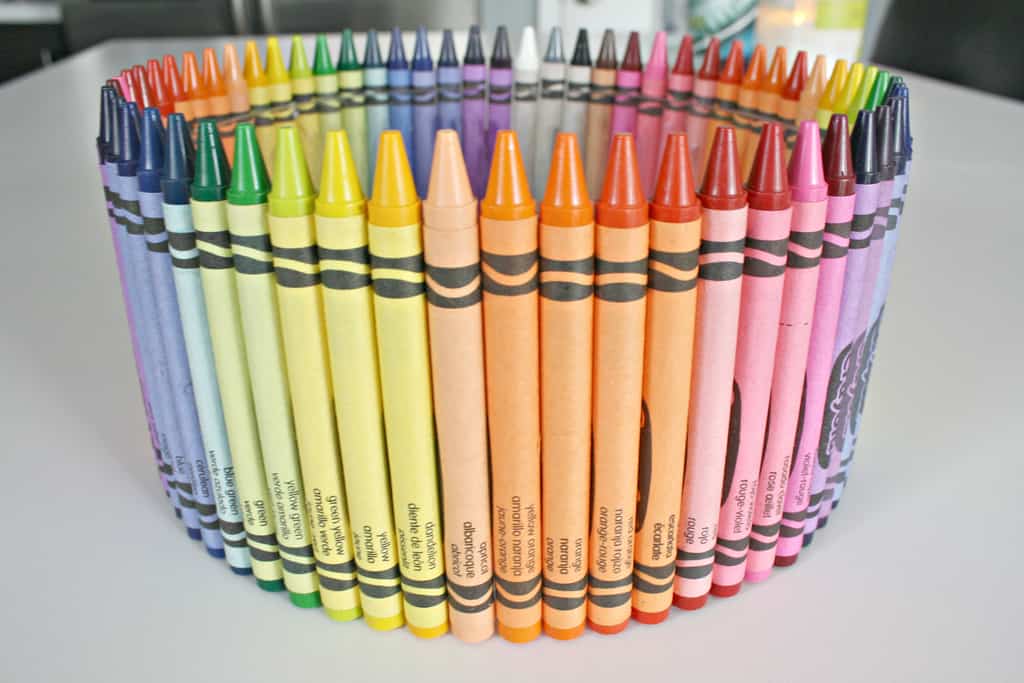
I glued half the crayons with the Crayola symbol pointed out and the other half with the names pointed out so she could decide which way to face the planter.
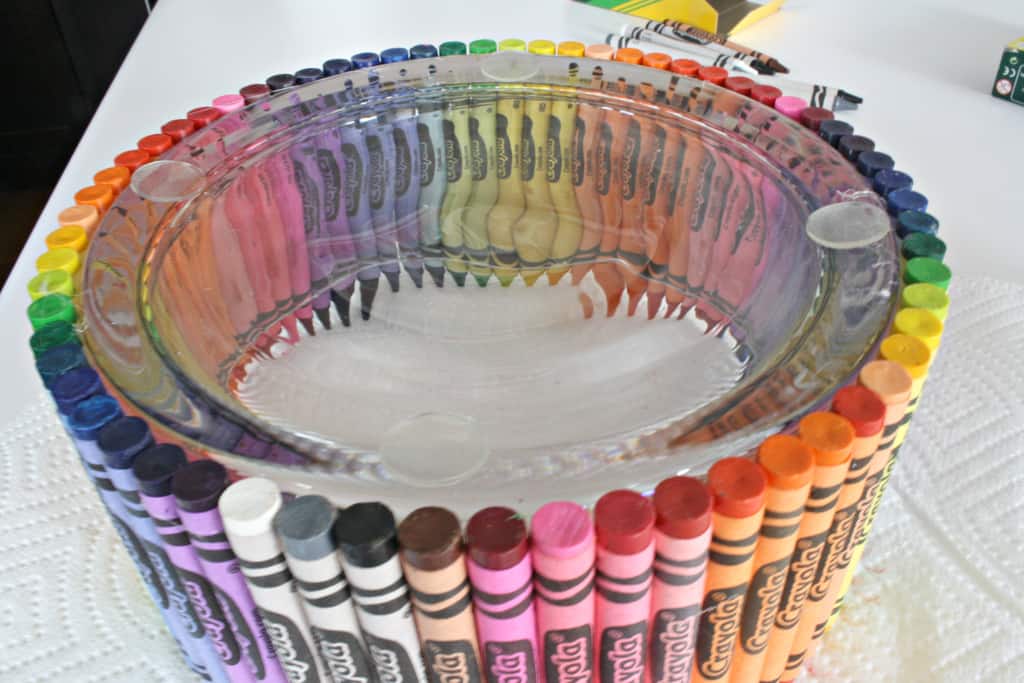
 The last step to making the crayon planter was to put rubber feet on the bottom to make sure it won’t slide around on her desk. They were sticky on one side but I put a tiny dab of glue to make sure they didn’t come off with wear.
 The final product had chicks n’ hens from my pallet garden as a no-fail plant for her classroom. She had her class be in charge of watering the plants and they loved the planter!
 It turned out well and was super inexpensive because I had most of the supplies on hand. You could switch this craft up and use a can rather than the glass vase to use as a pencil holder or take an old frame, cut down the crayons and glue them to the border. Anyone else make gifts for their teacher friends or kid’s teachers?