Hello Gorgeous! Do you love jewels? Do you have an amazing display for all your favorite pieces? Do you always take your jewelry off every night and put it back in it’s designated home? Me neither. I mostly wear the same gold triangle studs, wedding ring and very strong gold necklace that my daughter can not break no matter how hard she pulls. It has her name on it so I guess she assumes it’s hers. If I DO switch up my jewelry for a special occasion, it usually ends up sitting on the sink or my bedside table for…oh…weeks. This needed to change, which is why I made this jewelry dish.
- White Plate
- Spray Primer
- (2) Spray Paint
- Art Tape
- Painter’s Tape
- Mod Podge
- Foam Brush
The first step is to wash your plate. Make sure all dust and residue is cleaned from the plate. The next step is to tape off the design you’re wanting with the art tape.
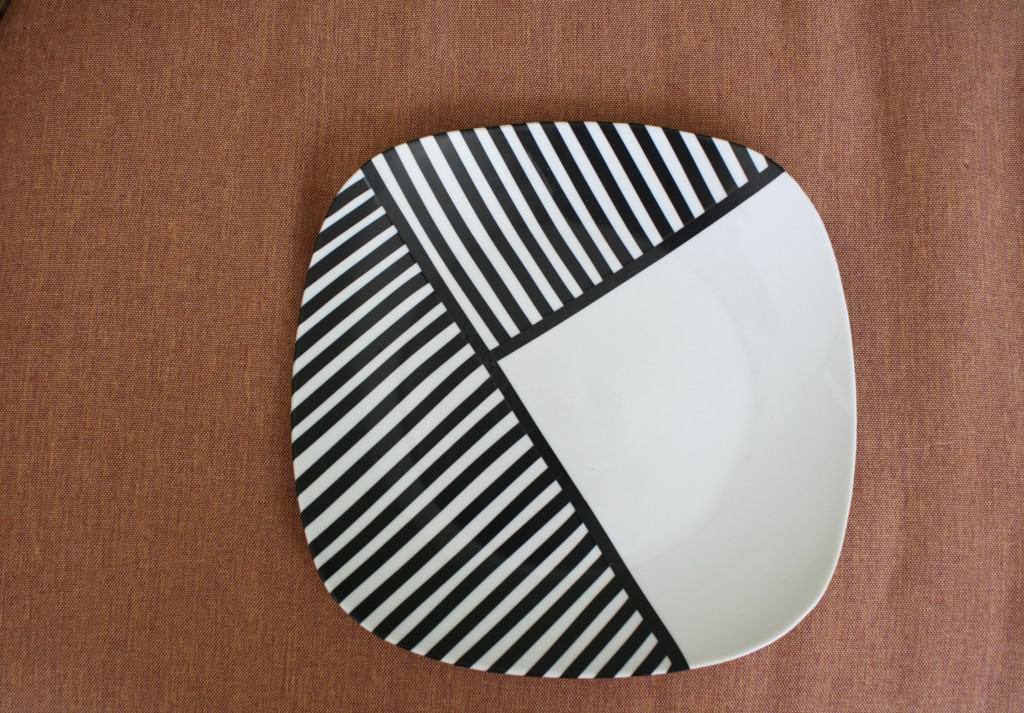 Once you have your design laid out you need to prime your plate so the spray paint will adhere. If you buy a spray paint that works on porcelain this step is not necessary (but I used spray paint I had on hand.)
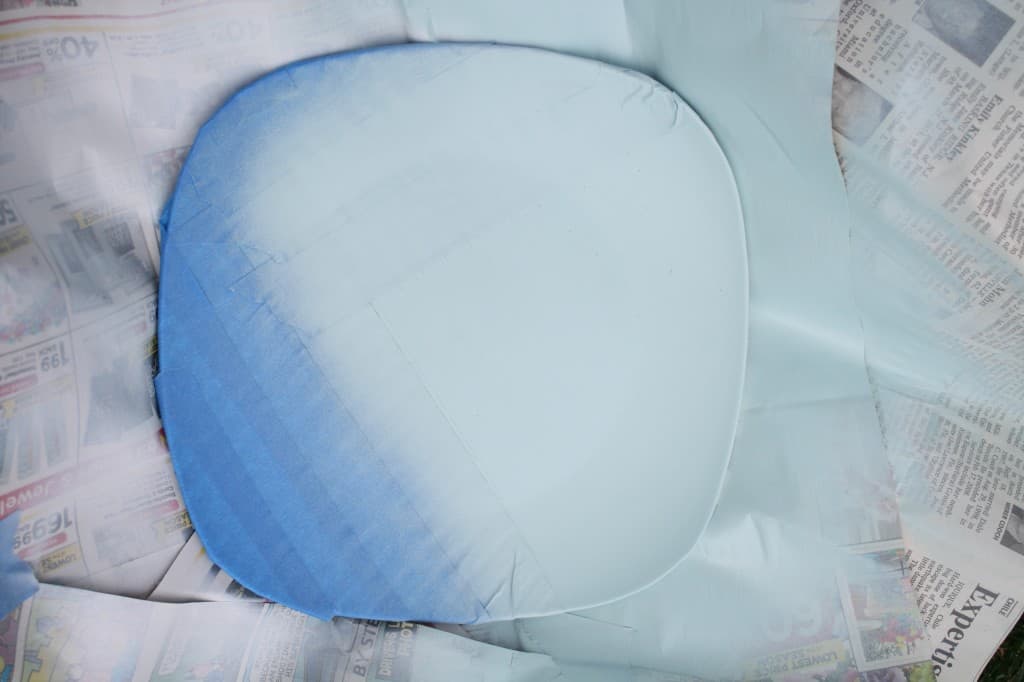
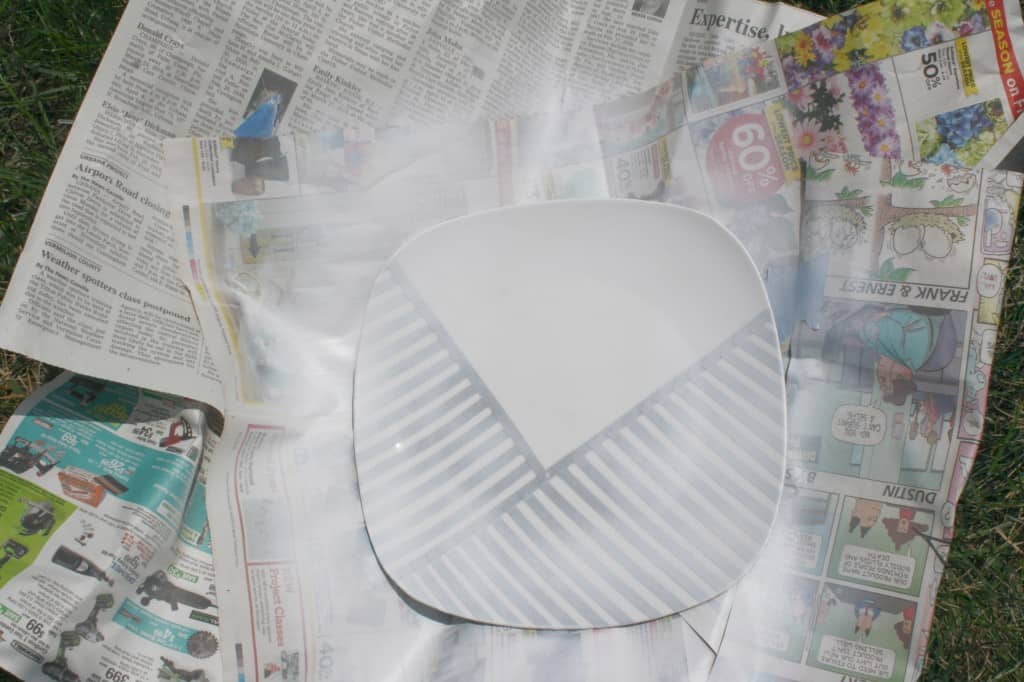 Once the primer has dried, tape off the first color section. Make sure to follow the instructions on your can for drying time. If it is too hot or humid the paint will not dry well and the finished product will look messy.
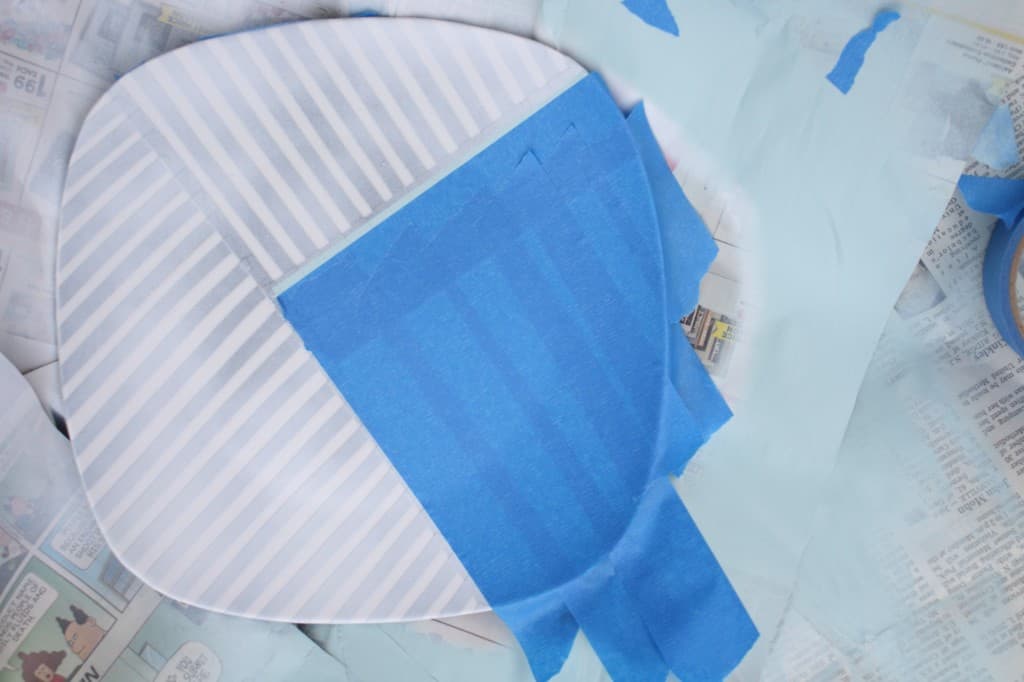
Once the first section of colored paint is dry, remove the painter’s tape and re-apply to the next section
This is the best part! Remove the painter’s tape followed by the art tape. When removing any tape, pull at a 45deg angle. This will make for a cleaner line. Once all of the tape is removed, add a coat or two of mod podge for protection. I knew I would be dropping watches on this dish so I wanted to be sure the paint would be protected.
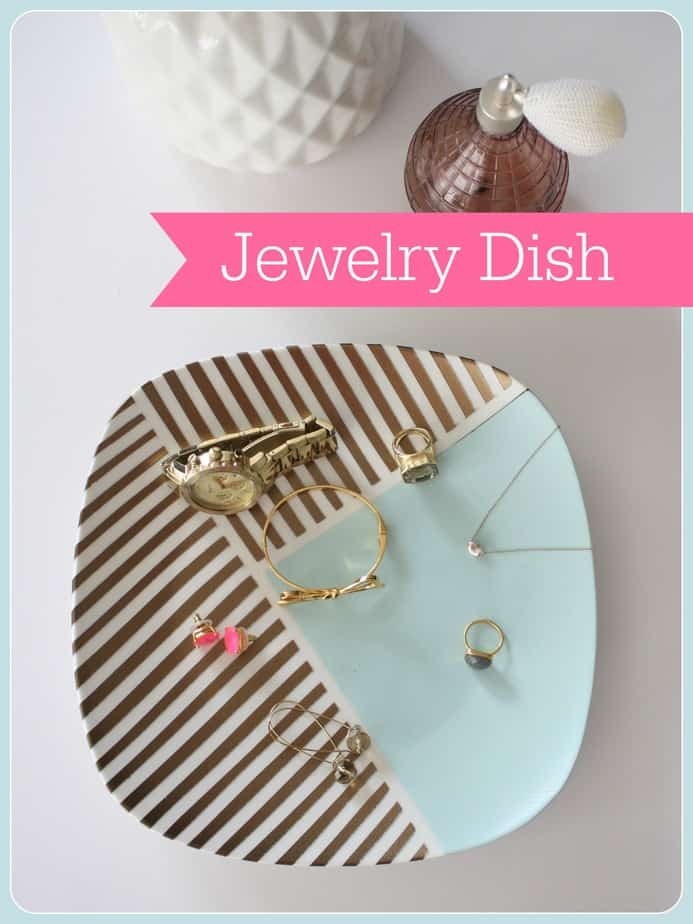
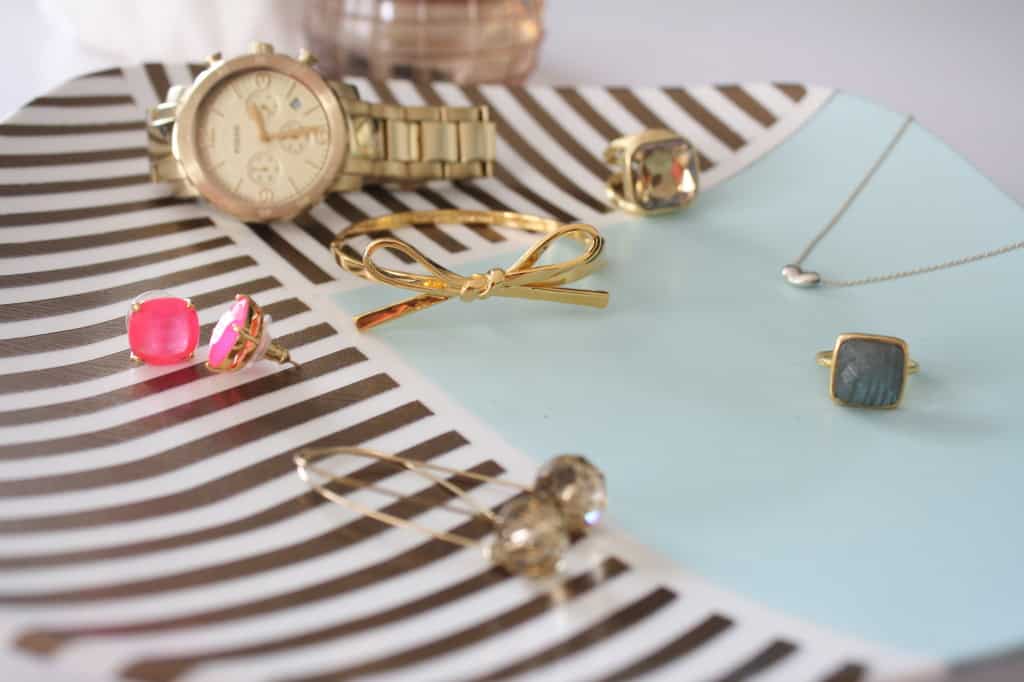 I loved the way it turned out! It’s different than anything I currently have in my home. I knew I wanted a soft feminine touch (which is why I have the mint green) mixed with a graphic design (the gold stripes.)
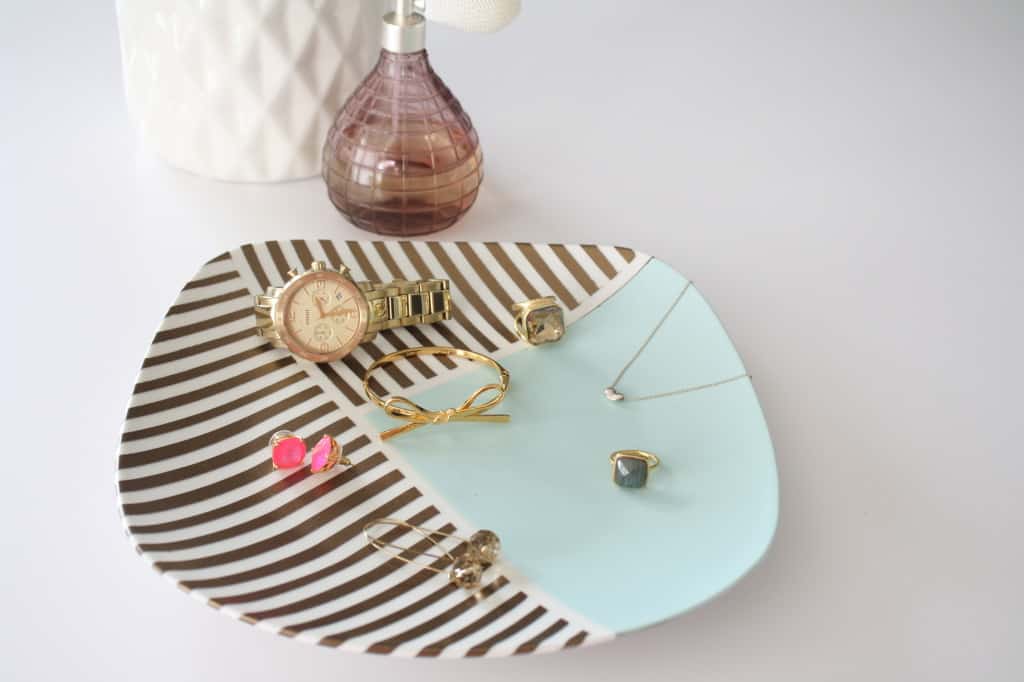 Now, if my jewelry is laying out for a few weeks before I put it away, it looks beautiful! It’s usually my most special pieces and I love looking at them all together on my bedside table.
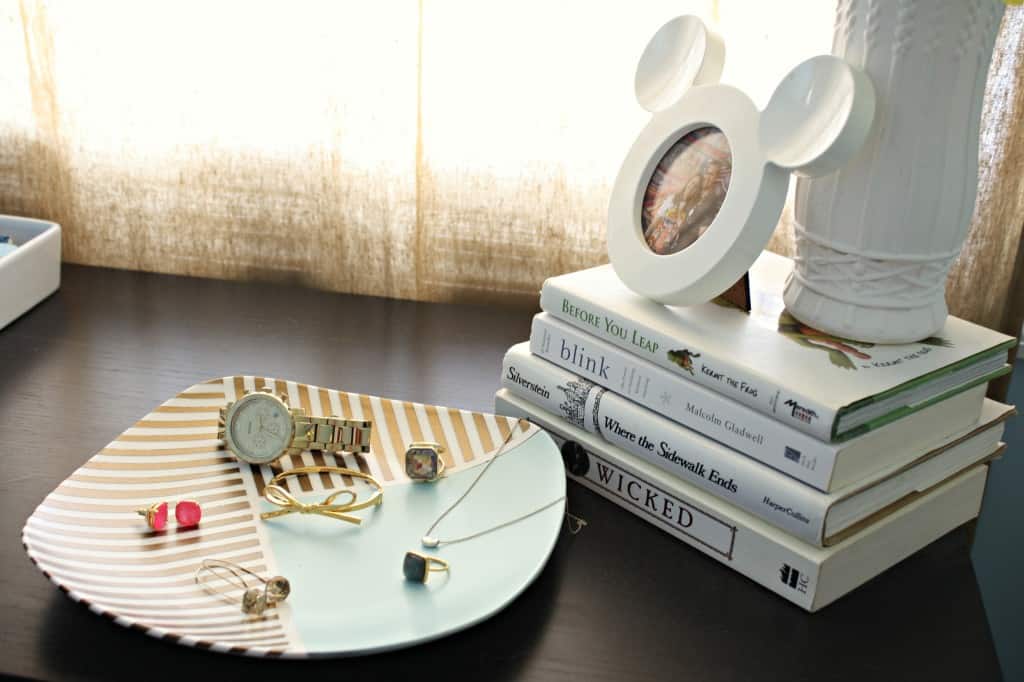 What do you ladies do to keep your jewels organized? Anyone else call their jewelry ‘jewels’? It makes them sound more sophisticated!
I love it! I don’t wear the same jewelry every day (and I’m totally paranoid about ever taking my wedding ring off – I don’t want to lose it!) so I’ve been thinking about getting a “tree” type necklace holder instead of having them all jumbled in my jewelry box like they are now. It just wasn’t designed for bigger statement necklaces.
I had a jewelry tree for my necklaces and it wasn’t tall enough for my long necklaces and I hated digging through to get to another necklace. I screwed 4 decorative knobs onto some 1×2 wood that I painted yellow and use two sets of those for all of my necklaces. I spaced them far apart enough that they don’t overlap and I made sure the knobs would hold several necklaces each!
This is a beautiful DIY! I love the stripes, all which way, and the teal is lovely!!! I keep my jewelry in a compartmented-drawer-jewelry box that my husband gave me.
Thanks Lisa! I’d love to see your jewelry box! I have a jewelry box from when I was younger that has all my passed down jewelry that I don’t wear for fear of losing it. All my necklaces are hung on cute knobs and my husband made a bracelet holder for me! My rings are on a hand and my earrings are separated in one of those porcelain egg cartons. I’d like a better display but since I hardly change jewelry right now, I’m not worried about it.
I love the beautiful color and print combination! Thanks for sharing on Hump Day Happenings!
Thanks Megan! I love your link-up! You have very talented people posting!
What a cute DIY project. I can see myself making a boat load of these for holiday gifts!
You totally should! Go to goodwill, pick out various shapes/sizes of dishes, get a few colors of spray paint and bam! Very easy, customized presents!
I love how this turned out, and especially the colors and pattern you used! Thanks for sharing at The Makers! Pinned 🙂
Thank you Katie! I was pleasantly surprised. 😉