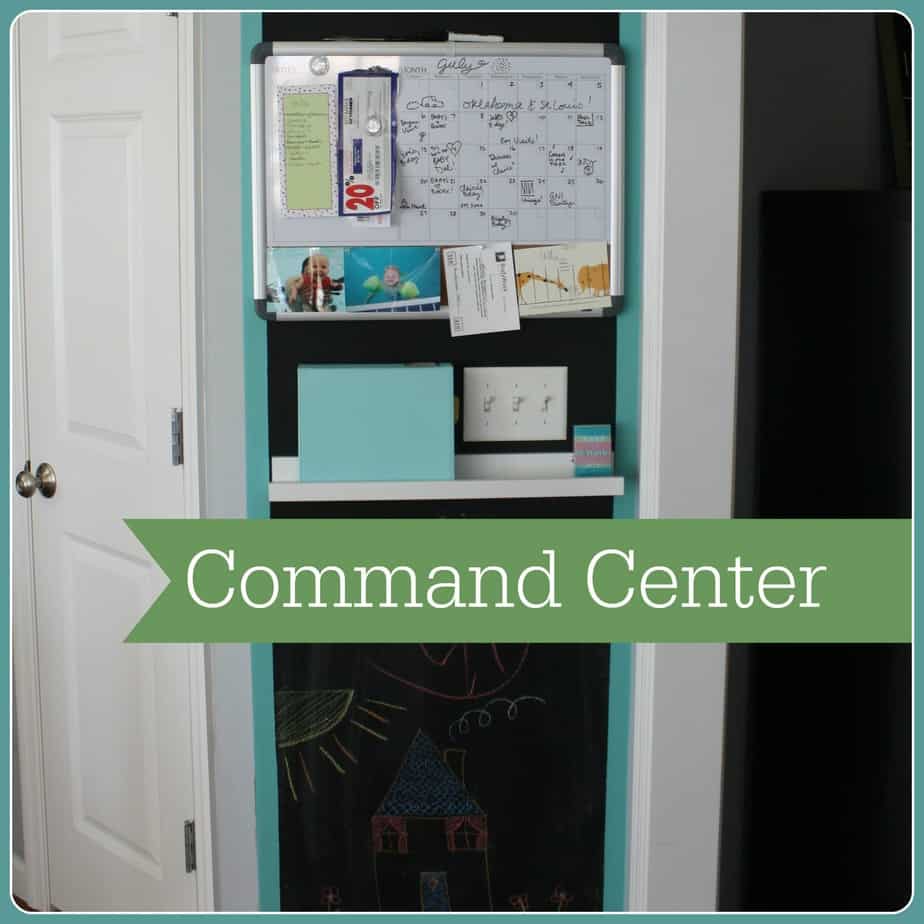
Hidy ho good neighbor! Do you have a hard time keeping everyone’s schedules in order, argue over what to eat for dinner or always looking for that list for the grocery? Well look no further! I’m going to show you how to create a family command center that can organize all of your family’s information in one place! Ok, I’m done talking like an infomercial. Not sure where that came from.
 This project was ultimately a success but there were a lot of failures along the way! It started back in February when I thought it would be a good idea to paint in the middle of the winter and not need to open all the doors and windows. I was very wrong. I started with a magnet paint so we would be able to put those magnet letters or other learning tools on the bottom for Sophie. 1. Magnet paint is extremely harsh smelling. 2. It takes FOREVER to dry before it stops smelling. 3. It requires more than one coat. After evacuating our home for several hours to Barnes and Noble, we come back home to the wall not even able to hold a piece of paper with a magnet (and still smelly.) I tried another coat and it still wasn’t a strong enough hold so I gave up on the magnet portion of the wall and waited until spring to do the chalkboard portion. Unfortunately, I can not give you any tips on doing a magnet wall since it didn’t work for me but I may try again in the future.
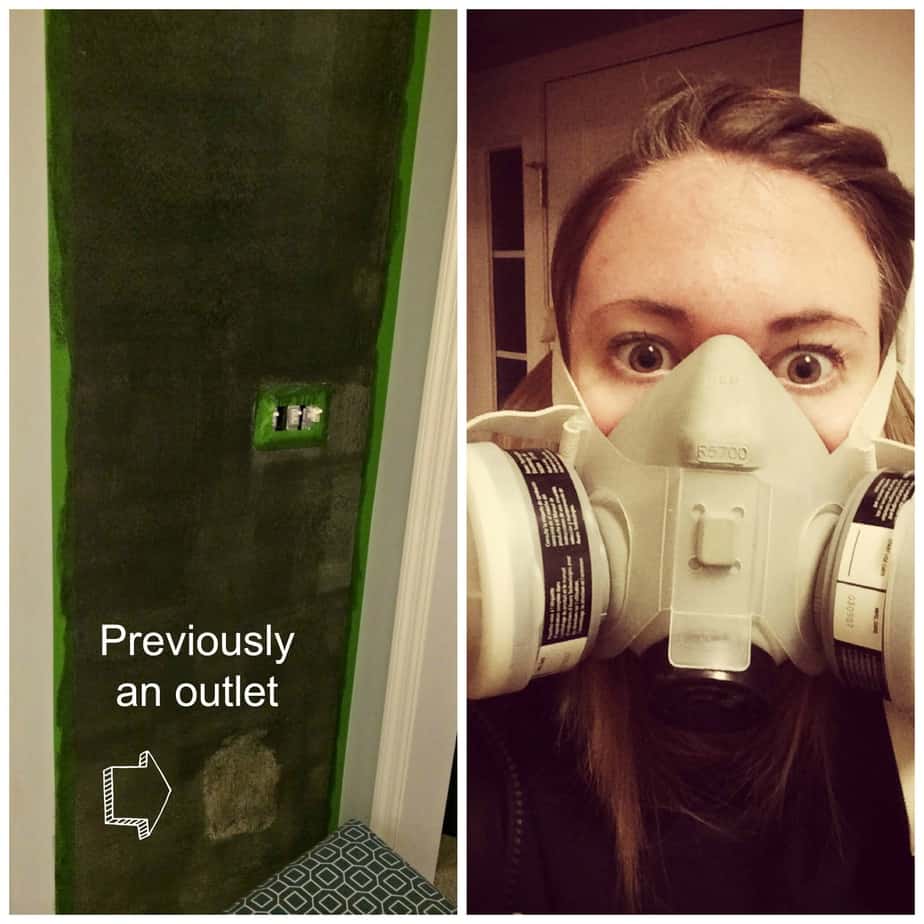
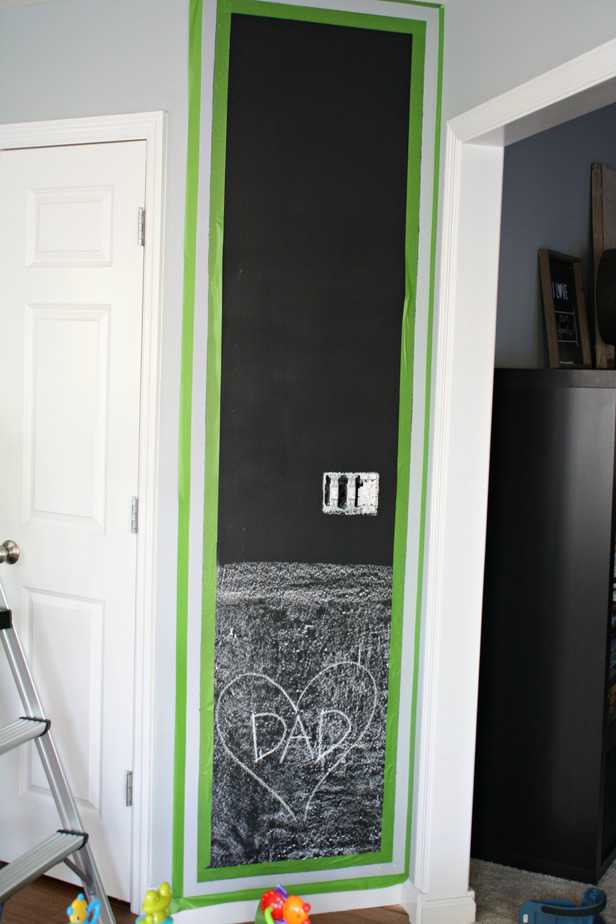
A few months later, I painted the chalkboard wall. I had to sand down the magnetic surface because it was too textured. Once I wiped my surface clean, I used a roller to apply two coats of the chalk board paint (letting it dry for 24 hours in between each coat and before writing on the wall.) I also taped off where I wanted my boarder. I had to use a boarder because I got outside of the lines with the magnetic paint and didn’t want to touch it up with our grey paint. Happy accident. Also, notice I painted this right before Father’s Day. 🙂
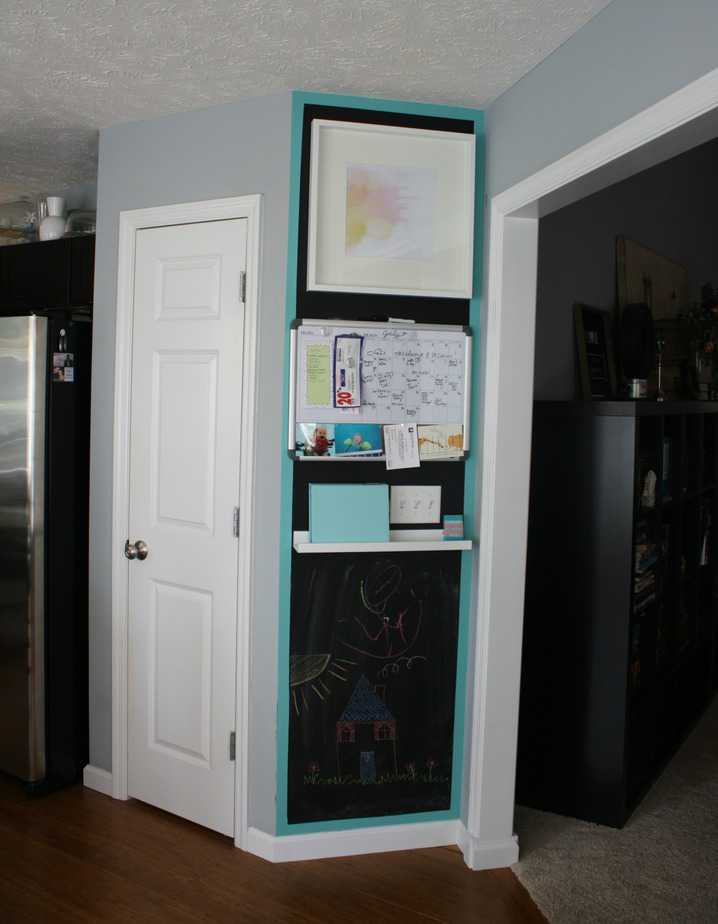
 I painted the boarder with a regular paint brush to make sure there wasn’t too much paint on the brush which kept it from seeping under the tape. I used Target’s smallest size tub of Devine Color in ‘Pond‘ for the border. Our command center is as you walk into our kitchen, making it a central location for us to easily access it. Once everything had dried for a day, I hung everything we needed to be organized.
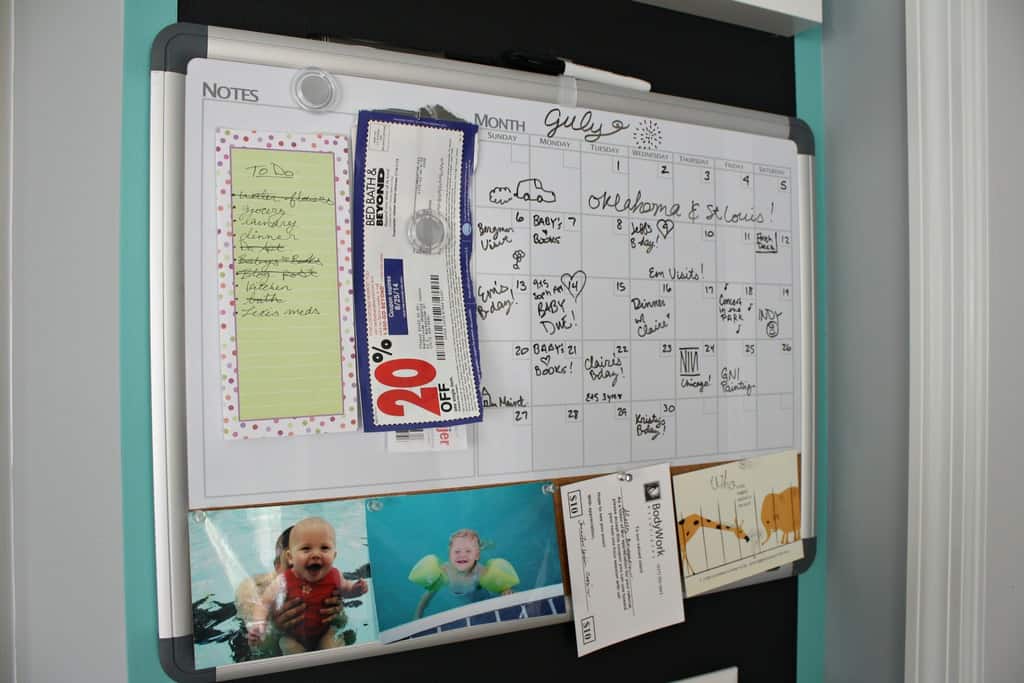
 For us a large dry erase calendar works well for a monthly at-a-glance snapshot of the big events that are going on. There is also room for our to-do list, coupons, and a few pictures.
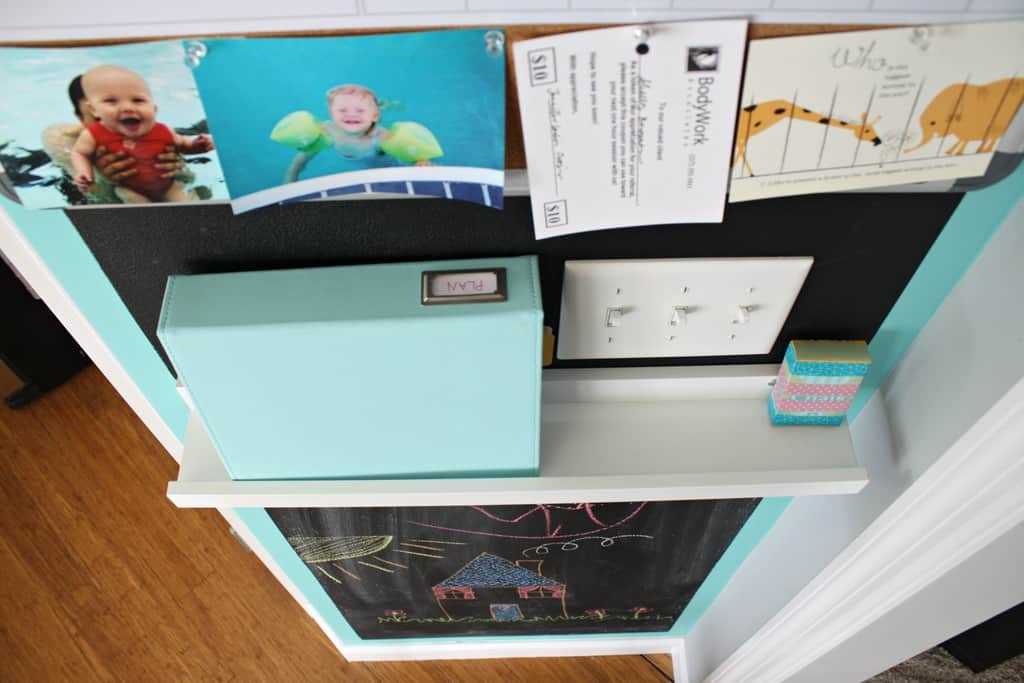
 Under the calendar, I hung a picture ledge that holds our planner and chalk. Our planner has been used a lot more regularly now that we have it in a prime spot that is easy to access. We use it for all scheduling and meal planning making it easy for either of us to see what’s going on anytime.
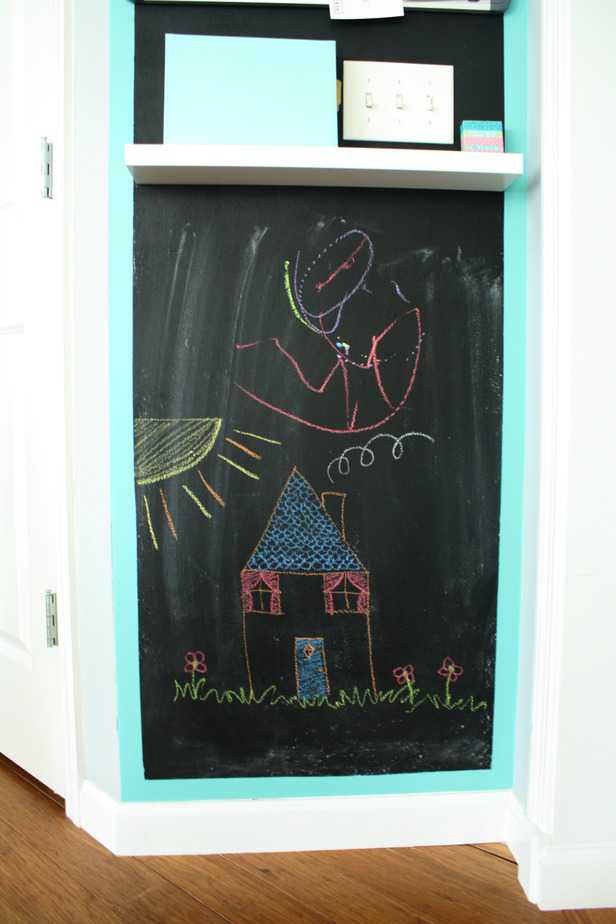
 The bottom portion of the wall is reserved for fun! It is currently showcasing art by my niece, Fiona, and myself (who still draws houses like I did in 3rd grade.) I really love our wall. There are some splatter marks I’ll
 eventually (who are we kidding) never touch up, paint on the light switches and the frame at the top is not centered. This is what makes it a DiY project and is worth being proud of (even if it took 6 months to complete.)
 How do you keep your family’s schedules in order? Anyone have their mail sorter in their command center? We’re terrible at going through our mail as soon as it comes in the door. I should probably go work on my house drawings. Let me know if you’ve used magnet paint and if you were successful!