Craft

Woven Wall Hanging

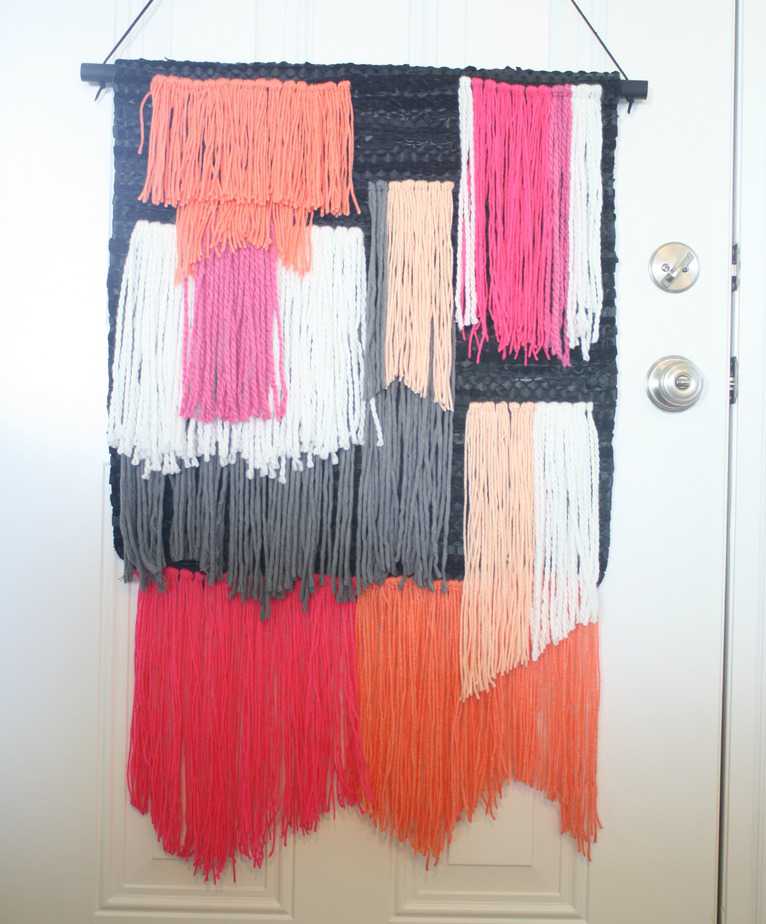
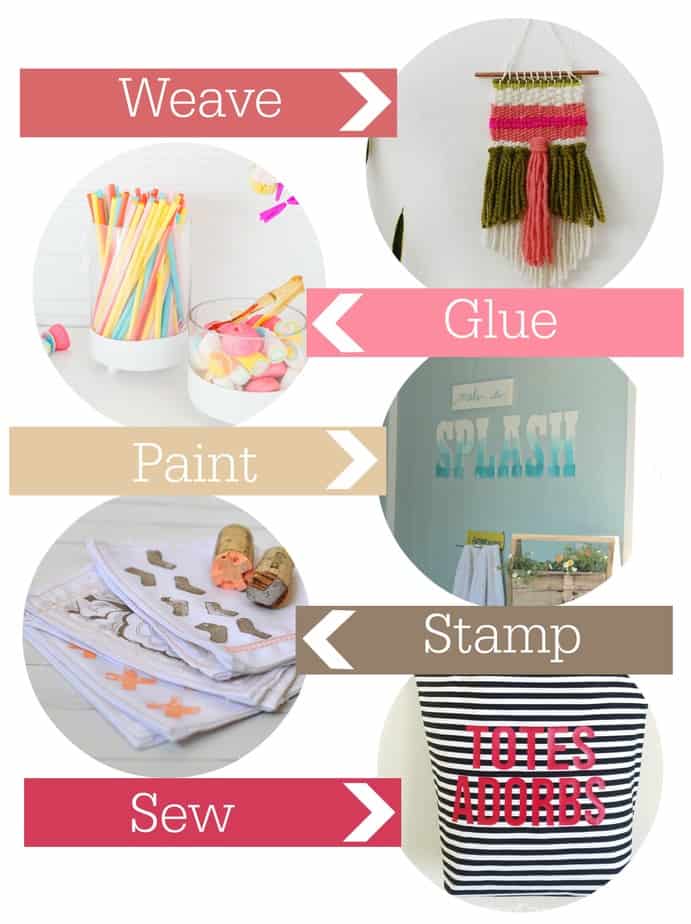
Hey crafters! As I said last week, I’ve been really busy with some projects around here and I’ve since completed two of them! I’ve seen people doing weaves and tutorials EVERYWHERE and was really interested, but kind of wanted to save that project until winter when I’ll be cooped up inside. Seems like sitting by the fire with hot chocolate is the perfect way to weave on a loom. I took the easy way out when I saw Laura post this amazing tapestry on ABM I knew it’d be perfect to fill the giant hole in my gallery wall.

woven wall hangingThe technique couldn’t have been easier. The entire project was maybe a 3 out of 10 in terms of difficulty but a 7 out of 10 on time consuming.
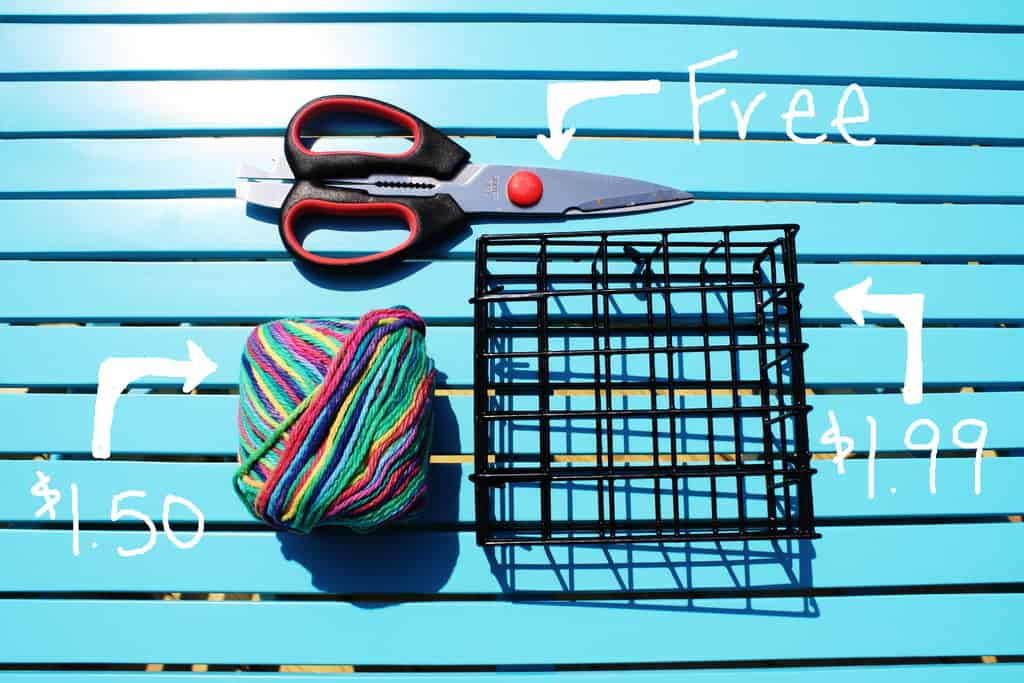
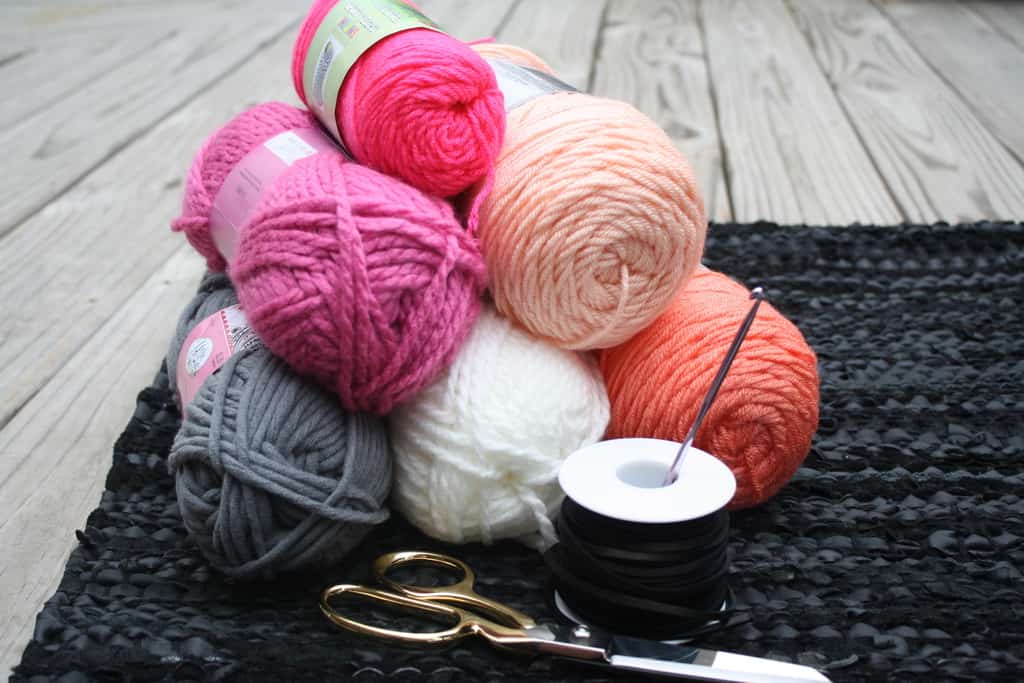
IMG_3761Materials Needed:

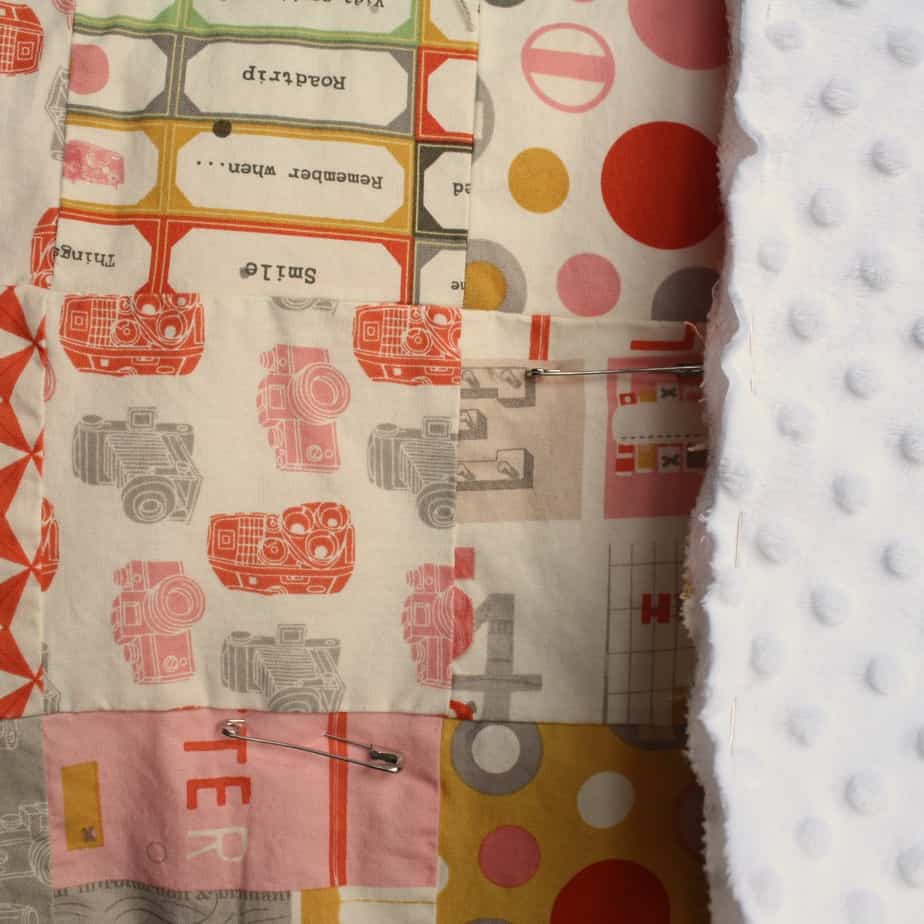
  • Woven rug (I got this leather rug)
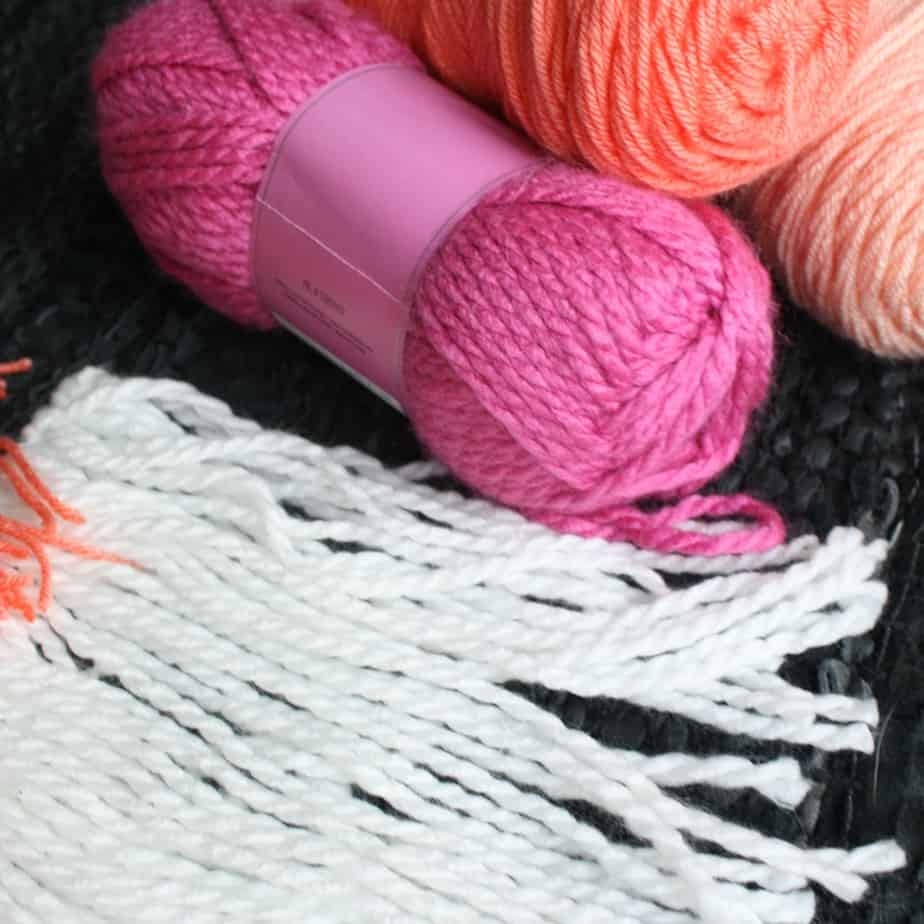
  • Yarn of various textures
  • Crochet hook
  • Dowel rod
  • String for hanging (I used leather)
  • Drill
  • Spraypaint
  • Scissors
  • Patience

oden's-beard

Because this project was so time consuming and brainless, I only did weaving while we’d watch movies or I’d hang out with my friend. This was great for me because I like to do two things at once but it also means that I didn’t get any action shots! THE WORST! Laura’s tutorial is killer though and I couldn’t have written it better.

hair-cut
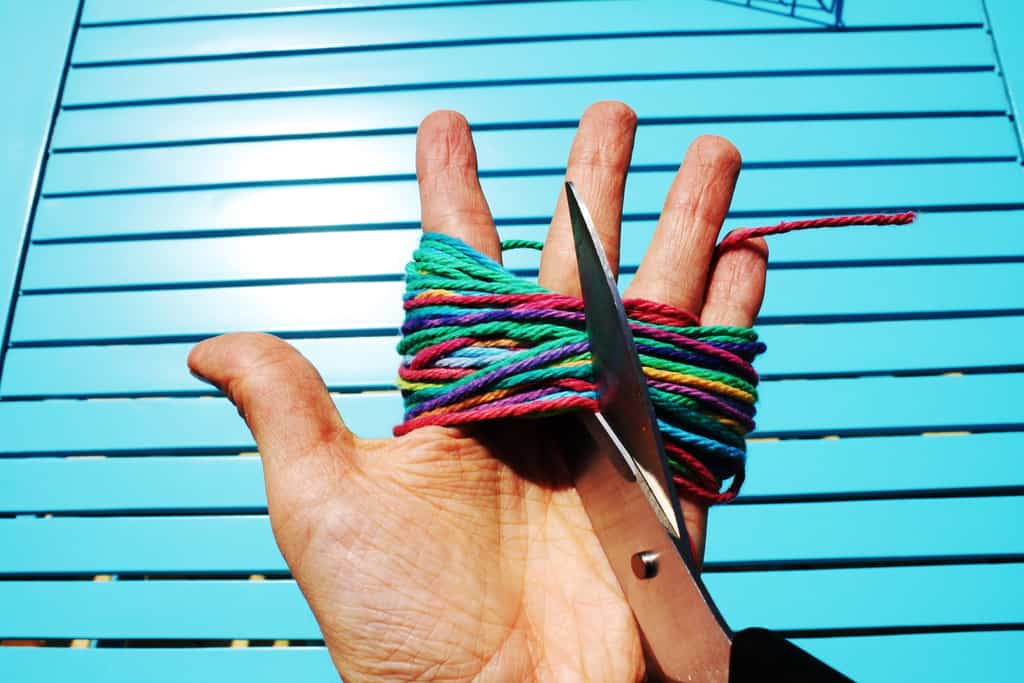
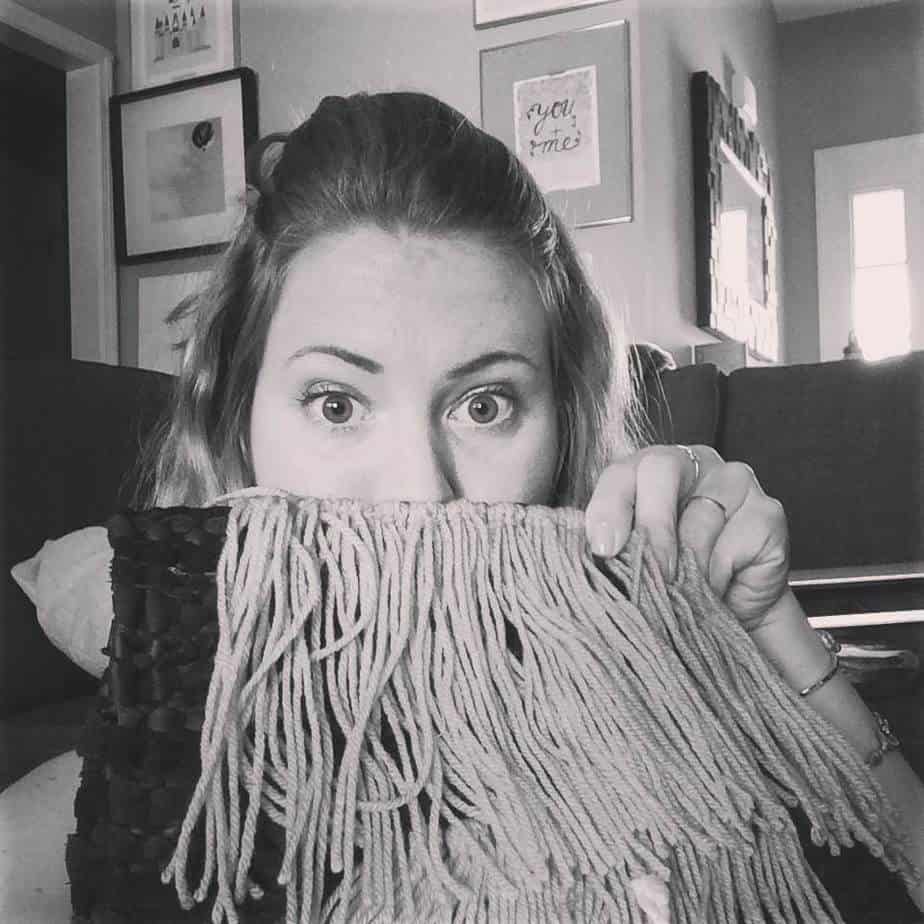
Once I had the full tapestry woven, it was time for a hair cut. I kind of just chopped as I saw fit. Some areas I did angles, others I just let them be raggity. Also, if you want to know how I made that nifty gif, go to this tutorial by Popcosmo!

tapestry1
woven wall tapestry
IMG_3972
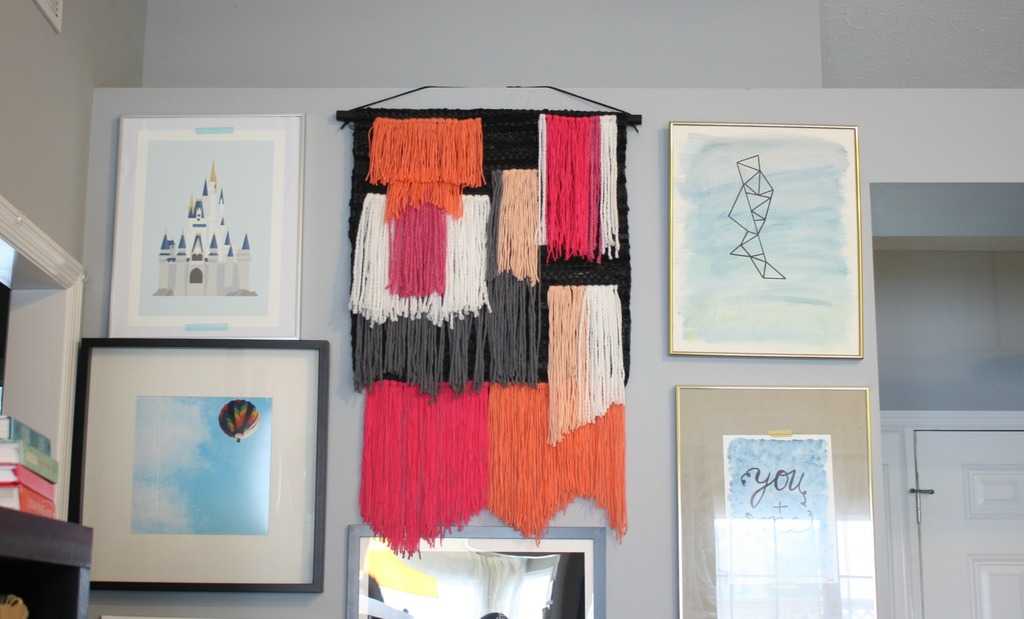
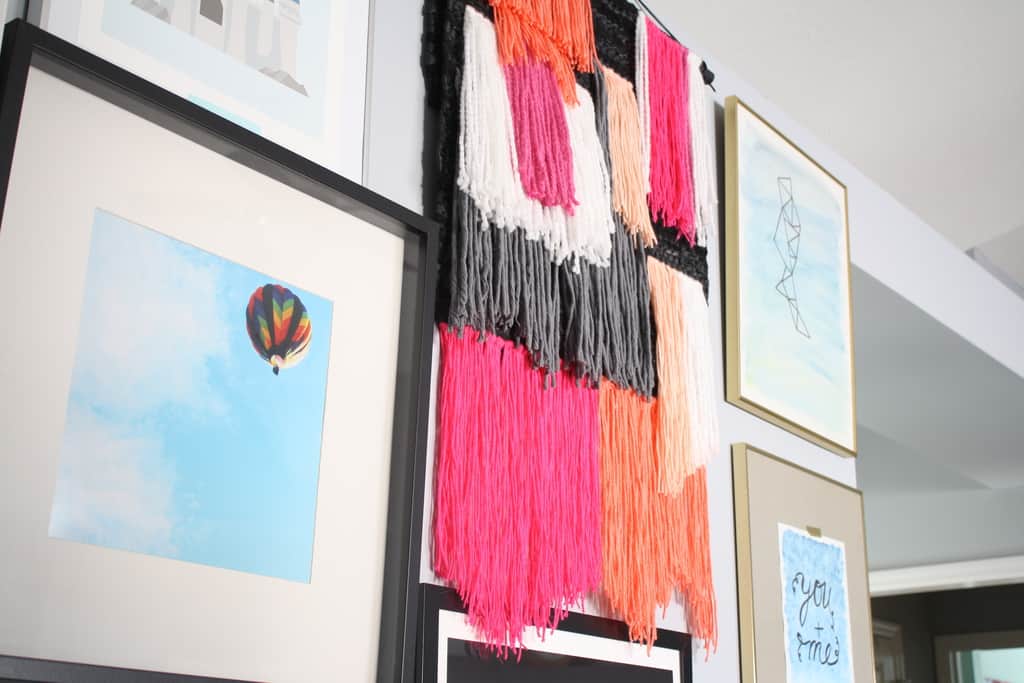
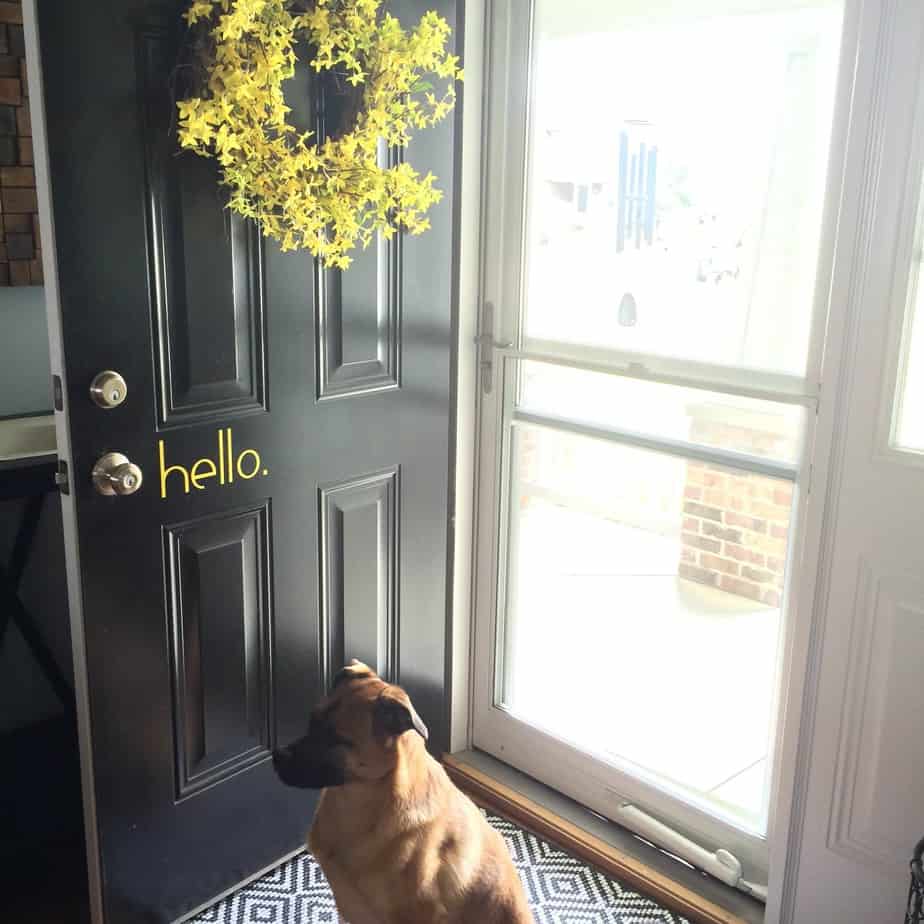
This is the beautiful view Sophie and I get when we walk out of her room. The two pieces on the right are mine but the dreamy Hot Air Balloon is a photograph by Tamara. I requested Rob to make Cinderella’s Castle and he pulled through! I also want to say that I’m thankful to my husband to being confident enough in his manhood that he allowed this massive tapestry of PINK in our family room. ๐Ÿ™‚ It makes me happy. Anyone else tried their hand at weaving yet? I’d love to see your projects!

weave2

Gettin’ Crafty Wit It

Hello you! I’m doing another round of What’s Going On because I’m in the middle of several projects. I thought I was pretty good about completing a task before starting another, but apparently, I like to dabble in several at a time! Here’s what I’ve been up to these past few weeks:

what's going onI’m 5 minutes away from finishing Sophie’s quilt!

quilt1I’ve only got a few frames to fill on the big gallery wall. Unfortunately it’s all pieces that I’m going to create, so it may take a while.

gallery1Only a few steps left of the pergola curtains.

curtain1Trying my hand at a tapestry.

tapestry1I’ve also been reading a few books! One of which is the Whole30 book. We’re doing really well on this program! I may even extend it to a Whole60! Tonight’s dinner was a tuna avocado wrap with peppers.

tuna-avocado-wrapMy days are being brightened by these flowers Jeffrey brought home for me!

IMG_5766And the fact that I’ve been able to have the windows open and listen to the wind chimes for the past few weeks!

open-windowsAlso, lot of play time with these two monkeys!

baby-daddy1For tonight, it’s garage cleaning time, but tomorrow I’ll be back to gettin’ crafty wit it! What have you all been up to? Any creating out there? New recipes you’ve been trying? New music you’ve been jamming to?

Organizing Craft Supplies

Organizing craft supplies in a small space is my worst nightmare. I am one of those people that ENJOYS emptying spaces and re-organizing them. I especially get a kick out of doing it for other people (which is why I was a Personal Organizer back in Illinois!) However, organizing a small space that has to hold a LOT of ‘necessary’ items is frustrating.

There are two things I have learned through my years of helping others organize.

  1. You need to take out (donate, trash, sell) way more than you think. It’s likely that your space needs to be thinned by 50%. When you take everything out, only put half as much back in. I can admit that this closet from my craft room needs to be thinned by 50%. When I got to organize it again next year, that’s what I’ll do. Which leads me to number 2.
  2. You might have to re-organize a space every year (or every 6 months) for a couple years before you find a system that works for your family. Over the years this closet could look dramatically different. There might be more kid crafting supplies and board games and less scrapbooking stuff. Who knows? The point is, give yourself grace when the need comes to re-organize.

Organizing Craft Supplies

Organizing crafts is messy and I wasn’t sure exactly how to show you everything since there is SO much in such a small area. I thought numbering the shelves and describing what’s on them would be the most efficient way to show you my goods.

craft closet

The Amazon links below are affiliate links. I will earn a small percentage of your purchase. 

Craft Closet 1

Guitar amp, a bag with ancient gaming consoles and my book bag with supplies from my art class a couple years ago.

CRAFT CLOSET 2

Disney puzzles, chess, hammock, a basket with misc. cords and coloring books.

CRAFT CLOSET 3

Party board games, shoeboxes full of cards for Sophie, our wedding memorabilia and cards to send out, Smash Book basket (whatever current Smash book I’m working on has all supplies in there for easy access), sewing machine, computer/photo paper in magazine folder, and large paper cutter.

CRAFT CLOSET 4

Tote filled with fun crafts (buttons, pipe cleaners, friendship string, heat beads), tote of punches, glue gun and embossing gun, tote of scrapbook paper, magazine folder of misc. scrapbook paper, a Recollections storage unit with stamps in the left drawer and stickers on the right, a photo album of my plant tags (so I know how to care for the plants in my yard), twine, and a 3 hole punch.

CRAFT CLOSET 5

This is the messy part. The floor holds fabric for projects yet to be completed, (stockings and a blanket for Lexi) Scrabble, Rock Band drum kit, transfer paper for my Cricut, all the current scrapbooks/Smash books I’m working on and my Cricut (I know, I need a better place for it!)

CRAFT CLOSET 6

Rarely used games, a tote of cards and dice games and a tote of poker chips.

CRAFT CLOSET 7

Our most played games, (these get played about once/month) our camera bag and photo reflectors. Under the camera equipment sits my Dad’s tripod and a few prepped canvases for a quick craft. I like prepping canvas all at once so they have time to dry so I can get to the painting part when I’m inspired.

CRAFT CLOSET 8

This 6 cube storage unit holds a TON. On top is my massive bead box. Top left: crayons, colored pencils, markers, watercolor, and kid scissors. Top right: ribbons and a few magazines. Middle left: acrylic paints filled to the top (my inspiration for getting this organizer b/c they were spread between 3 totes before.) Middle right: paint brushes, gesso, brush cleaner and other tools. Bottom left: tulle and small scraps of fabrics. Bottom right: sewing supplies (needles, pins, thread, quilt cutter, measuring tape, heat’n bond.)

While I look at this photo, the closet still looks insane and unorganized to me. I at least know where everything is and it’s easy to put away. The main thing is that the floor access to the crawl space is clear for tornado warnings!

Desk Organization

My desk has an Alex drawer unit that holds the supplies that I use most often. I just recently bought this unit and am so happy with it because it has really long drawers and I have room to grow.

Craft organization

The top drawer has my favorite expandable acrylic organizer (I also have one for my makeup.) This drawer holds my paperclips that sit on top of my post-it notes. It also has my pencil sharpeners, eraser, USB stick, extra markers, lip chap, hand lotion, chalk, notebook, iPhone cable, return address stamp, ink and stamp roll.

Office and craft room organization

The second drawer down is my adhesive drawer. It holds my washi tapes, embossing pad, glues, scrapbook tape, magnetic tape, glue dots, floral tape, and acrylic tape.  My favorite adhesives, besides the beautiful washi tapes, are the Scotch glue dots and the Martha Stewart glue (in case you were wondering.) I also really love my Aleen’s scrapbook tape for scrapping.

IKEA Desk organization

The third drawer down shows my unhealthy addiction with glitter. It also holds our True Love tin (a wedding gift from my sister) containing mosaic tiles. I also have my One A Day journal, and the Martha Steward circle cutter.

craft organization

The fourth drawer is my obligatory junk drawer that has stuff that I use but don’t really have a place for. Embossing powder, extra x-acto, bleach pen, fancy scissors, screwdriver, date stamp, extra ink pad, stone beads (I guess I do know where those can go…) and buttons.

final-Alex-drawer-IKEA

The final drawer is my techy drawer because it holds extra cables, my iPhone box, headphones and the awesome Bamboo tablet that I NEEDED but have hardly used. *looks down and shakes head*

If you’ve ever been curious as to where this blog originates, it is here:

blogging-desk

This shot was from a couple weeks ago, before I got my new lamp and before I started trying to make a dent in my scrapbook pile. I like using a laptop rather than a desktop so I can move it to the couch if we’re watching a movie or if I’m using the desk for an extensive project.

The shelf up top holds my ‘no touching unless you’re Shelly’ carousel of crayons, fake plant, twine, mini 3-hole punch, tape, stacking dolls and random vase. I also have my favorite Disney princess (Ariel) and favorite musician (Trent Reznor) on the walls. You’ll also probably recognize my friendship lamp!

wall-storage

The area on the wall behind my computer holds the photo wire with some of my favorite memories that I often rotate. I also have a wall container unit that holds my stationery for quick thank you notes, markers, colored pencils, and my favorite writing utensils. I have to admit though, my desk does not always look this empty. I clean it to this state once every couple of weeks, but usually, it has some sort of project occupying at least half of the desk. Here’s what my desk looks like tonight:

messy-desk

My desk will remain like this until I finish ONE scrapbook. In case you were wondering, I’m working on our Disney Trips album. All in all, I know where everything is and I don’t have to make too much effort trying to get it out or put it back away, which is key in keeping things organized. I have also promised myself to not buy any more scrapbooking materials until I go through half of my supplies.

This is hard because I really want to see what Project Life is all about! Does anyone else have a similar method or do you organize completely differently? Similar messy desk syndrome at least? ๐Ÿ˜‰ I’d love to hear how you organize your crafts or if you have any suggestions to help me improve my situation!

Related posts to Small Space Craft Organizing:

https://diymamablog.com/bathroom-linen-closet-organization/
https://diymamablog.com/homeschool-organization/

Pin it for later:

Organizing craft and office supplies like a professional organizer

Creative Summer Crafts

TGIF! I hope you’re all doing well and gearing up for a fun filled weekend! I was super inspired by the sheer number of creativity I saw on my fellow blogger’s sites this week! TONS of great summer crafts! It was actually really tough to choose only five that I wanted to do/share with you all! Anyone want to come babysit so I can just create all weekend?!

craftyMy top favorite crafts that I saw were projects that I’d like to make for myself or someone else. I like how some of them are things I’ve never done or thought to do but are simple to do and are inexpensive.

  1. The first project I fell in love with is trending all over the blogsphere right now! Weaving! I really like the thought of putting something textural on a gallery wall in whatever shape/pattern I choose. Rachel at A Beautiful Mess wove this darling pink and green piece with a loom but shows how to make your own with a board and nails!
  2. Ashley from Sugar and Cloth guest posted at Julep this week the most adorable way to liven up some simple candy jars! You could really do this with any container. She painted the bottom and added feet for just a few dollars to make them one of a kind.
  3. I spotted this summer outdoor sign painted by Ariean at One Krieger Chick! Ariean did a great job of writing the tutorial and showing how to do a great ombre effect with paint. I love how it livened up their outdoor space to make it more fun and personable to their family!
  4. Amy at Delineate Your Dwelling, once again, created something that I fell in love with. Stamping cocktail napkins as a gift using wine corks! The design possibilities are endless and it’s a great way to re-use something you already have!
  5. Kristy, from Diary of Dave’s Wife, posted this totes adorbs tote at Eighteen25 this week! I love it for so many reasons. 1. You can’t have enough totes. 2. I abrev ev. 3. I love stripes and the heart on the back!! Looks like a great tote to take to the beach or farmer’s market this summer!

Was I right or what?! Awesome job ladies! Lovin’ the creativity going on this summer! I think I’ll save weaving for this winter because I’ll get too restless doing it while it’s nice out, although I really want one for my gallery wall..hmmm… tough problems today. ๐Ÿ˜‰ I also want to throw a party so I can make some cute jars, and instal a pool so I can make that sweet splash sign. ๐Ÿ˜‰ Anyone throwing a party that I can make these cocktail napkins for? I’ll bring the wine in my totes adorbs bag! Now that I’ve got it all planned out…what are you going to try to make? Any fun crafts you’re going to try your hand at soon?

Yarn Bird Feeder

bird feeder

Since we’ve moved to our current home, I’ve noticed how established and serene our family’s yards are. I love all of the little squirrels and birds that are happily playing around their trees.

We do not own one tree (yet). It’s hard to attract birds with no trees so I have to lure them with tasty treats and luscious building materials for their homes. This was an inexpensive and simple craft that would be fun to do with little kids!

Necessary Tools & Materials: scissors, yarn (great way to use up old scraps!), suet bird feeder:

:bird nest tools

1.) Wrap yarn around your hand

yarn hand

2.) Cut yarn

cut yarn

3.) Stuff feeder

stuff

4.) Wait for birds

corn

wait

Anyone else have a lack of birds in their area?? It just doesn’t feel like spring around here when there aren’t any birds chirping!

Edit: I saw my strings in a few nests last year! I re-filled with fresh yarn for this spring’s birds

Google+