diy

Woven Wall Hanging

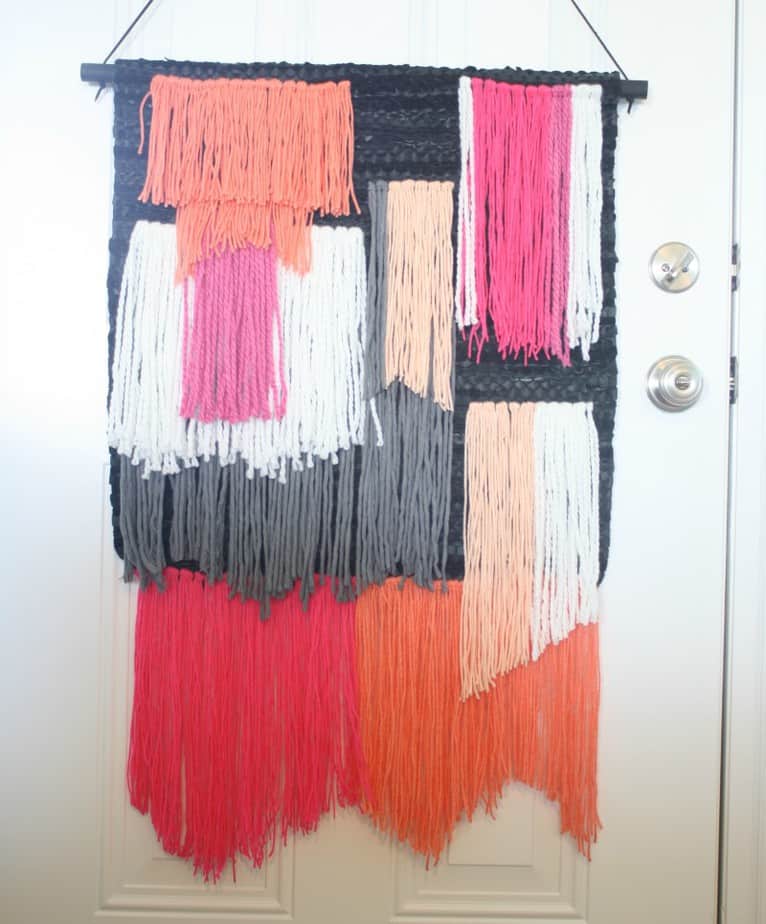
Hey crafters! As I said last week, I’ve been really busy with some projects around here and I’ve since completed two of them! I’ve seen people doing weaves and tutorials EVERYWHERE and was really interested, but kind of wanted to save that project until winter when I’ll be cooped up inside. Seems like sitting by the fire with hot chocolate is the perfect way to weave on a loom. I took the easy way out when I saw Laura post this amazing tapestry on ABM I knew it’d be perfect to fill the giant hole in my gallery wall.
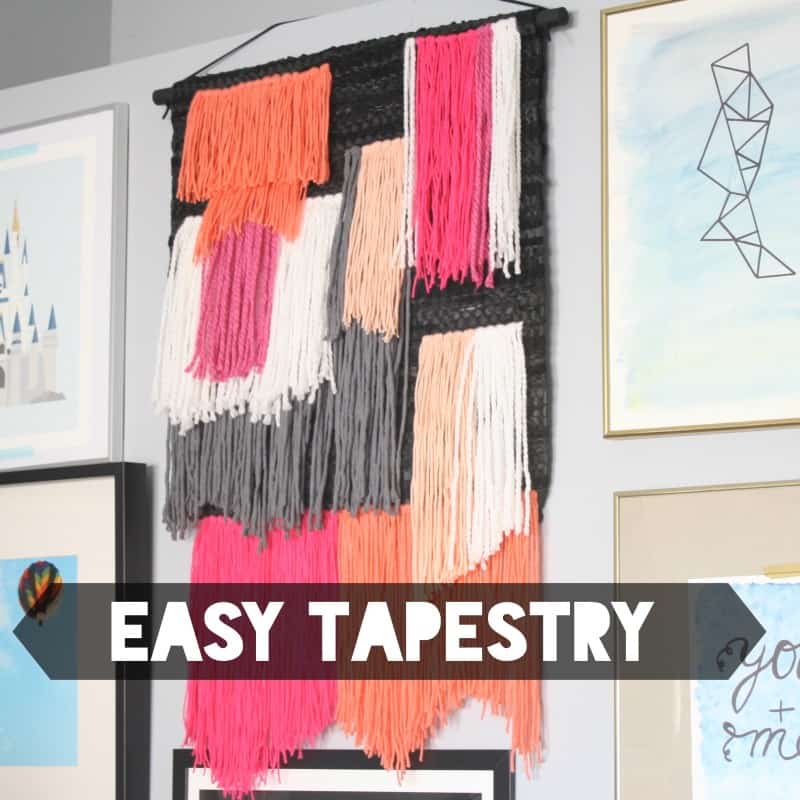
woven wall hangingThe technique couldn’t have been easier. The entire project was maybe a 3 out of 10 in terms of difficulty but a 7 out of 10 on time consuming.IMG_3761Materials Needed:
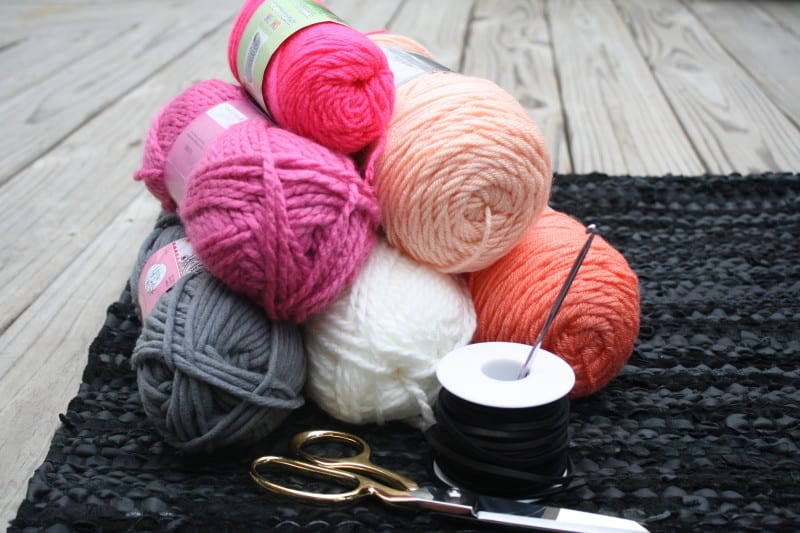
  • Woven rug (I got this leather rug)
  • Yarn of various textures
  • Crochet hook
  • Dowel rod
  • String for hanging (I used leather)
  • Drill
  • Spraypaint
  • Scissors
  • Patience

oden's-beard

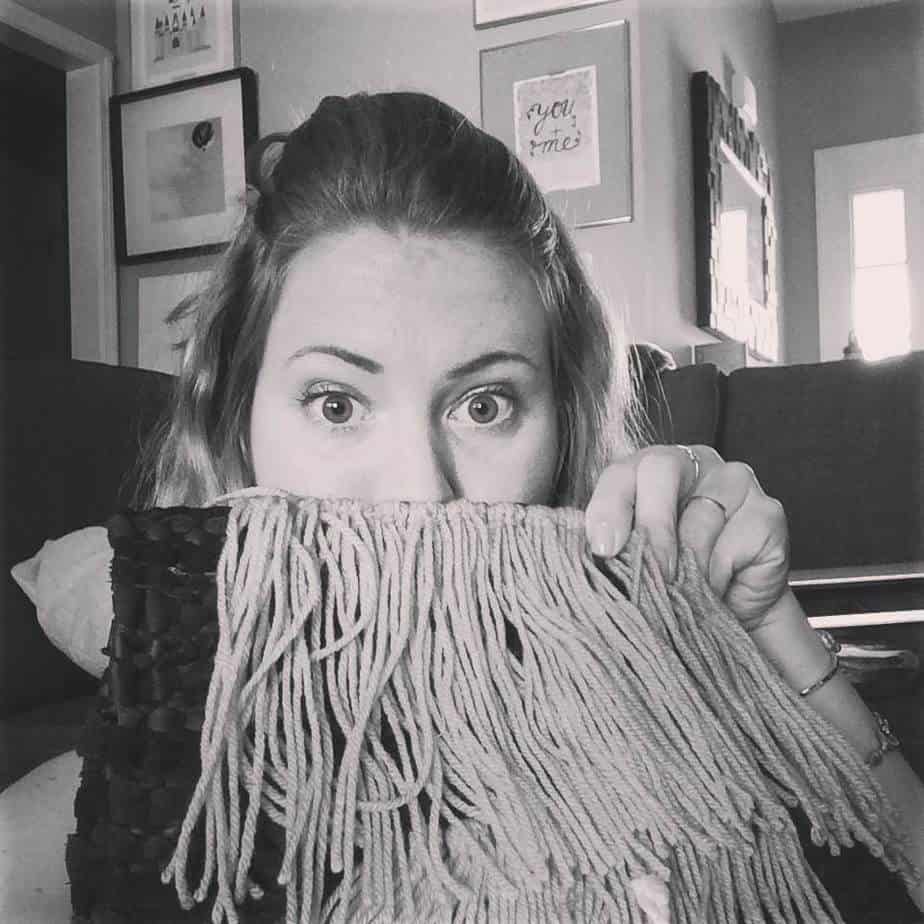
Because this project was so time consuming and brainless, I only did weaving while we’d watch movies or I’d hang out with my friend. This was great for me because I like to do two things at once but it also means that I didn’t get any action shots! THE WORST! Laura’s tutorial is killer though and I couldn’t have written it better.
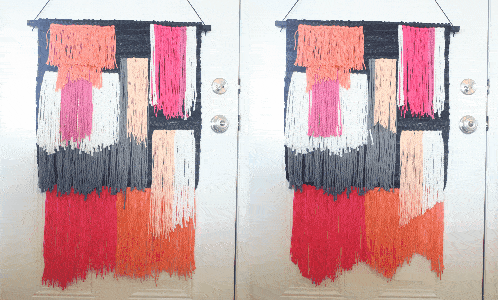
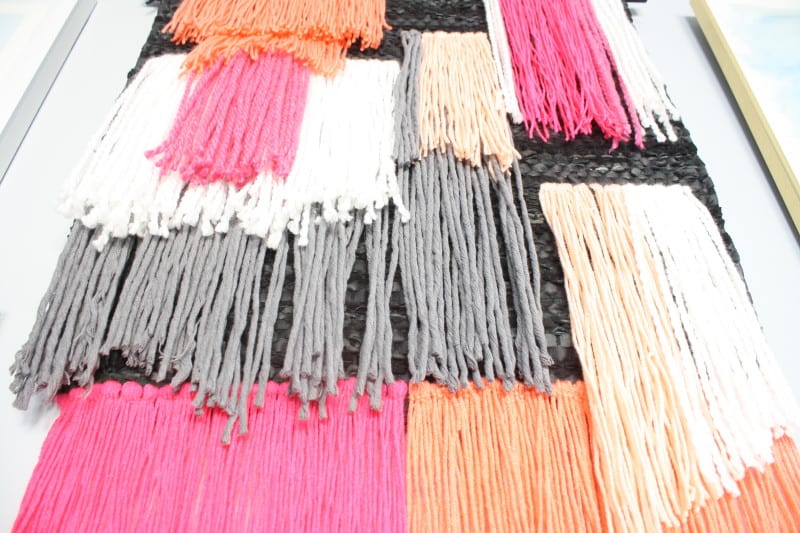
hair-cutOnce I had the full tapestry woven, it was time for a hair cut. I kind of just chopped as I saw fit. Some areas I did angles, others I just let them be raggity. Also, if you want to know how I made that nifty gif, go to this tutorial by Popcosmo!
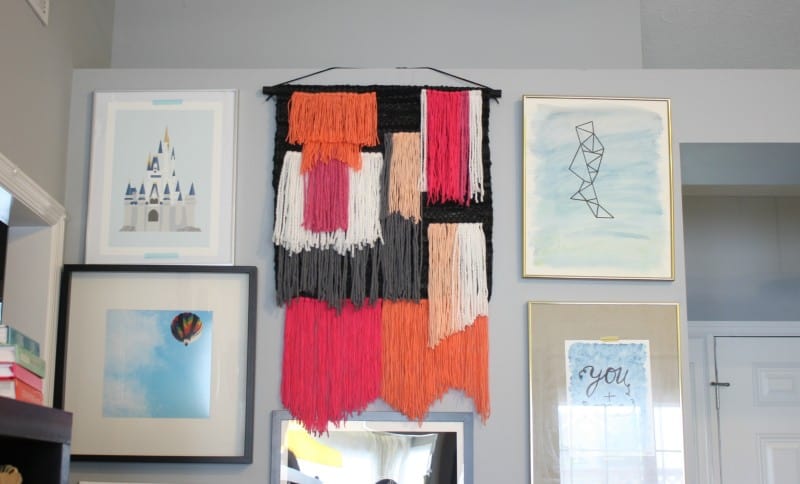
tapestry1
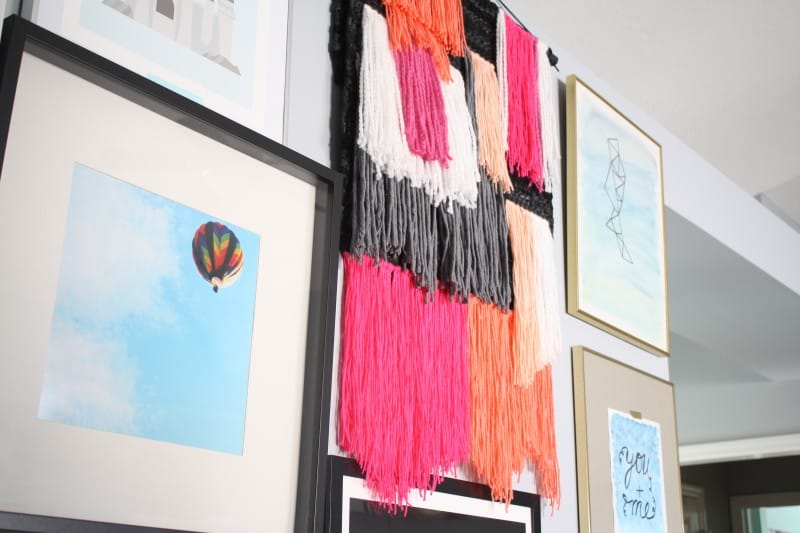
woven wall tapestry
IMG_3972This is the beautiful view Sophie and I get when we walk out of her room. The two pieces on the right are mine but the dreamy Hot Air Balloon is a photograph by Tamara. I requested Rob to make Cinderella’s Castle and he pulled through! I also want to say that I’m thankful to my husband to being confident enough in his manhood that he allowed this massive tapestry of PINK in our family room. ๐Ÿ™‚ It makes me happy. Anyone else tried their hand at weaving yet? I’d love to see your projects!
weave2

Family Command Center

Hidy ho good neighbor! Do you have a hard time keeping everyone’s schedules in order, argue over what to eat for dinner or always looking for that list for the grocery? Well look no further! I’m going to show you how to create a family command center that can organize all of your family’s information in one place! Ok, I’m done talking like an infomercial. Not sure where that came from.

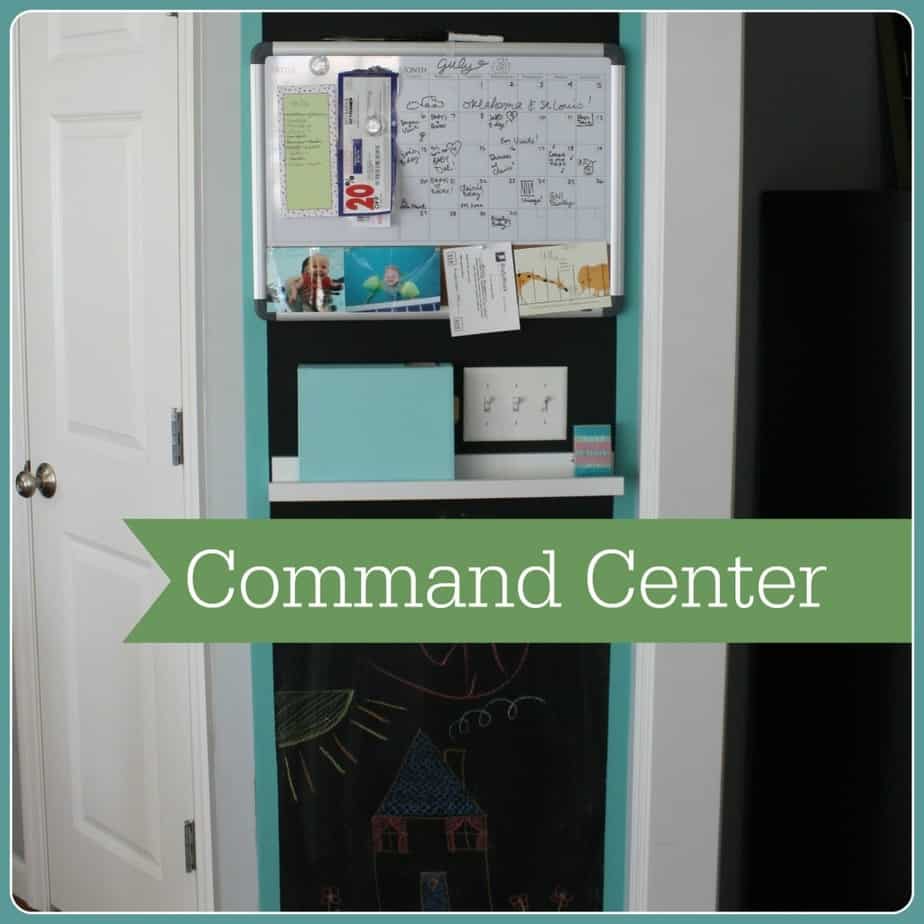
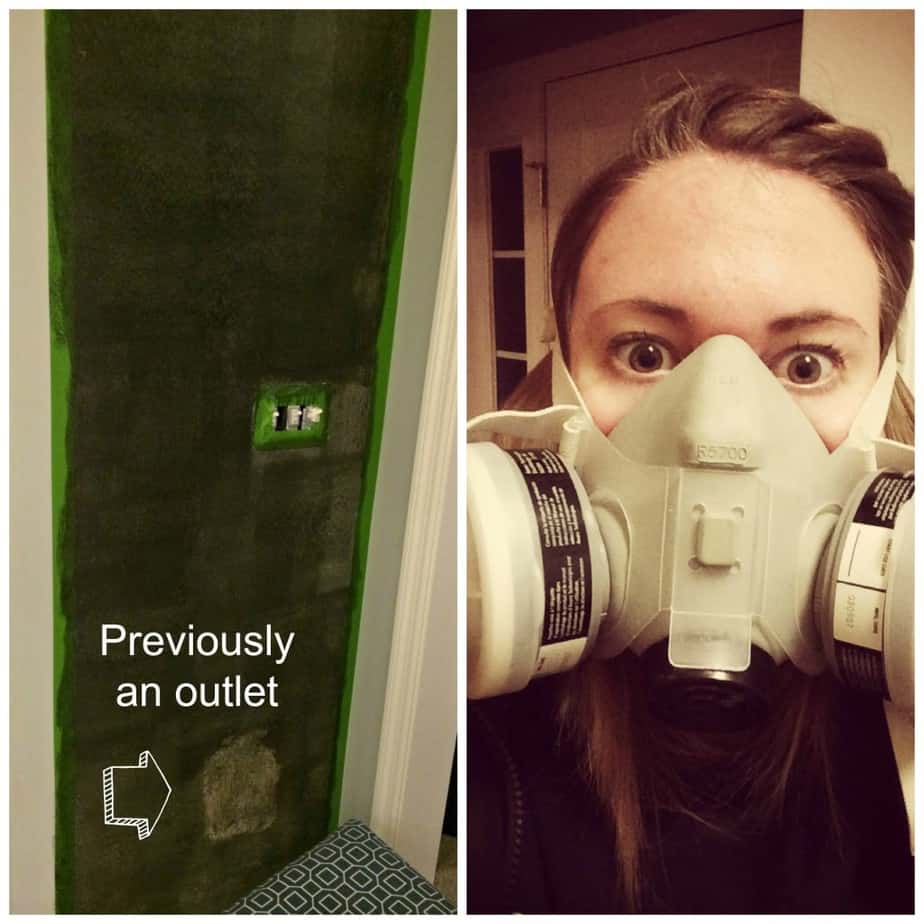
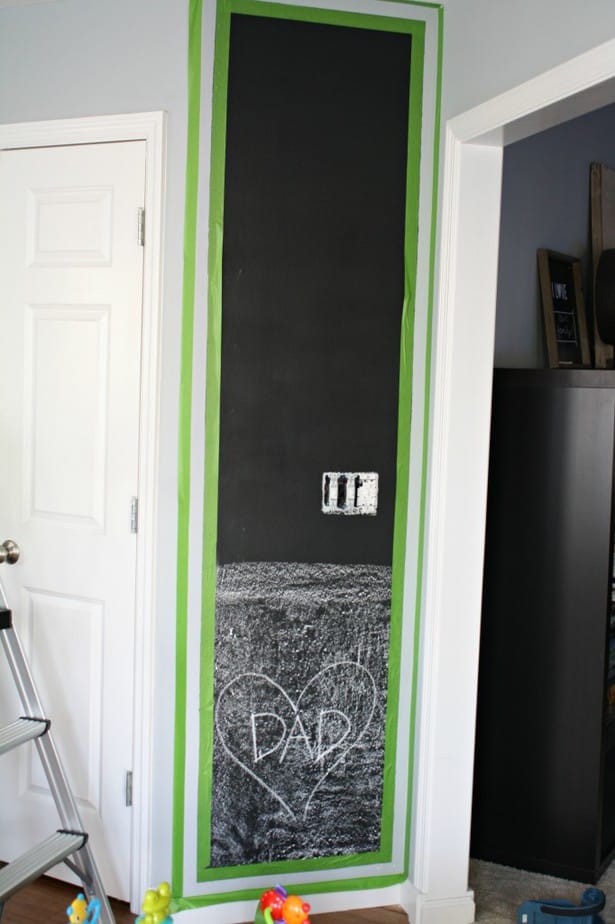
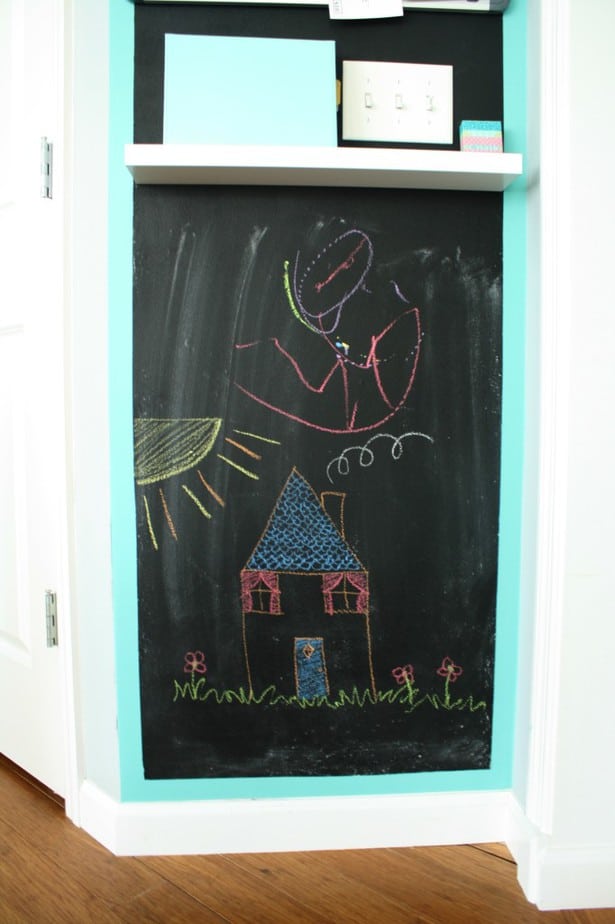
command-centerThis project was ultimately a success but there were a lot of failures along the way! It started back in February when I thought it would be a good idea to paint in the middle of the winter and not need to open all the doors and windows. I was very wrong. I started with a magnet paint so we would be able to put those magnet letters or other learning tools on the bottom for Sophie. 1. Magnet paint is extremely harsh smelling. 2. It takes FOREVER to dry before it stops smelling. 3. It requires more than one coat. After evacuating our home for several hours to Barnes and Noble, we come back home to the wall not even able to hold a piece of paper with a magnet (and still smelly.) I tried another coat and it still wasn’t a strong enough hold so I gave up on the magnet portion of the wall and waited until spring to do the chalkboard portion. Unfortunately, I can not give you any tips on doing a magnet wall since it didn’t work for me but I may try again in the future.magnet-wall

A few months later, I painted the chalkboard wall. I had to sand down the magnetic surface because it was too textured. Once I wiped my surface clean, I used a roller to apply two coats of the chalk board paint (letting it dry for 24 hours in between each coat and before writing on the wall.) I also taped off where I wanted my boarder. I had to use a boarder because I got outside of the lines with the magnetic paint and didn’t want to touch it up with our grey paint. Happy accident. Also, notice I painted this right before Father’s Day. ๐Ÿ™‚

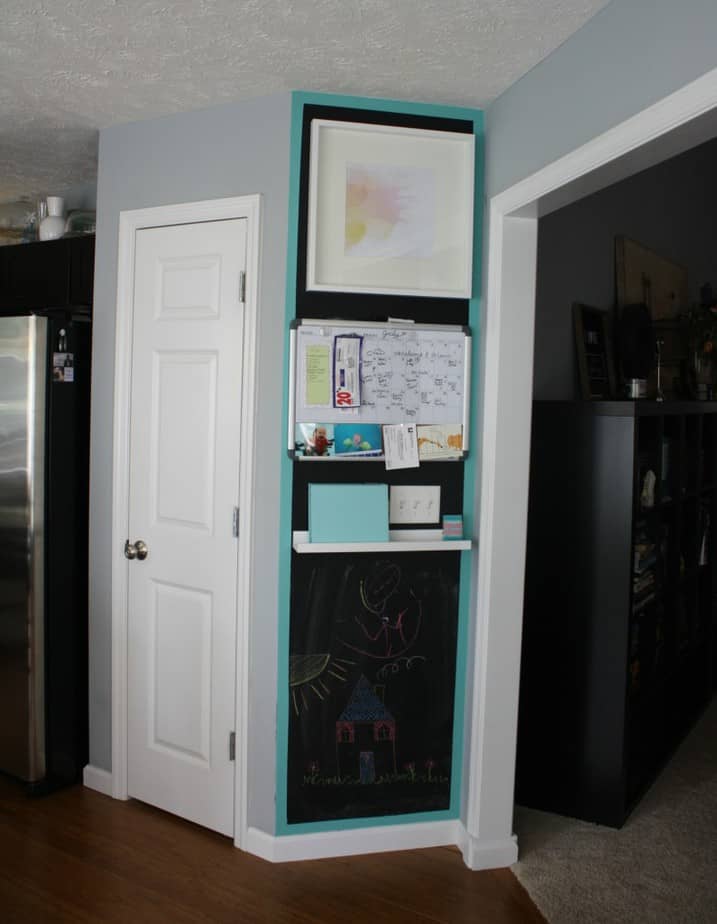
chalkboard-paintI painted the boarder with a regular paint brush to make sure there wasn’t too much paint on the brush which kept it from seeping under the tape. I used Target’s smallest size tub of Devine Color in ‘Pond‘ for the border. Our command center is as you walk into our kitchen, making it a central location for us to easily access it. Once everything had dried for a day, I hung everything we needed to be organized.

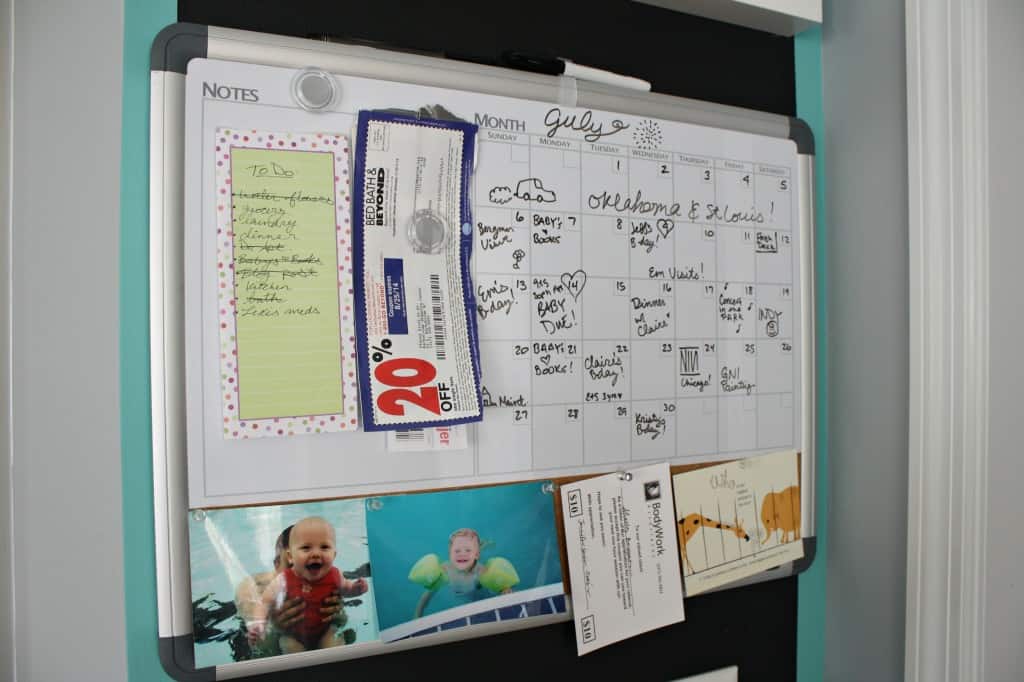
locationFor us a large dry erase calendar works well for a monthly at-a-glance snapshot of the big events that are going on. There is also room for our to-do list, coupons, and a few pictures.

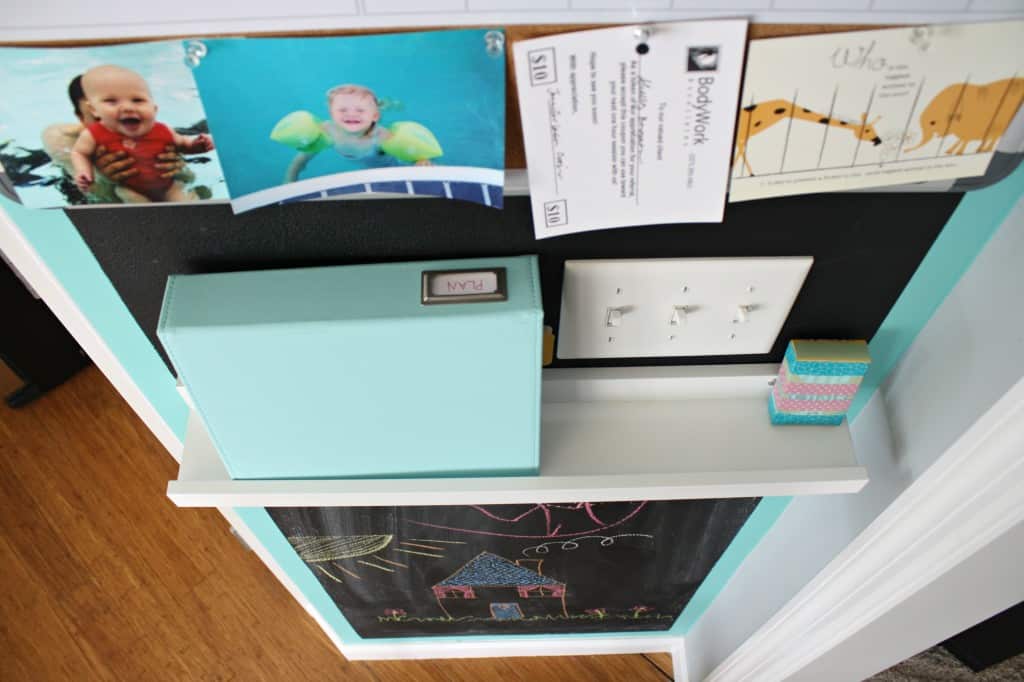
calendarUnder the calendar, I hung a picture ledge that holds our planner and chalk. Our planner has been used a lot more regularly now that we have it in a prime spot that is easy to access. We use it for all scheduling and meal planning making it easy for either of us to see what’s going on anytime.

planner-shelfThe bottom portion of the wall is reserved for fun! It is currently showcasing art by my niece, Fiona, and myself (who still draws houses like I did in 3rd grade.) I really love our wall. There are some splatter marks I’ll eventually (who are we kidding) never touch up, paint on the light switches and the frame at the top is not centered. This is what makes it a DiY project and is worth being proud of (even if it took 6 months to complete.)

artHow do you keep your family’s schedules in order? Anyone have their mail sorter in their command center? We’re terrible at going through our mail as soon as it comes in the door. I should probably go work on my house drawings. Let me know if you’ve used magnet paint and if you were successful!

Creative Summer Crafts

TGIF! I hope you’re all doing well and gearing up for a fun filled weekend! I was super inspired by the sheer number of creativity I saw on my fellow blogger’s sites this week! TONS of great summer crafts! It was actually really tough to choose only five that I wanted to do/share with you all! Anyone want to come babysit so I can just create all weekend?!

craftyMy top favorite crafts that I saw were projects that I’d like to make for myself or someone else. I like how some of them are things I’ve never done or thought to do but are simple to do and are inexpensive.

  1. The first project I fell in love with is trending all over the blogsphere right now! Weaving! I really like the thought of putting something textural on a gallery wall in whatever shape/pattern I choose. Rachel at A Beautiful Mess wove this darling pink and green piece with a loom but shows how to make your own with a board and nails!
  2. Ashley from Sugar and Cloth guest posted at Julep this week the most adorable way to liven up some simple candy jars! You could really do this with any container. She painted the bottom and added feet for just a few dollars to make them one of a kind.
  3. I spotted this summer outdoor sign painted by Ariean at One Krieger Chick! Ariean did a great job of writing the tutorial and showing how to do a great ombre effect with paint. I love how it livened up their outdoor space to make it more fun and personable to their family!
  4. Amy at Delineate Your Dwelling, once again, created something that I fell in love with. Stamping cocktail napkins as a gift using wine corks! The design possibilities are endless and it’s a great way to re-use something you already have!
  5. Kristy, from Diary of Dave’s Wife, posted this totes adorbs tote at Eighteen25 this week! I love it for so many reasons. 1. You can’t have enough totes. 2. I abrev ev. 3. I love stripes and the heart on the back!! Looks like a great tote to take to the beach or farmer’s market this summer!

Was I right or what?! Awesome job ladies! Lovin’ the creativity going on this summer! I think I’ll save weaving for this winter because I’ll get too restless doing it while it’s nice out, although I really want one for my gallery wall..hmmm… tough problems today. ๐Ÿ˜‰ I also want to throw a party so I can make some cute jars, and instal a pool so I can make that sweet splash sign. ๐Ÿ˜‰ Anyone throwing a party that I can make these cocktail napkins for? I’ll bring the wine in my totes adorbs bag! Now that I’ve got it all planned out…what are you going to try to make? Any fun crafts you’re going to try your hand at soon?

Jewelry Dish

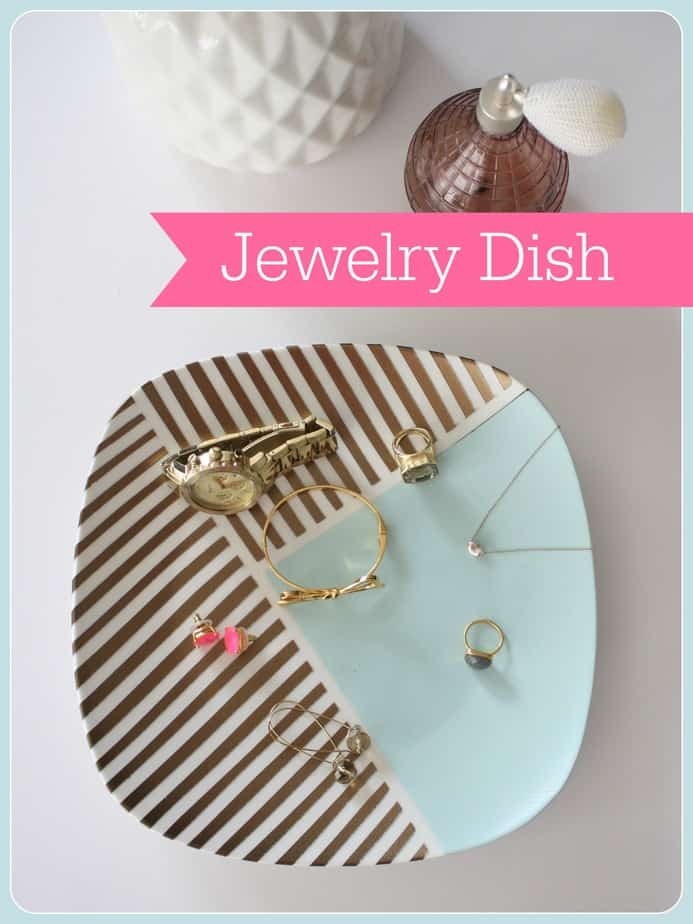
Hello Gorgeous! Do you love jewels? Do you have an amazing display for all your favorite pieces? Do you always take your jewelry off every night and put it back in it’s designated home? Me neither. I mostly wear the same gold triangle studs, wedding ring and very strong gold necklace that my daughter can not break no matter how hard she pulls. It has her name on it so I guess she assumes it’s hers. If I DO switch up my jewelry for a special occasion, it usually ends up sitting on the sink or my bedside table for…oh…weeks. This needed to change, which is why I made this jewelry dish.

jewelry-dishMaterials Needed:

  • White Plate
  • Spray Primer
  • (2) Spray Paint
  • Art Tape
  • Painter’s Tape
  • Mod Podge
  • Foam Brush

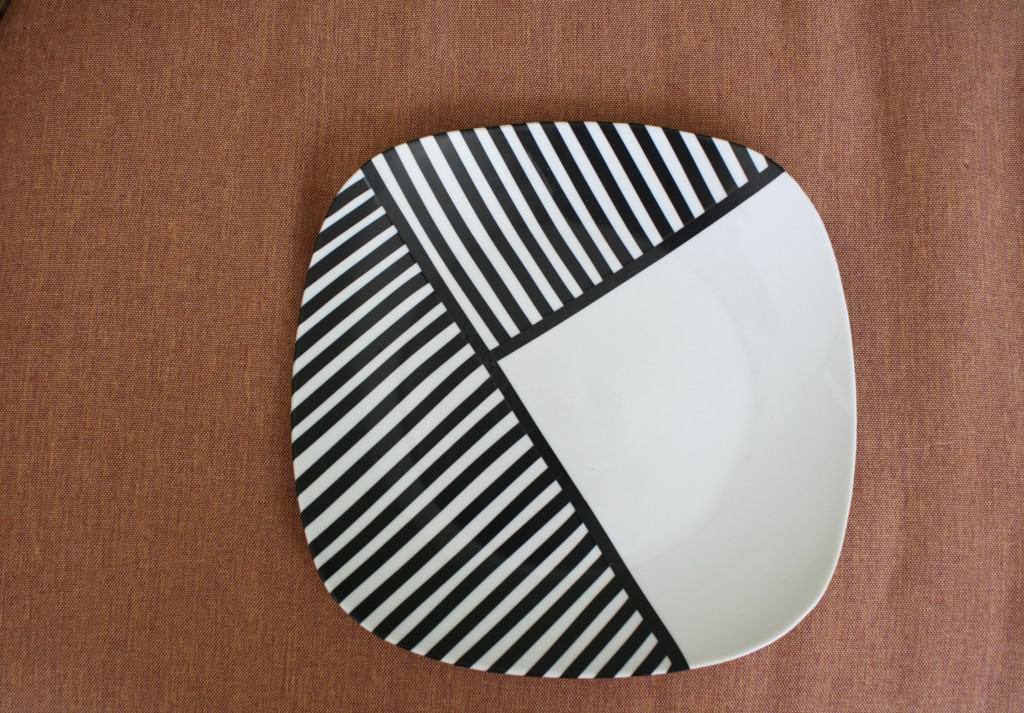
The first step is to wash your plate. Make sure all dust and residue is cleaned from the plate. The next step is to tape off the design you’re wanting with the art tape.

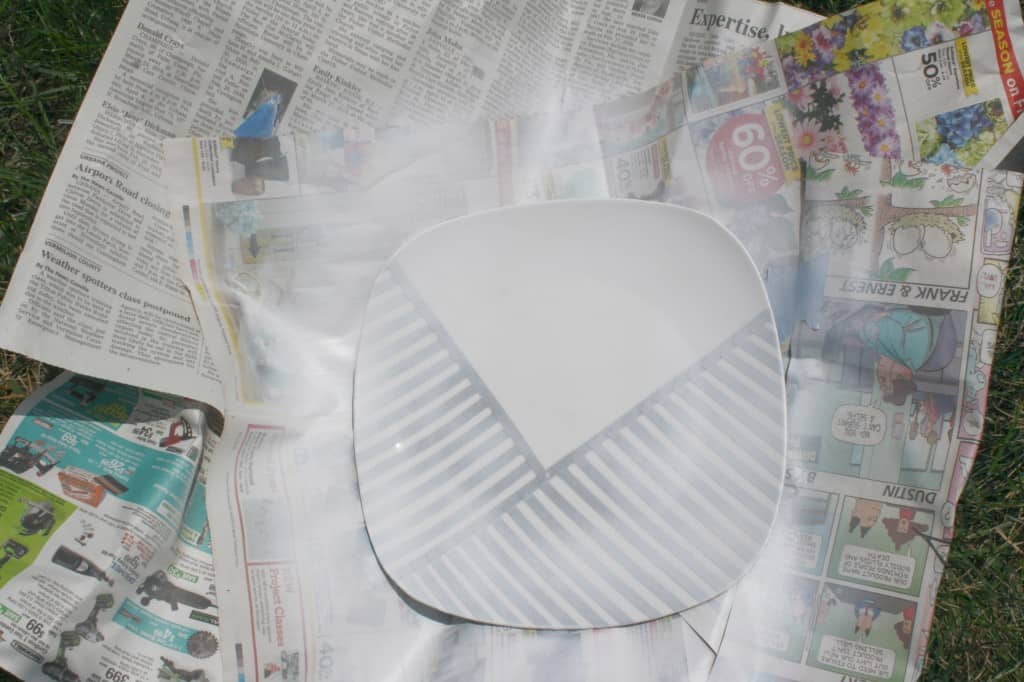
art-tapeOnce you have your design laid out you need to prime your plate so the spray paint will adhere. If you buy a spray paint that works on porcelain this step is not necessary (but I used spray paint I had on hand.)

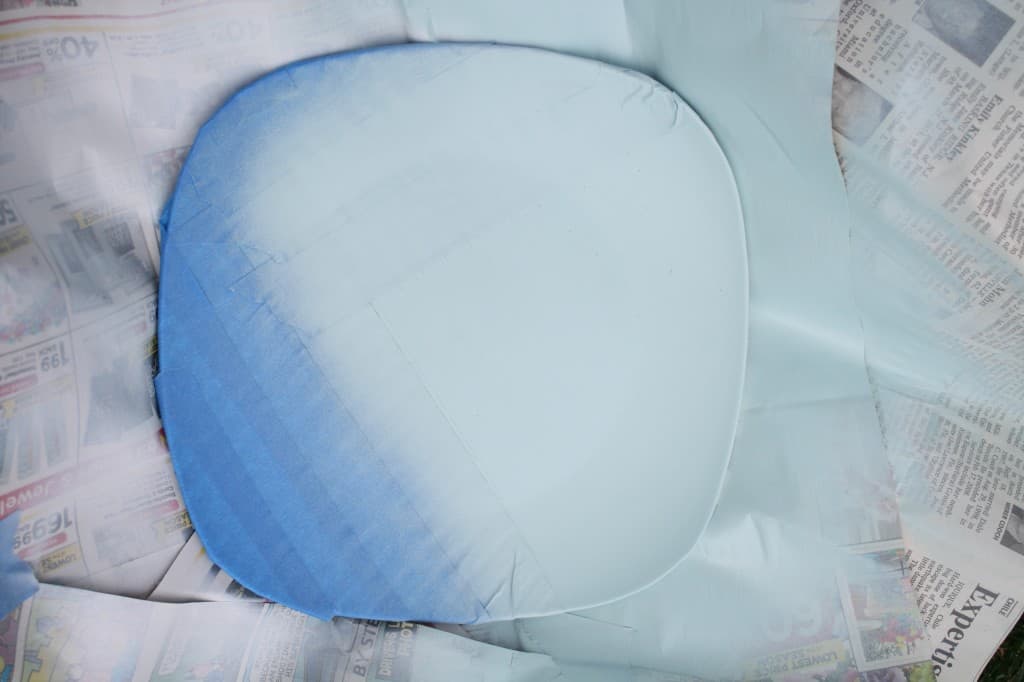
primer-sprayOnce the primer has dried, tape off the first color section. Make sure to follow the instructions on your can for drying time. If it is too hot or humid the paint will not dry well and the finished product will look messy.

first-blue-tape

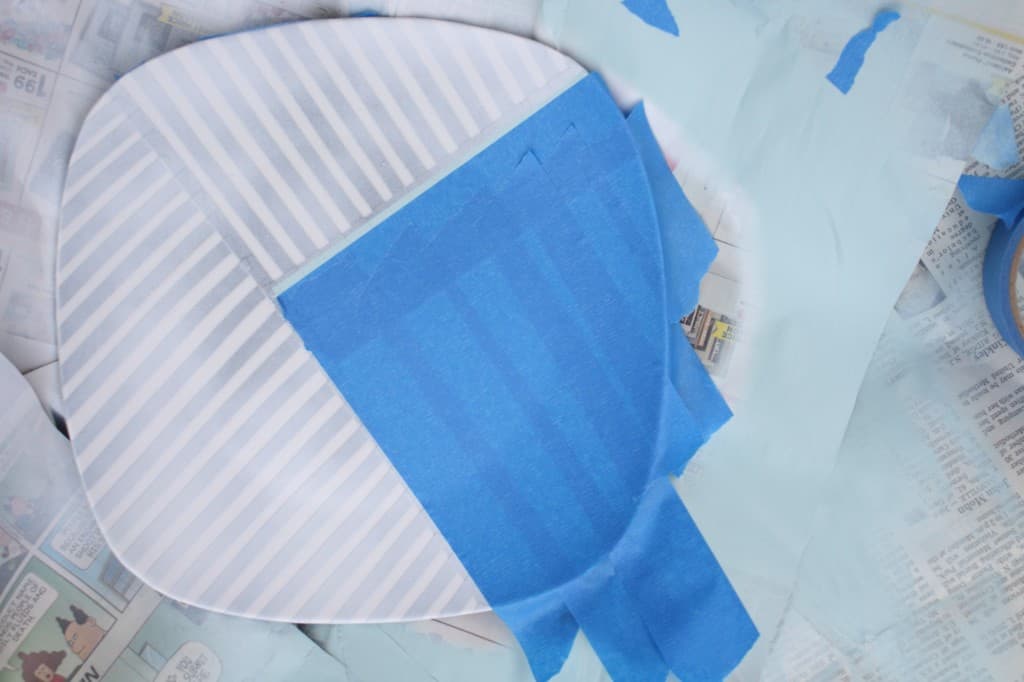
Once the first section of colored paint is dry, remove the painter’s tape and re-apply to the next section

second-blue-tape

This is the best part! Remove the painter’s tape followed by the art tape. When removing any tape, pull at a 45deg angle. This will make for a cleaner line. Once all of the tape is removed, add a coat or two of mod podge for protection. I knew I would be dropping watches on this dish so I wanted to be sure the paint would be protected.

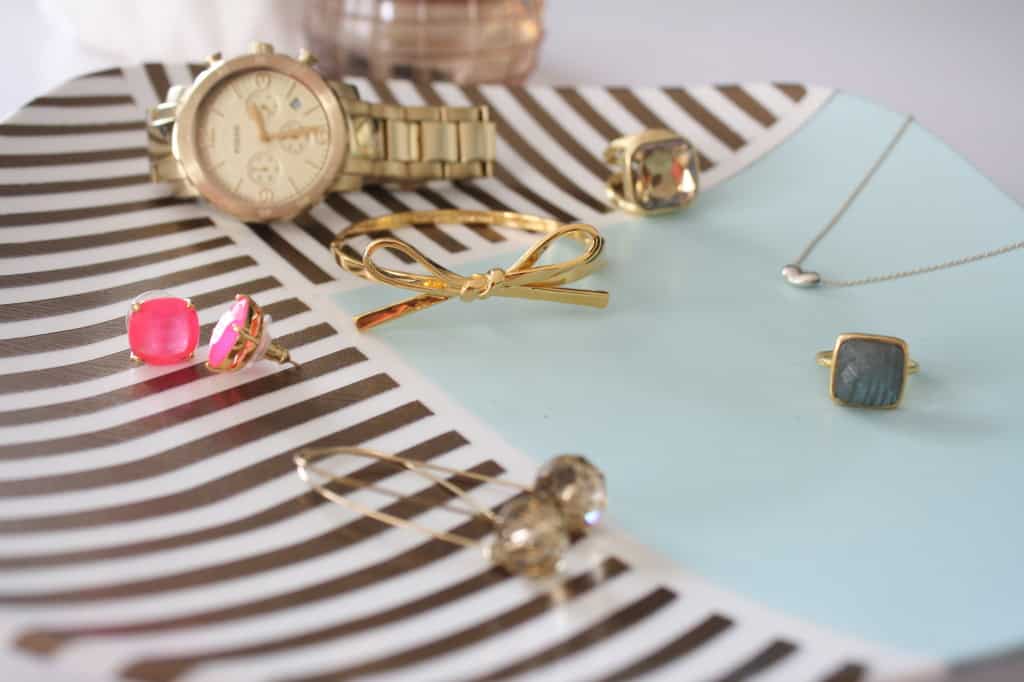
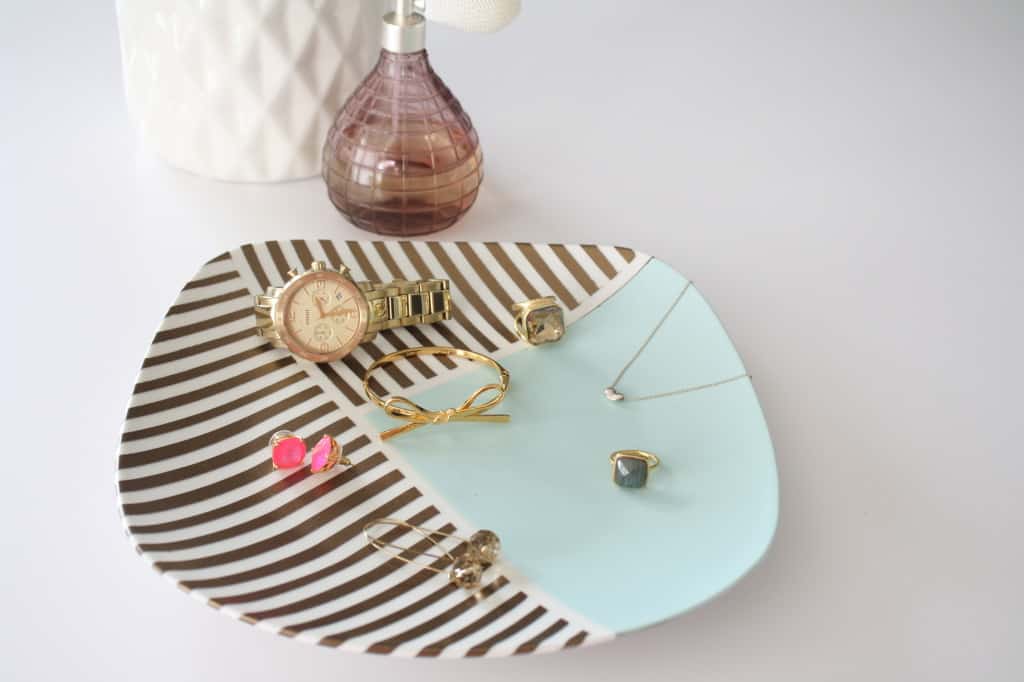
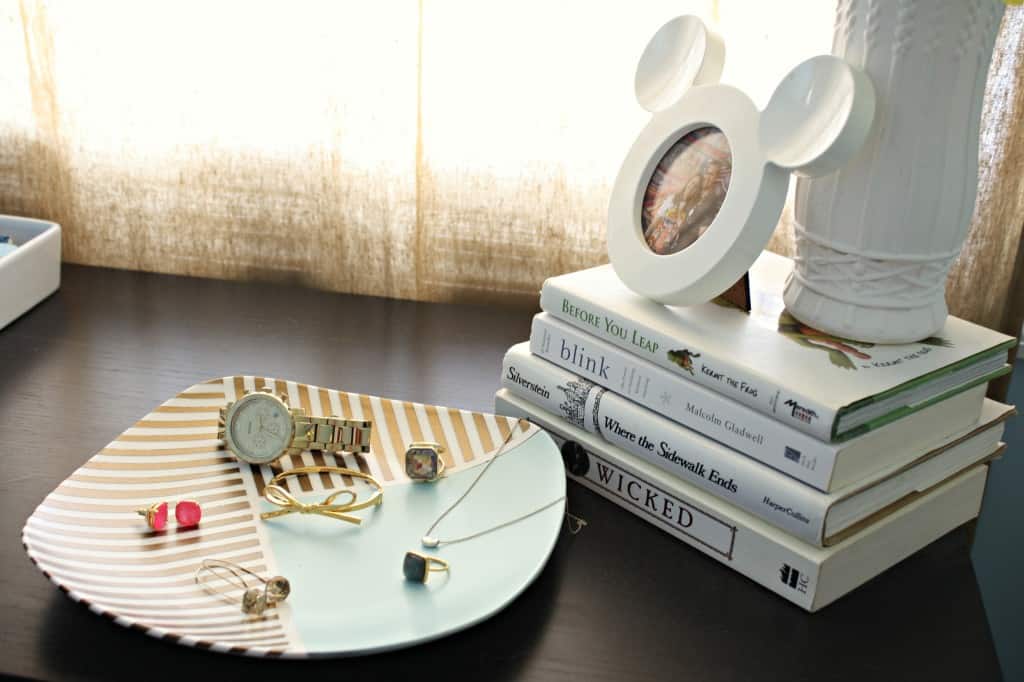
jewelry-dish-closeI loved the way it turned out! It’s different than anything I currently have in my home. I knew I wanted a soft feminine touch (which is why I have the mint green) mixed with a graphic design (the gold stripes.)

jewelry-dishNow, if my jewelry is laying out for a few weeks before I put it away, it looks beautiful! It’s usually my most special pieces and I love looking at them all together on my bedside table.

bedside-tableWhat do you ladies do to keep your jewels organized? Anyone else call their jewelry ‘jewels’? It makes them sound more sophisticated!

Father’s Day Finds

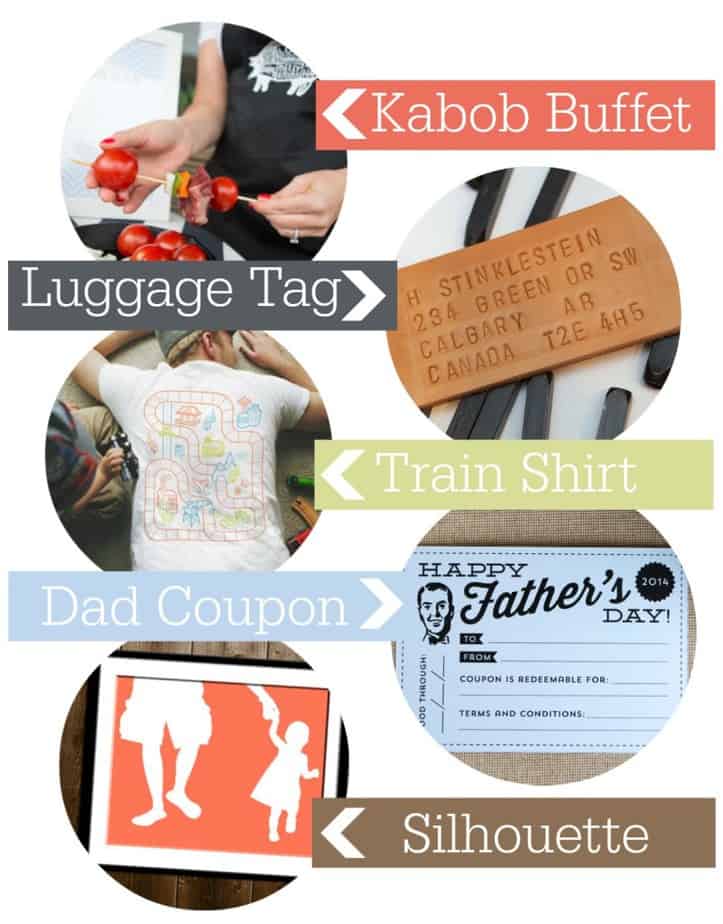
Ello Loves! (That’s how my English Grandma would have greeted you.) ๐Ÿ™‚ I’m talking to you chicks that have Fathers in your lives but haven’t found the perfect way to celebrate him yet (even though it’s this weekend!) School just got out, the weather’s been nice and there’s tons of fun festivals, fairs and concerts going on, so it’s not too surprising if you’ve been a bit busy! I’ve rounded up a few of my favorite ideas that are great for all types of Dads!  Father's-Day-Finds

This week’s finds were centered around DAD, because Father’s Day is this weekend and also because they’re awesome and deserve celebrating!

  1. A kabob buffet sounds like the perfect dinner for a Dad. Seri at The Ultimate Little Miss Blog had a manly way of decorating for her Cocktails & Kabobs Father’s Day dinner. Simple prep of chopping meat and marinating in a bag while you’re out for the day. You can really customize kabobs to what your family enjoys. We like shrimp and pork with pineapple somewhere in the mix but peppers, onions and tomatoes are always a must have for kabobs!
  2. Jane at Fair Goods made these sweet luggage tags for the Dad who’s always on the go. It’s not fun having a Dad who travels a lot but making something personal that he can have with him when he travels is a great way to show him you love him. I’d love to try out punching leather or metal but haven’t had the chance yet. It seems simple enough though!
  3. Abby had an awesome gift guide by price for Dad at her blog Just A Girl and her blog! My favorite item is the train tshirt that his kids can play on while he naps! Totally something I see my husband doing in the near future! Abby also just launched her ebook, Building A Framework, earlier this week and wants it to be available to anyone so you can name your price according to what you’re able to pay! Too sweet! PS I bought it but haven’t started it yet, so ask me if you’re interested!
  4. These coupons are the CUTEST! I love the retro feel Michelle from Elegance & Enchantment used in designing these printables. She also has soda labels and a card to match! I’m using these and writing ‘Redeemable for a week of baby free sleep.’ Meaning I’ll get Sophie every time no matter the time if she cries and do all morning feedings.
  5. Jessica’s silhouettes on her Etsy shop called iillume are to die for! She will do custom work from a photo you send her. She has some really cute action shots but my heart was drawn to this silhouette of a Daddy and his lil bean! I love her selection of colors as well so you can customize it to your decor.

Too cute, no?! These may be too last minute for this year if you’ve already planned ahead but for those of us (ahem) who couldn’t decide on anything and waited until now…perfect! What’re you all doing for the Dads in your life?? I’m lucky, my Dad will be visiting me this year and my husband will be in town so I’ll get both Dads with me this weekend! We’re going to picnic with my Dad and do a stepping stone with Soph’s hands for her Daddy. ๐Ÿ™‚ I hope you all have lots of fun celebrating!

Shelly


Google+