I have a lot of people comment on my nails, how often I change them, the colors, etc. so I thought I’d write a post and share my nail regime with everyone! I don’t do a lot of the extra manicure type stuff to my nails because I do them every week and it already takes a good chunk of time. Doing my nails is a MUST (therapeutically speaking)! It gives me a full hour to have the excuse to relax and not clean. The biggest thing I’ve learned over the years is to be patient (which I’m terrible at.) If you rush the drying process they WILL smudge and you will be mad you wasted all that precious time!
My Nail Regime
I want to start off by saying almost everything I buy for my nails can be found at the drugstore or grocery store. Some of the specific brands I buy can be found at Amazon (the links below are affiliate links).
Prepping the Nails
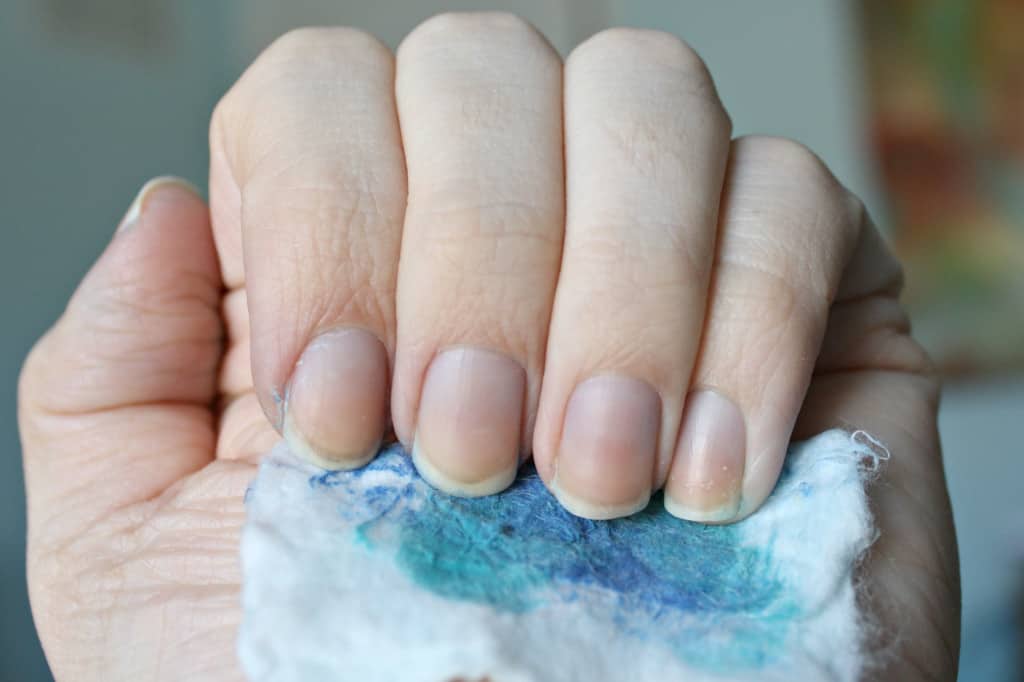
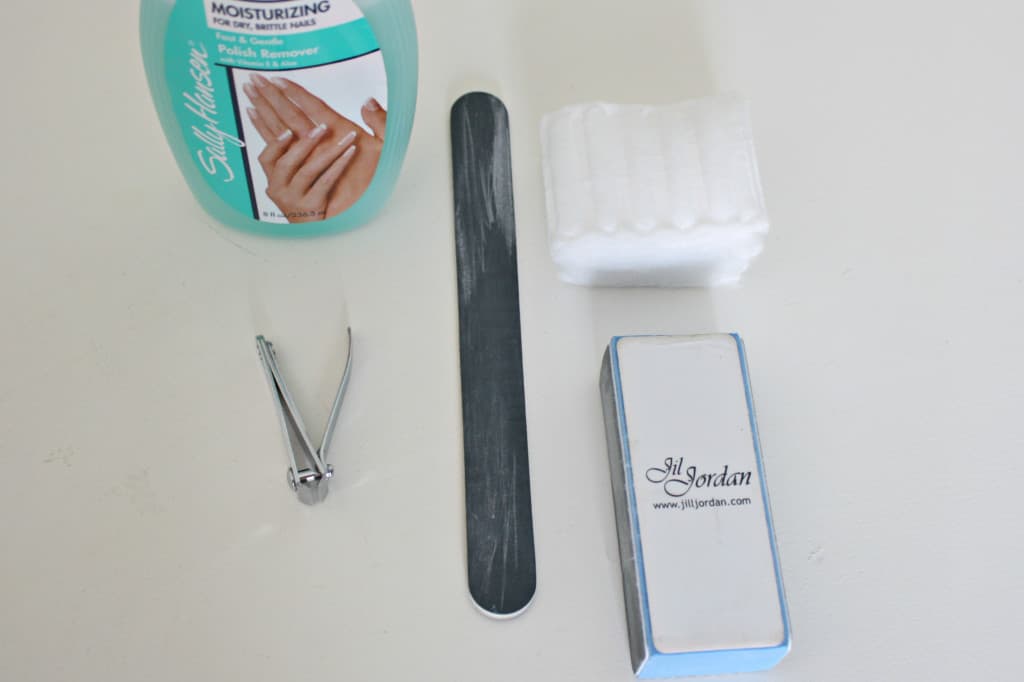
Ok, to start off I clean the existing polish off with remover so I have a clean canvas to work with.
The second step is to trim, file and buff (in that order.) I’ve found that rounding my nails too short can cause ingrown nails so I trim them straight across and then round the edges with a file.
Painting the Nails

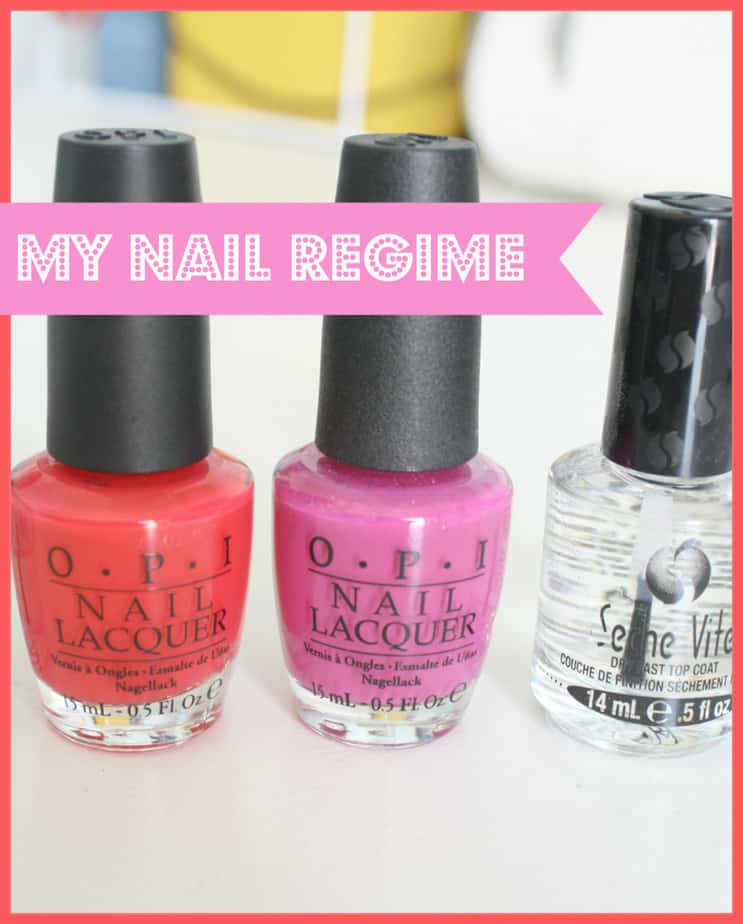
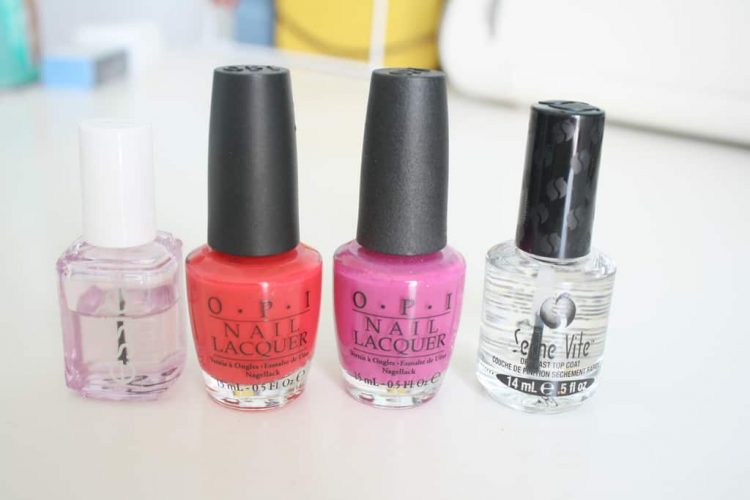
The third step is the painting process. I use a base coat, two layers of polish and seal it with a top coat. The Seche Vite topcoat is the product I would suggest to not skimp on. It goes on smooth, has a nice shine and helps the polish to not chip as quickly as other topcoats. Also, the higher the price, the higher the quality of polishes. OPI and Essie are my go-to brands. They are higher in price but they are more opaque, they last longer (b/c they don’t separate or dry up in the bottle) and they don’t chip as quickly as the less expensive brands. If you are just starting out and don’t want to spend a ton, I’d suggest Sally Hansen. Geez, this really sounds like an ordeal! It’s really not that bad! If you do have a lot of polishes to sort and organize go here to see how I wrangle it all.
Finishing Touches
The final step is to wait. Not too terribly long because it is a fast-drying topcoat and if you waited in between coats, you’ll be fine to not wait more than 5 minutes for this step. The key is to use thin, even coats. You’ll probably use two coats of each polish unless the polish is super transparent. If you’re only using one coat, you’re probably putting it on too thick and it will take forever to dry. It dries from the top down so it has a better chance of fully drying if you use thin coats. The colors I used today were Cajun Shrimp and Ate Berries in the Canaries by OPI.
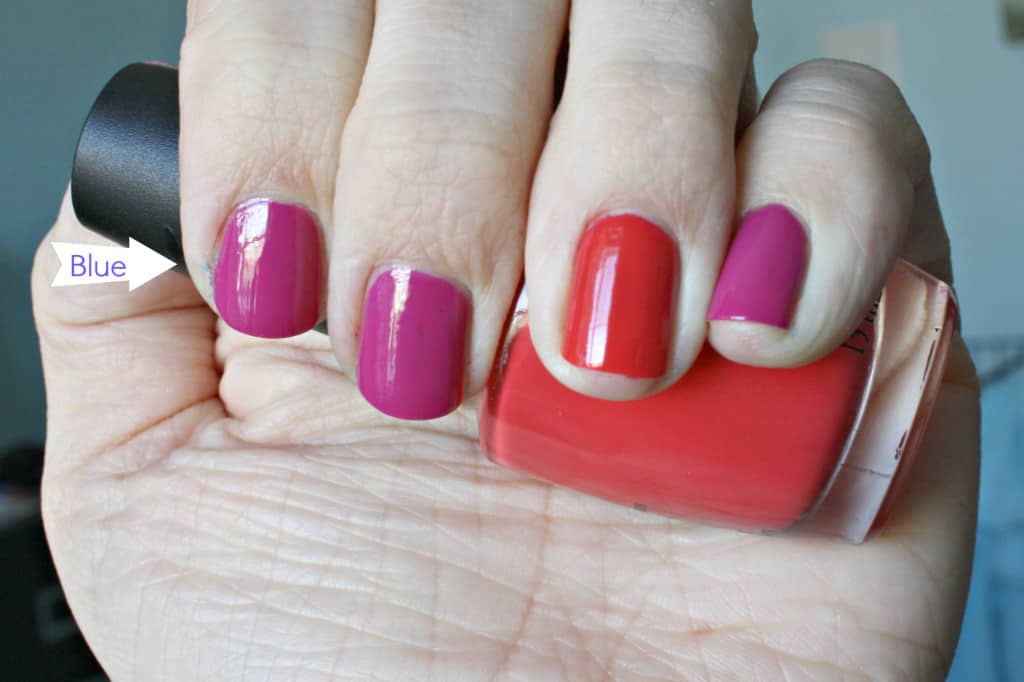
The blue on my skin is b/c I have cracked skin from the winter. It will go away by my next shower and no one notices but me so I don’t worry about it. Two tips I thought of as I was painting: 1. If you want a party nail, paint that nail first. I always seem to forget! 2. Don’t push the brush all the way up to your cuticles. It makes for a cleaner look. 3. Swipe the brush along the cuticle line, (a bit away from it) around the outside, do the other outside and fill in the middle last. It just works better than swiping paint across from one side to the other.
Girls Night Out
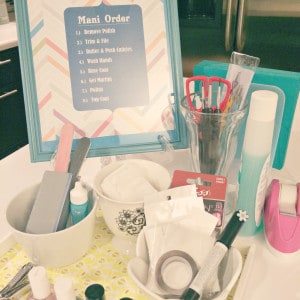
I’ve only started to dabble in nail art. I’ll leave that for another day once I try out more techniques. I got to try out some pretty sweet bedazzling jewels at the Manis & Martinis party I threw for our neighborhood Girls Night In. If you need a theme for a party with 3-10 ladies, this is a GREAT one! It’s good for the experienced nail polish lovers to swap colors and jewels and it’s helpful for the beginners to learn from the pros! I used a sign to help move things along so the beginners would know what order to get set up.
It was a huge hit. I know this because it was supposed to be 1-2 hours with ladies saying they couldn’t stay long and they didn’t go home til 3am. 😉 Suckers! Do any of you have a group of ladies that get together to have adult conversation? It’s very helpful for me because I’m a SAHM and I crave girl time! Any new polishes you’re obsessing over? Let me know!
Related Posts to My Nail Regime:
