fall

Mark Your Calendars for These Fall Events at Conner Prairie

Fall Events at Conner Prairie- some of my favorite memories of visiting Conner Prairie are from the fall months. The cool crisp air, smell of camp fire and lots of fun family activities! Here is  a quick sneak peek of what’s to come this fall at Conner Prairie. Be sure to check out the apple cider slushies at the Apple Store! If you are an email subscriber they usually give coupons in your email for discounts at the Apple Store.

Fall Events at Conner Prairie

NEW! BLACK PIONEERS: ROBERTS SETTLEMENT IN 1836

Museum theatre on Saturdays in September
Part of Giving Voice: African-American’s Presence in Indiana’s History, a
collaborative initiative of Conner Prairie and Asante Children’s Theatre.
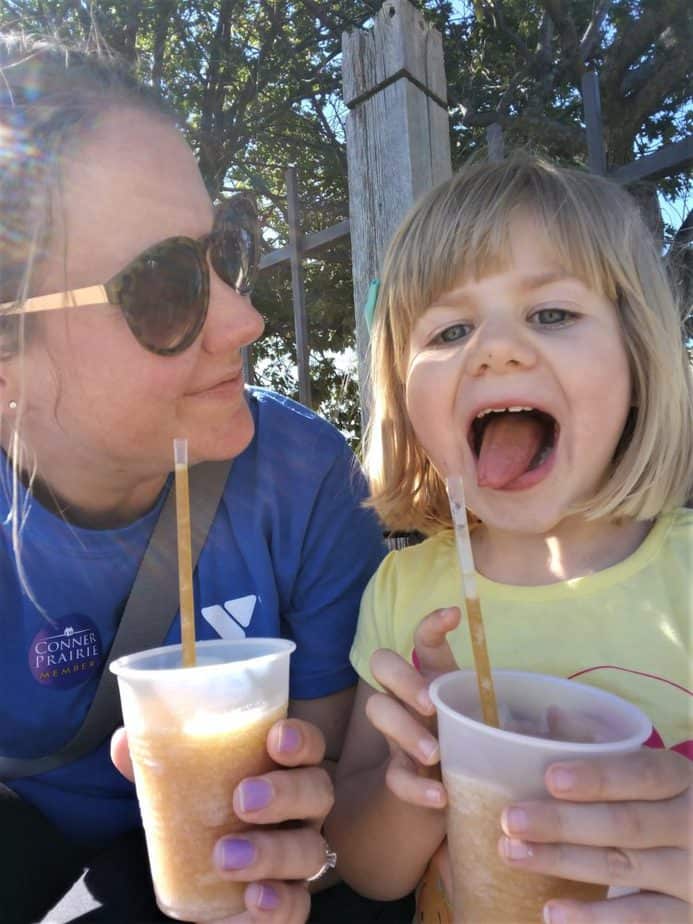
Fall Events at Conner Prairie Apple Store

THE APPLE STORE

September 1–October 31
Treat your family to deluxe caramel apples, cider slushies, apple-themed gift
items and more. This seasonal treasure is managed by the Conner Prairie
Alliance and its proceeds support Conner Prairie’s exhibits and programs.

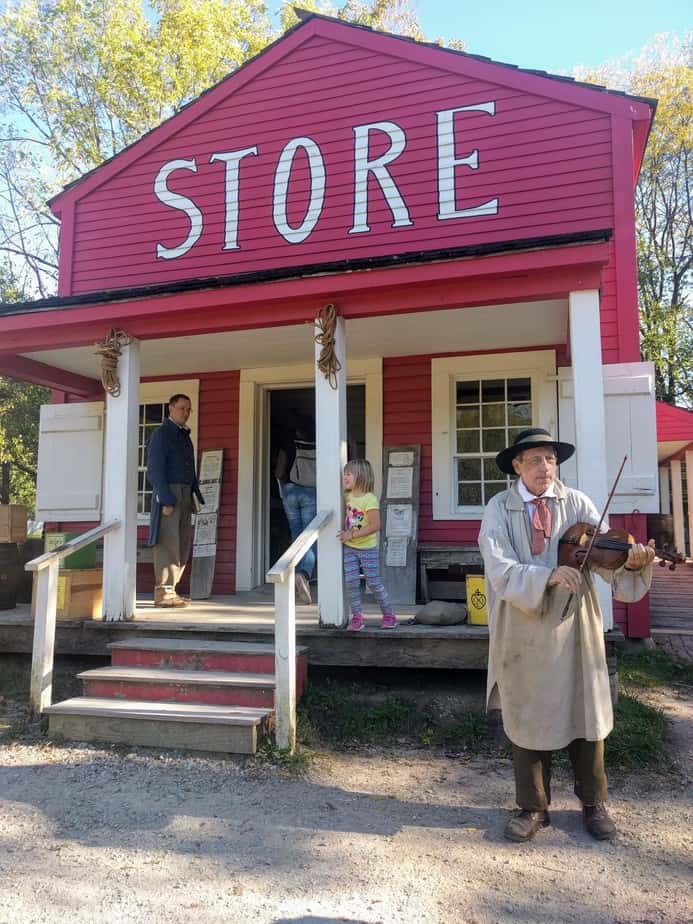
PRAIRIETOWN LAND SALE

September 3
Would you like to be a land owner and settle in the beautiful and growing
village of Prairietown? Join us as Dr. Campbell auctions off town lots to
prospective settlers.

Prairie Town at Conner Prairie

FESTIVAL OF MACHINES

September 15, 16
Celebrate Indiana’s rich history of designing, building and innovating amazing
machines. Explore a wide variety of vintage vehicles as we play host to the
Indiana Region Classic Car Club of America’s Indiana Grand Classic.
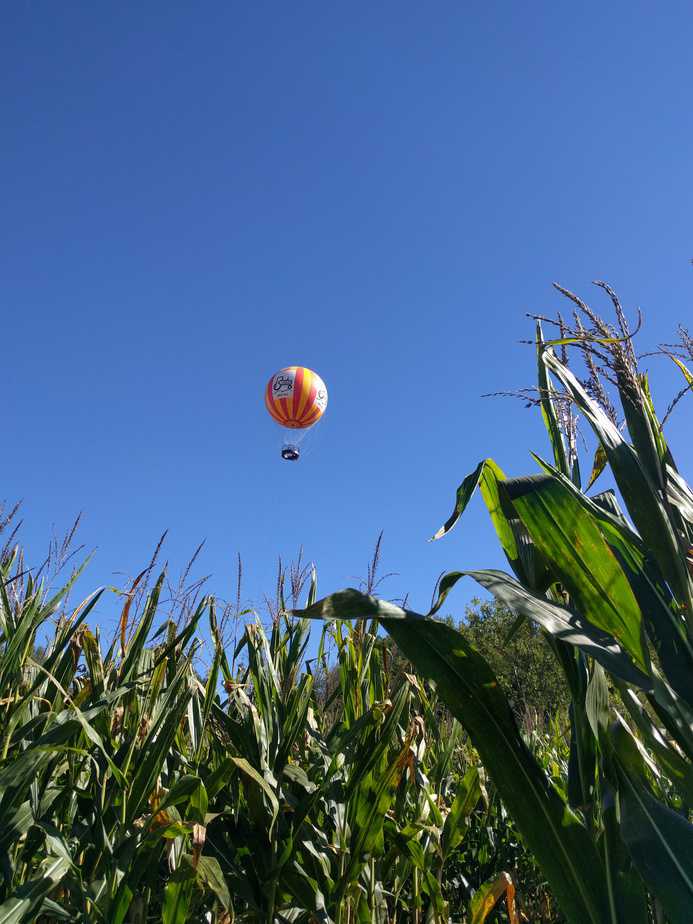
CORN MAZE

September 22
This family friendly attraction will have you adventuring your way through
corn-lined trails that twist, turn and dead-end. Check out my write up from last year’s first annual corn maze. Visit connerprairie.org to
learn more.

What has been your favorite fall memory at Conner Prairie so far? If you haven’t been, what are you adding to your family bucket list for this fall?

Other popular posts:

Symphony on the Prairie at Conner Prairie

Before You Go: Conner Prairie

Pin it for later:

Fall fun at Conner Prairie

Halloween Street Sign

Hello to all you people itching to decorate for Halloween! I started early this year, by a week, and my husband was NOT happy. I had to though because our October weekends are already full and I really wanted to make a Halloween street sign! I’d seen street signs like this for weddings and have always thought they were cool but didn’t know when I’d ever use one…until now!

I loved making this sign because I could put our personalities into it. We made a list of scary/Halloween places and narrowed it down to our top 7 favorites. Unfortunately, the Shrieking Shack did not make the cut but I’m pretty happy with the ones that made it on the sign. Obviously to represent #teamEdward, I had to have Forks, WA. I also had a few nods to Disney with Jeffrey’s favorite Disney movie, Nightmare Before Christmas (as well as Monstropolis and The Haunted Mansion.) I’ve been told Crystal Lake and Elm St. are from popular scary movies of which I will never watch. I’m pretty sure everybody, young or old, knows the tale of The Headless Horseman so we threw Sleepy Hallow on as well. For us, this project was 100% free because we had every item on hand, but it would still be a fairly cheap project if you were looking to buy the materials. Check out the scrap wood pile at your local hardware store for free wood.

Materials Needed:

  • 7 ft 4×4
  • Several 1×3, 1×4, 1×5 or 1×6 boards cut at varied lengths
  • 8ft 2×4
  • Miter or Hand Saw
  • Chisel (optional)
  • Wood Stain
  • Brush and Rag for Stain
  • Screws
  • 2 Bolts & 2 Nuts
  • Acrylic Paint & Brushes
  • Letter Stencils
  • Polyurethane Spray

jeans

chisel-topThe first step is to wear the proper clothing. Flip flops are not the proper protection when working with large lumber and a saw but I can’t wear shoes because of my broken toe. Your husband’s jeans are the other piece of attire that you will want to wear, as you will get sawdust and stain on your clothes (don’t forget to ask first.)

Jeffrey had the great idea to have some of the boards angled, so he used the miter saw to cut the corners off the 4×4 and finished them off with a chisel to make the angles longer. This step is optional.

lay-out

base

As you cut boards, lay them on the sign to see how you like them spaced. By laying them out we decided which ones we wanted to have points on the end and made sure we didn’t have too many that looked the same. (Please forgive the photo as it was dark when we were building.)

For the base, Jeffrey used nuts and bolts to attach two 2ft 2x4s and screwed two 2ft 2x4s perpendicular on the ends of those boards, making an H.

painting-materials

forks

I stained the wood pieces according to the directions on the can. I stained them by the motion detective security light that constantly was turning off. Mistake number two (the first was wearing flip flops.) Thankfully, I didn’t mind if the stain was uneven and having some boards darker than others, because I wanted them to look different, as if they were added at different times. I also liked that we had several types of wood so the stain ended up being varying shades of brown.

I was not meticulous on my hand writing or the evenness of the paint. Not sure why, but in my mind, the people who would write the signs didn’t really care that they looked nice? Not sure where I got that, but I feel since it is for Halloween, it can be a bit sloppy. I used a round tip brush for the cursive signs.

halloween-town

stencilFor one sign, I did a sloppy job of painting an alphabet stencil. My husband suggested I use Sophie’s hand in red paint to smear on the sign. I thought using a baby’s hand print would be too creepy. Also, by adding another element on top of the words, I’d probably mess up the sign and make them too hard to read.

street-signs

attatching-signs

Once I wrote on all of the signs, we sprayed a clear polyurethane on the front of the boards. See the bottom right area where it’s sprayed white? I had the wrong can of spray paint and used white instead of clear! Mistake 3. I mimicked the white spray paint up in the top left to even it out and didn’t worry about it. Mistakes happen!

We attached the boards by pre-drilling a hole in each sign and then screwing it to the 4×4. We used only one screw in each board so we could adjust them once they were all added to the post.

Tada! Our sign up in the yard! I still want to do quite a bit more decorating on the porch for Halloween (the leaves are just fall decor.)

finished-sign

finsihed-sign-2I’m going to add tomb stones around the base and light everything with can lights. I may add a few skulls or bone or spiderwebs as well. What do you do to decorate for Halloween? Do you decorate outside too? Are you the playful Halloween decor type  person or a gruesome decor type person? Sorry, neighbors, for being ‘that neighbor’ who puts their Halloween stuff up in September!

Pin it for later:

office-garland

Fall Leaf Garland

Fall Decor Ideas

I’m staying warm inside today because it’s definitely fall according to the cold dark rainy day outside. I am staying very busy with crafts and I have my favorite pink nail polish with pink glitter on to keep me happy. I’ve seen so many roundups of fall decor this year but they’re very country/burlap/twine. I think that style is cute but it isn’t what I’m loving right now. I wanted to do a roundup of a few of my favorite modern/fun/whimsical fall decor ideas. I currently have a few sets of mums and some leaf garland on the craftsman posts on the porch but I’d love to incorporate these into the interior of my home!

fall leaf garland

These felt leaves have been circling the internet for a few years and I always think they are so darling. I love the chunky yarn used to string the leaves together. Felt always reminds me of the weather getting colder so I think it’s the perfect material for a fall garland.

chalk-board-fall

I’m in love with this Fall themed chalk wall Andrea made for her family! She changes the wall according to the fun activities they want to do during that season. I think it’d be a great way to check off and remember some of the fun that you’ve had with your family! Also, if the weather is looking beautiful you can just look at the wall to figure out what to do that day!

painted-pumpkinsI love how Meeha Meeha painted these sleepy pumpkins! They’re such a darling little family. It’d be fun to have each member of your family paint their own. When I was younger we’d hollow out gords, paint them and put a shellac over it so we could use them year after year.

painted-leavesI’d stumbled upon Alisa’s blog and fell in love with her style! I think this painted leaf garland is super crafty/bohemian and could be painted to match your decor. It’d even be fun to have your kids help you collect leaves and paint with you! Keeping this one pinned for when Sophie’s older!

brad-pumpkin-1Since I’m a bit obsessed with all things confetti and sprinkles, I fell head over heels for this push pin confetti pumpkin Victoria made. I love the happy dots on the white pumpkin. I’m a fan of using colors other than red, orange, yellow and brown for decorating during the fall so this pumpkin would be a  happy addition. You could even do gold brads on a white pumpkin to chic it up a bit!

Fall Pumpkin Flower Arrangement

Adding some fresh cut flowers in a styrofoam pumpkin is one of my favorite centerpieces for the Fall season! This Fall Floral Arrangement is also one of the cheapest an easiest ways to make a themed arrangement that is good from September through November!

Are you a fall decorator or do you just wait until Halloween and go all out? What about your style? Traditional or do you like to add a bit of whimsy and DiY to your holiday decorating? What should I make first? I’d really like to make one of these while Sophie’s gone this week. Happy Fall!

Pin it for later:

DIY Fall Decor

Fall Pumpkin Flower Arrangement

I’ve wanted to make a fall pumpkin flower arrangement for the past several years.  A few years back I carved a real pumpkin and planted mums in it for the front porch. I’d seen them all over town and thought it would be a fun project. I was so wrong. It was difficult to find the correct size and shaped pumpkin that would fit the mums I had. Dirt got all over the deck when we planted it and it ended up being eaten by squirrels before the weekend was over. It’s been several years since that debacle and I’m back for round two!

Fall Pumpkin Flower Arrangement
This time around I wanted to up the scale a little bit. I wanted to be able to re-use the pumpkin vase every year and add real or silk flowers to match my fall color scheme. This year I went through ProFlowers because they have the most beautiful flower arrangements that are delivered fresh and last forever. I fell in love with their Fall Harvest bouquet and although it wasn’t exactly as the photo online, I liked it even more because of the happy red tipped roses.

Fall Pumpkin Flower Arrangement

Materials Needed:

  • Medium sized styrofoam pumpkin
  • Knife (I used a box cutter but any sharp knife will work)
  • Vase (I used a OXO storage container but an empty tin can or glass vase would work)
  • Fresh or silk flowers

Fall Pumpkin Flower Arrangement

Fall Pumpkin Flower Arrangement

The Styrofoam is thin, making it easy to cut through the pumpkin. I found using a stabbing motion worked better than a sawing motion. Place your vase inside and fill with a measuring glass. I attempted to fill the vase with water first before placing it in the pumpkin and was seriously unsuccessful. Trim down your flowers and arrange as desired.

Fall Pumpkin Flower Arrangement

Fall Pumpkin Flower Arrangement

Fall Pumpkin Flower Arrangement
I love the look of the white pumpkin because it lends to being able to use any color palate of flowers. I plan on using this pumpkin vase at Thanksgiving as well and adding a few smaller squash and candles down the center of the table. I like the simplicity of my current fall pumpkin flower arrangement because I have so many other decorations up for Halloween.

Fall Pumpkin Flower Arrangement

Fall Pumpkin Flower Arrangment
What do you use as your centerpiece during fall? Do you only decorate for bigger holidays like Thanksgiving or Christmas or do you go all out through fall? Jeffrey thinks we need less decorations but there’s no way I can let go of them! Now I’ve got Sophie on my side as well because she digs the decorations.

Similar Fall Posts:

Fall Leaf Garland

Fall Nail Ideas

Pin this for later:

Fall Flower Centerpiece

Fall Leaf Garland

Fall Leaf Garland- I’ve noticed a lot of people saying they don’t decorate for fall because Halloween is right around the corner or the decorations are not their style. I say fall deserves it’s own decorations! When I think ‘Fall’, I smell pumpkin spice lattes and bonfires. I hear cheers during football games and the crunch of dried leaves. I feel the snuggles of a warm blanket while reading a favorite book and possibly sipping warmed cider. Guys, fall is awesome and it deserves it’s own decorations.

I made the most simple felt leaf garland that is super easy to customize by changing the colors to your favorite fall pallet. This fall leaf garland can be easily customized to suit your style.

This craft could not be easier or cuter! I love how happy these colors play together. These colors were inspired by a jewel toned hat I’d gotten one year. I always buy amazing hats but never wear them. Maybe this year will be the year of hat wearing!

instagramgarlandIf you follow me on Instagram, you’d have already seen these from last year but I wanted to be sure to do a tutorial this year.
materialsMaterials Needed:

  • Felt of your color choice
  • A piece of sturdy paper (for leaf stencil)
  • Scissors
  • Chunky Yarn
  • Tape

cutThe first step is to cut out your leaf pattern and trace it onto your felt. Use fabric scissors for an easier cutting experience. Once all your leaves are cut, fold each leaf in half (hotdog style) and snip little holes down the middle of the leaf. I would start in the middle and cut 4 to the right and 3 to the left allowing my thread to start and finish on the same side of the leaf after it was threaded. I suggest to do small snips and make them larger if necessary to make it look like you really sewed the yarn through the leaves.

sewOnce the leaf has it’s holes, use a piece of tape to make an aglet on the end of the yarn for easier threading. String all the leaves on your yarn and hang! Seriously. It’s that easy!

mantle-garland

triangleI also did the same method to make a mini garland for our family command center but cut the leaves in half.

pushpinpumpkinThe felt leaf garland was extremely simple to make but this bradded foam pumpkin was the easiest and fastest decoration I’ve ever made. I love his happy polka dots. It’s a nice change of pace from the orange/red/yellow standard fall decor I see in stores.

office-garlandI used 7 pieces of felt from the store which allotted several garlands. I even had enough to decorate my blog/craft desk! What’d you guys think? Simple enough? What colors would you use to match your fall decor? I think this would be a fun craft to do with your kids! Maybe use it as a count down or add a leaf for every book they read in the fall!

Pin it for later:

fall leaf garland

Google+