Hello and welcome to Sewing with Shelly! I’m about as novice as one can get when it comes to sewing. I can do a straight stitch all day long but ask me to do a button hole, pleats or embroidery and I’ll go straight to YouTube. That’s why I loved this simple diy sewing machine cover. Straight stitching and hot glue all day baby!
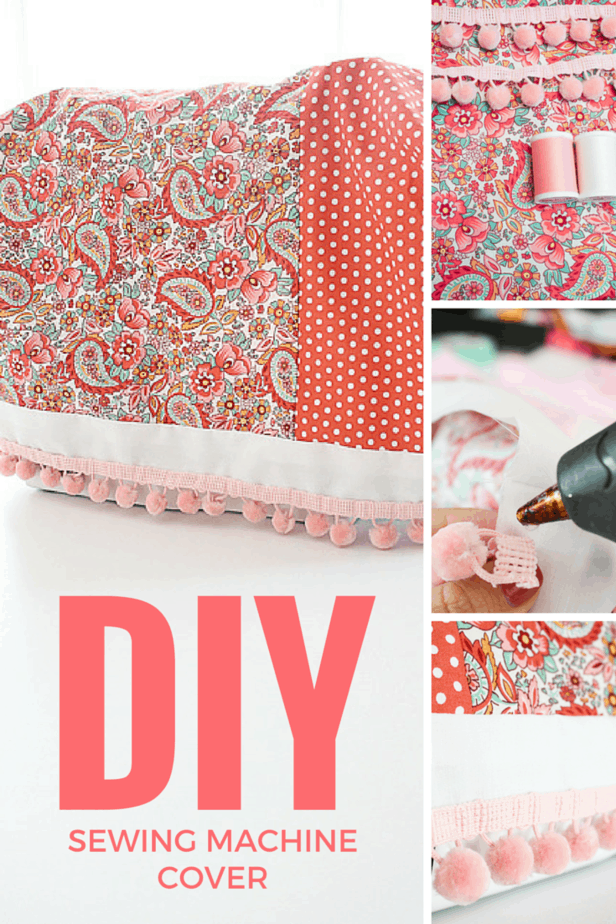
I’m not sure what compelled me to make a sewing machine cover because it is always hidden in a closet. I’m pretty sure it’s because I wanted to make something with that precious pink pom pom trim and my friend Pinterest lead me to this darling cover for my sewing machine.
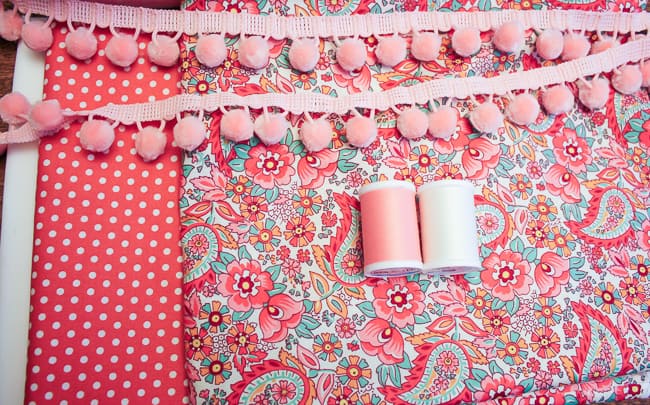
- 2 yards of coordinating pattern fabric
- 1/2 yard of solid fabric
- 1 1/2 yards of pom pom trim
- Coordinating thread
- Glue gun
- Sewing machine
I followed the instructions on this sewing machine cover tutorial by Bari J but did not add the lining. I slightly modified the pattern by adding a strip of white at the bottom to make the pom pom trim to pop!
The instructions were very simple to understand as long as you kept your pattered fabric straight. Above is proof that I never do one project at a time. I was working on Sophie’s Olaf Poodle Skirt at the same time.

I glued the pom pom trim on the bottom of the unhemmed cover because I like to save time if possible. Also, I was afraid my stitching would be wonky and it would look silly. I tacked the trim every few inches and know that I can just re-glue if I get too rough with my cover.
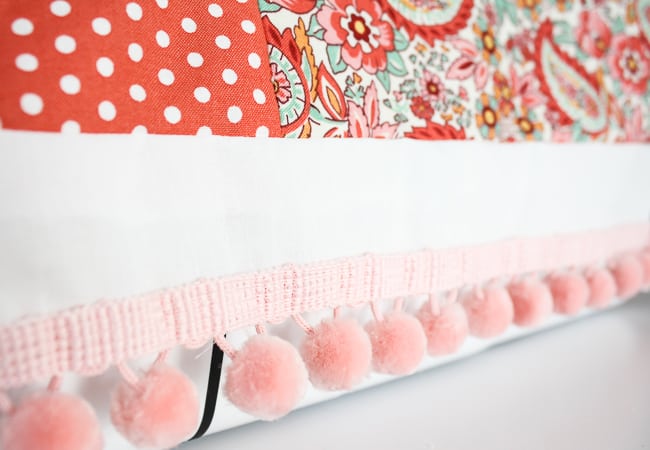
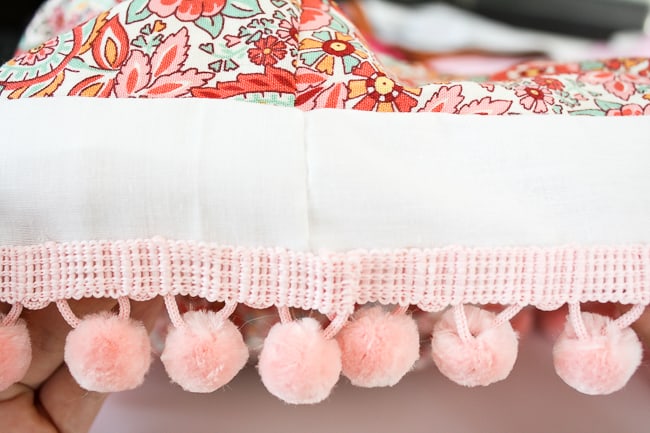
I chose to not add the lining of the cover according to the tutorial because once I got this far, it looked complete enough for me. I do think it could be cute with a side pocket to keep a small pair or scissors, chalk or measuring tape but I’m already utilizing a pretty great sewing kit that holds everything I need.
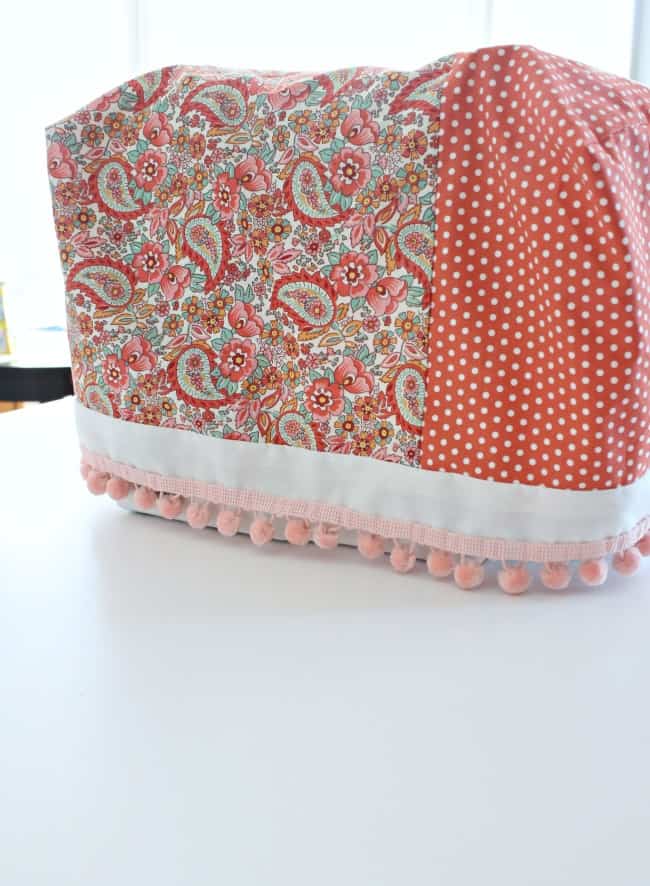
Definitely the cutest craft I’ve ever made! I have complete faith any other novice seamstress could make this cover with flying colors. What was your latest sewing project or are you more of a heat-n-bond type person (that’s how all of my curtains are hemmed)?
