jewelry

Beaded Tassel Bracelet

Anyone else have a huge tackle box of beads from when they were younger? I used to make necklaces and bracelets for my family, friends, teachers and just about anyone who would take one. I’ve been pinning to my DIY Jewelry board for over a  year now and have realized I have a lot of the materials to make these beautiful bracelets that I swoon over.

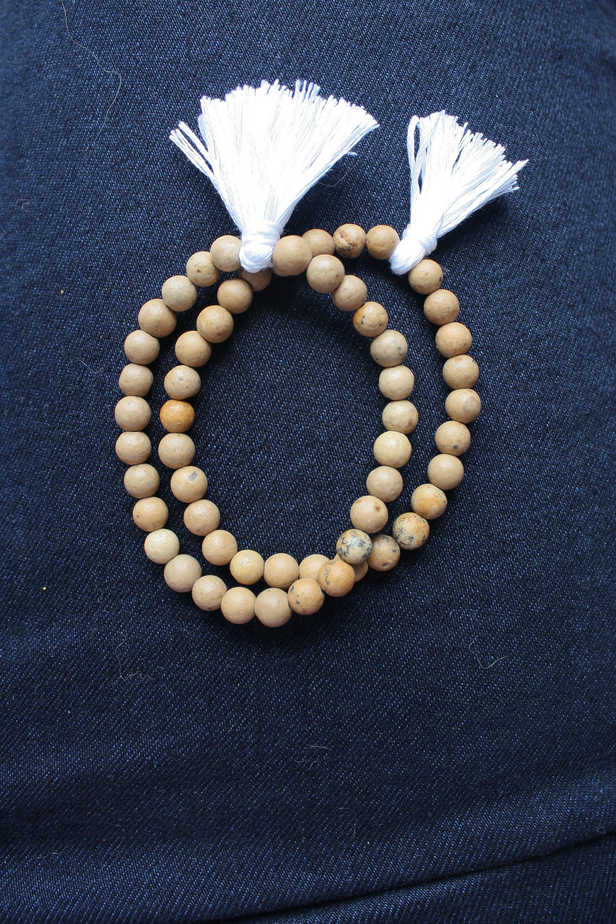
Today I decided to try my hand at a Beaded Tassel Bracelet that can double as mini Japa Mala beads (for me during times of need, such as, lunch time with a toddler).

DIY Beaded Tassel Bracelet
Simple Beaded Tassel Bracelet
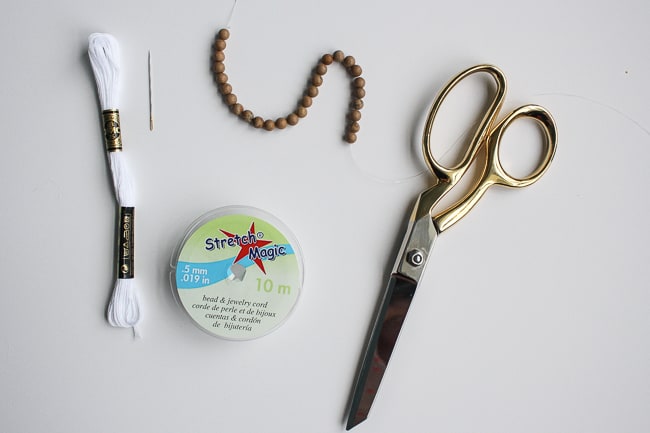
Materials Needed: Continue Reading about Beaded Tassel Bracelet

Jewelry Dish

Hello Gorgeous! Do you love jewels? Do you have an amazing display for all your favorite pieces? Do you always take your jewelry off every night and put it back in it’s designated home? Me neither. I mostly wear the same gold triangle studs, wedding ring and very strong gold necklace that my daughter can not break no matter how hard she pulls. It has her name on it so I guess she assumes it’s hers. If I DO switch up my jewelry for a special occasion, it usually ends up sitting on the sink or my bedside table for…oh…weeks. This needed to change, which is why I made this jewelry dish.

jewelry-dishMaterials Needed:

  • White Plate
  • Spray Primer
  • (2) Spray Paint
  • Art Tape
  • Painter’s Tape
  • Mod Podge
  • Foam Brush

The first step is to wash your plate. Make sure all dust and residue is cleaned from the plate. The next step is to tape off the design you’re wanting with the art tape.

art-tapeOnce you have your design laid out you need to prime your plate so the spray paint will adhere. If you buy a spray paint that works on porcelain this step is not necessary (but I used spray paint I had on hand.)

primer-sprayOnce the primer has dried, tape off the first color section. Make sure to follow the instructions on your can for drying time. If it is too hot or humid the paint will not dry well and the finished product will look messy.

first-blue-tape

Once the first section of colored paint is dry, remove the painter’s tape and re-apply to the next section

second-blue-tape

This is the best part! Remove the painter’s tape followed by the art tape. When removing any tape, pull at a 45deg angle. This will make for a cleaner line. Once all of the tape is removed, add a coat or two of mod podge for protection. I knew I would be dropping watches on this dish so I wanted to be sure the paint would be protected.

jewelry-dish-closeI loved the way it turned out! It’s different than anything I currently have in my home. I knew I wanted a soft feminine touch (which is why I have the mint green) mixed with a graphic design (the gold stripes.)

jewelry-dishNow, if my jewelry is laying out for a few weeks before I put it away, it looks beautiful! It’s usually my most special pieces and I love looking at them all together on my bedside table.

bedside-tableWhat do you ladies do to keep your jewels organized? Anyone else call their jewelry ‘jewels’? It makes them sound more sophisticated!

Google+