photography

DIY Photo Background

As one of my goals for June, I’ve made a few DIY photo backgrounds to spice up my photography. I had realized that my white foam board wasn’t cutting it anymore as it had hot glue and paw prints mucking it up. These photo backgrounds were extremely easy to execute but took several days as I had to wait during drying times for the glue and paint. The hardest part of the project was only choosing five paint colors!

Photo Background

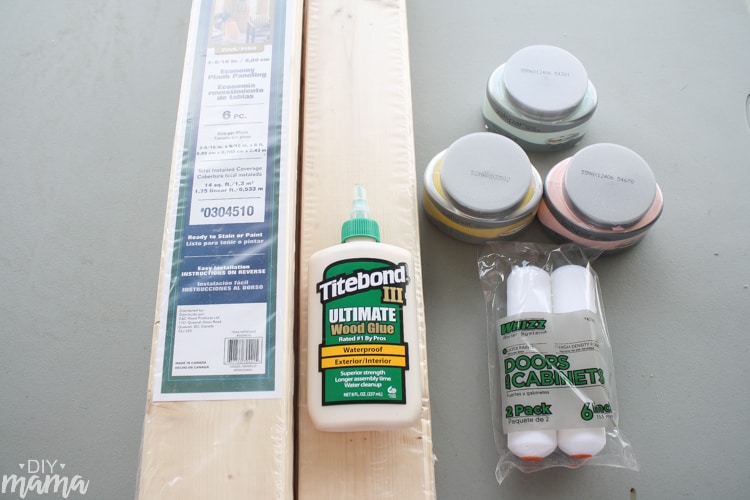
Materials needed (for three backgrounds):

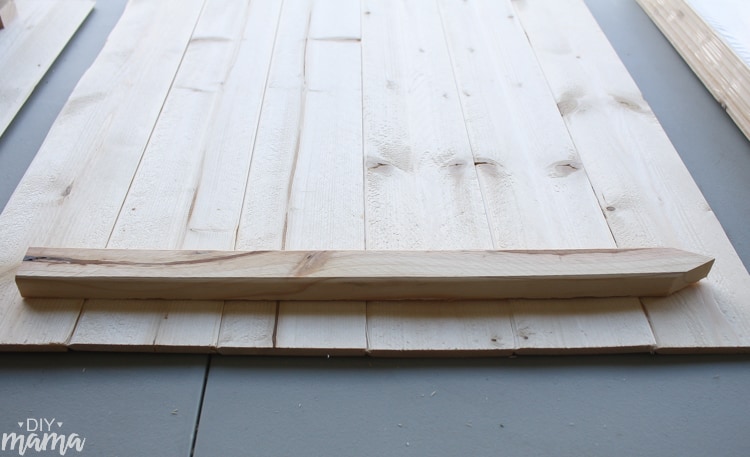
  • Pine plank paneling (found in the flooring department and cut to desired size)
  • Wood glue
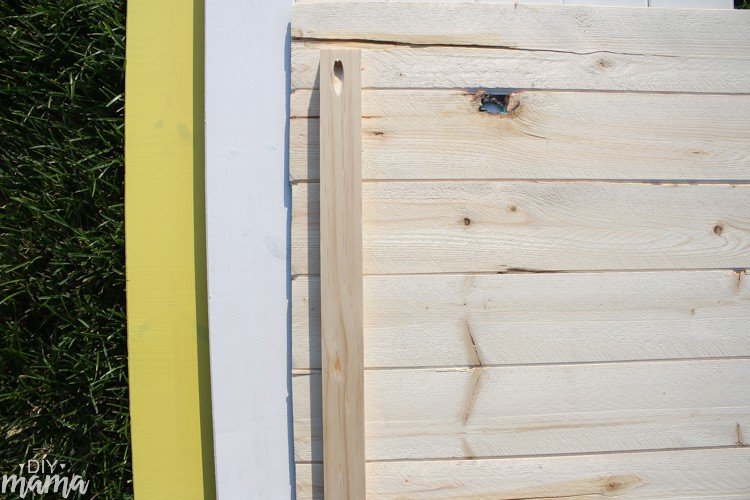
  • Spare wood (I used wooden stakes but a 1×2 would work as well)
  • Paint (I used Valspar sample paint from Lowes)
  • Paint rollers (I suggest the rollers made for doors and cabinets)
  • Clamps or weights (I used paver stones)

Photo Background Materials Photo_Backgrounds_Layout (1 of 1) Photo Background
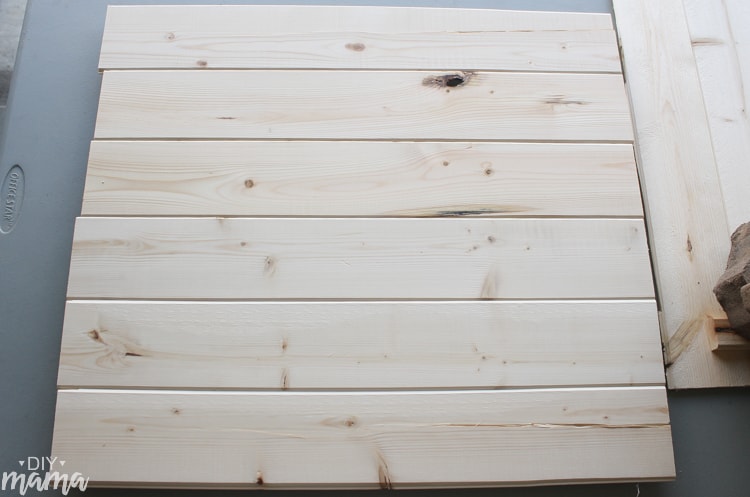
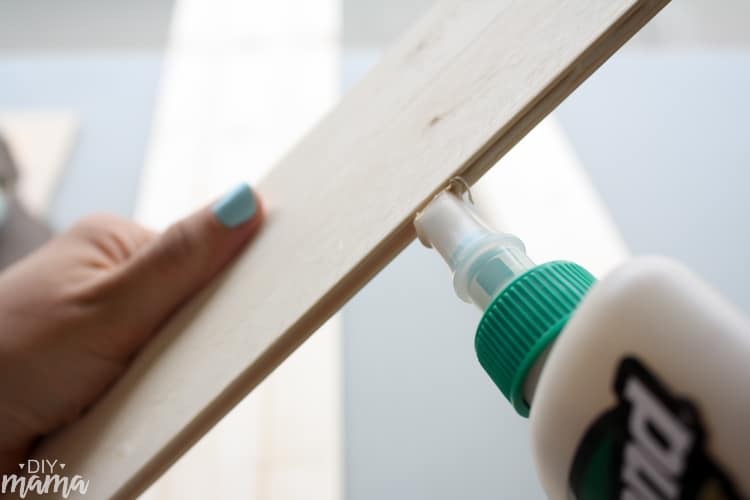
This project was simple and cost under $20 for six photography backgrounds. My first, and most important suggestion is to lay out the pattern of your planks and make sure they all fit snug. A few of my boards were warped and I hadn’t realized until I’d already added the glue.

Photo BackgroundPhoto Background
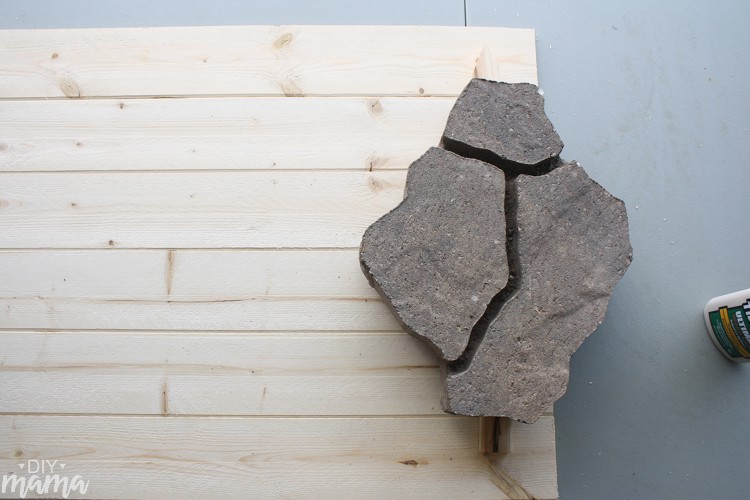
Originally I thought the planks would be sturdy enough. I let the glue dry between the planks and felt unsure about the longevity of my backgrounds. I used wood glue to add spare wood as braces on the back. I let the glue dry overnight being weighted by a heavy paver stone (a project Jeffrey is working on).

Photo Backgrounds Photo_Backgrounds_Background3 (1 of 1) Photo_Backgrounds_Background1 (1 of 1)
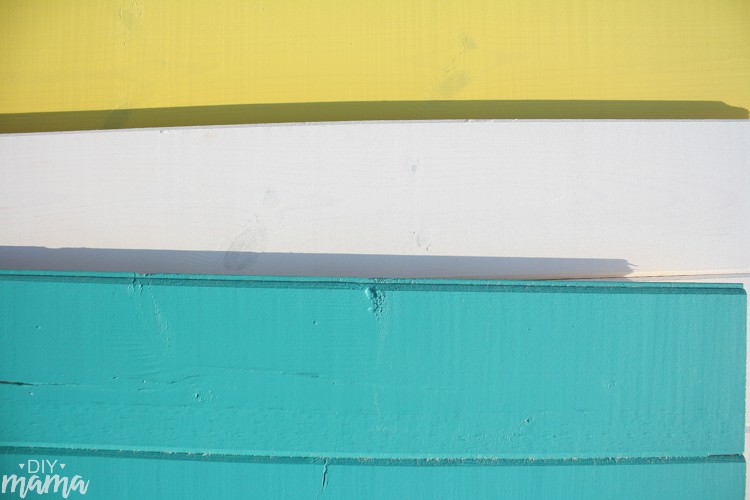
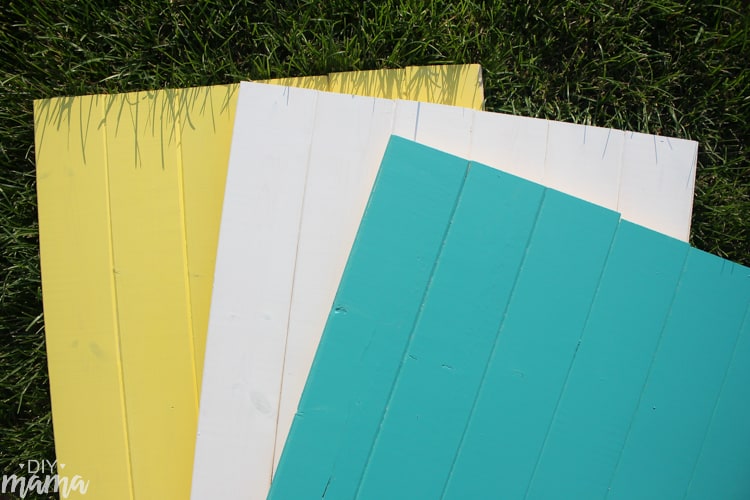
I rolled one thin coat of each color of paint, making sure it was evenly covering the board. I left one board bare on one side for a natural feel but painted every other side.

Let me know if you’ve made similar photo backgrounds or used different materials that are easy to store. I’m excited to start taking photos with my new backgrounds and hope they enhance your viewing experience.

Top 5 Photography Blogs

Hello and welcome to another episode of my Photography Series! Today, to stick with my Friday Finds theme, I’m going to do a round up of five favorite photography blogs. These blogs were highlighted for multiple reasons: 1. I’ve frequented them over the years. 2. The tutorials are well written. 3. They’re in terminology that I can understand!

photography-blog-roundup

  1. Inspire Me Baby is an awesome blog for inspiration. They have their site categorized by the type of photos you’re looking to shoot. They give tips on staging, what to wear to a shoot, and the basics on beginning photography. They also have guest photographers and you can submit to be featured for feedback.
  2. Digital Photography School is one of the top photo tutorial blogs. It’s free (biggest perk) and MASSIVE with submissions from hundreds of photographers! Literally any photo subject you can think to get better at, there will be a tutorial. I like how they have their site categorized by beginners but they also have a most popular posts section that is extremely helpful.
  3. Canon Blogger is a great site for me, because we shoot with a Canon EOS. It’s a great blog for classes, equipment, photo reviews and tutorials. Some of the articles aren’t Canon specific but deal with lighting, flash, composition etc.
  4. Clickin Moms is one of the very top photography sites right now. It’s basically the SITS Girls of photography. A wealth of knowledge from all kinds of photographers. You can even become a member to submit your photos and questions to get feedback on your shots. They’re also great for getting photo op ideas!
  5. Click It Up A Notch is one of my favorite photography sites to follow. I follow her on Facebook and Twitter because she always has an awesome post on a subject I want to learn more about. She also has a lot of Light Room tutorials which gets me closer and closer to buying that program every day! I really enjoy her photography style because it is so ‘in the moment.’

I feel so inspired when I look at every one of these photography blogs. These people know what they’re talking about in the way of getting the perfect shot. I hope you don’t lose too much time going to one of these sites because you could spend an entire day at each one! Set a timer. 😉 Any photography blogs I missed that you’re loving or have helped you in the past?

So what’s aperture do again?

Hello shutterbugs! I am doing a new series on photography the next several weeks. Photography is a hobby that I wish I was more passionate about. I look up to the people who can really capture a moment in time to freeze it for all eternity. It’s a major talent to be able to see an image and re-create it perfectly as you see it in your mind. This is my ultimate goal and I’m starting today by learning about aperture. I believe the best way to learn is by teaching others, so hopefully this will help me in understanding my DSLR further.

ApertureThere are three main areas of the camera that you can adjust to get your photo to turn out how you’ve imagined. The aperture, ISO and shutter speed can all be adjusted to get the perfect shot. Aperture refers to the adjustable hole in your lens that allows light to enter. Measured in f/stops, the smaller the number, the larger the hole and in turn, more light that can enter the camera. Imagine the aperture as your pupil; with low lighting, your pupil gets larger to allow more light to enter but when you’re outside where it’s sunny, your pupil shrinks to shield your eye from the light.

fstopsAperture is used in determining the depth of field (or portion in which your image is in focus.) The wider your aperture (low number), the shallower your depth of field making a smaller portion of your image in focus. The smaller your aperture (high number), larger your depth of field making a larger portion of your image in focus. I’m a visual person so here is an example of a low f/stop setting and a high f/stop setting.

tea-low-aperturemountain-high-apertureNotice how the tea cup is in focus but the background is fuzzy? There is a shallow depth of field because a low f/stop number was used. In the photo of the mountain, everything is in focus making the depth of field very large with a high f/stop number. The toughest thing for me to remember is that the smaller the aperture (hole), the larger the f/stop number. A good way to remember this is to squint and open your eyes real wide. People often squint to see things in focus (small eye = small aperture hole.) For an image with everything in focus squint or make your aperture hole smaller (f/stop number larger.) Basically, they’re opposites.

fstop2The best way to learn how aperture affects your photos is by taking the same photo several times, changing only the f/stop. Here are a few of my favorite explanations of aperture from my fellow bloggers:

i heart naptime
Kevin & Amanda
Click It Up A Notch
Snap Creativity

Now I must take advantage of Sophie’s nap and practice! What’s the hardest part for you to remember while changing the settings on your camera? Anything you’d like to learn more about that I can do in my photography series? Chances are, I need to learn it better as well! Just keep practicing!


Mountain and teacup photos were not taken by me. Click on the photo for the original photographer’s site.

Google+