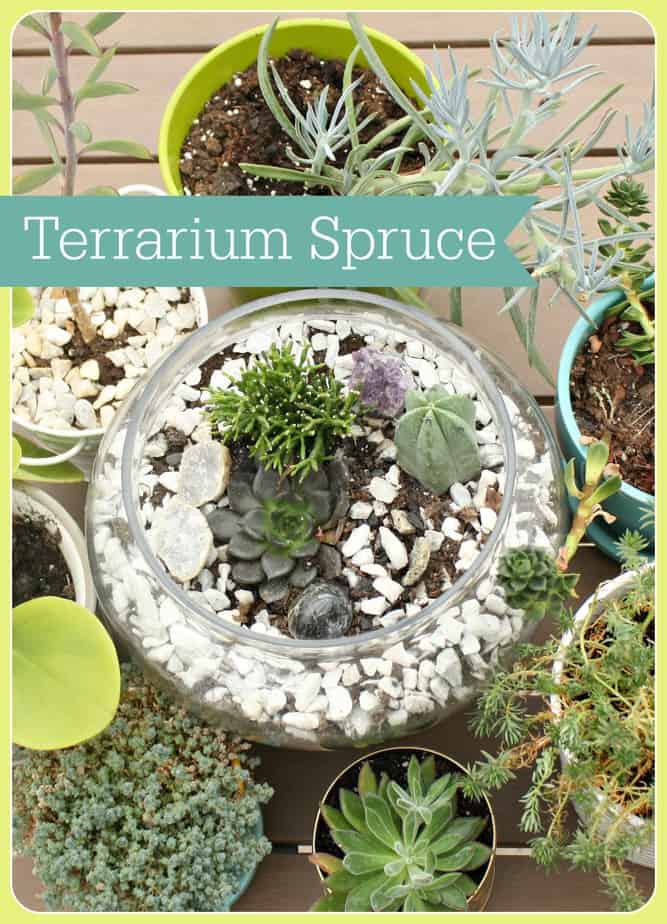
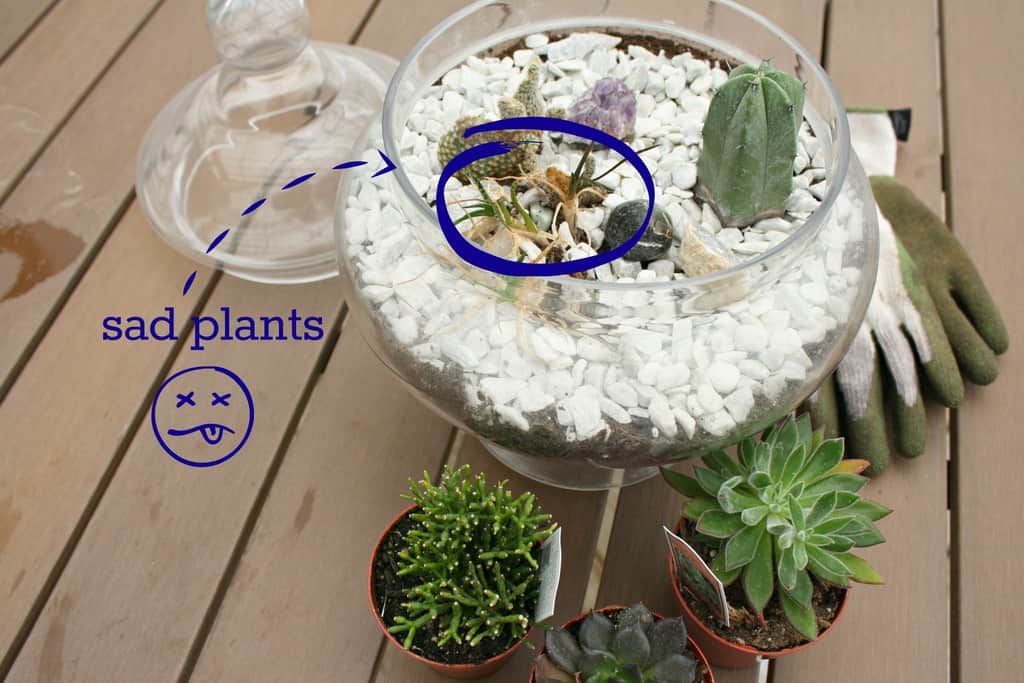
Sometimes it just feels good to do the little things to spruce up an existing project. I’d made a terrarium a few years ago that was looking pretty sad. It was covered in dust and had succulents begging to be put out of their misery. I decided to put a bit of elbow grease into cleaning and re-planting the poor thing and am very satisfied with the results!
The first step is to gather all supplies needed for said terrarium and check the weather. I prefer re-potting outside so the dirt can easily be brushed away (or left out for the rain to wash away.) I did not check the weather and was stuck chasing succulents across the yard because it was so windy…this was before it started raining on me. For this project I used the terrarium I’d already made, gloves and new succulents. You can check out this post on how to make a terrarium OR just buy cactus potting soil and add some rocks on the bottom for drainage and on top for decoration.
The Second step is to use your gloves (even if you think they don’t have spikes! Some of them look super friendly and fuzzy but they’re prickly and itchy and you have to put Elmer’s glue on your hands and let it try in order to peel off the stickers…I speak from experience.) Once I put my first succulent in, I realized only two would fit, so I decided on the two that contrasted each other the most.
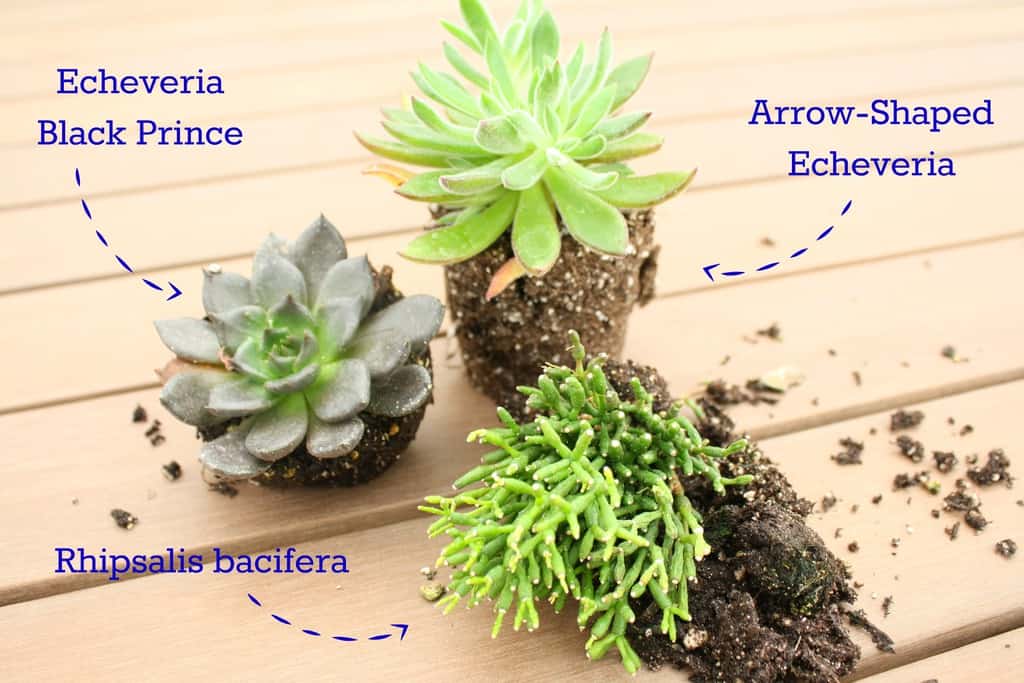
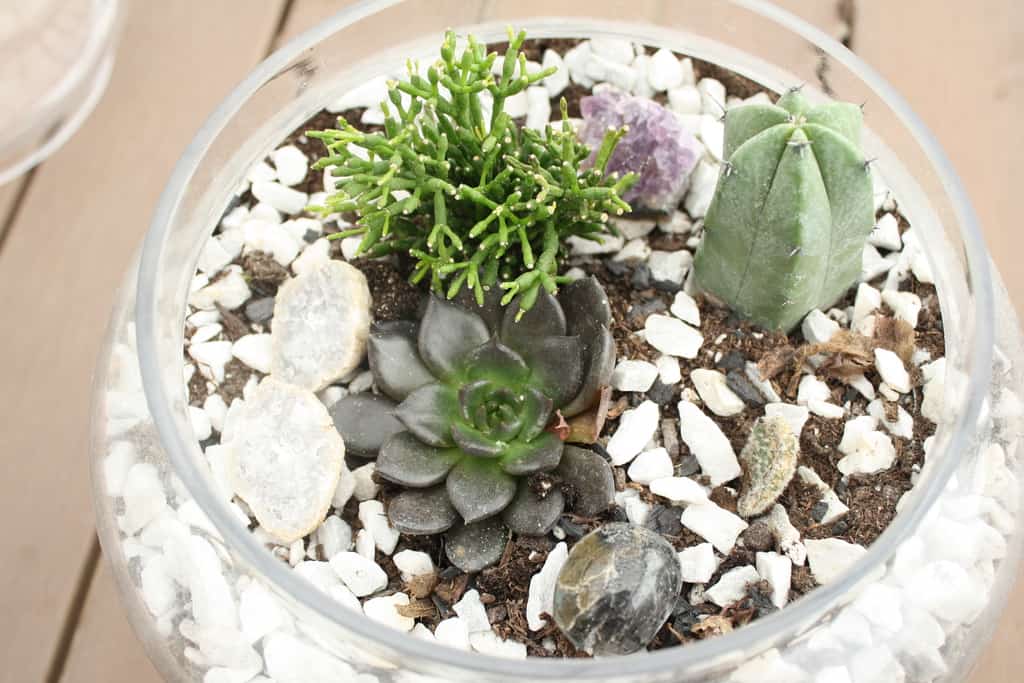
The third step is to pull out the dead plants and replace with healthy, pretty green, lucious plants! There’s really no wrong way to do this. Succulents are very forgiving as long as their roots are in the soil.
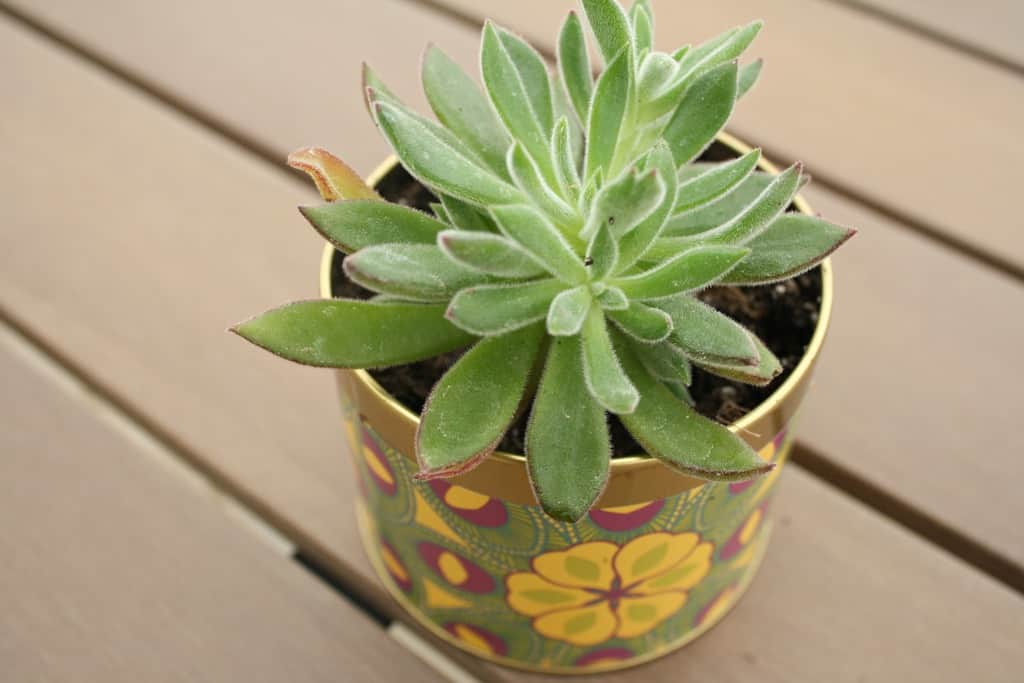
As for the lil guy who didn’t make the cut in the big terrarium…I threw him away. JK! I’d never throw away plants! There’s always room for more plants! I didn’t have any little pots to put my Echevaria in, so I used an old candle holder. I threw the tin in the freezer a week ago wanting to save the container to DiY it and it’s the perfect size for him! I’m thinking about peeling the sticker off and dip painting in mint paint but for now I’m kinda digging the design on the sticker! Doesn’t he look so cute and fuzzy in his new home?
For now, my terrarium is happily living with his friends in my kitchen where there’s plenty of sun. I took them all outside to have a play date photo shoot because we’re installing under cabinet lighting in the kitchen and it doesn’t make for a pretty background.
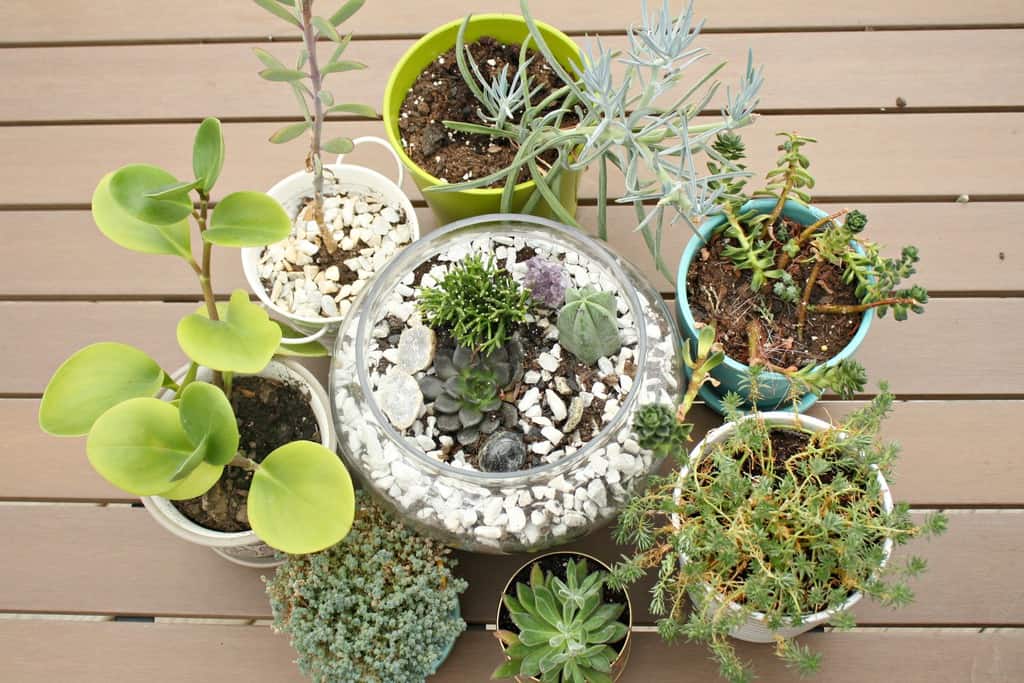
All of the plants above are from clippings from a horticulture class I took a few years ago (other than the new succulents for the terrarium). Don’t they all look so happy together?! Has anyone else made a terrarium or have a green thumb in succulents? Any suggestions on how to get my plants to be more full rather than long and lanky? What do you think about using old candle containers for pots? With as many as I go through, I’m going to need to be buying a lot more plants.