Hi friends! I’m super excited to share this tutorial with you because it was inexpensive, easy and fun! I love learning new crafting techniques and I learned how to do wood burning for this diy wood growth chart project.
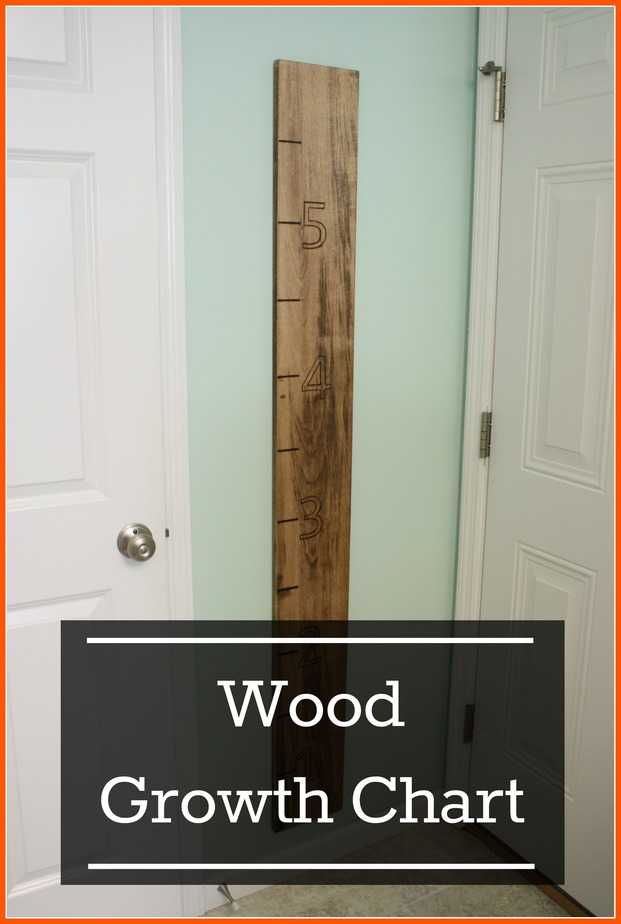 Growing up we had a growth chart that I have fond memories of being measured on. My parents now have a growth chart for the grandkids that I think is super cute. I wanted to have a hardy growth chart that we’d be able to take with us when we move and that might last through our grandkids.
- 8x8x1 Wood Board (we used Poplar because we liked the grain)
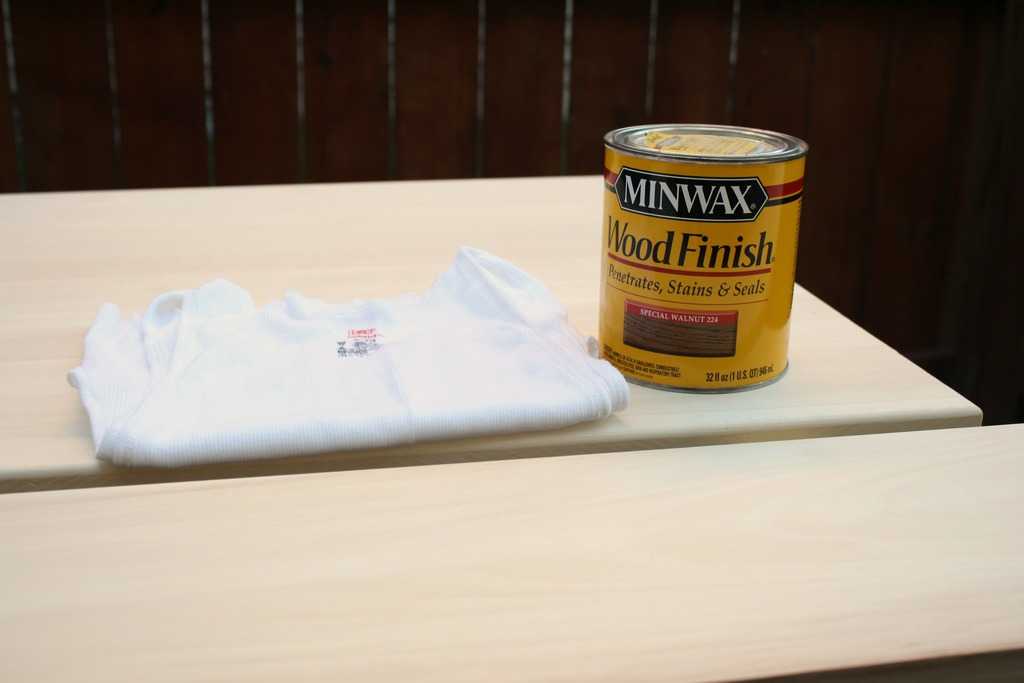
- Stain
- T-shirt or Cloth
- Foam Brush or Large Paint Brush
- Measuring Tape
- Cricut or Number Stencil
- Cardstock
- Wood Burning Tool
- Metal Straight Edge
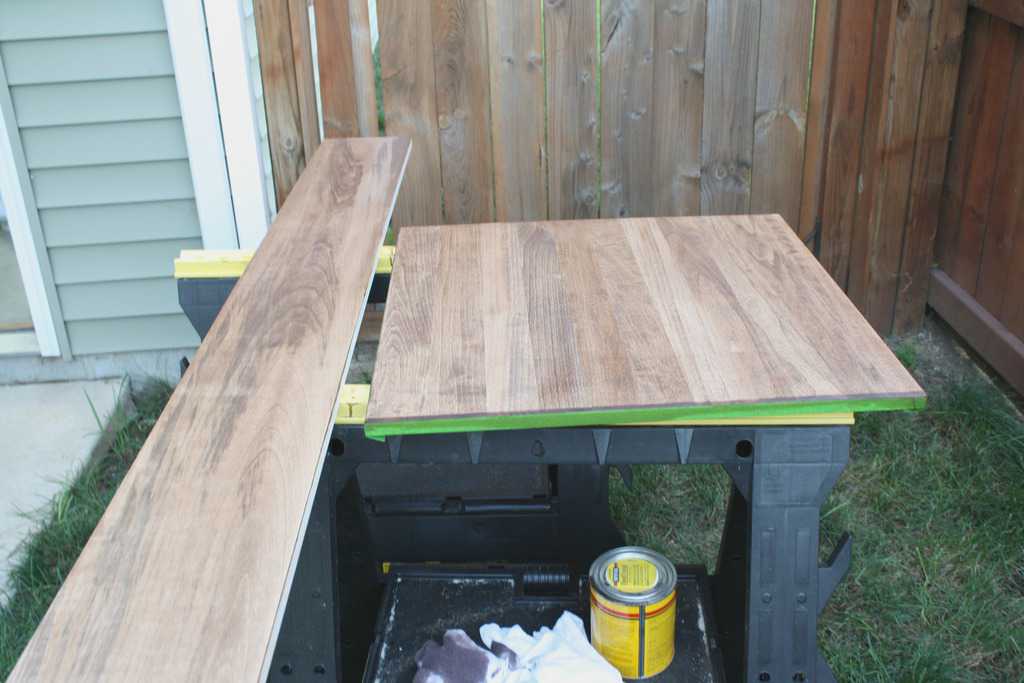 Stain your wood according to the directions on your stain. Here’s a sneak peak of the board I stained for Sophie’s latch board.
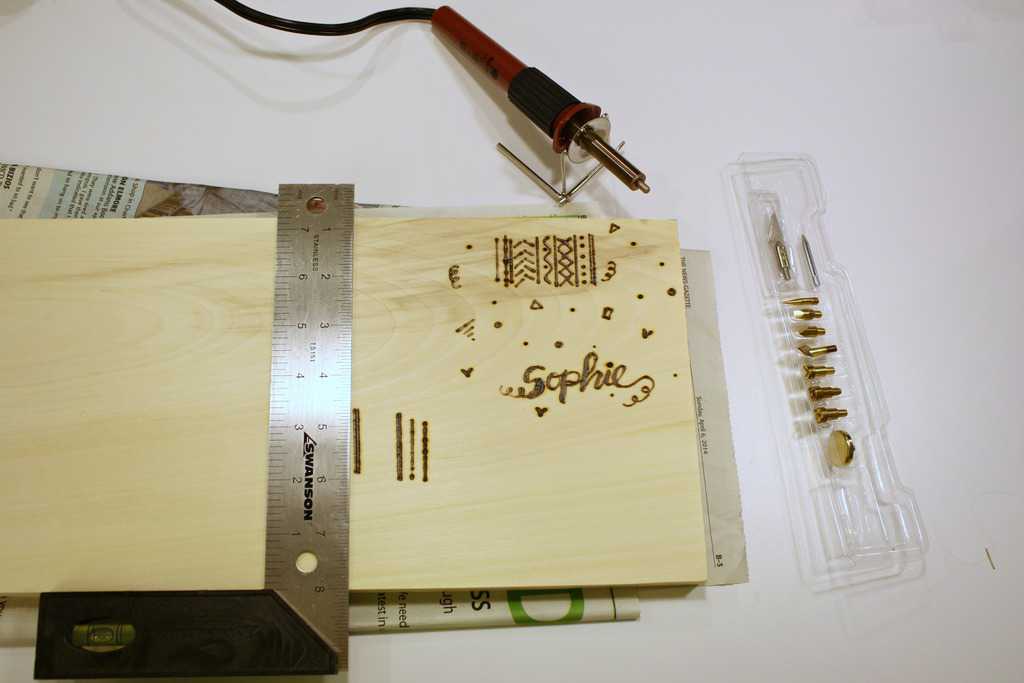 You’ll want to practice writing with the wood burning tool unless you’ve used one before. I read and watched a few tutorials before getting started and practiced on the excess wood we cut off the board (to make it 5 ft.)
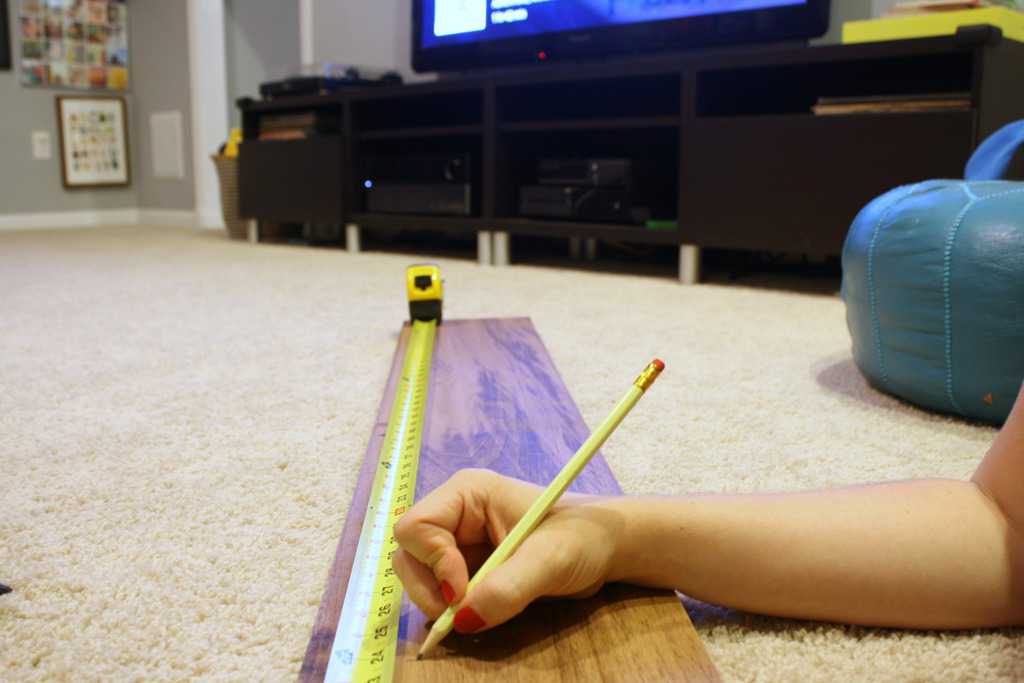 Depending on how precise you want your growth chart, mark out the numbers with a pencil as a guide for when you burn.
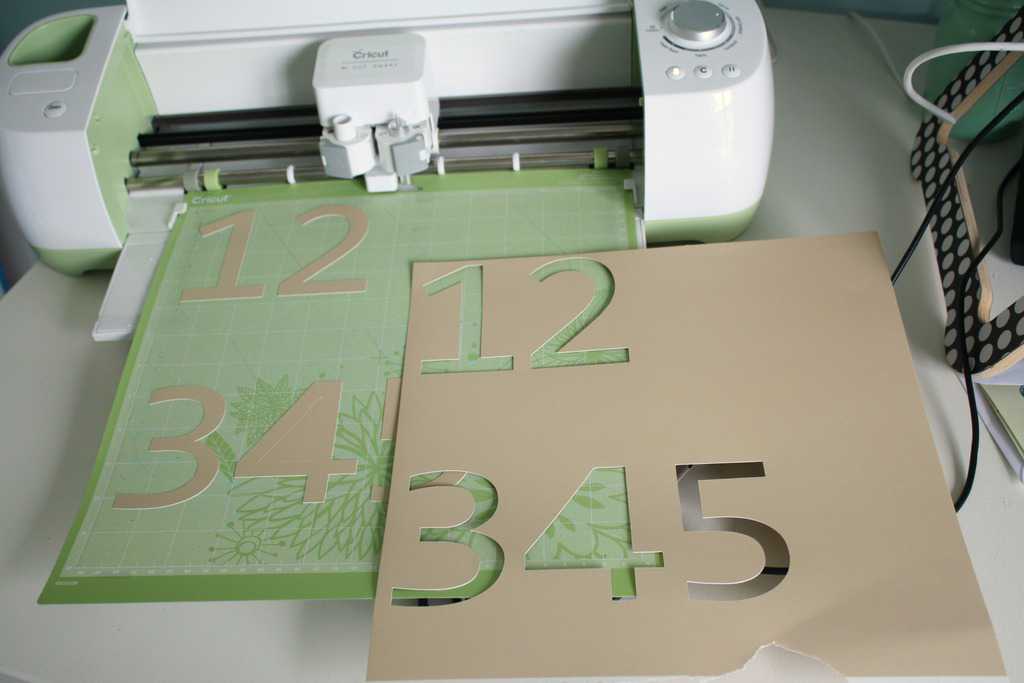 I used my Cricut Explore to cut out my numbers stencil. I liked making my stencil with the Cricut because the font options were endless. I looked for a font that was somewhat modern and didn’t have any extra curves or flourishes. You could also print out numbers using Word or find a stencil at a craft store.
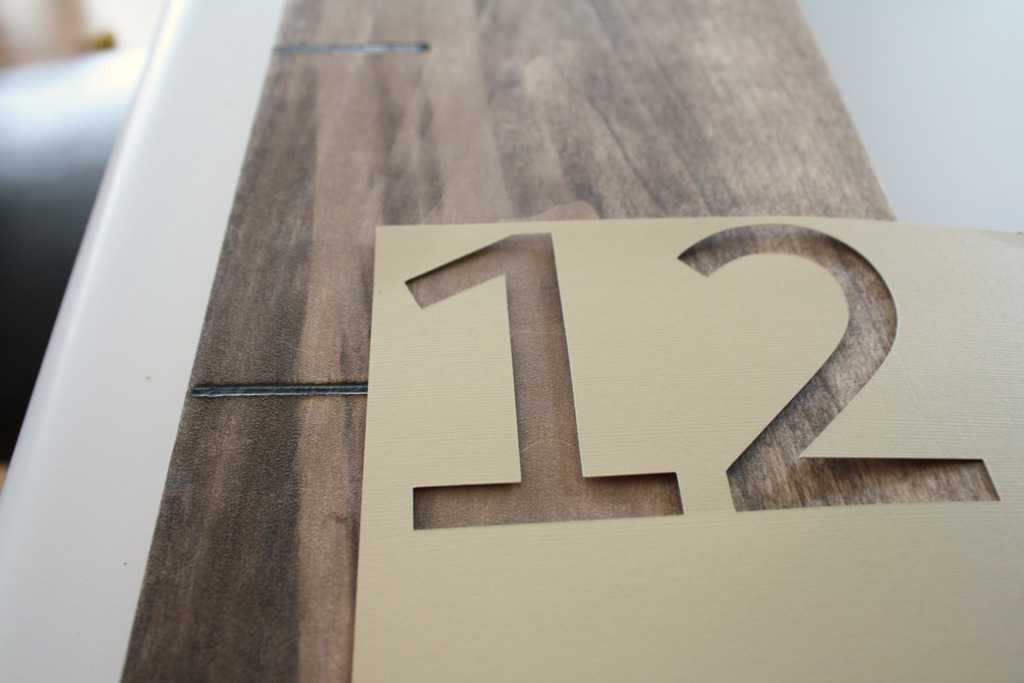 I used our metal straight edge to mark out every half foot on the board. I eyeballed where I thought the numbers looked best and lightly traced them with a pencil.
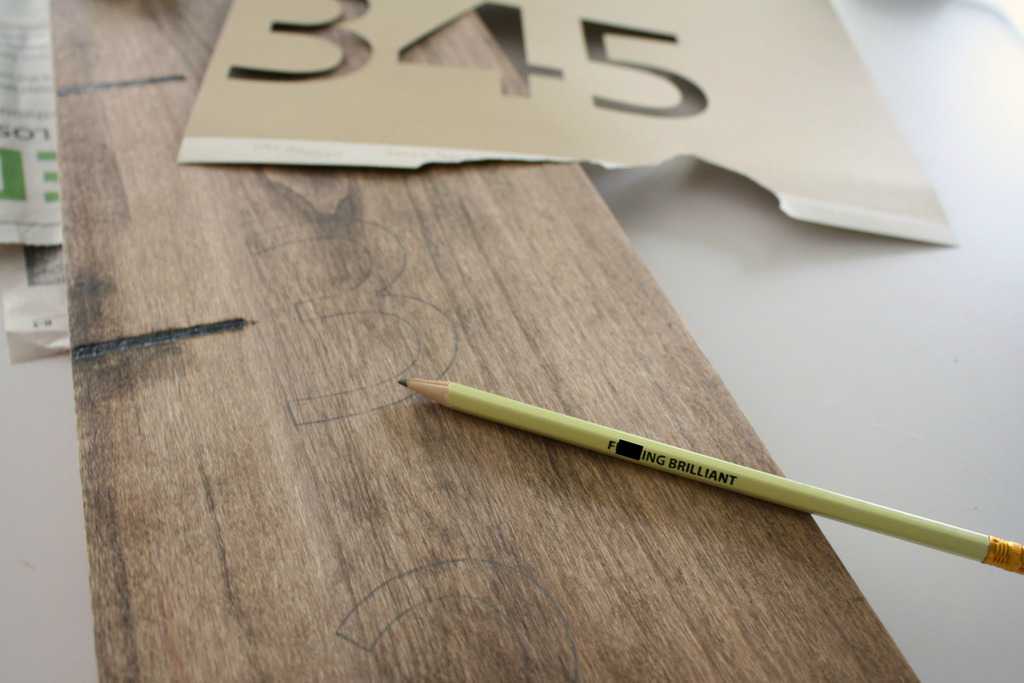 As always, I made mistakes, which is why I use pencils! I wrote the number on the wrong dash but the pencil markings came off perfectly.
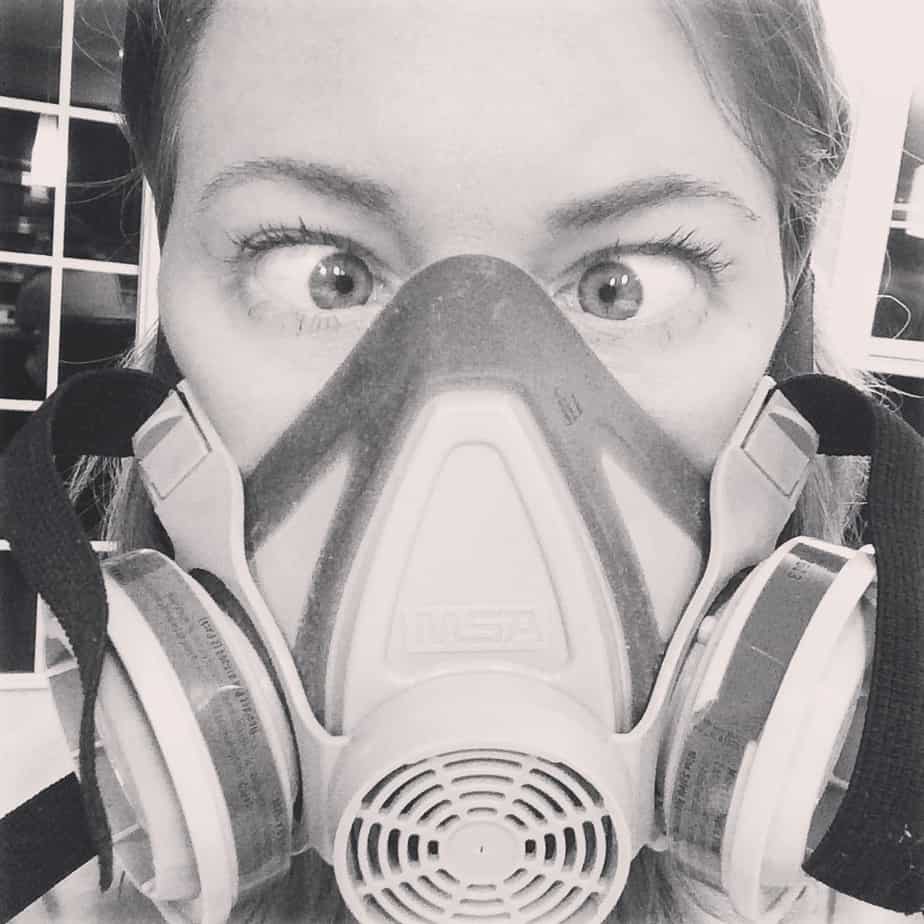 If you follow me on Instagram, you would have seen this monstrosity. I wore it while I burned because I thought the burning of the stained wood would give me cancer. I think any chemicals will give me cancer so this mask isn’t necessary…just a precaution.
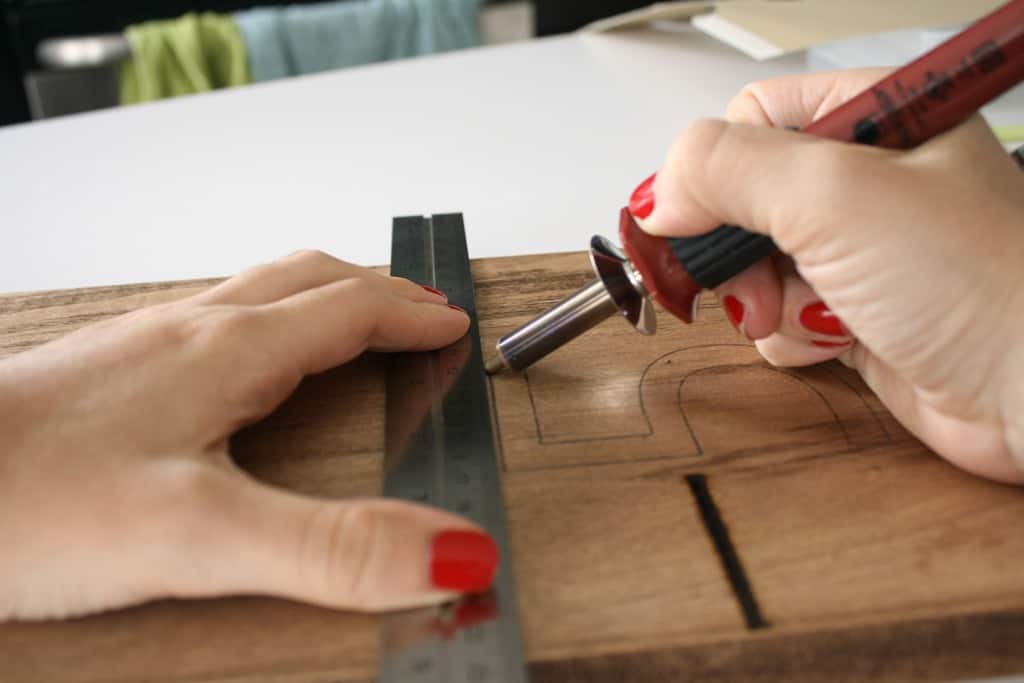 The thing I learned with the woodburning was to try to go as even paced as possible. I also figured out that the tip cools down as you have it on the wood surface. It starts out really hot and burns easily and as you drag along the wood, it looses heat, which causes a skinnier line. It was helpful to do the burning in small sections and letting the tool re-heat for a few seconds in between.
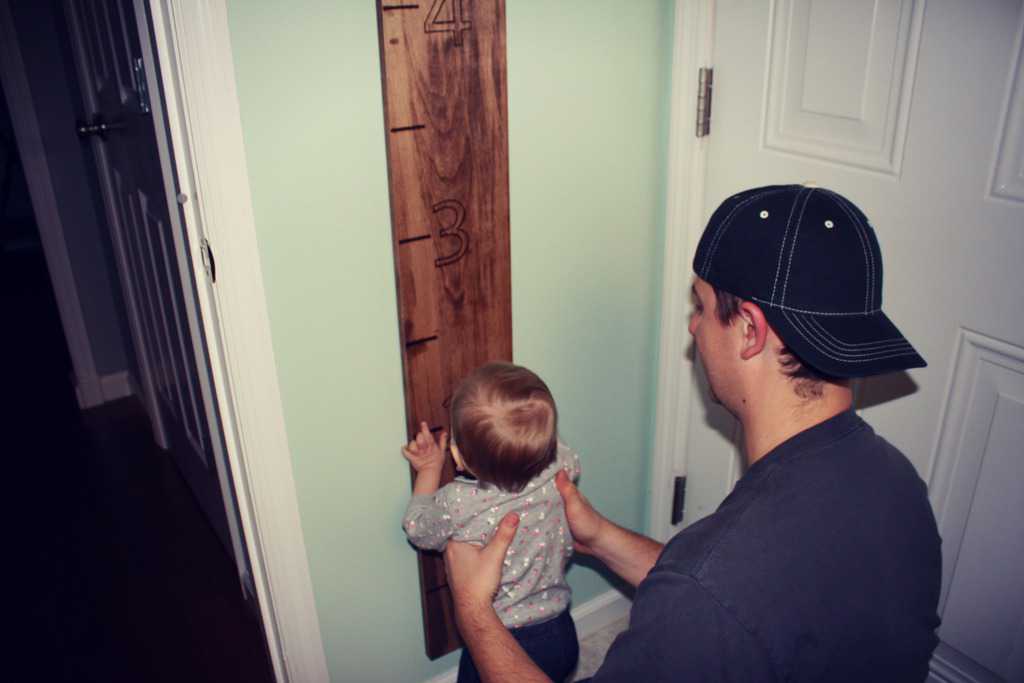 I attached the board with industrial strength velcro. It may rip the paint off when we leave but we didn’t want to risk the board falling since it’s on a wall between two doors. Sophie liked feeling the grooves in the numbers and is 31 inches!
Do you have a special place to measure your kids or do you remember being measured growing up? Have you done a wood burning project before? Have any tips or techniques to share on being a master wood burner? I’m excited to do more projects with my new tool…perhaps as Christmas presents!
